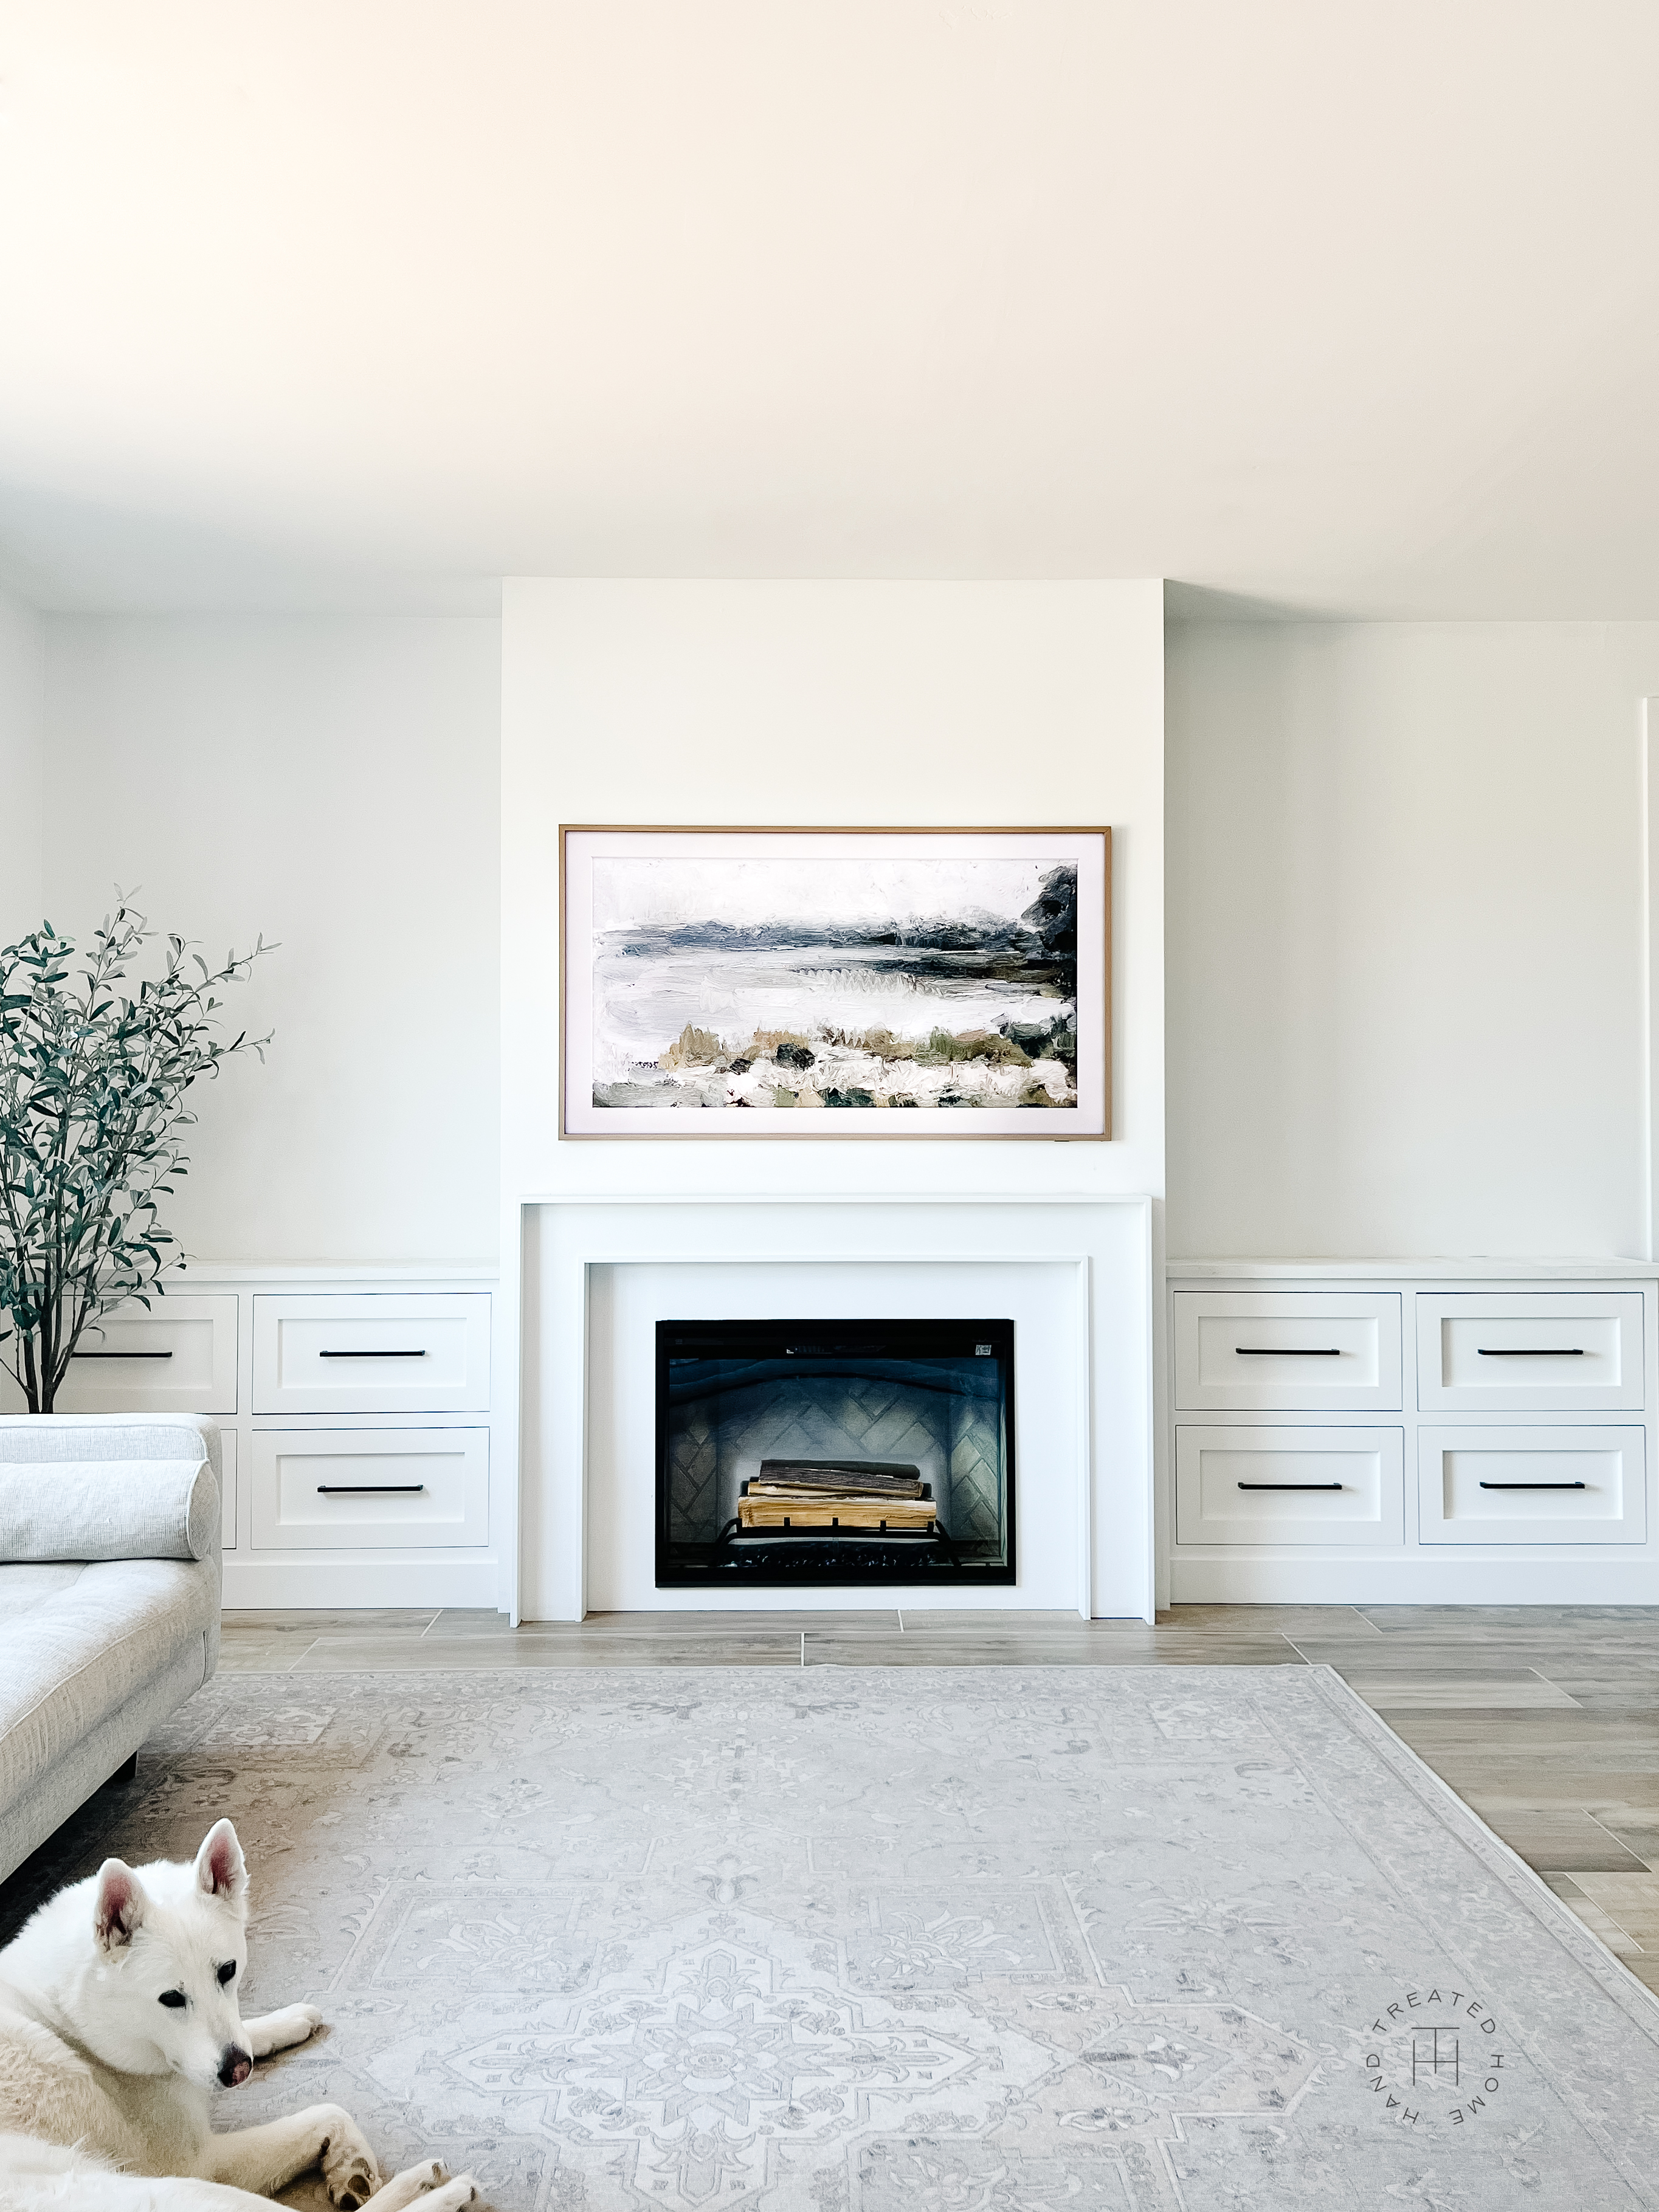
DIY Fireplace Mantel and Electric Insert
This page may include some affiliate links, meaning that at no cost to you, I could earn a commission if you purchase through these links. Learn more. As always, I only link items that I personally use and recommend. Thank you for your support by shopping through my links.
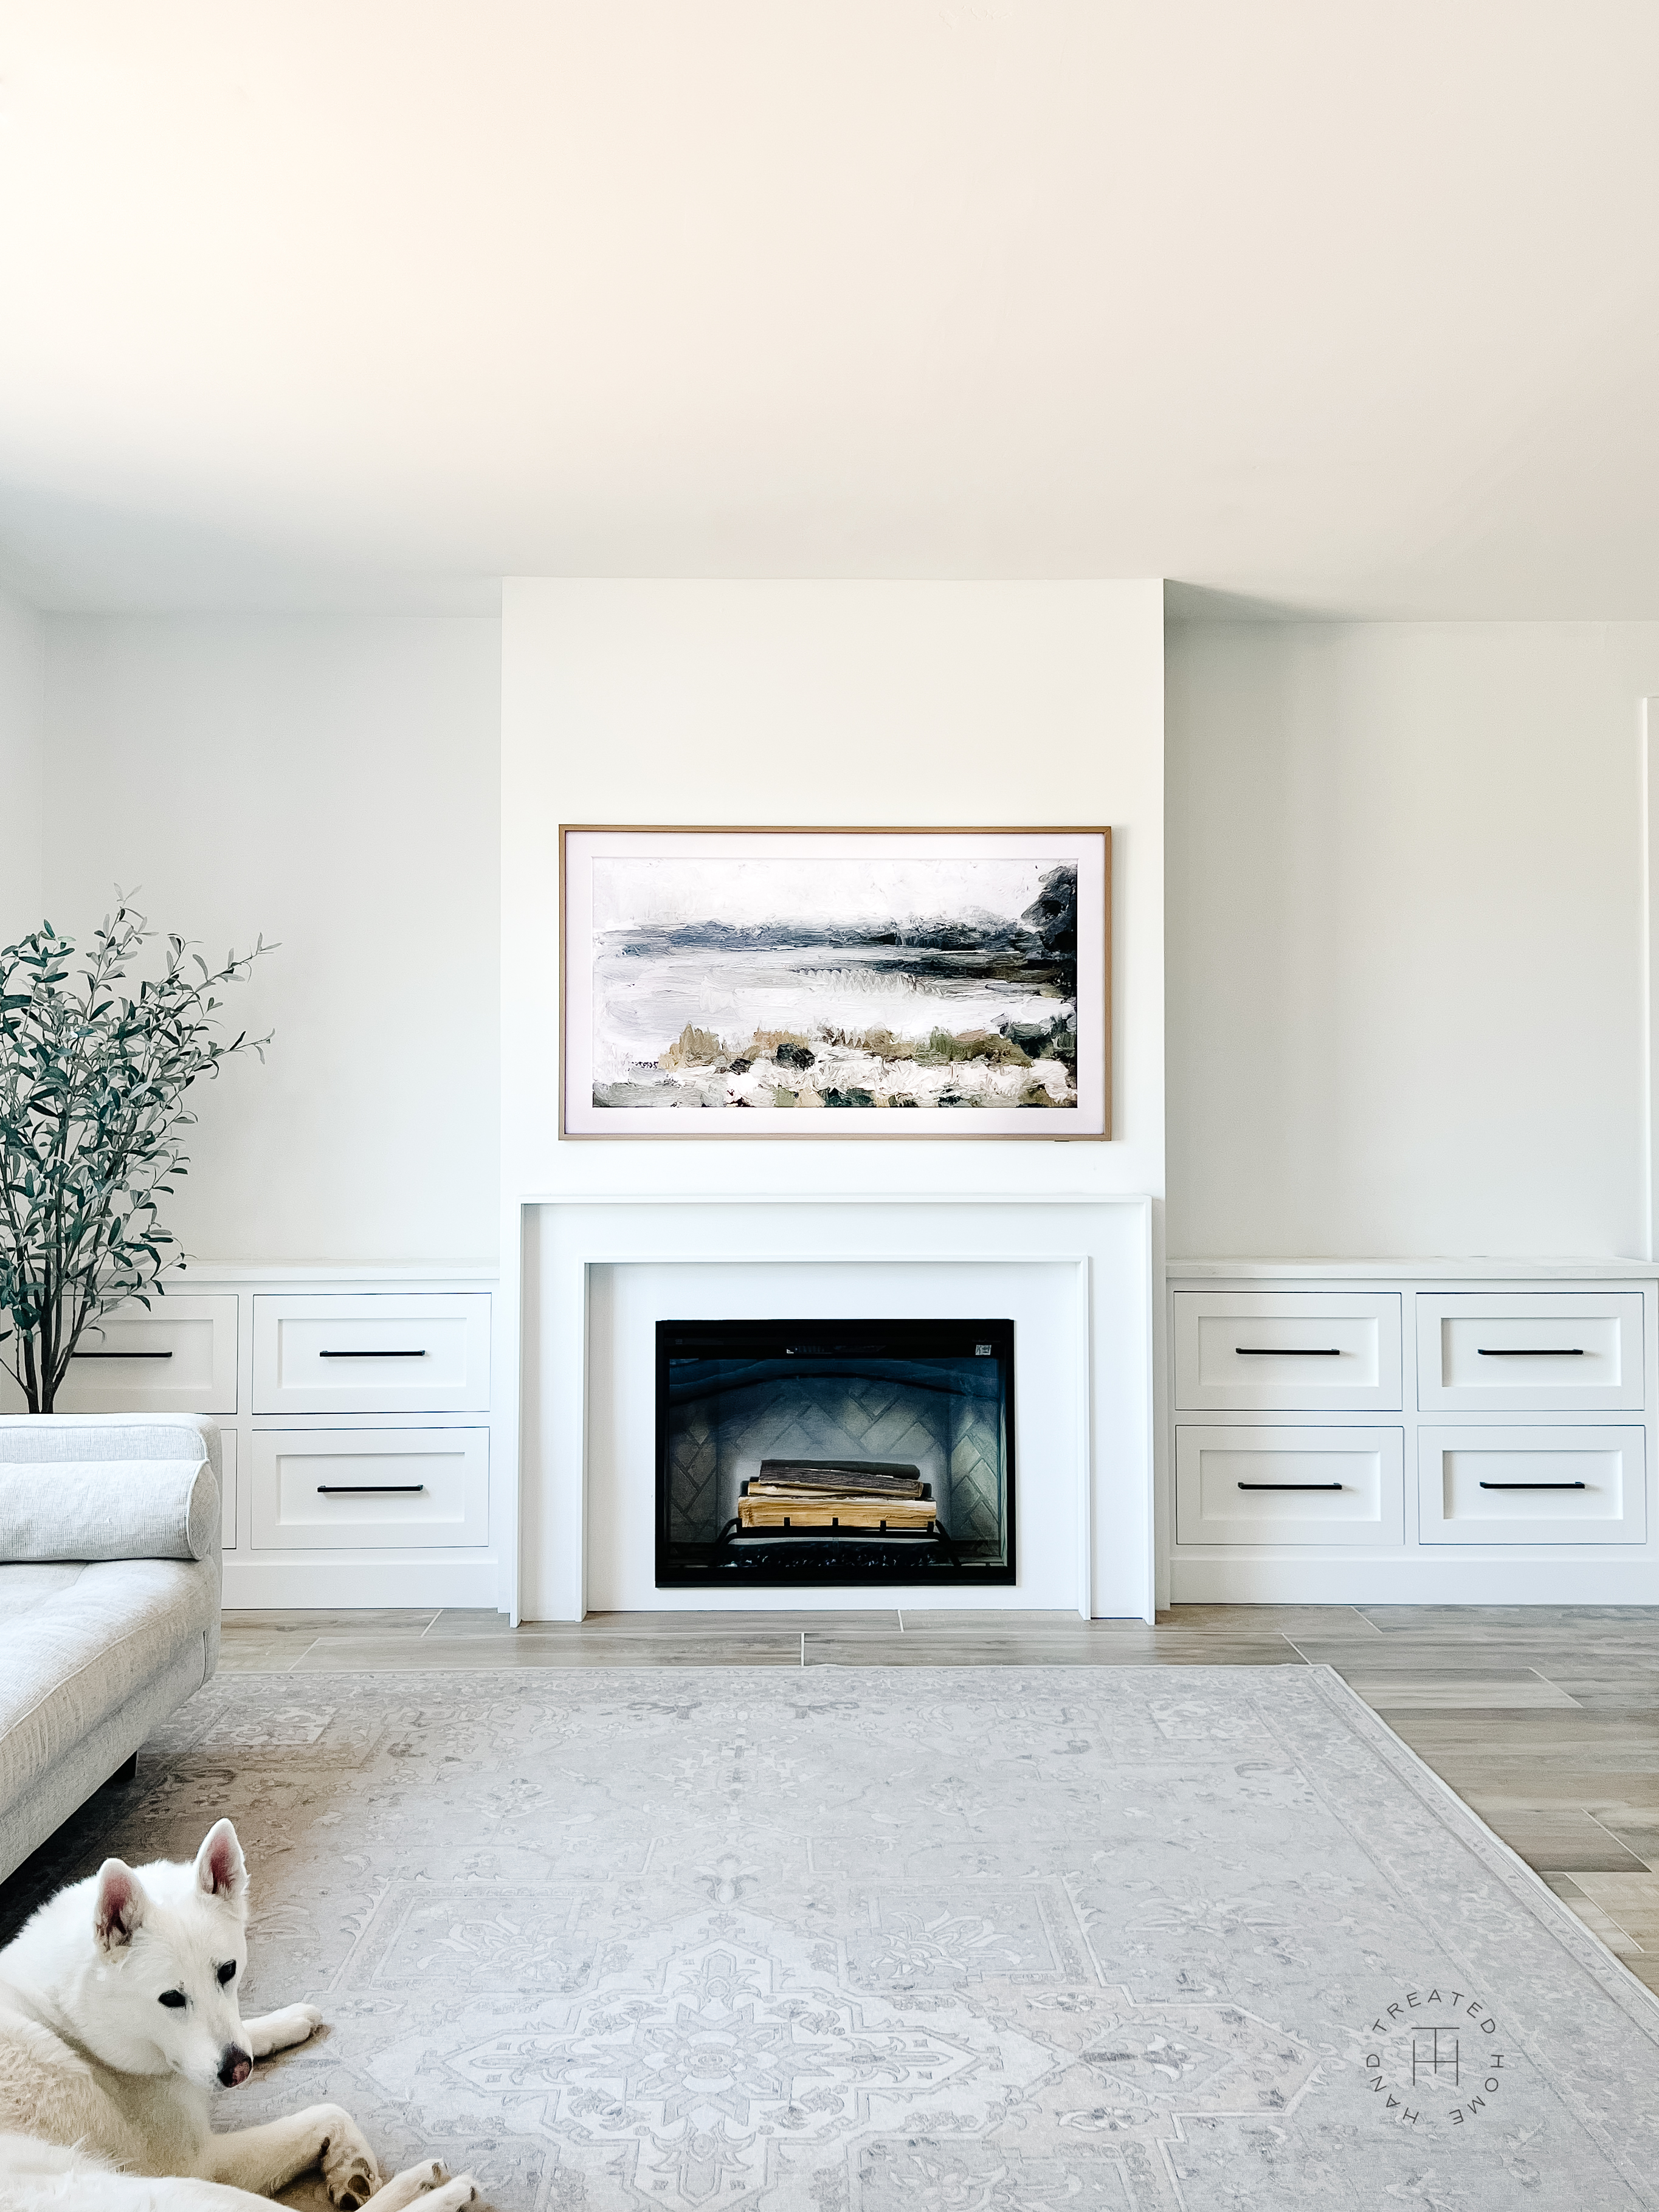
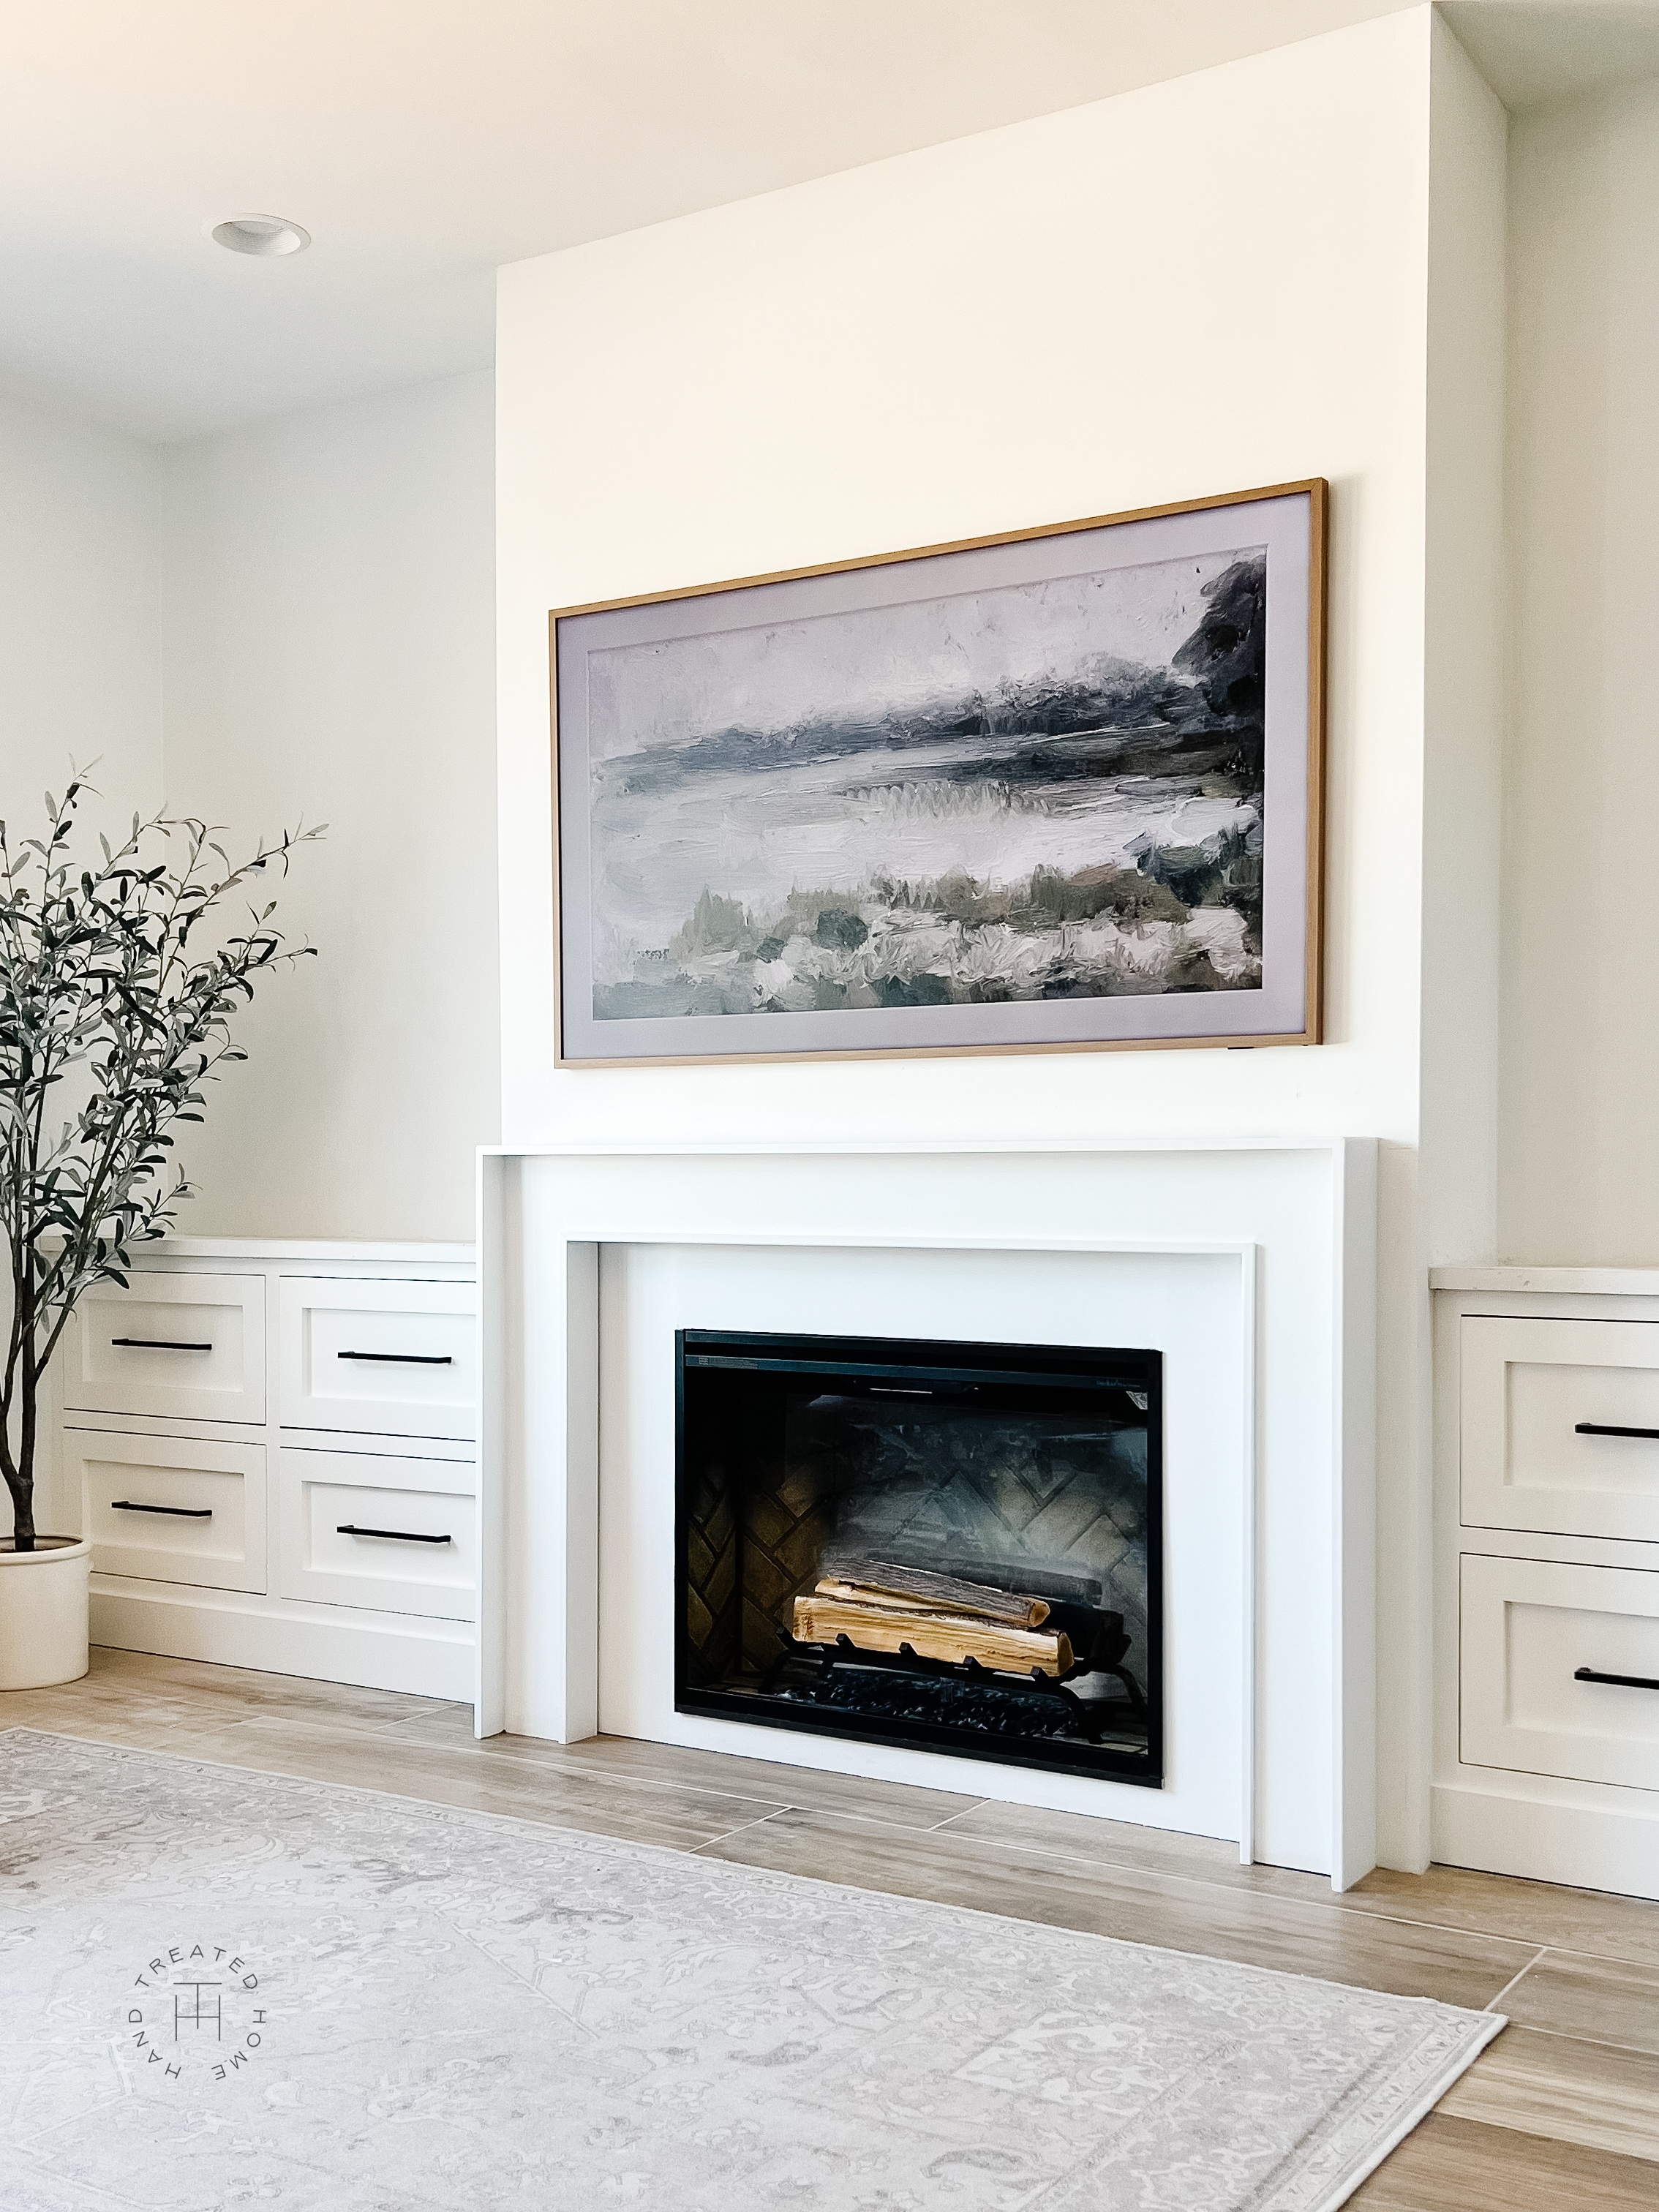
New mantel and Revillusion electric insert
One of my favorite things about doing DIY projects in my home is that I can make changes over time as my style, budget, and skillset changes and grows. This project is the perfect representation of how you can love your home now, and still make changes to love it even more later.
A year and a half ago we moved into our home, and I was determined to build a fireplace before the holidays. And I did.
You can check out all the details on how I build the fireplace structure here.
However, I was in both a time crunch and a budget crunch, and that led to me picking an electric insert that I didn’t love, and building a mantel that I knew how to build, but wasn’t really my preferred style. But I got it done, and I did love it. It looked way better than it did before and while I thought it turned out great I already had plans to go back and make some changes at a later date.
Well that date is finally here. After a year and a half I have not been able to get my dream electric insert out of my mind (spoiler alert, it did NOT disappoint) and I have been constantly pinning to my fireplace Pinterest board this new style of mantel. So here we go….!
Here’s what you’ll need:
The most gorgeous and realistic looking electric fireplace insert:
What I really love about this insert is the fact that you can customize it. There are two different background option and three different log sets to choose from, as well as different options for the opening. I went with the herringbone brick background, fresh log set, and currently have it open, but plan to add the glass doors
Supplies for the mantel:
Caulk gun
Paint
Backer rod
Supplies for demo and drywall repair (if needed):
Paint
We also chose to purchase a larger Samsung Frame TV to complete the look we were after. If you are wanting to add one as well, here is the one I have. I went with the 65 inch with the teak bezel.
For a video walkthrough of this project, check out my Instagram highlight here.
Demo (if needed)
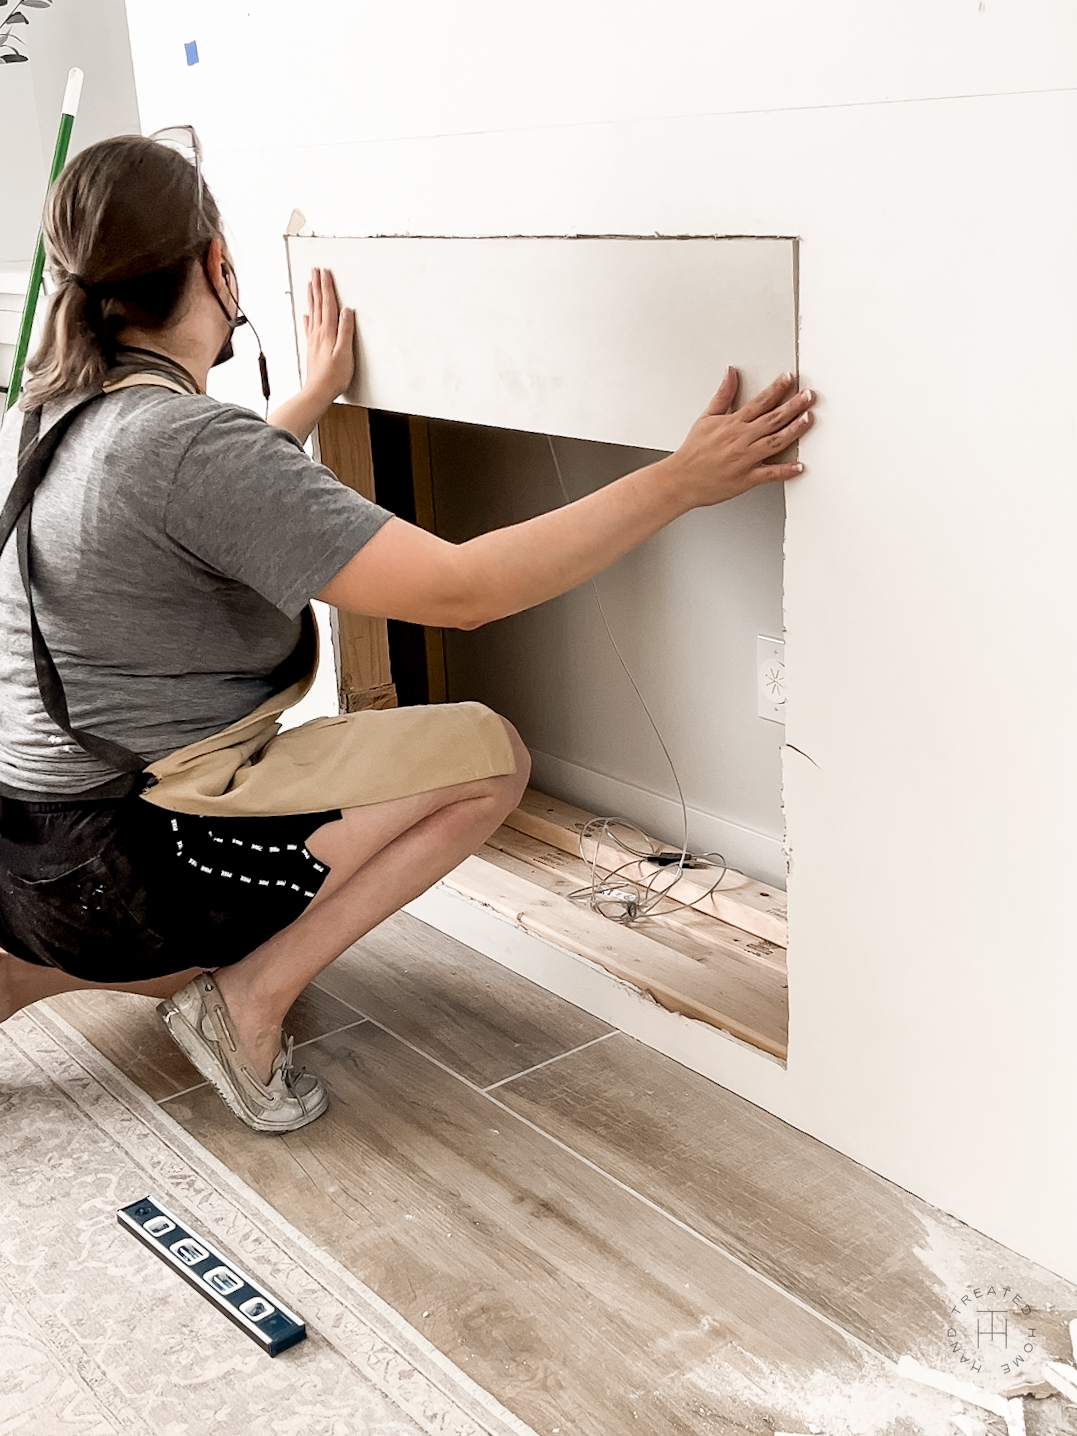
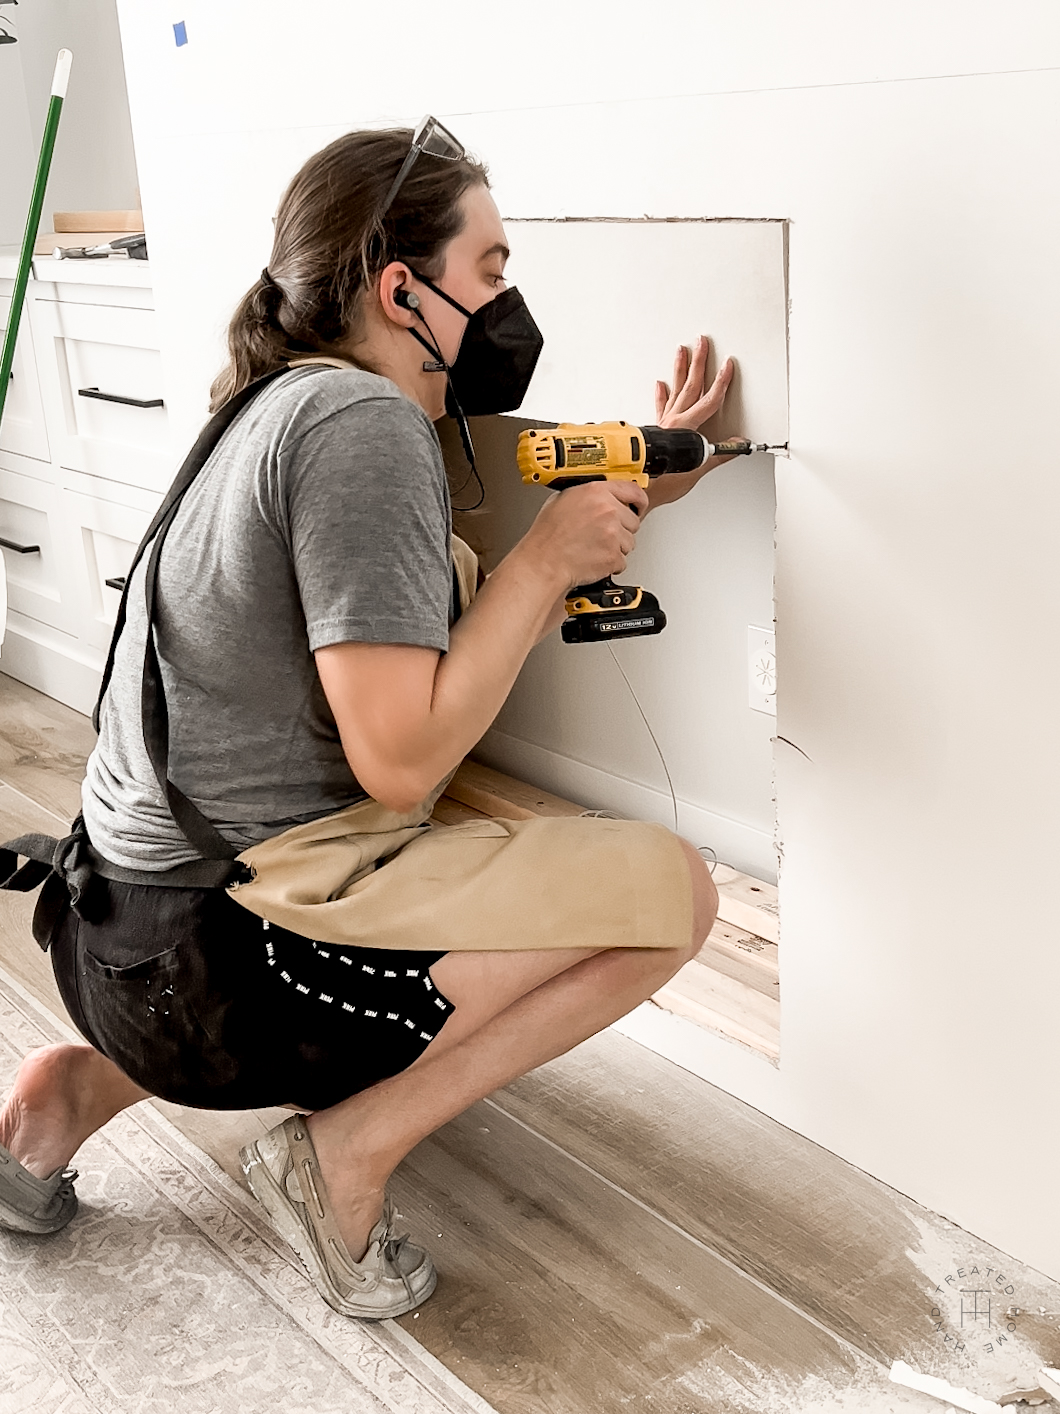
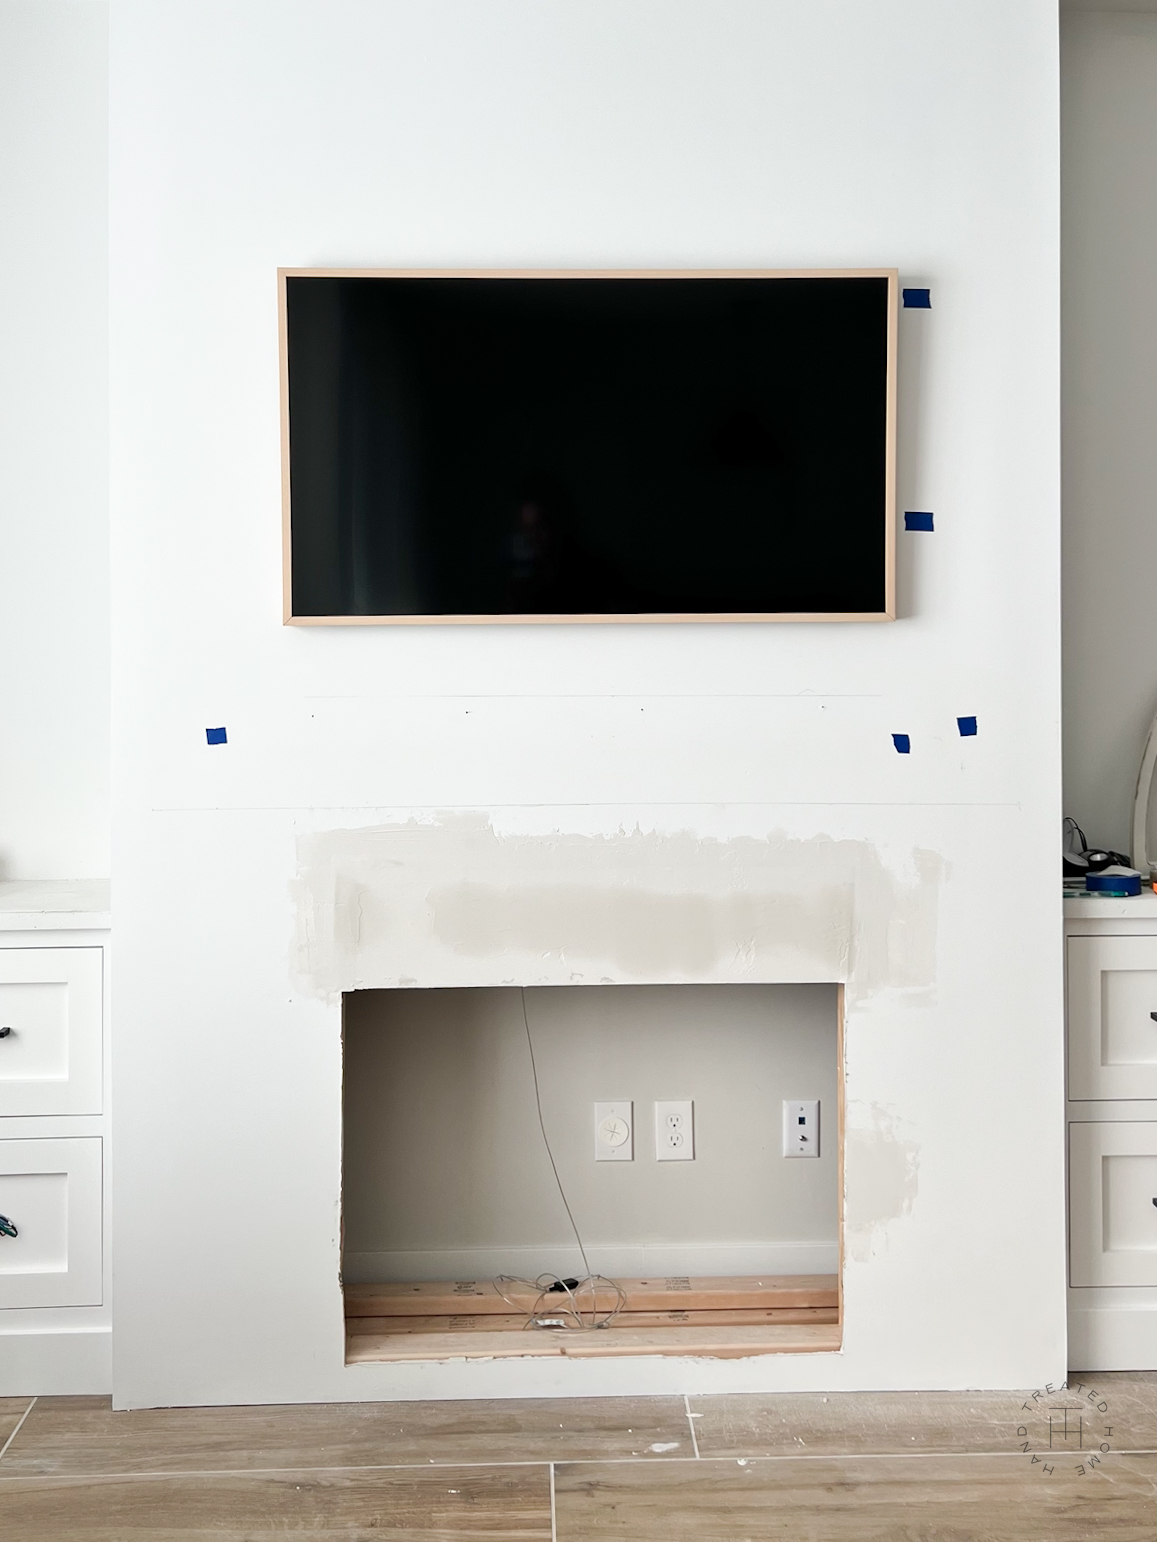
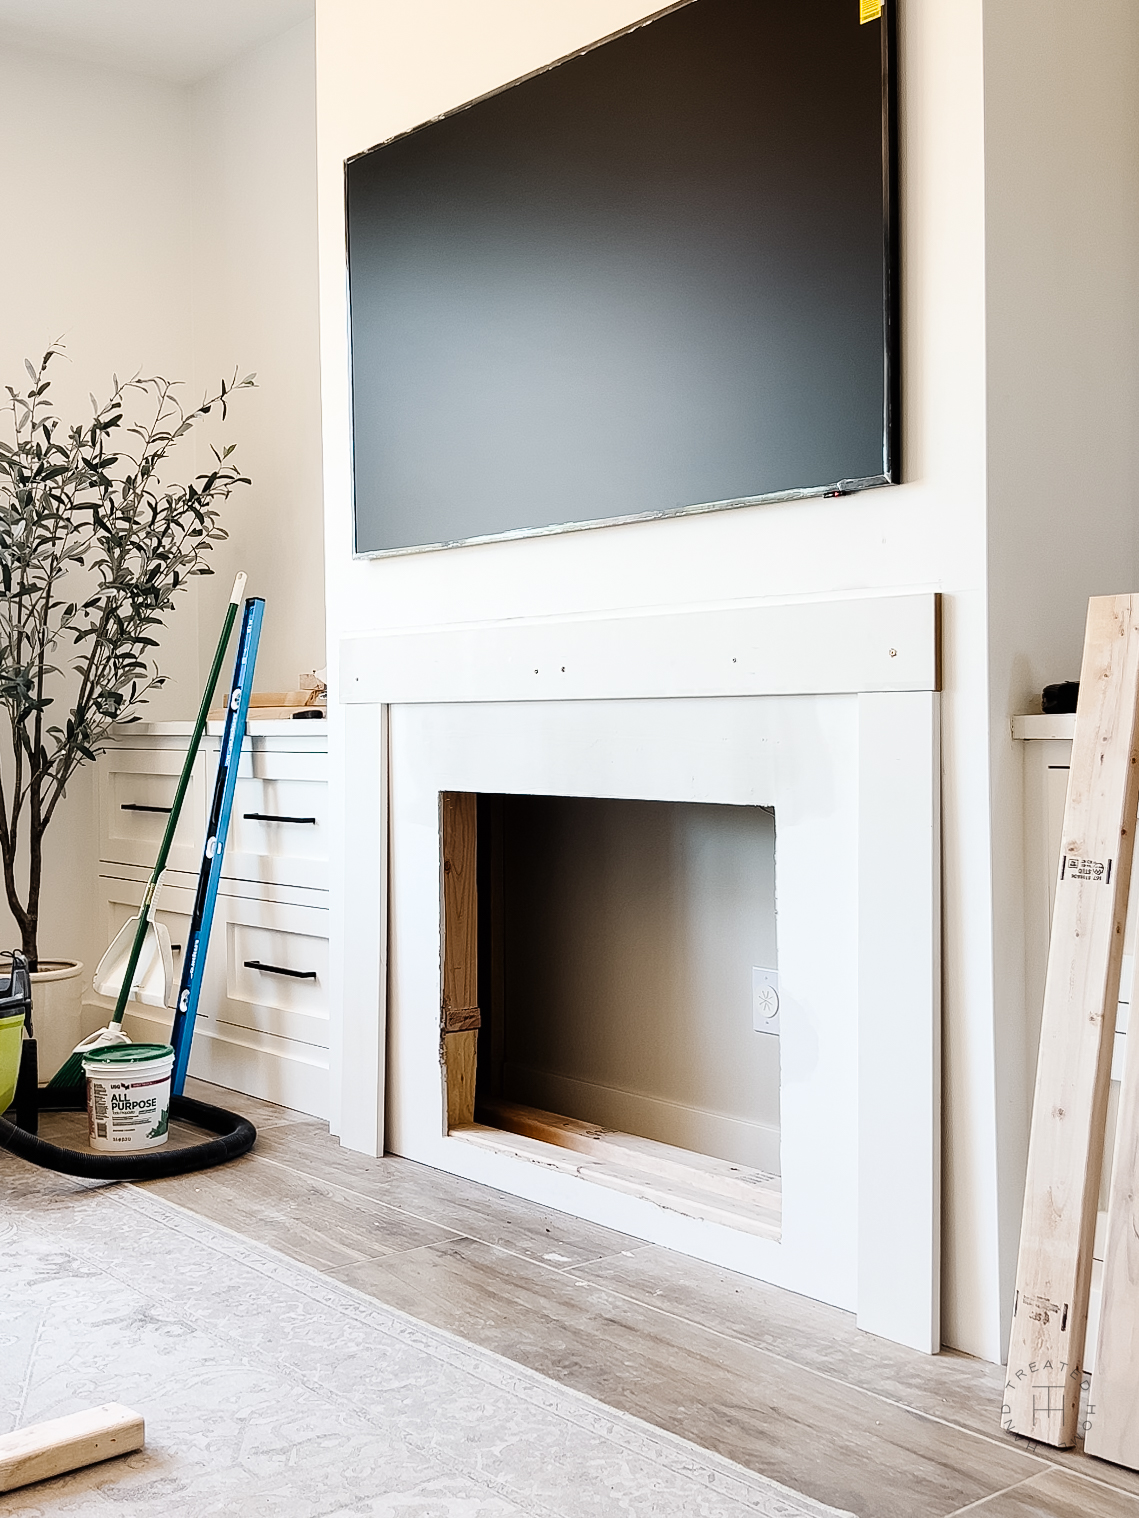
Part of my fireplace makeover included lowering the opening for the electric insert as well as widening the opening since this new insert is a little bit larger than my previous one.
I wanted to minimize the damage to the drywall, however that did make things a little more difficult. You could always rip off the drywall, make the changes and then put on new drywall.
First I unscrewed the vertical 2x4s that were on either side of the insert, and made them wider. Then I cut back the drywall to fit the new opening.
Now the tricky part, lowering the opening. This was an optional step for me, I wanted to move everything down lower since I felt the way I had it previously was too tall. We also opted to upgrade the size of the TV from a 50 inch to a 65 inch to fit the room better, and this also meant needing to lower everything down a tad.
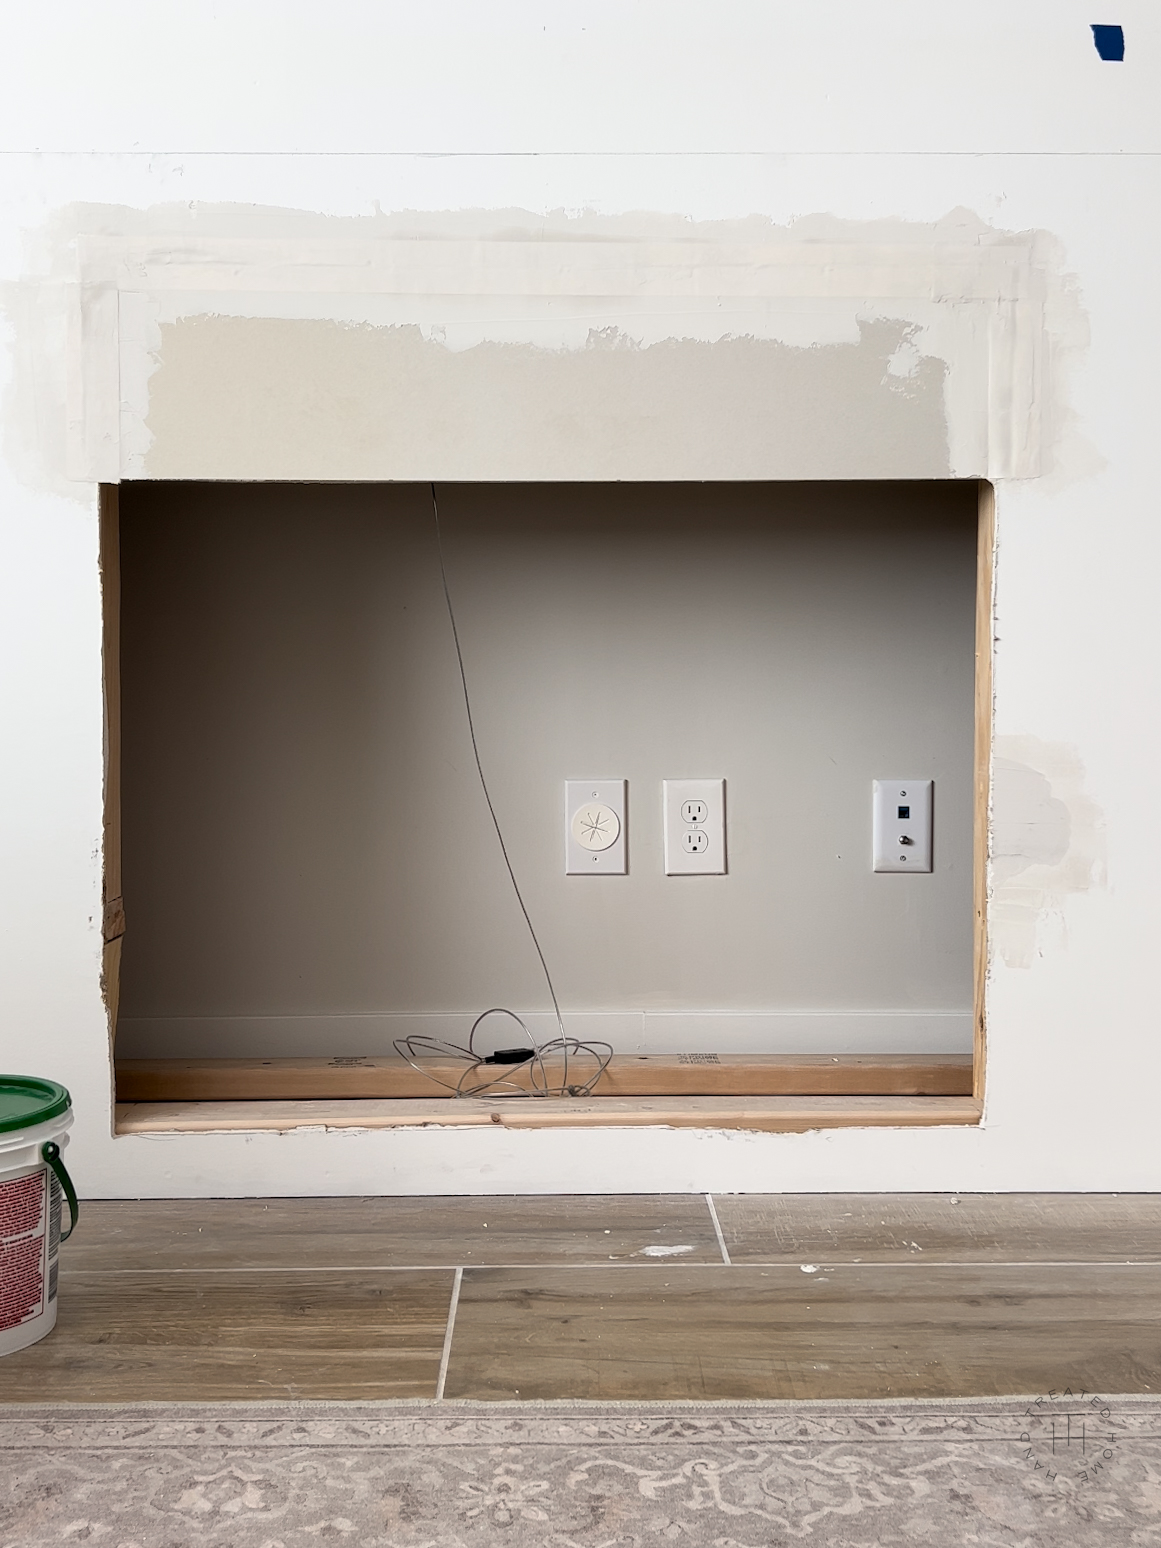
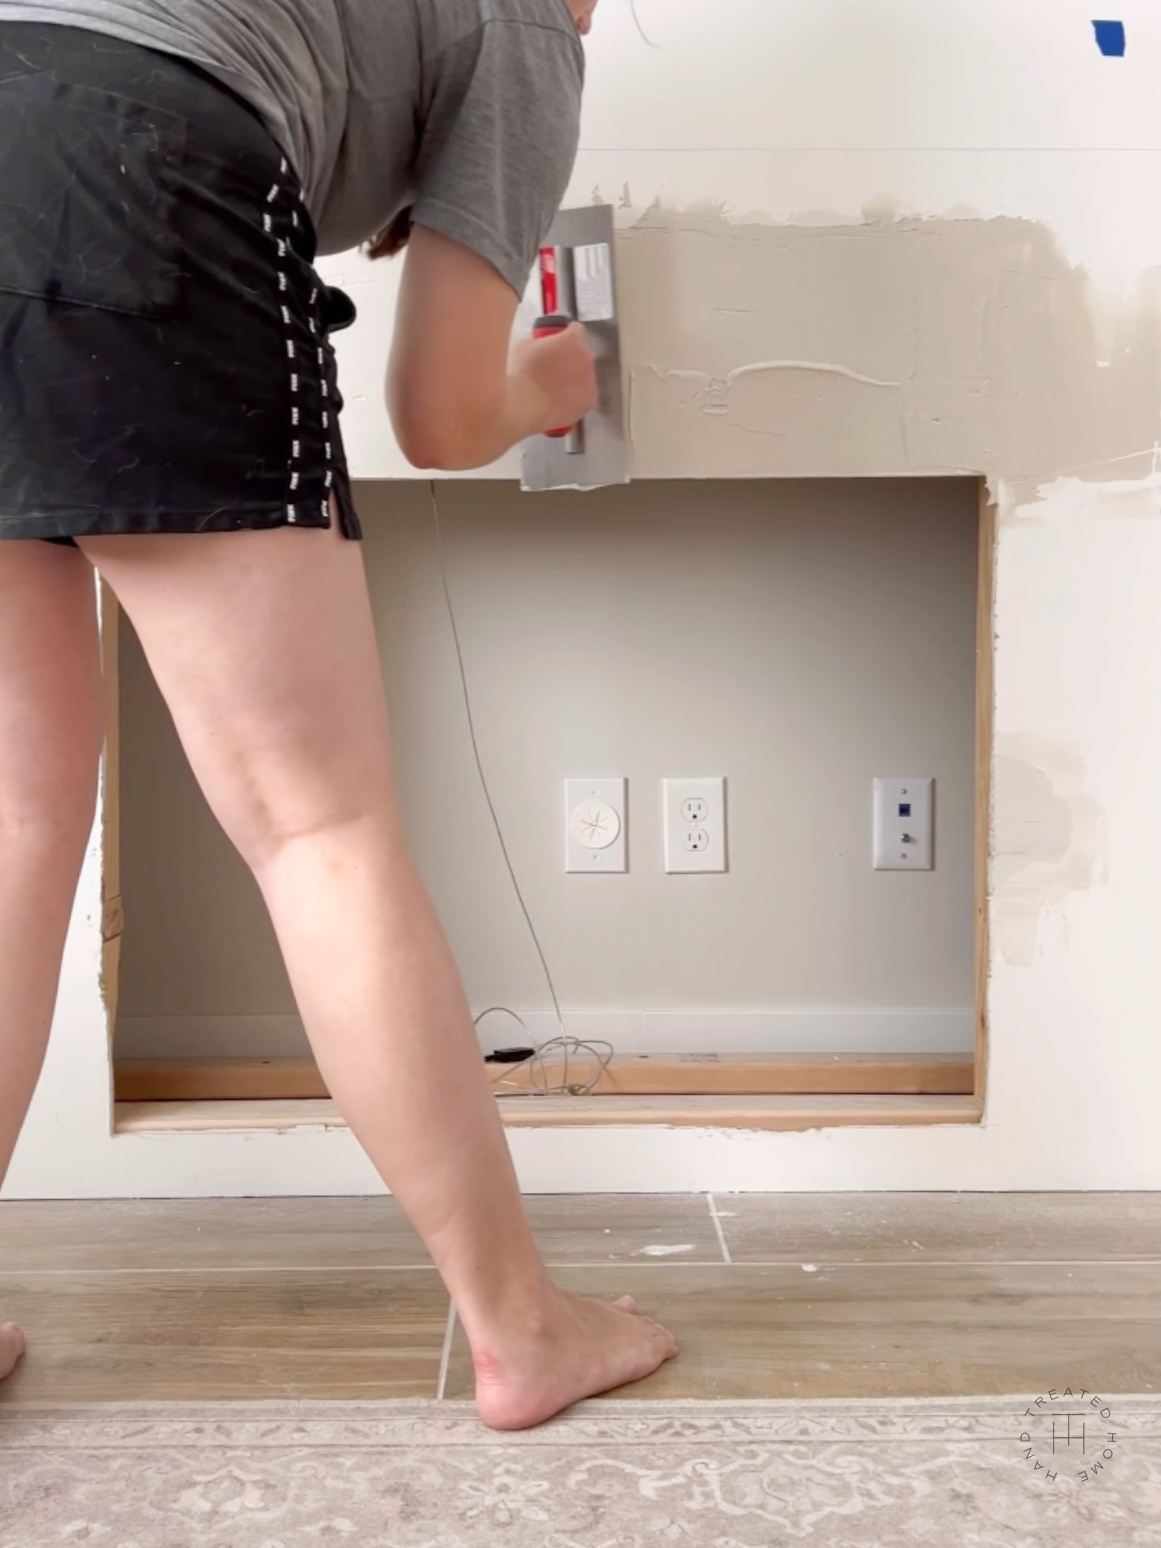
To make the opening lower, I had to cut the bottom 2×4 that was supporting the insert using my jigsaw and sawzall. Then I installed a new 2×4 cut to the size of the new wider opening lower for the new insert to sit on.
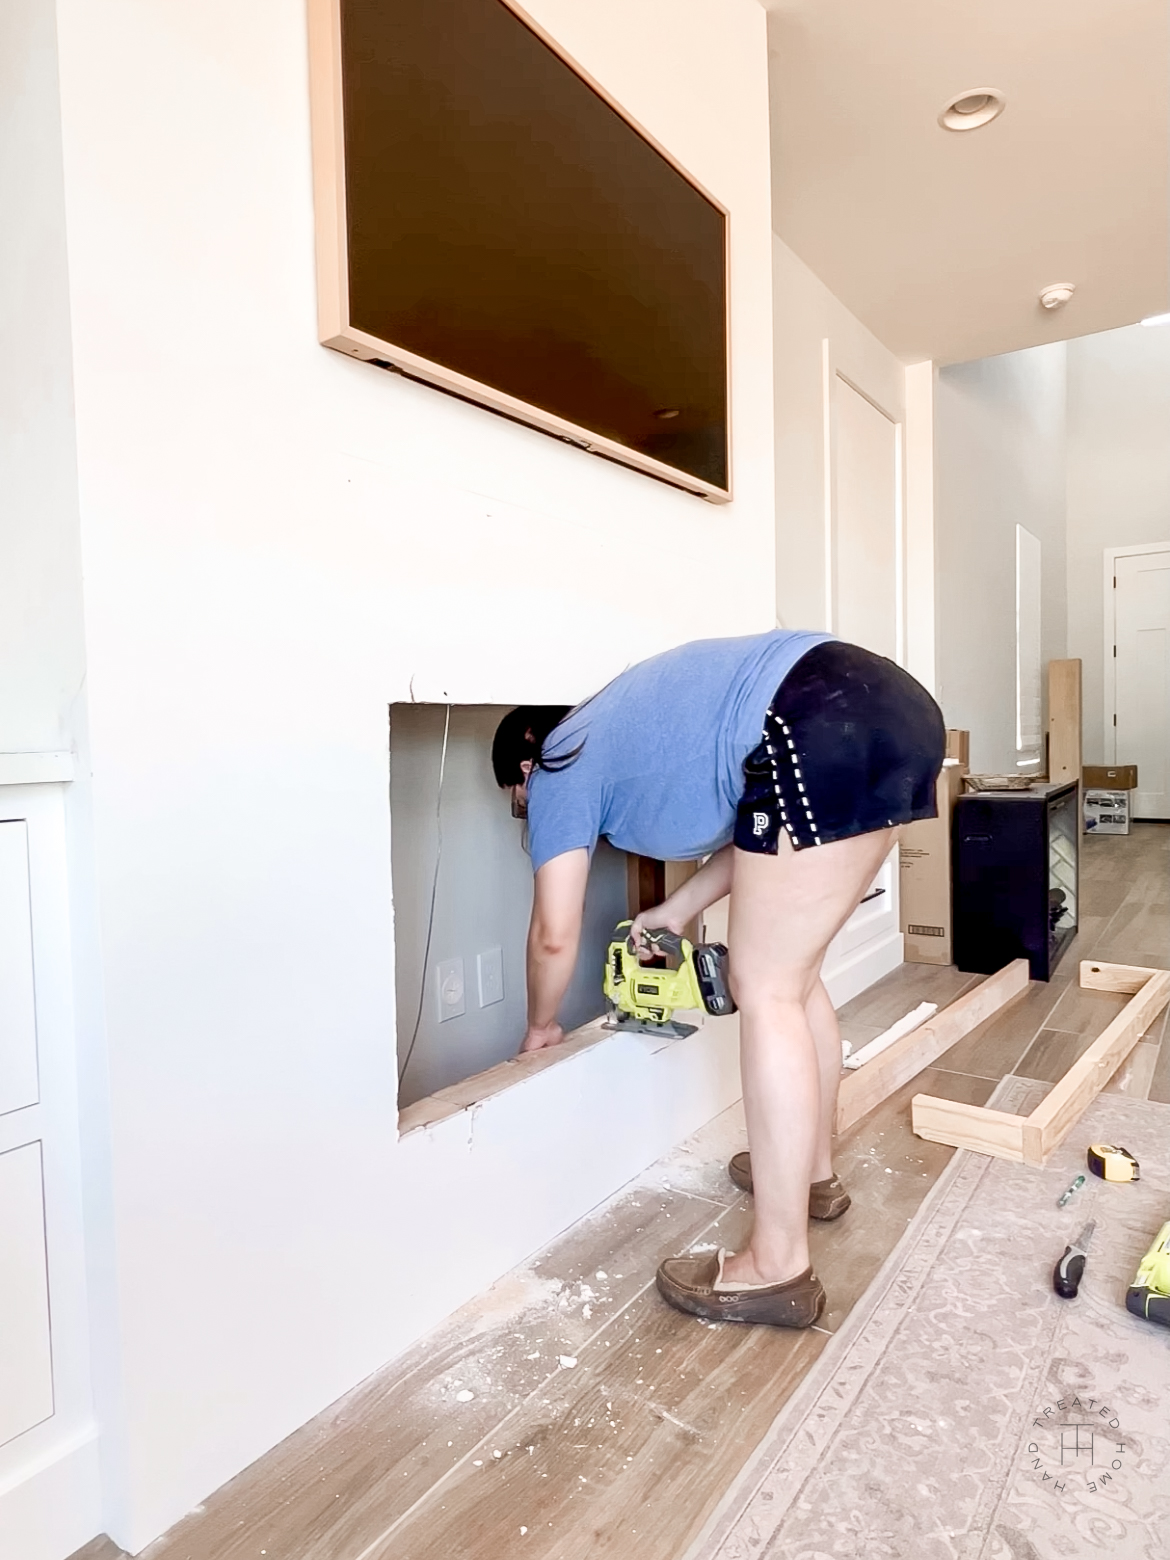
Lowering and widening the insert opening
Finally I had to add a patch of drywall to the top to close in the opening. To do that, I used my multitool to cut back the drywall around the studs so that I had something to screw the new drywall into. Then cut a sheet to fit the opening, screwed it into place, taped and mudded the seams and sanded them down once dry. To finish, you’ll always want to do a coat of primer over a drywall patch before painting.
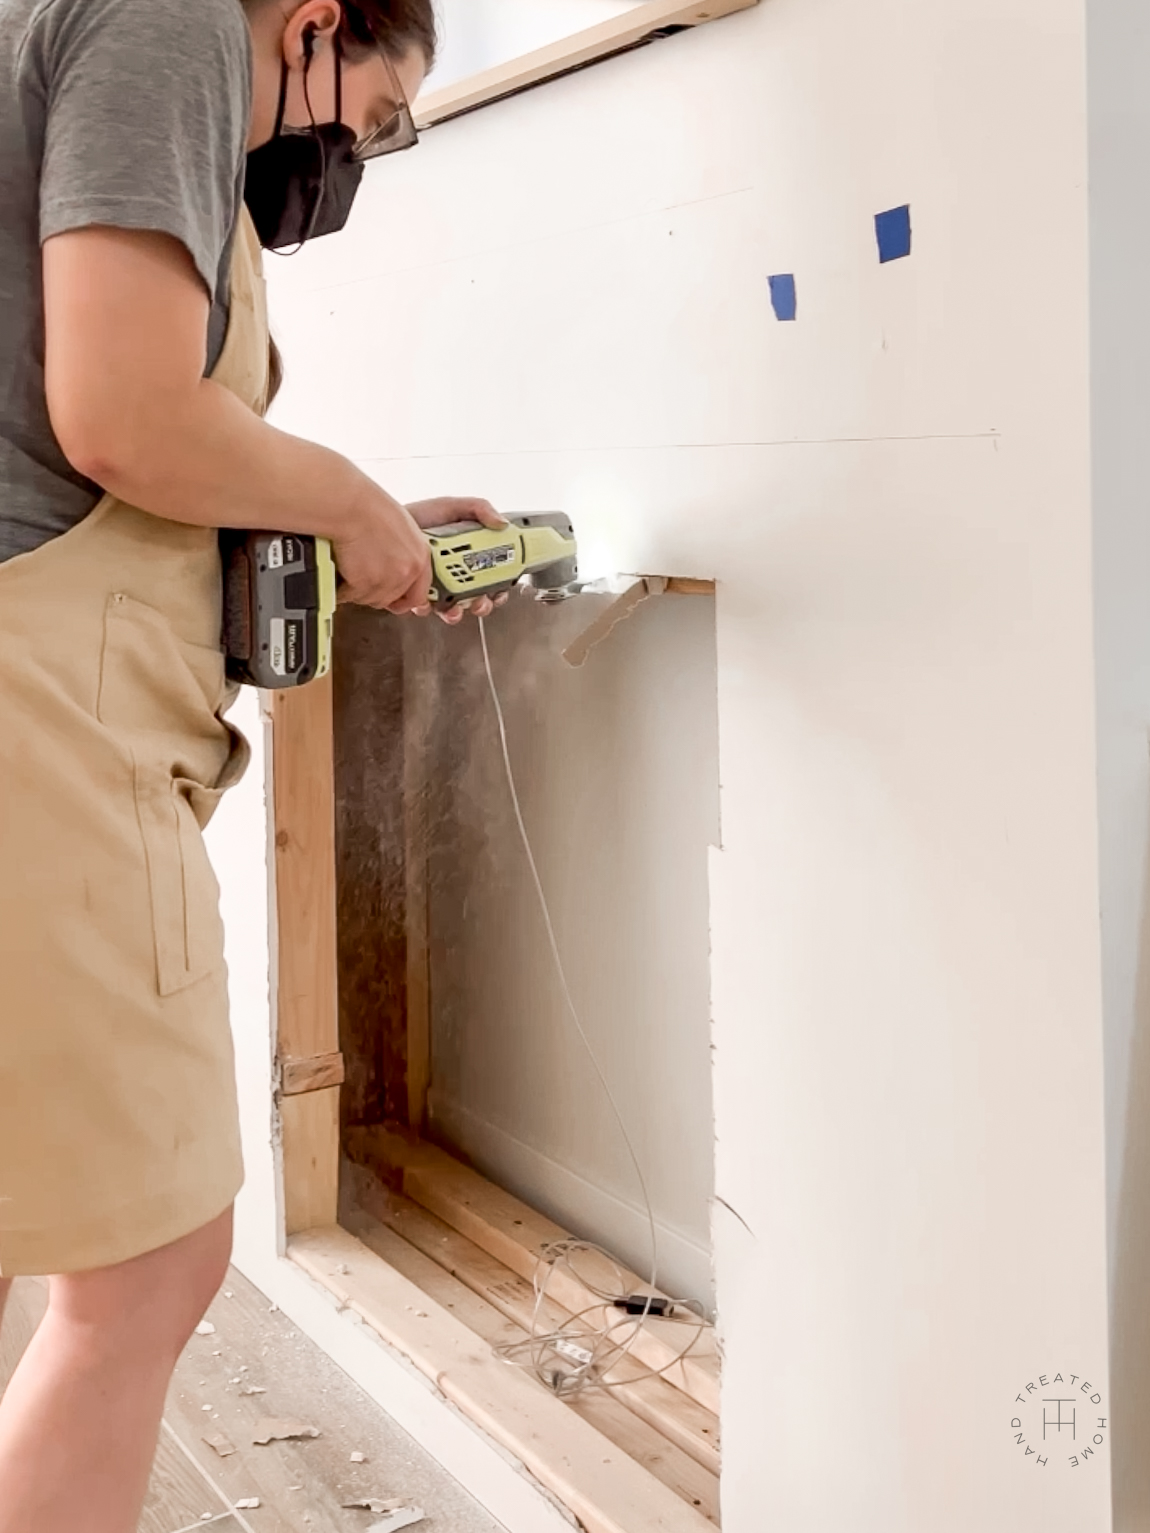
Building the Mantel
Dimensions for my project:
Ceiling height: 9ft
Fireplace width: 69.5 inches
Finished mantel width: 64 3/4 inches
Finished mantel height: 43 inches
Revillusion Built-In Firebox: 36 inches
The firebox sits 3 inches off the ground and there is a 6 inch space on the sides and top of the firebox between it and the mantel.
**all dimensions could vary slightly, always make sure to measure each step before cutting to length. When in doubt, cut long, and take off a little at a time until it fits**
Step 1: Build the frame
Before building the mantel, you need to create a frame for it to attach to. You can do this a few different ways, but my goal was to use up scrap materials I had on hand, so I worked with what I had.
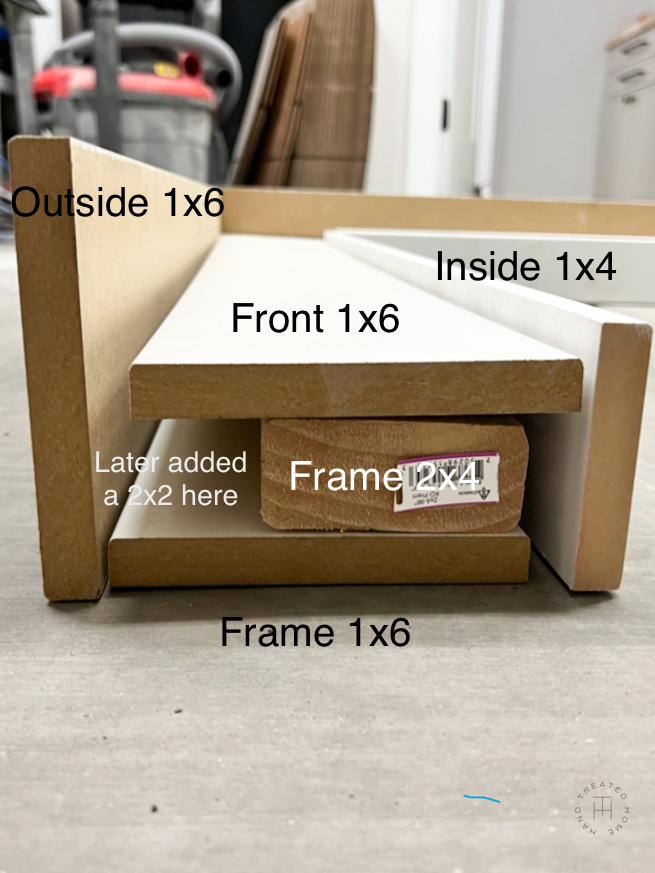
Side view of frame and mantel components
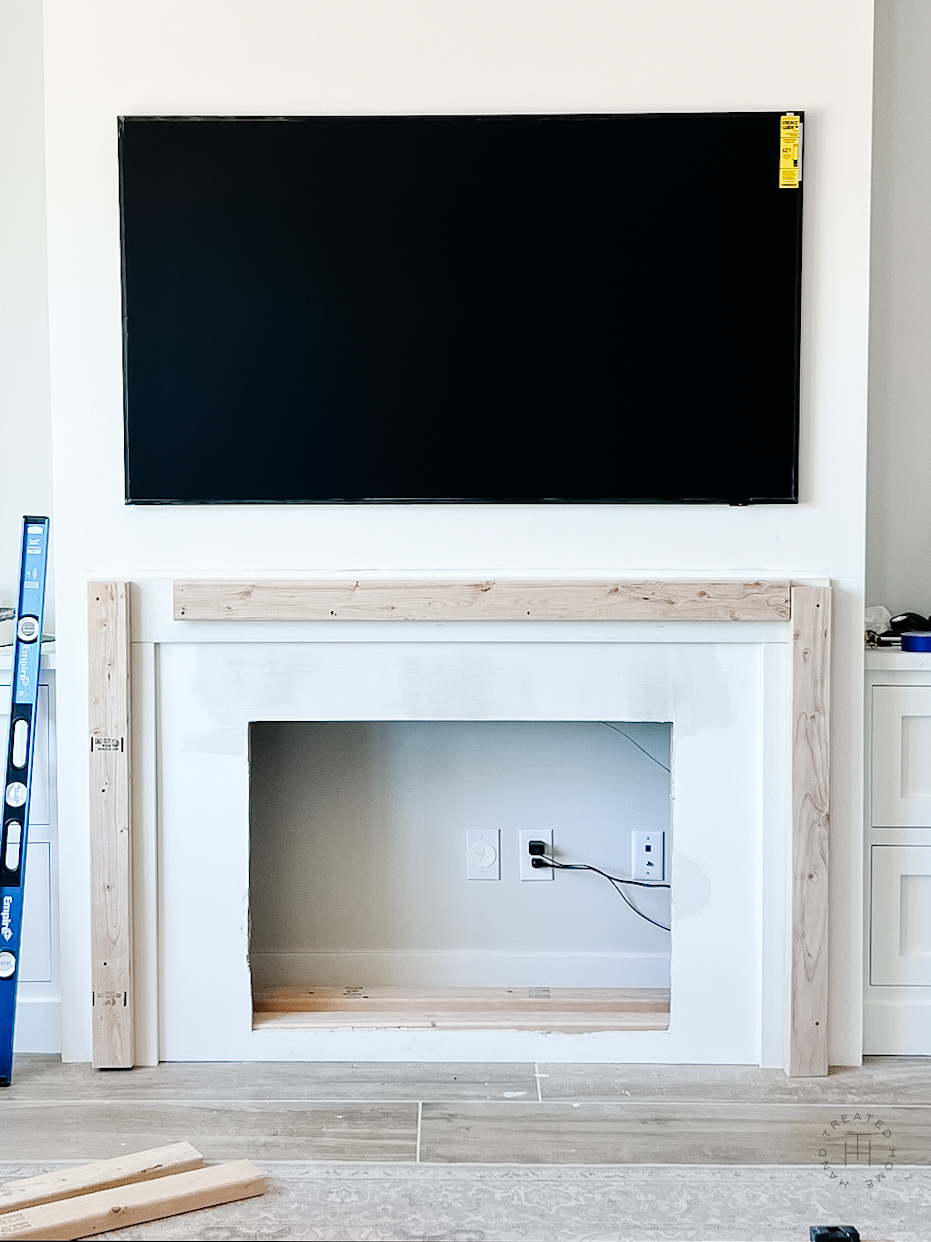
First I cut 1×6 MDF boards for the base of the frame. Then I screwed those boards into the studs of the fireplace. The top horizontal board was cut to 63 1/4 (to account for the 3/4 inch thickness of each outside board for the mantel). The vertical side pieces were cut to 36 3/4 inches to account for the top 1×6 board and the 3/4 inch thickness of the top outside board of the mantel
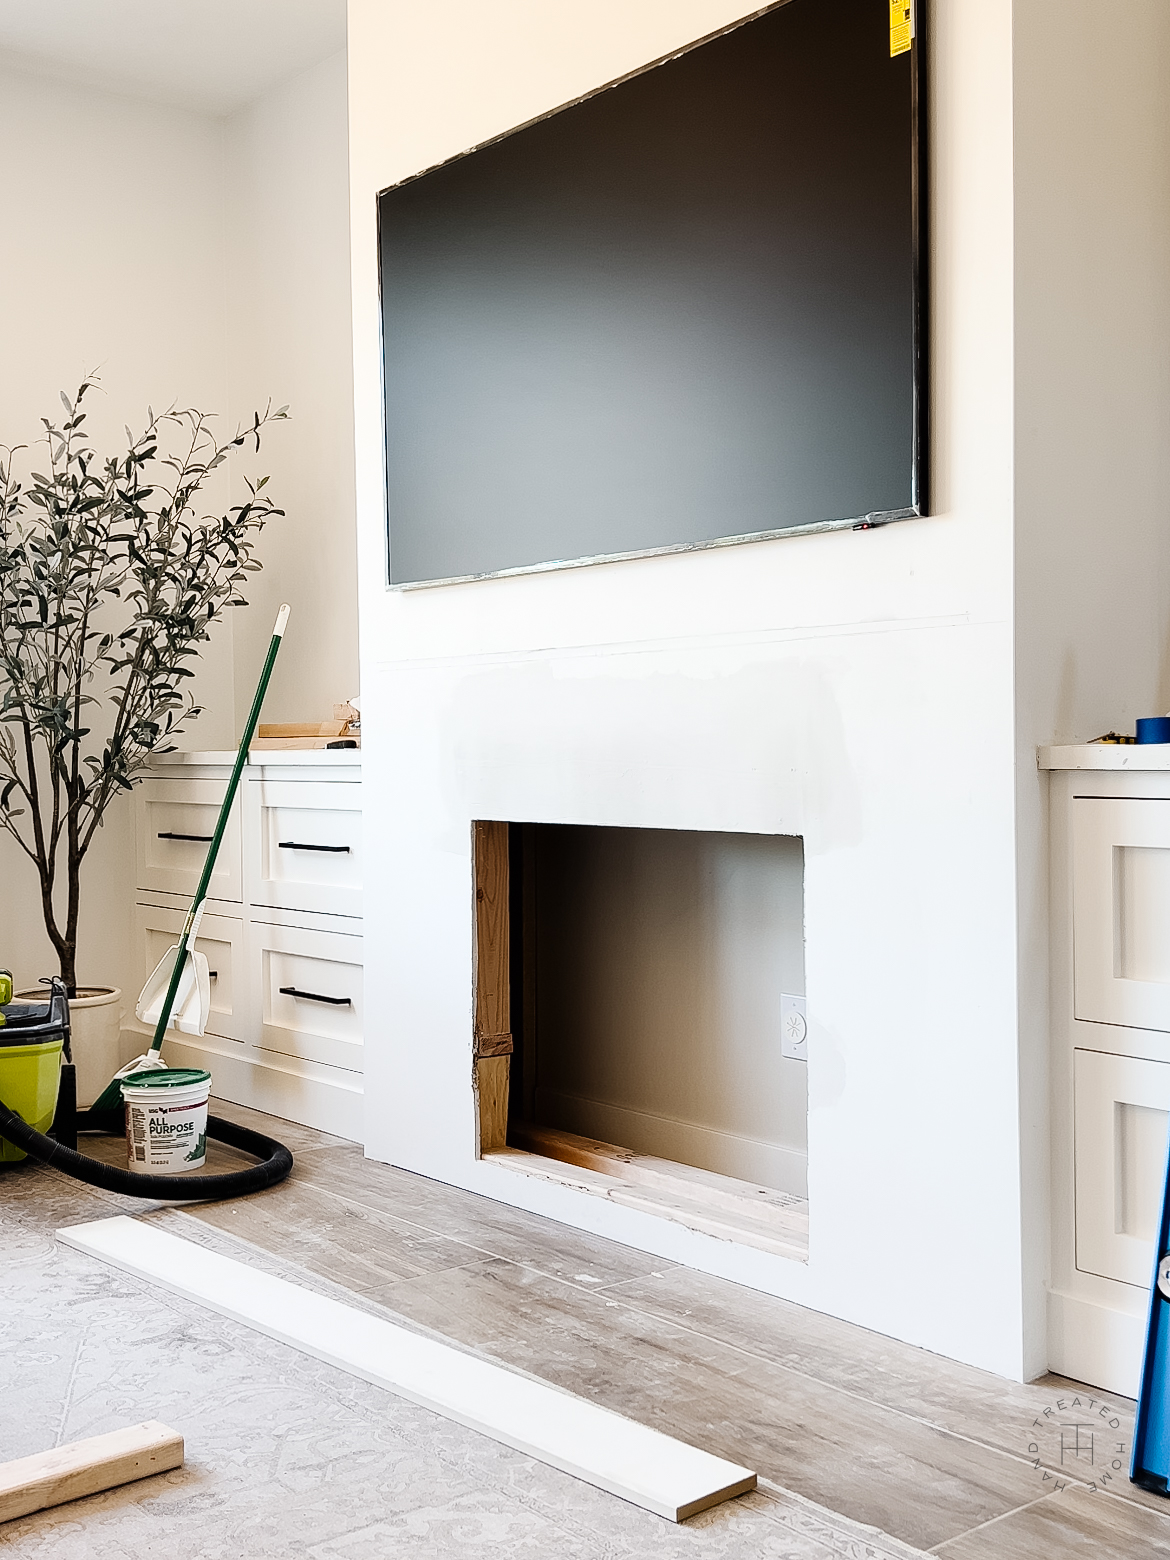
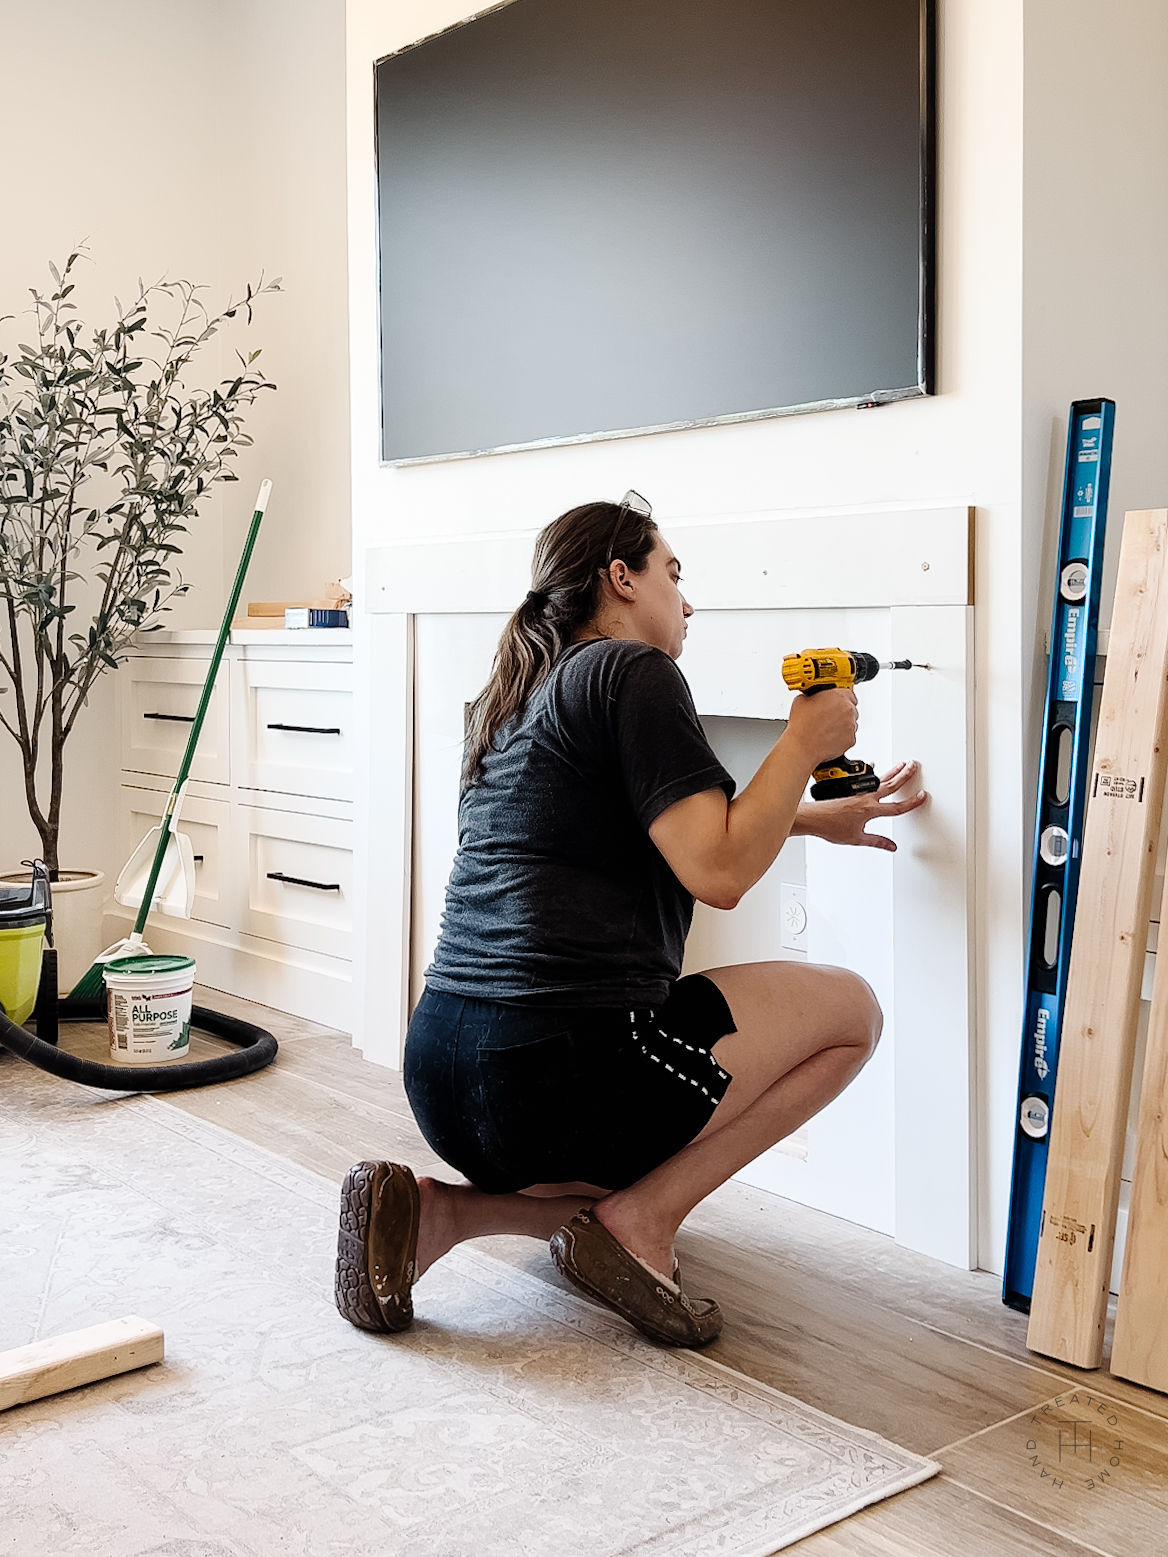
Then I needed to add projection to the frame structure to give the front boards of the mantel something attach to. So I added 2×4 boards and screwed them into the 1×6 boards and into the studs of the fireplace.
These can be cut to the same sizes as the 1×6 boards you just cut. I was working with scraps so I had to make it fit together a little differently.
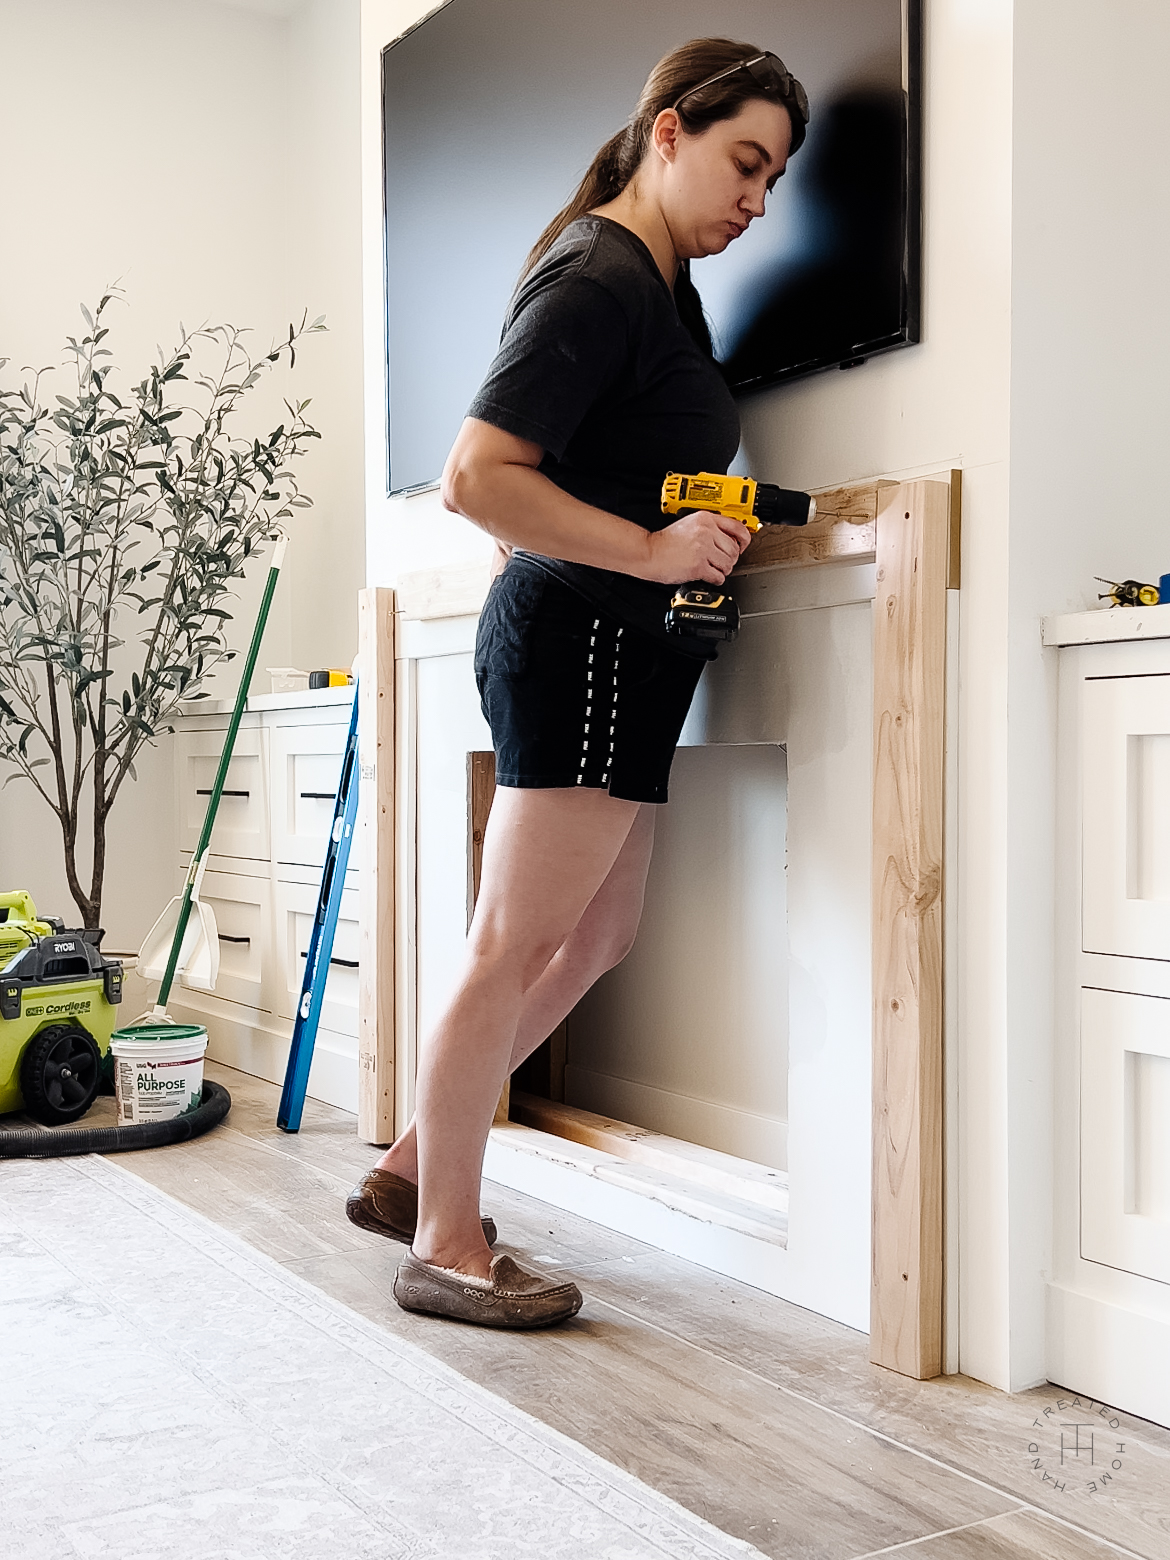
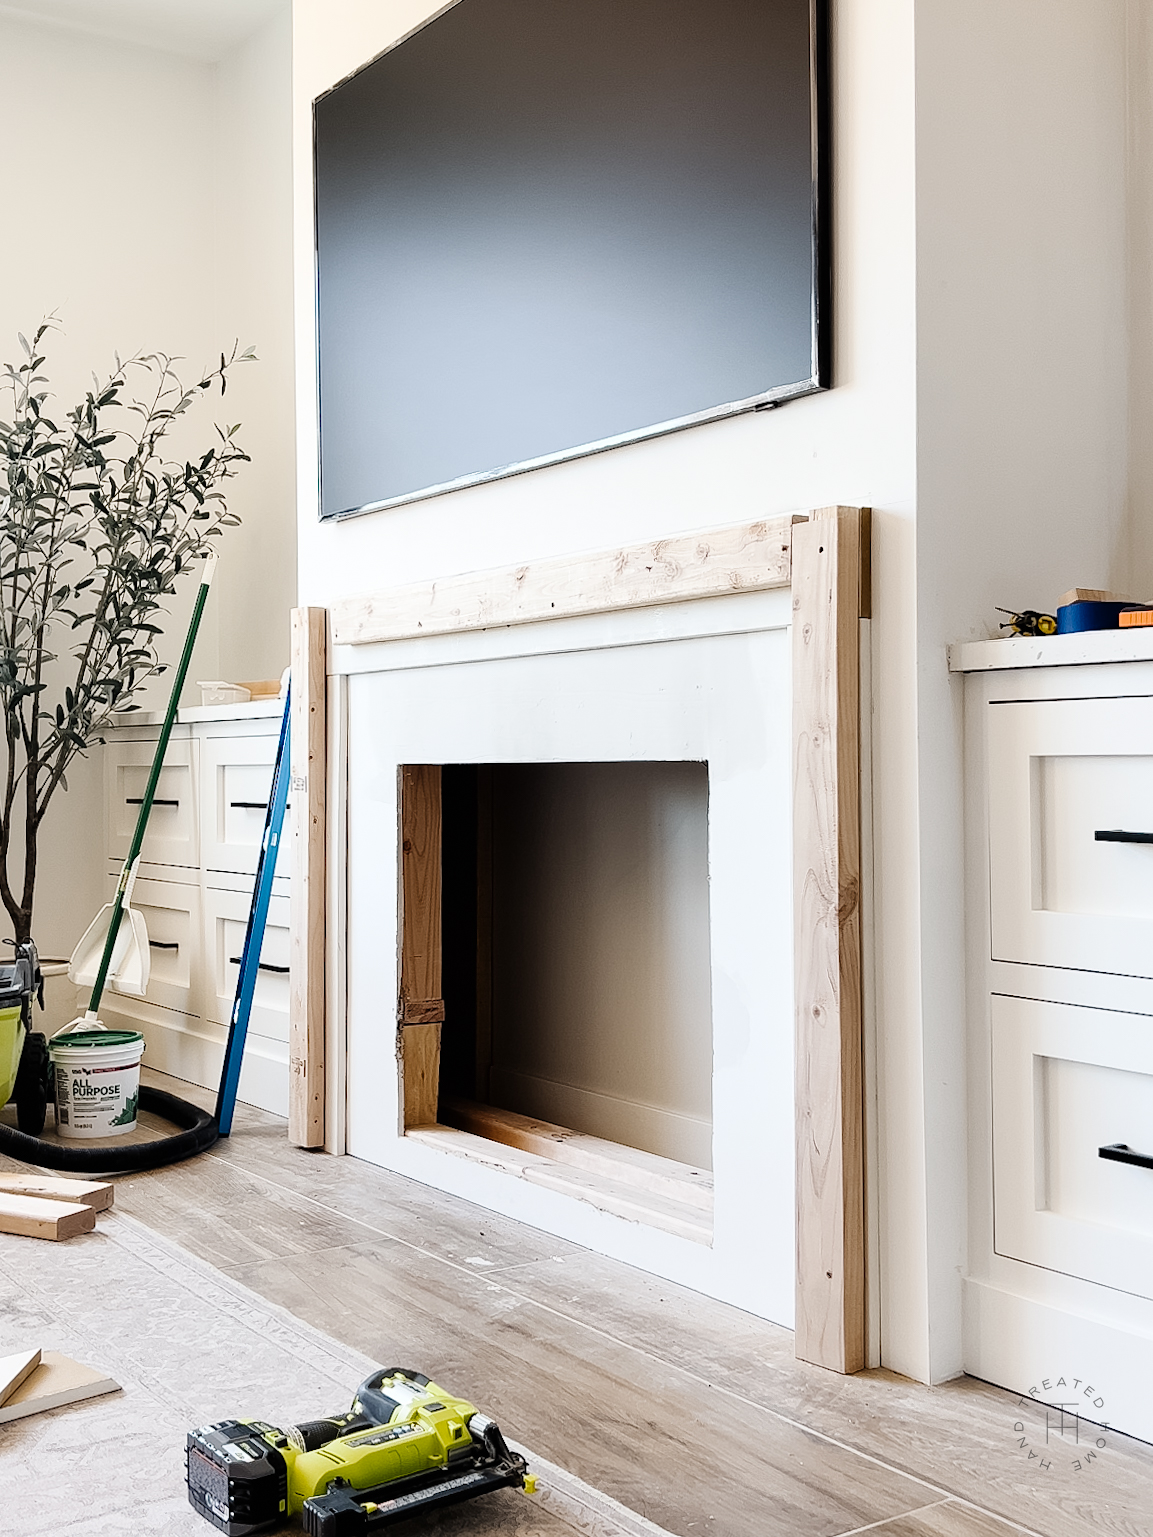
TIP: If working alone, pre drill the screws into the boards, that way you can more easily hold them up and screw them in.
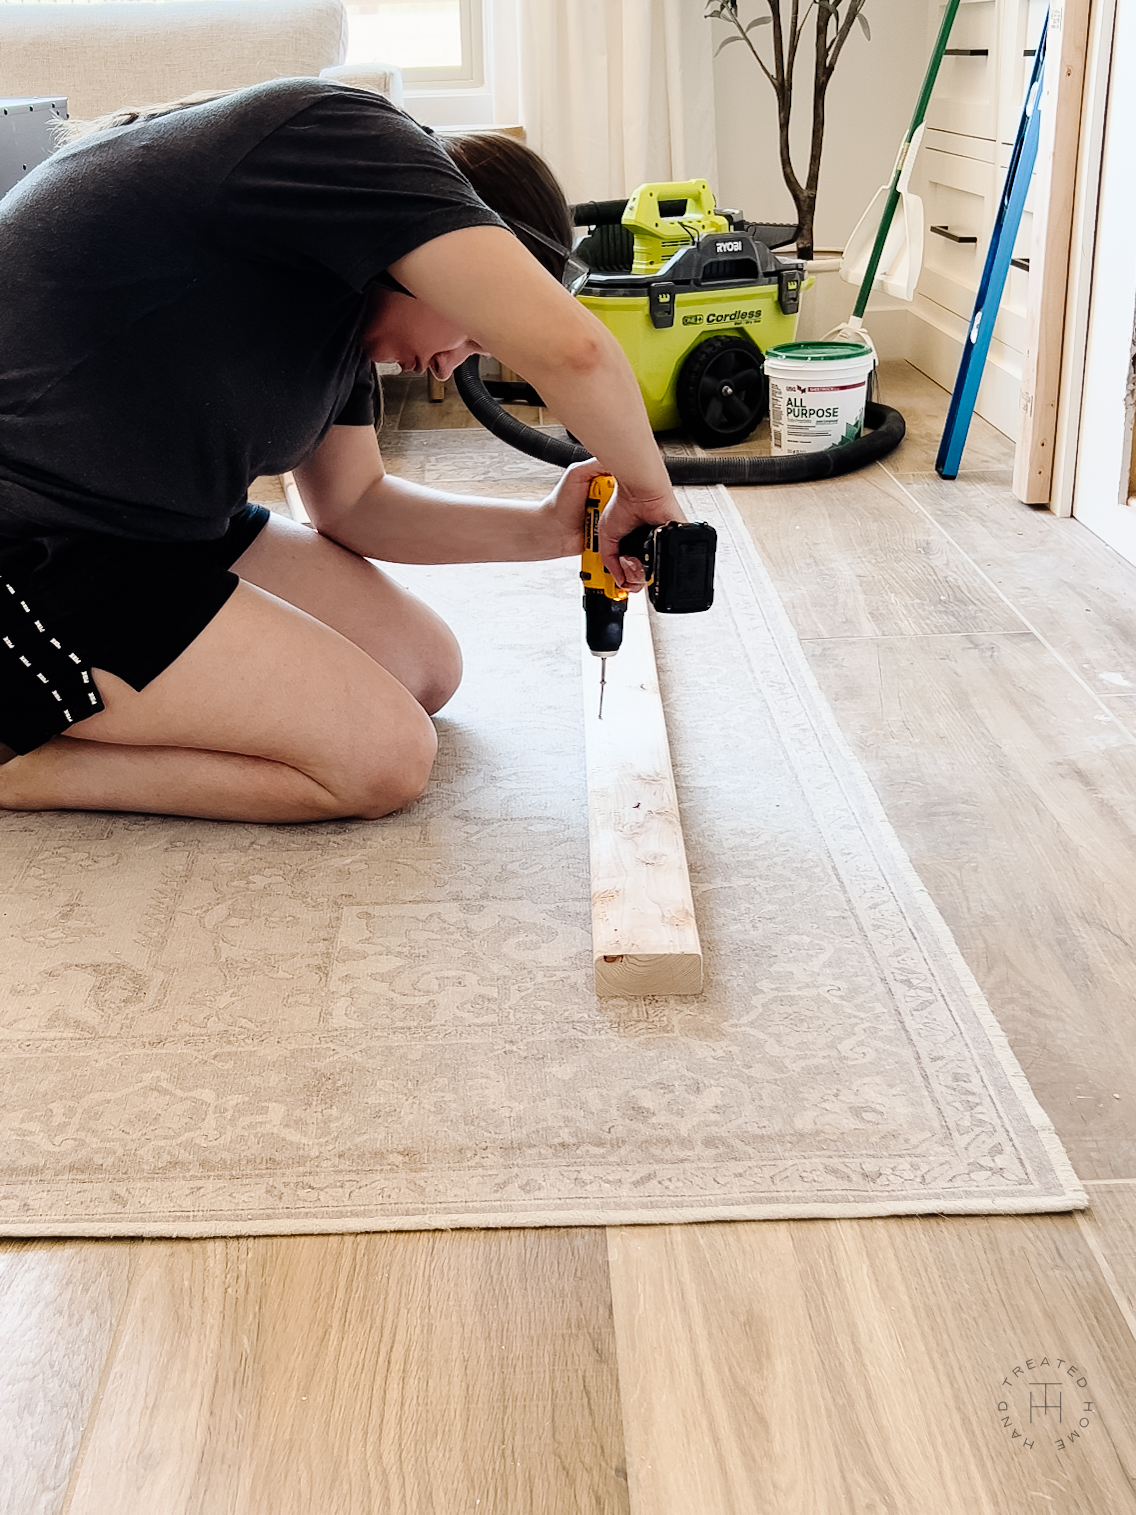
Pre drill screws into frame boards
Step 2: Attach the boards to the frame
Now that the frame is attached, we can start building onto it to create the mantel.
First I attached the three 1×6 MDF boards to the top and sides of the frame. These boards create the outside structure of the mantel.
Top board is cut to 64 3/4 long
Side boards are cut to 43 inches long
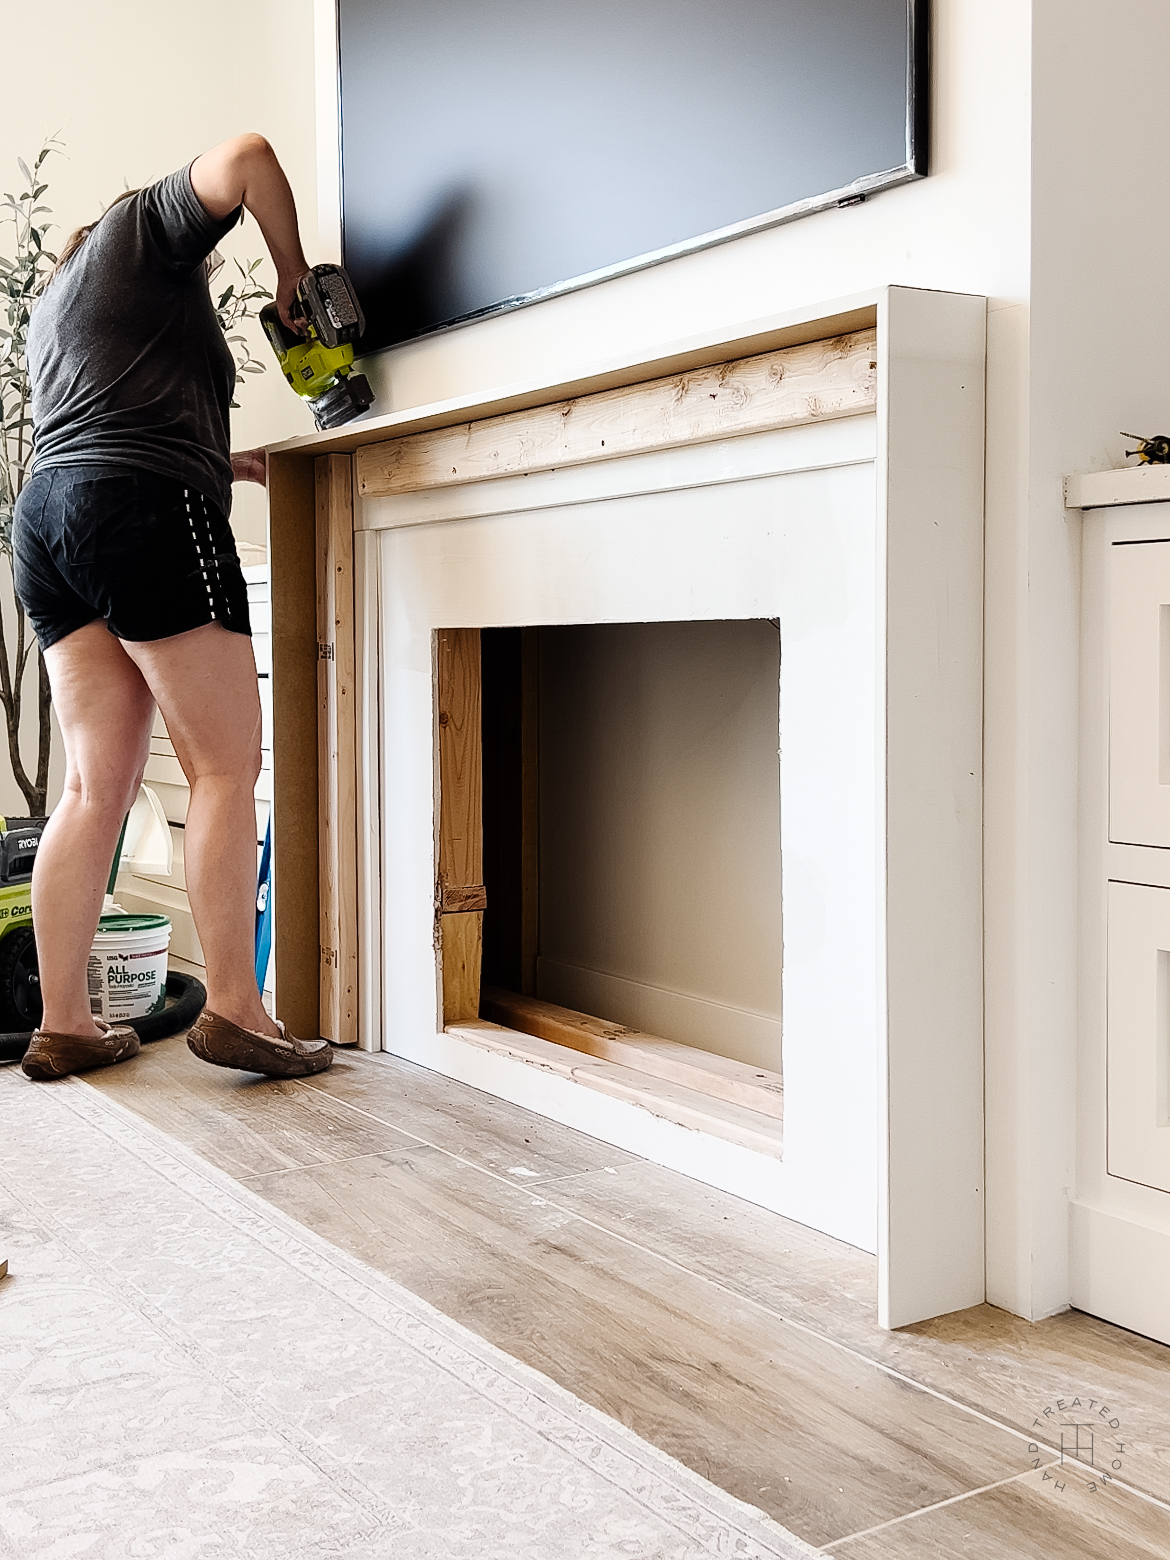
Attach top and side 1×6 boards
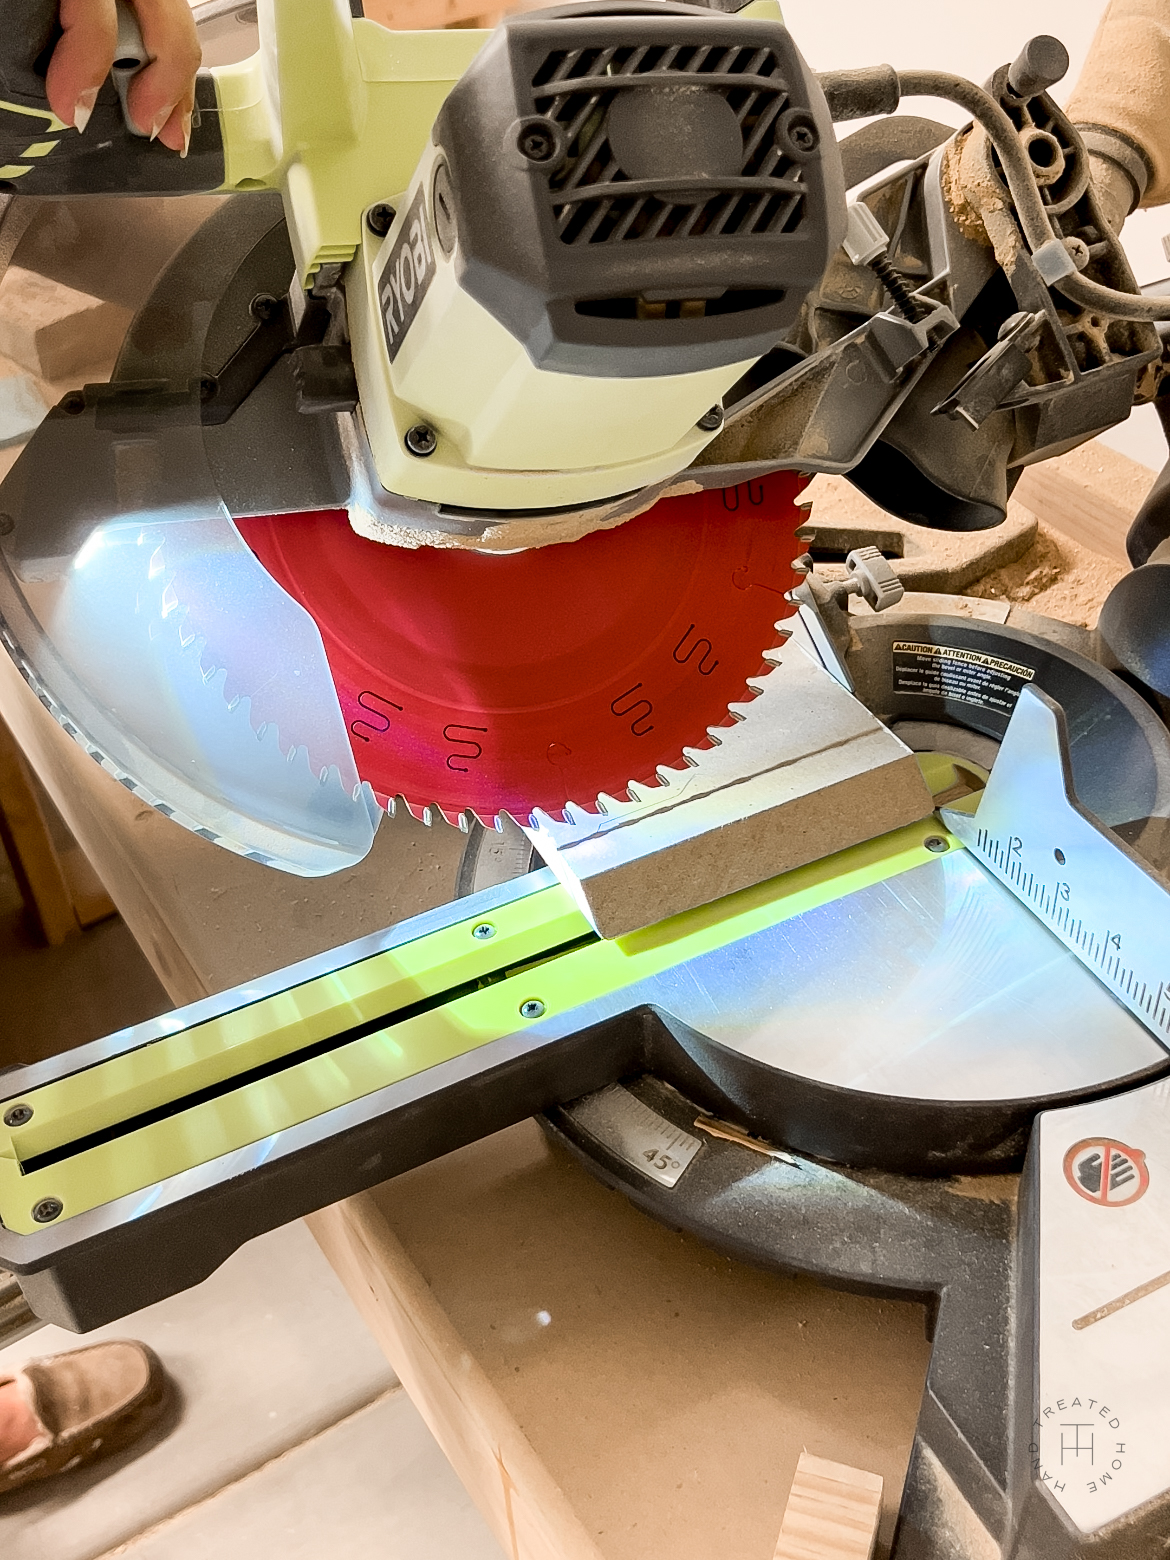
TIP: When cutting these boards to length, I chose to bevel the edges to give them a more seamless look. This is optional, but I believe it gives it a more professional looking finish.
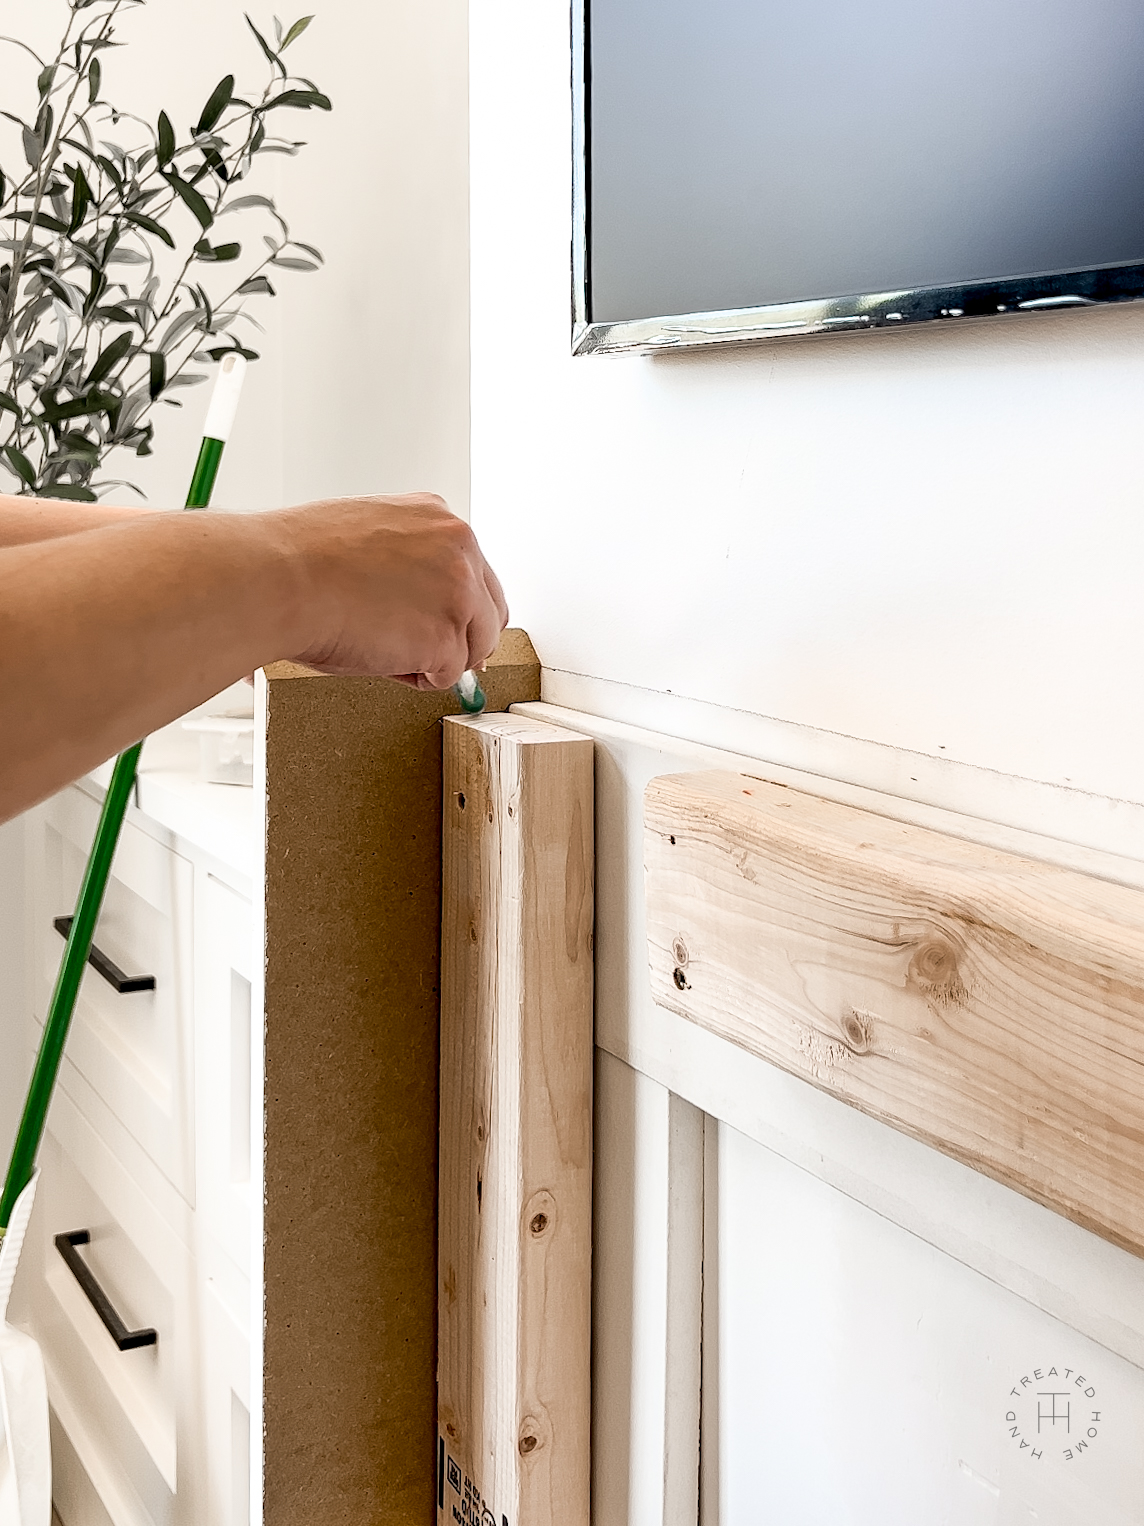
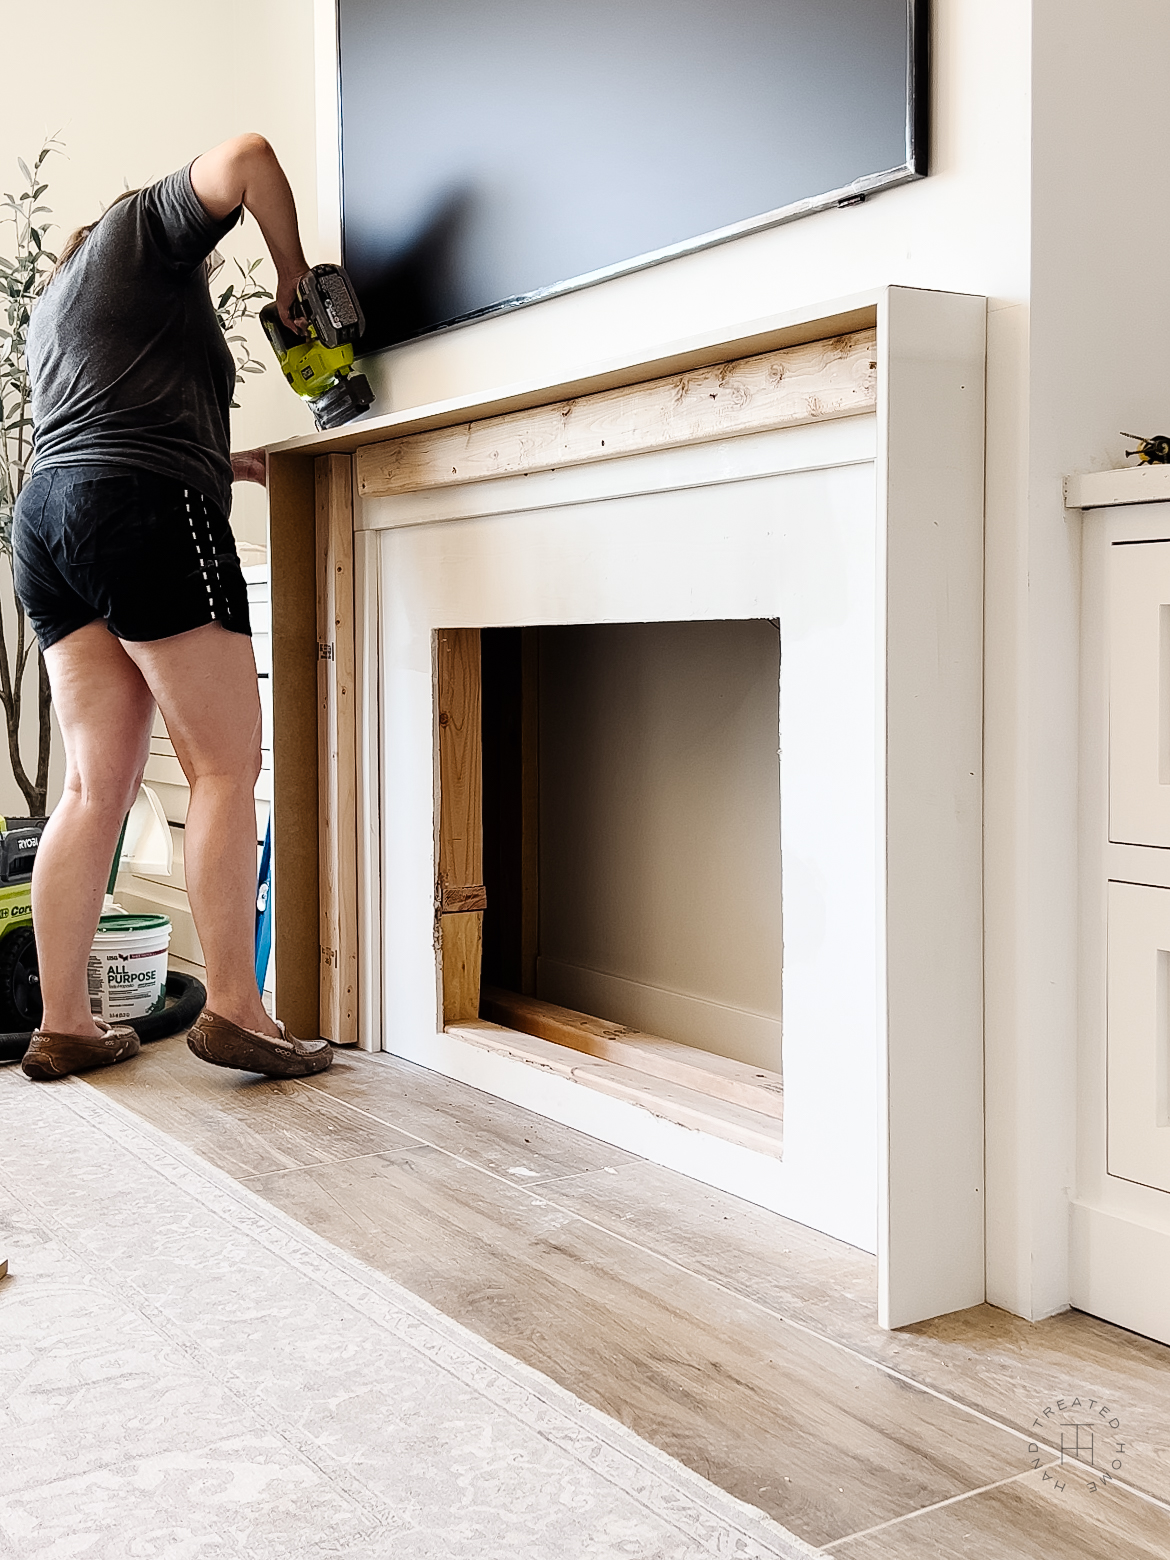
Once those three outer boards are nailed into place, I attached the three front boards, which are also 1×6 MDF boards.
Top board is cut to 63 1/4 long
Side boards are cut to 42 1/4 inches long
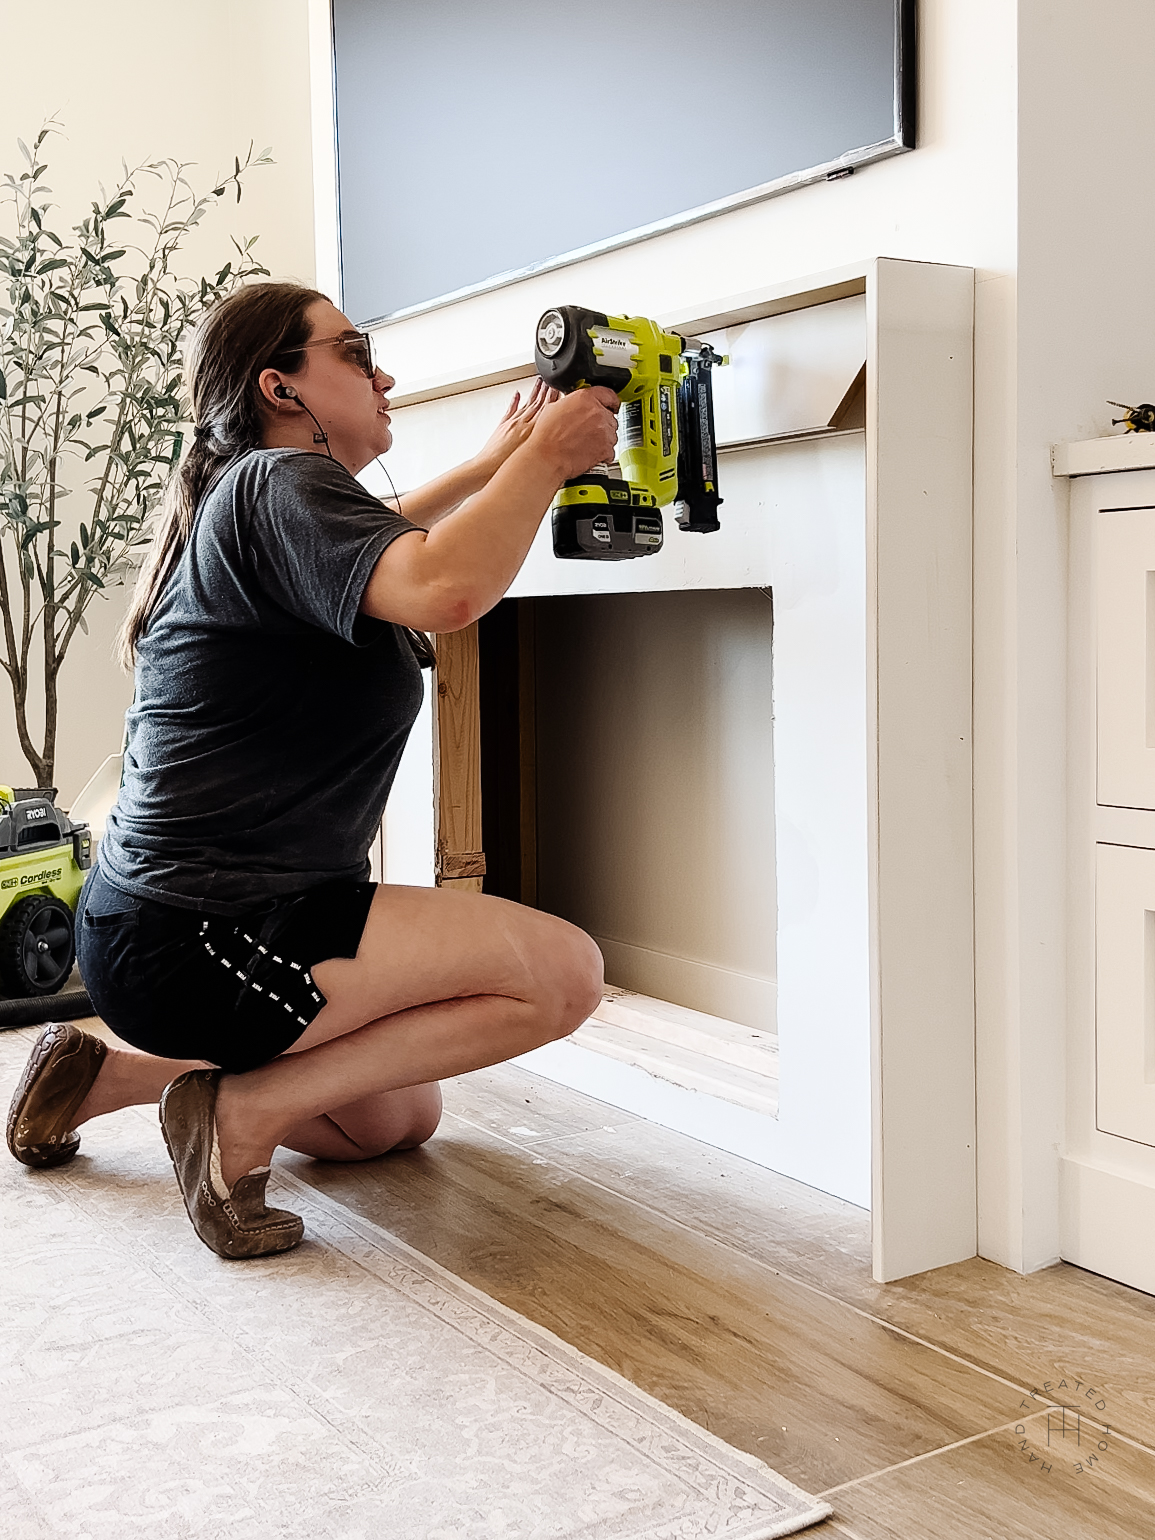
Nail three front 1×6 boards to frame
TIP: When cutting these three front boards to length, I chose to cut them at a 45 degree miter angle, again because I think it is more polished for this style of mantel than a butt joint.
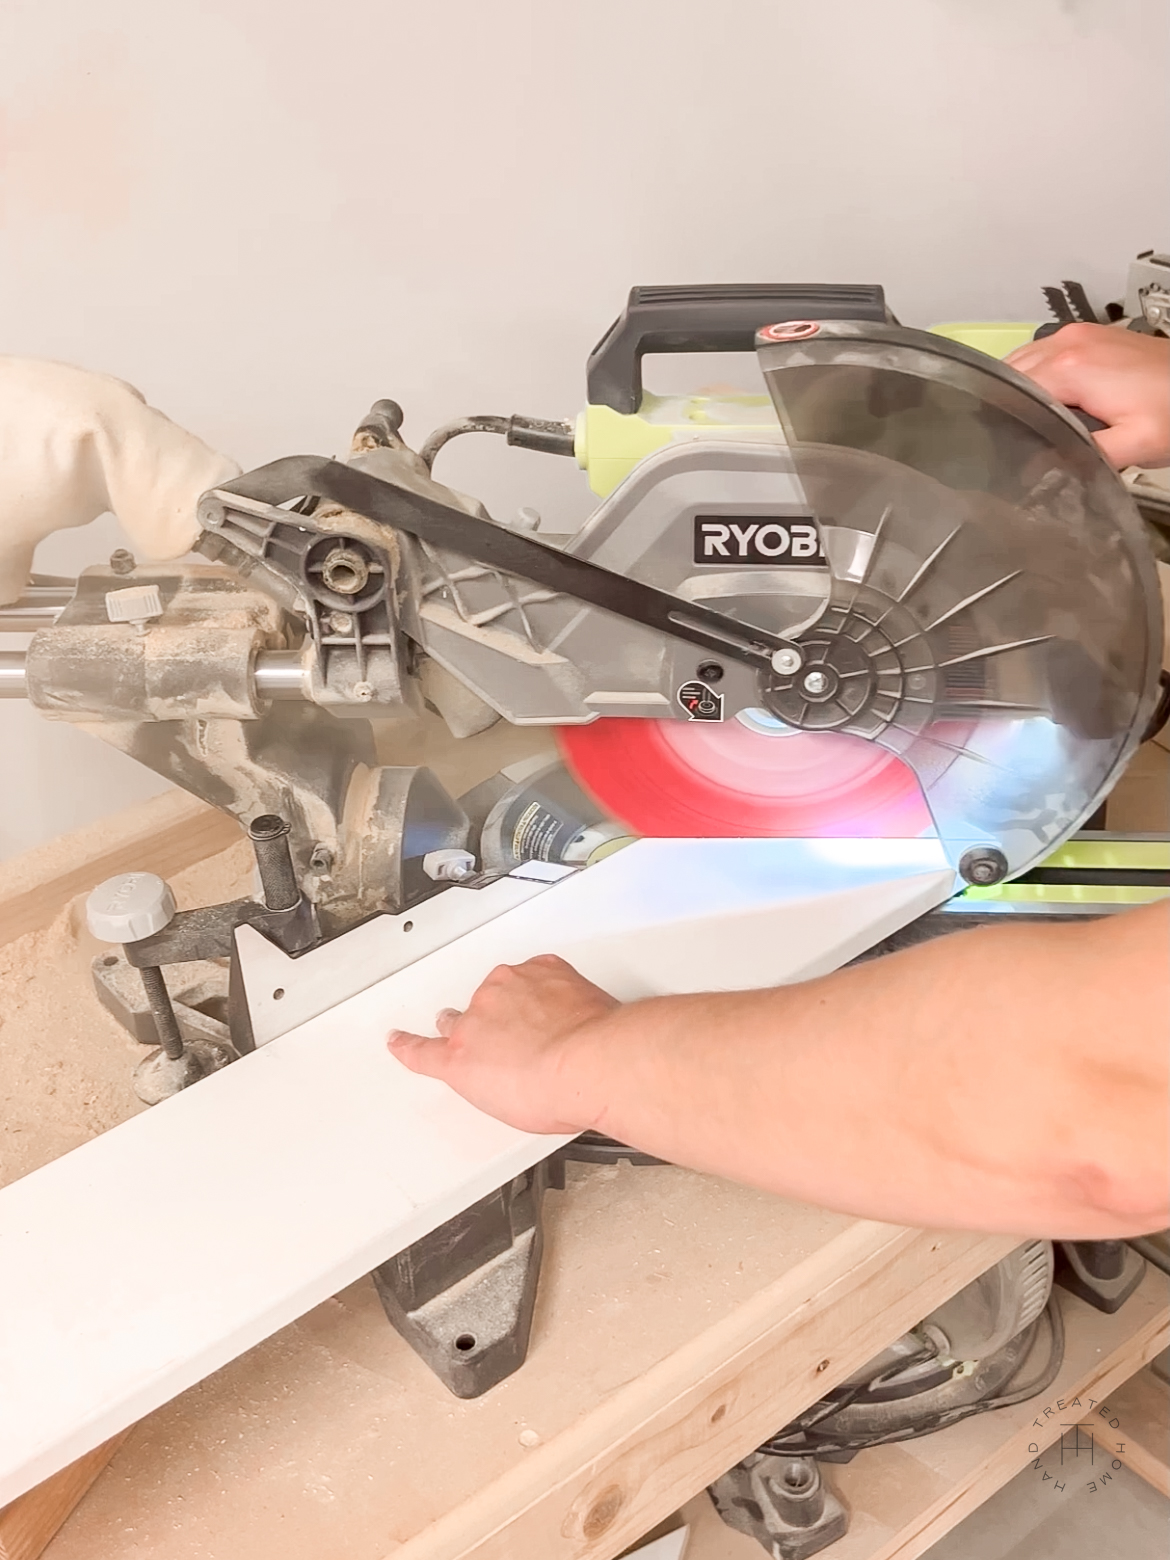
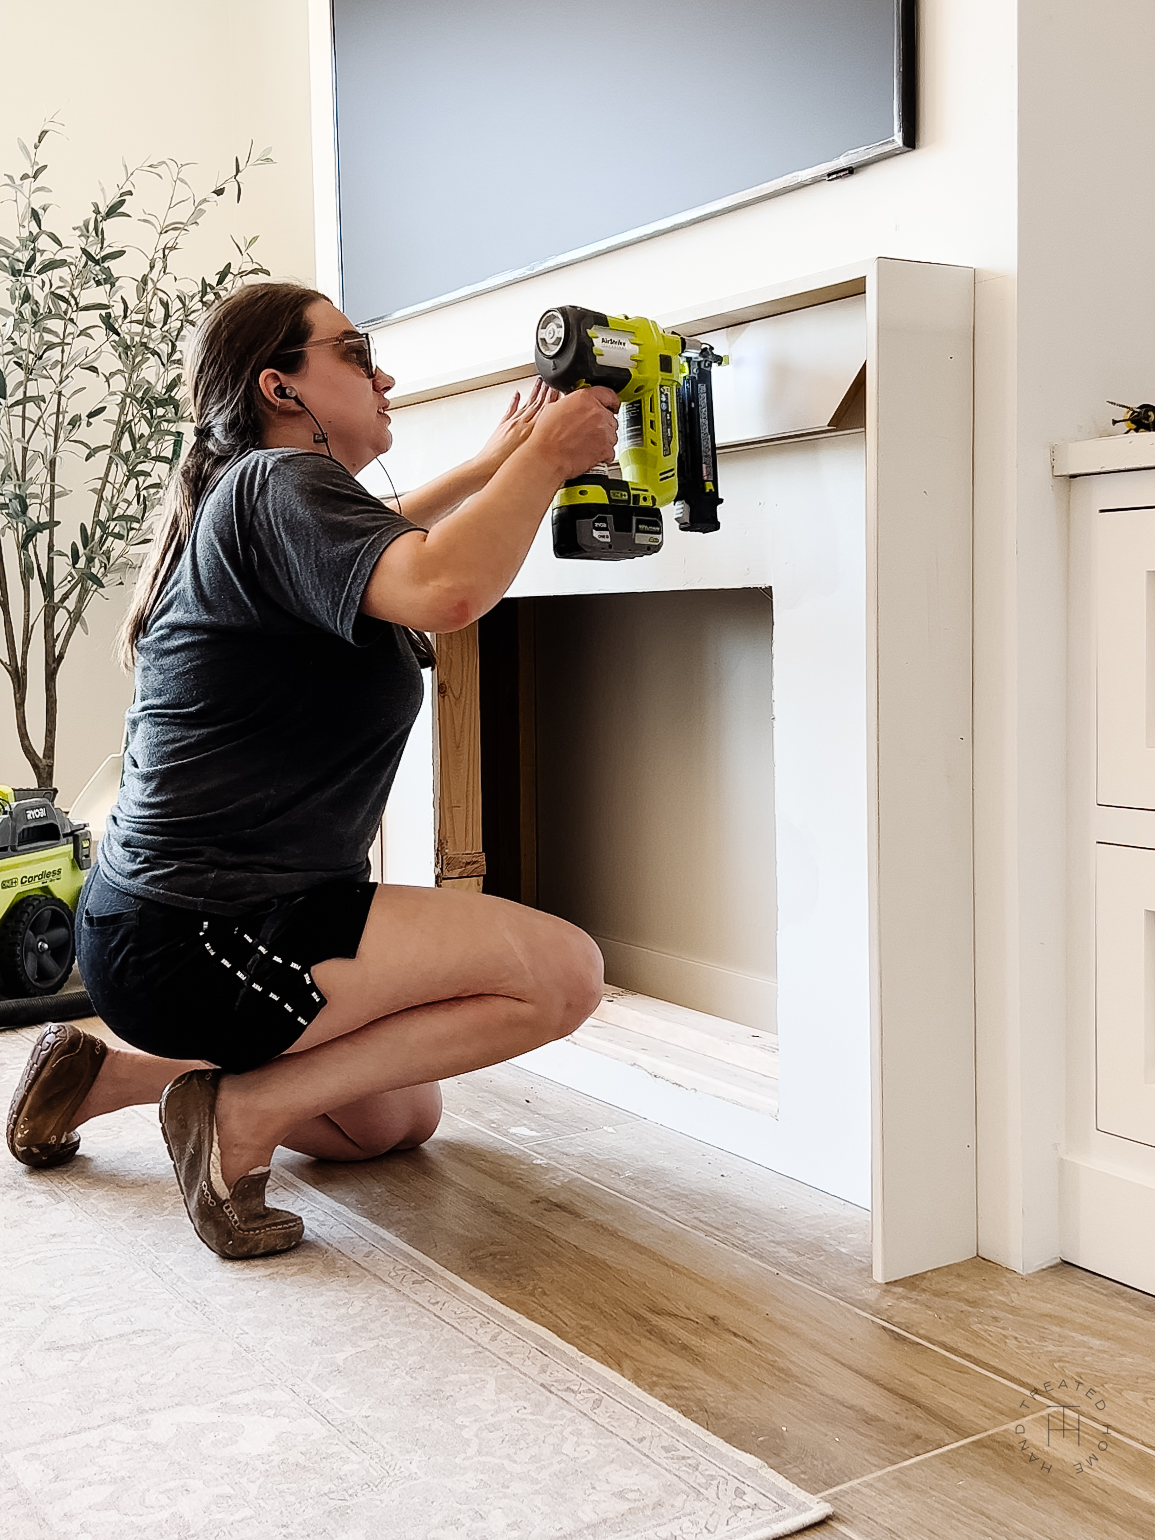
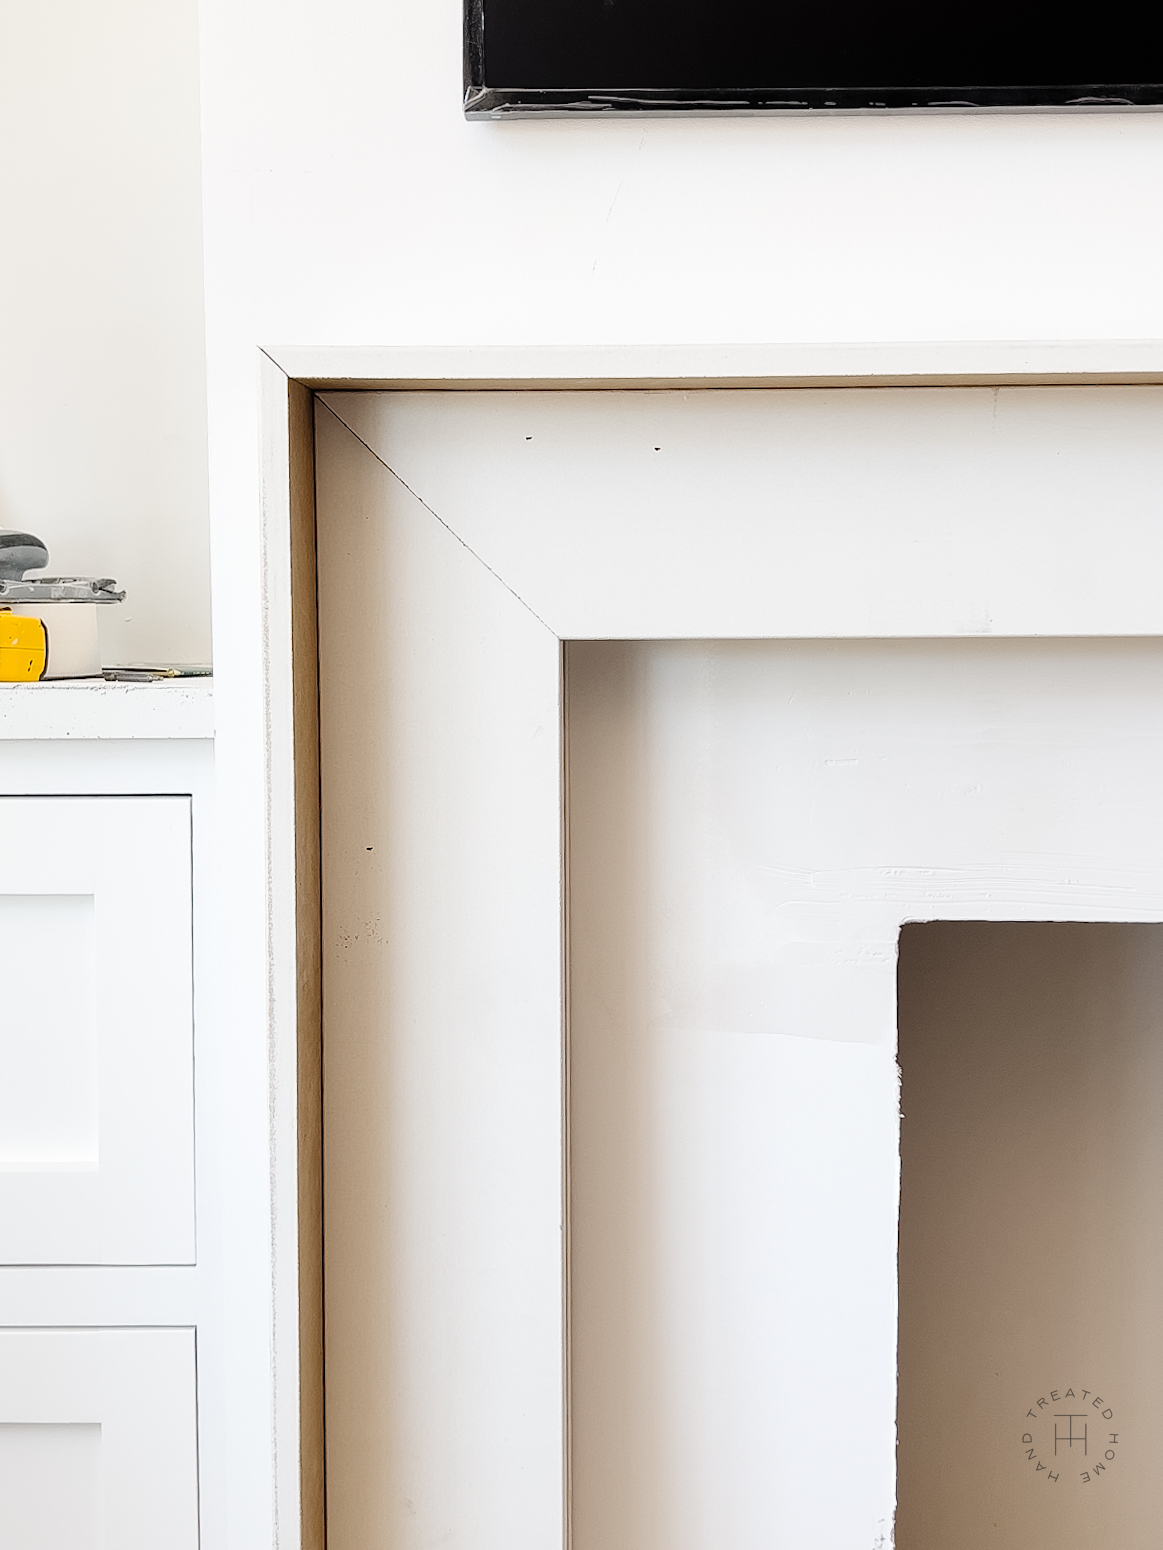
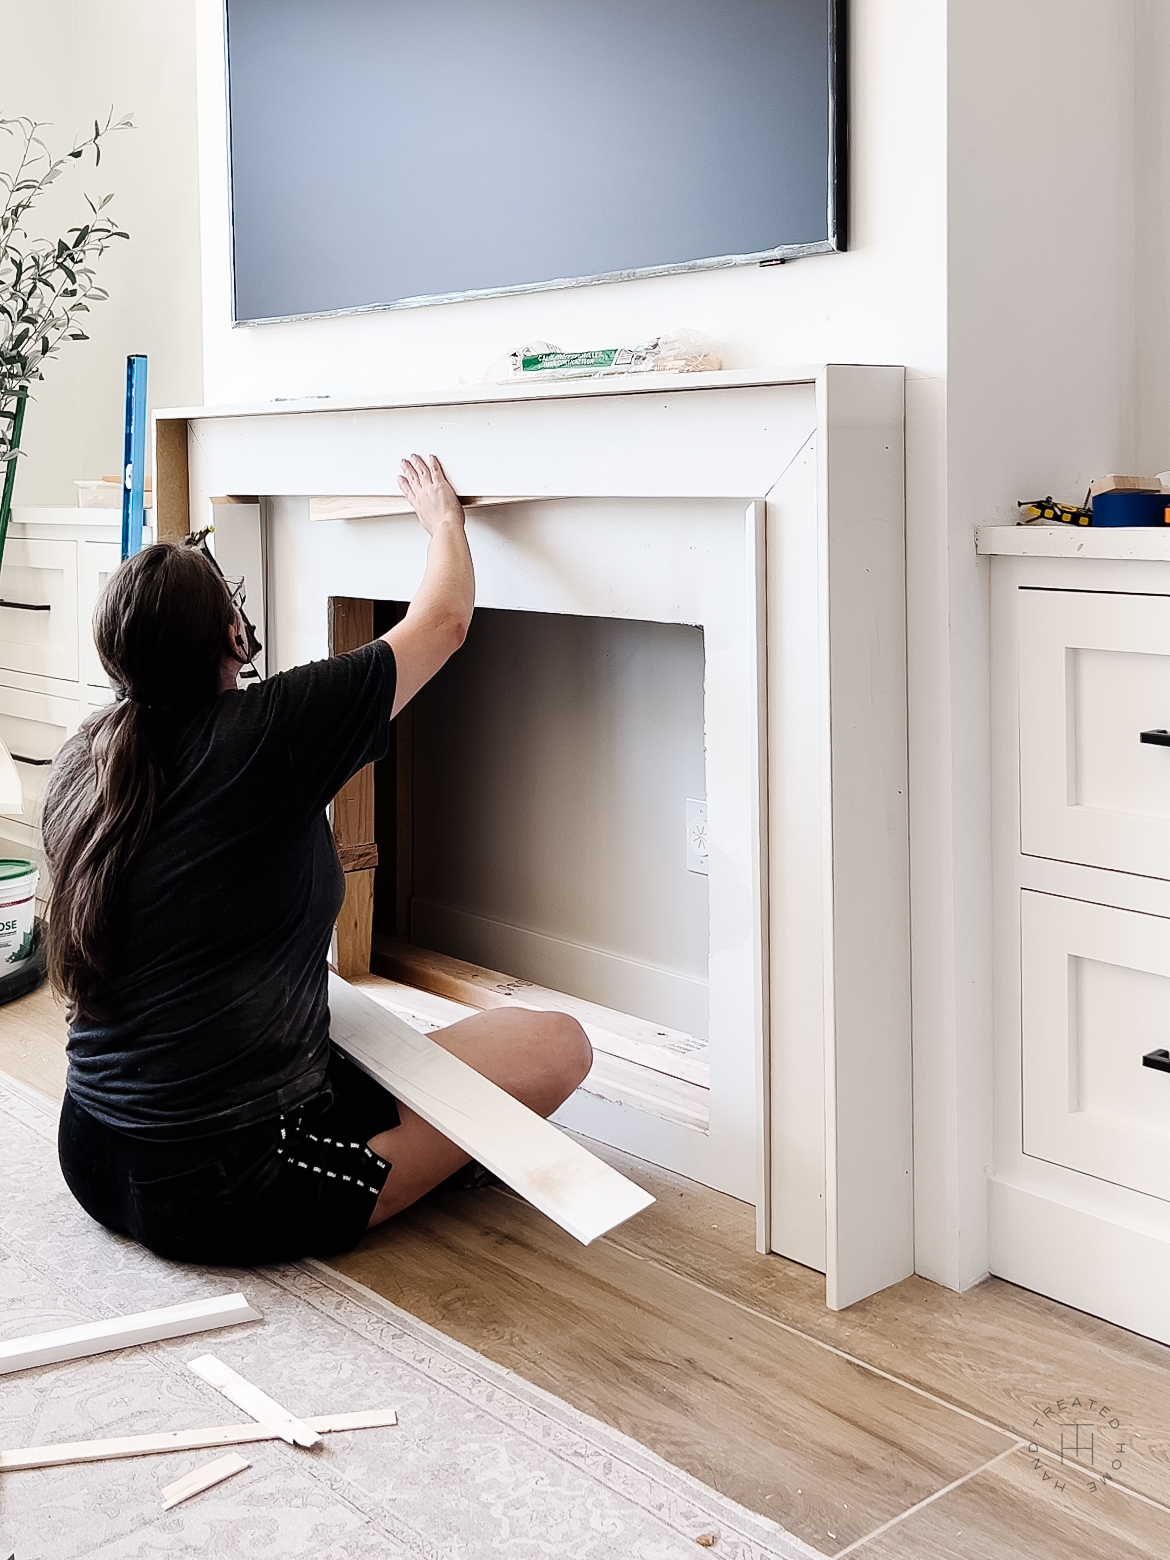
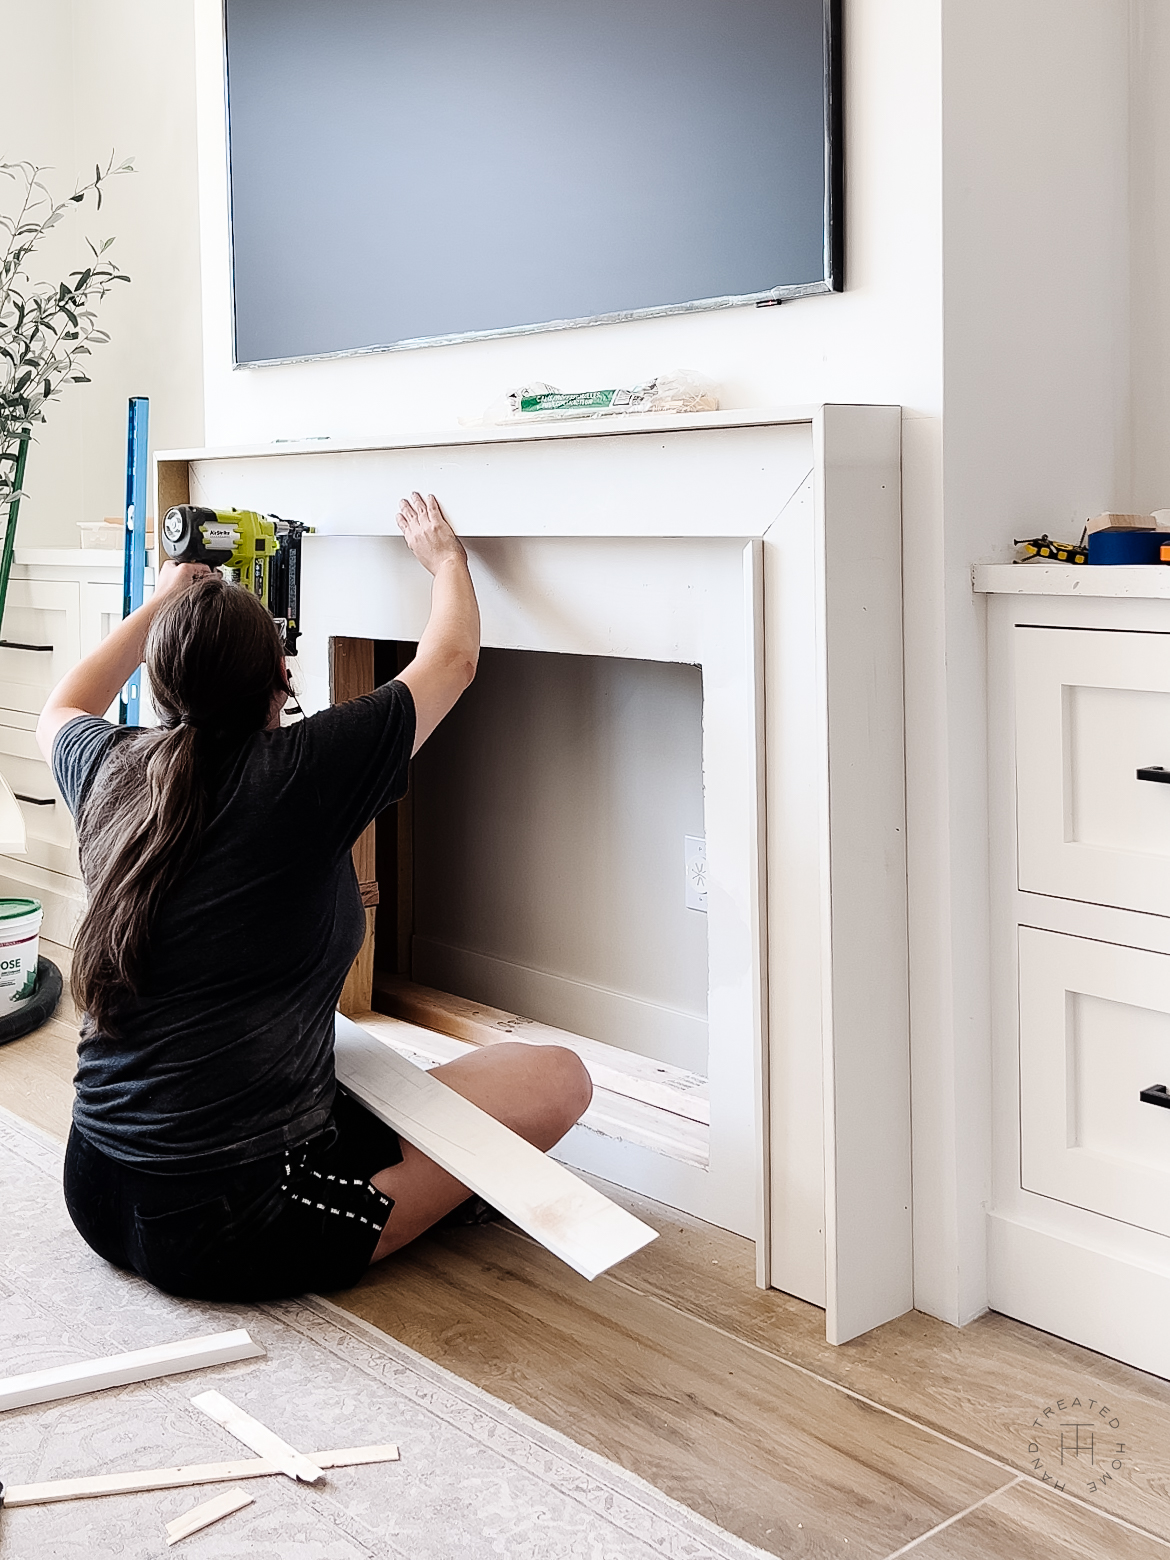
Finally, attach the three inner boards. For these I chose to use 1×4 MDF boards to give a bit of dimension. But if you want everything to be even you could use 1×6 boards here instead.
The 1×4 boards stick out about a half an inch past the front boards. I had some wonky areas, so I just made sure it was 1/2 inch sticking out all the way around, and then caulk or use foam backer rod and caulk to fill any gaps against the fireplace.
Top board is cut to 51 inches long
Side boards are cut to 36 inches long
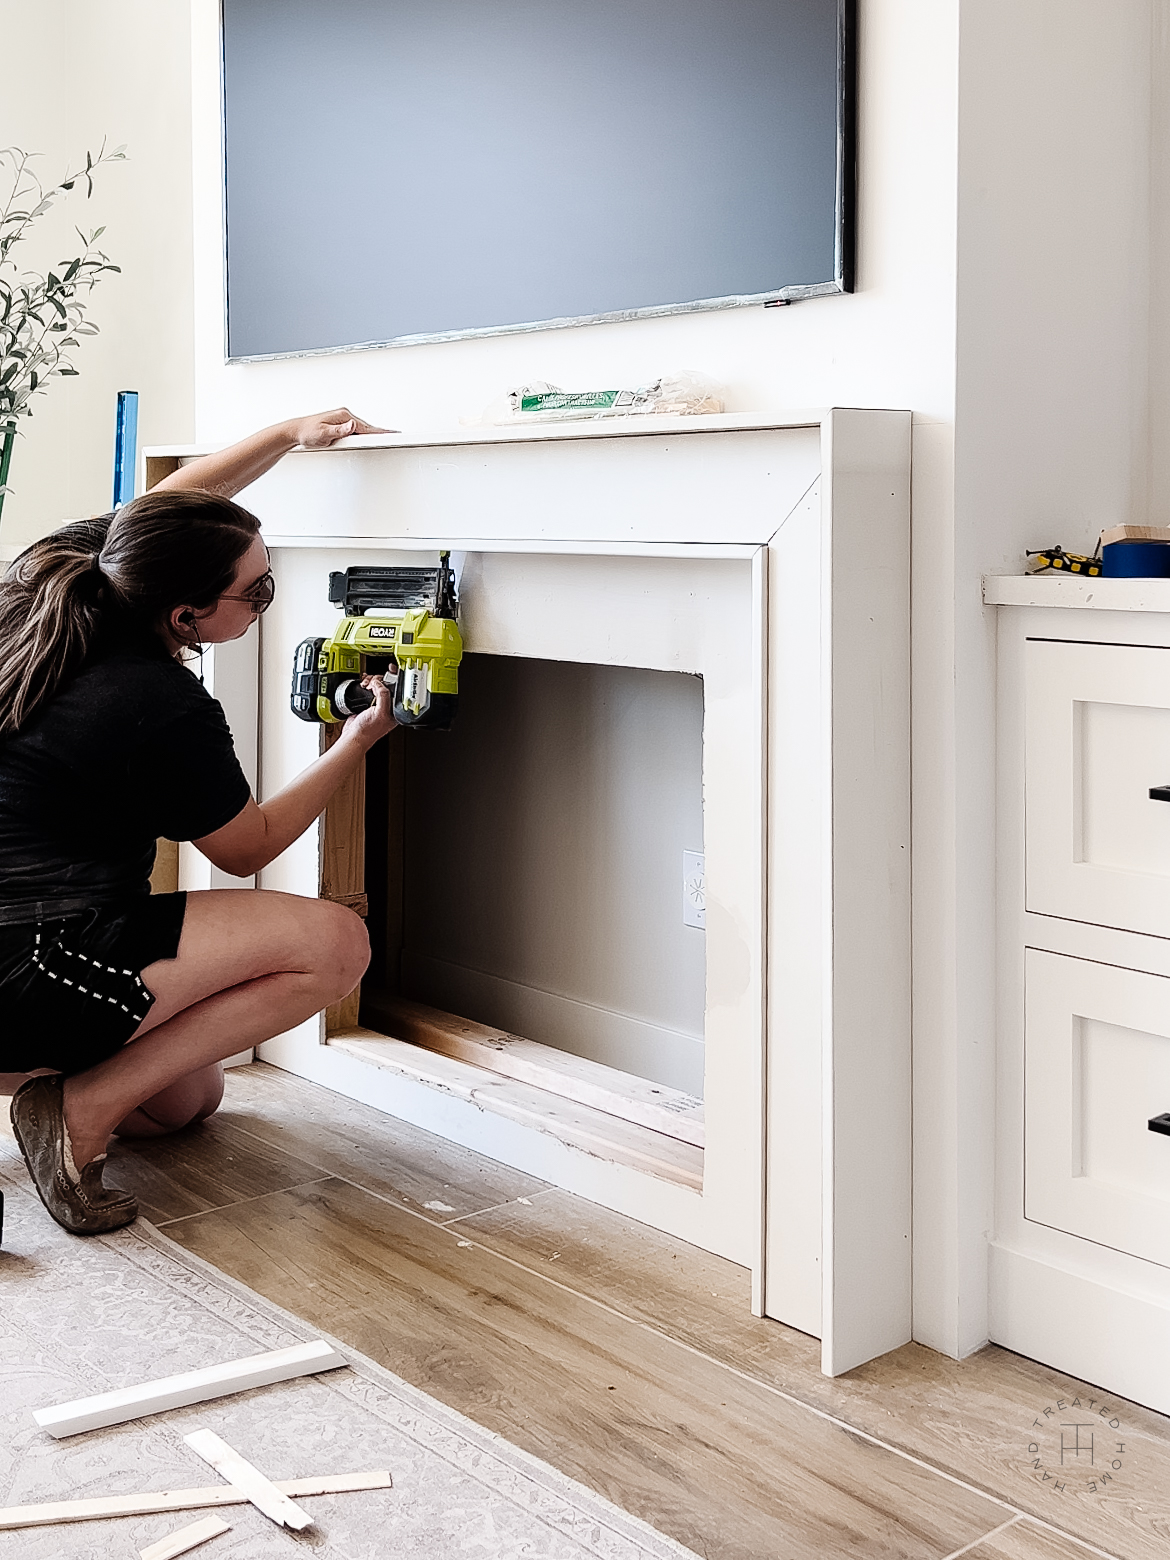
Attach three inside 1×4 boards
When nailing these three inner boards into place, I did add another board (a 2×2, because it’s what I had on hand that fit) to the frame to give these something more to attach to.
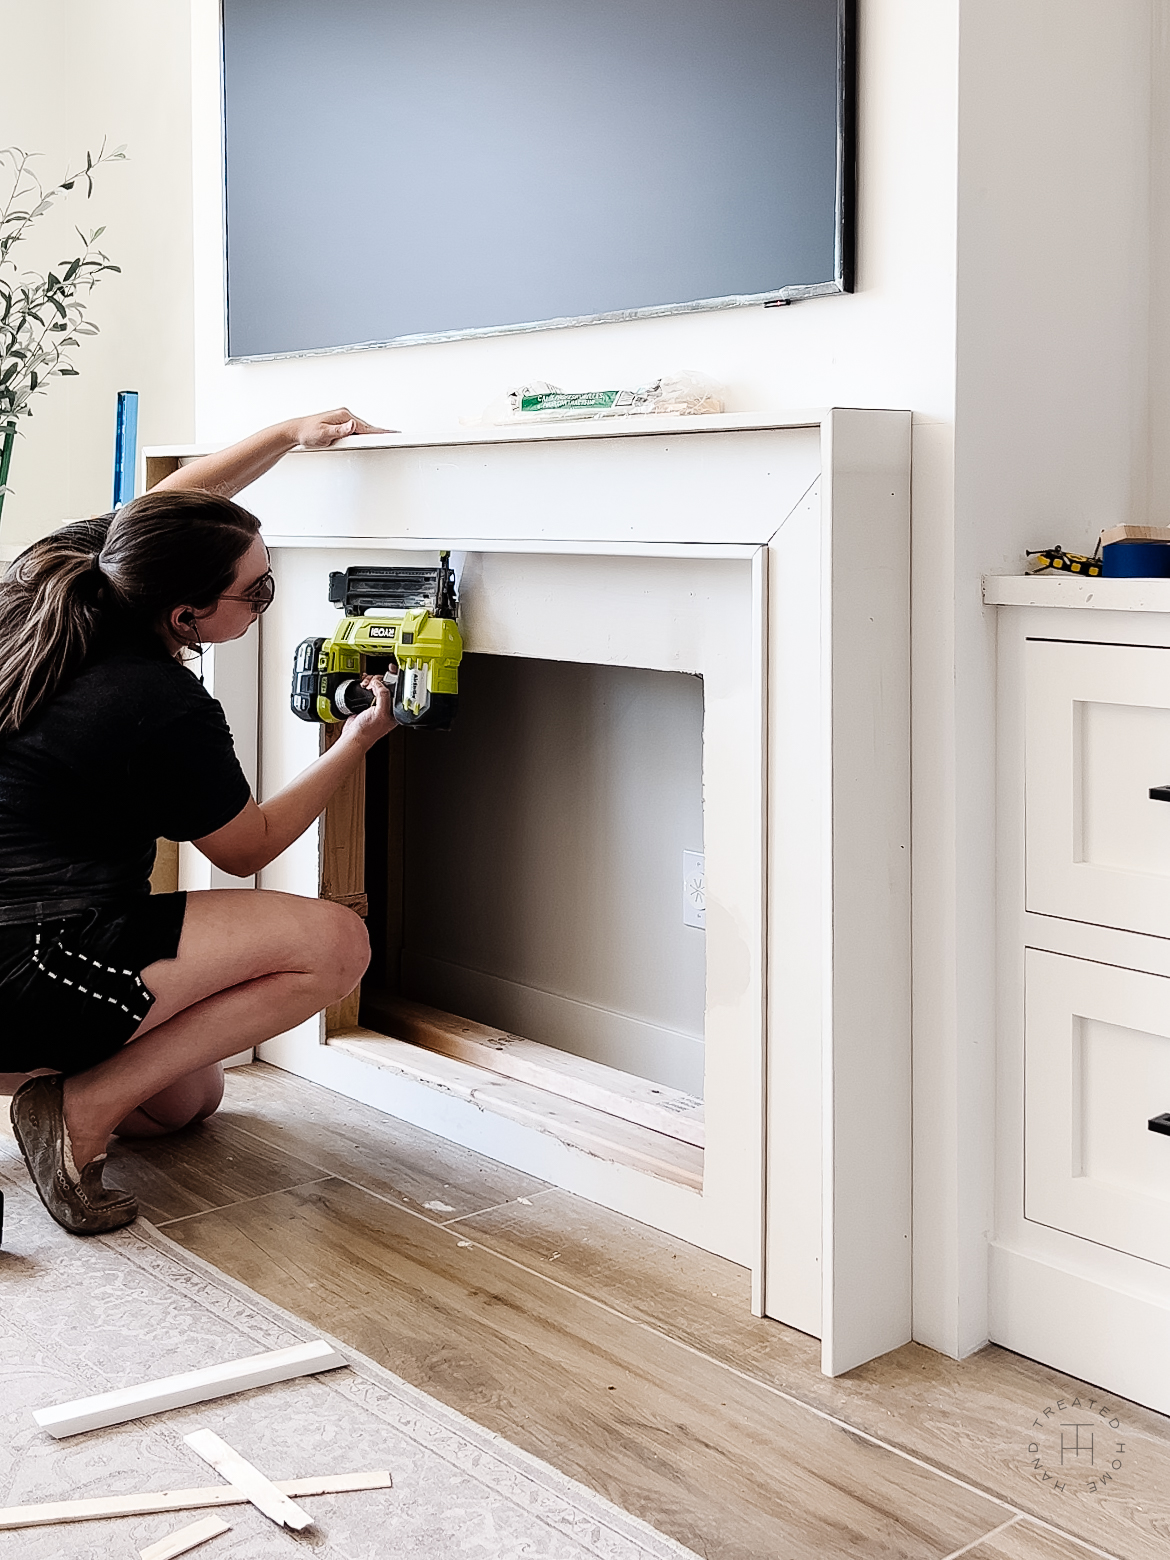
Step 3: Finish Work
With all the boards attached, it’s time for the finish work! This is the step that takes any project from looking like a DIY project to a professional project!
Use wood filler to fill all the nail holes, and the seams on the front MDF boards. Overfill slightly and then sand them flush once dry. Sand using 120 grit.
Then caulk all the seams where the boards meet the fireplace and where the inner and outer boards meed the interior boards.
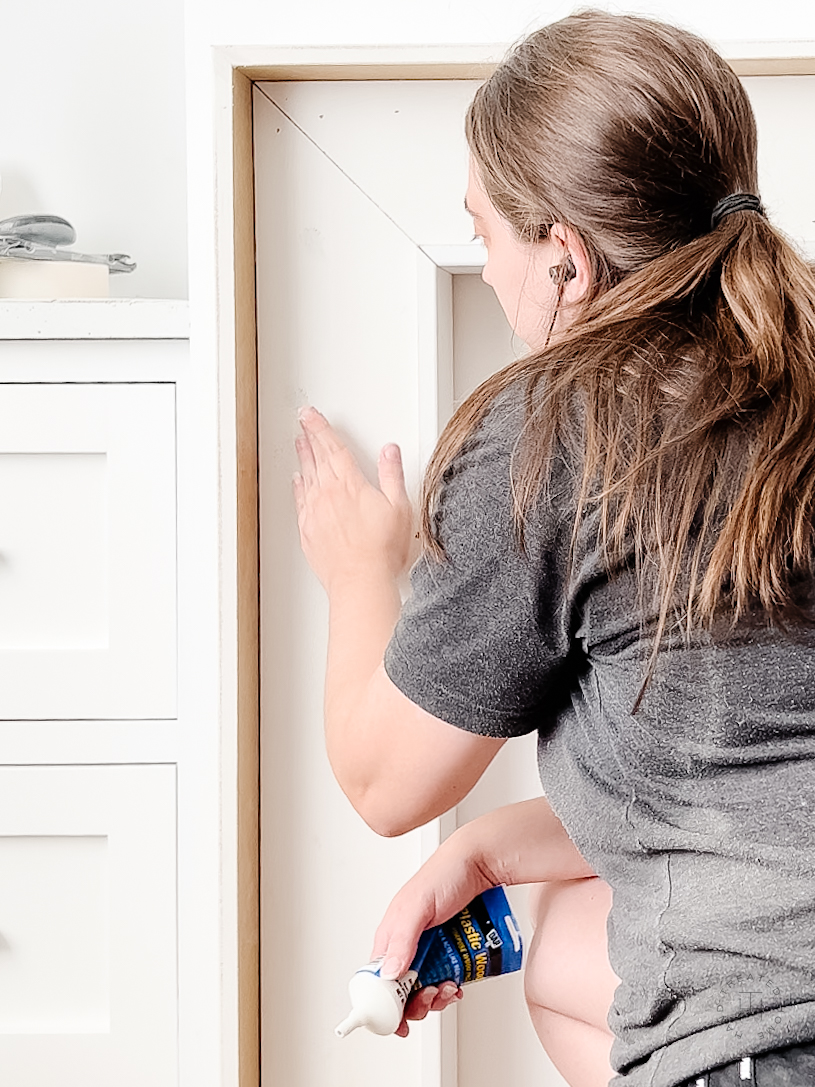
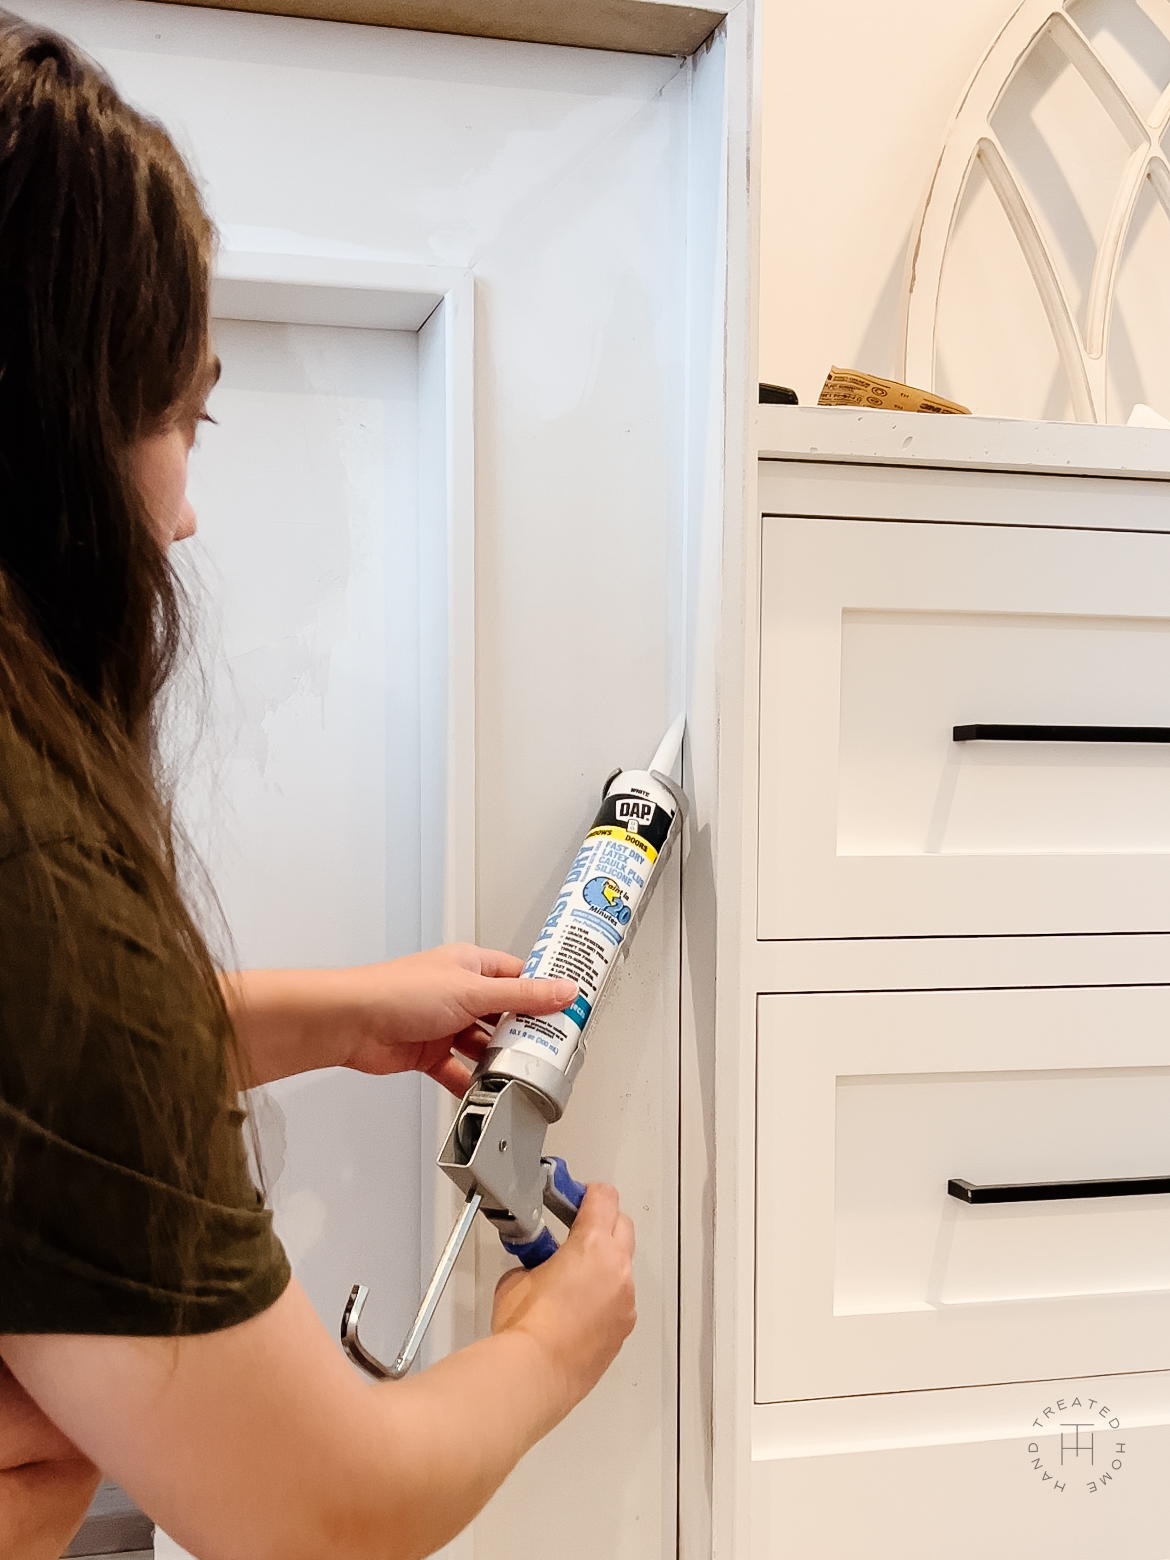
Step 4: Paint
The final step for the mantel, paint! I chose to paint my mantel the same color as the fireplace, but I also think it could look amazing in a different color! I considered painting it black, or tan which are both popular cabinet and accent colors right now! But ultimately, I had to go with all white, since that’s what I’ve been envisioning for a year and a half!
TIP: Use a foam roller for a smooth finish!
My favorite white paint colors are:
Ultra White by BEHR
Super White by Benjamin Moore
Pure White by Sherwin Williams
I’ve used all three in my house and love them all! They are all very bright whites.
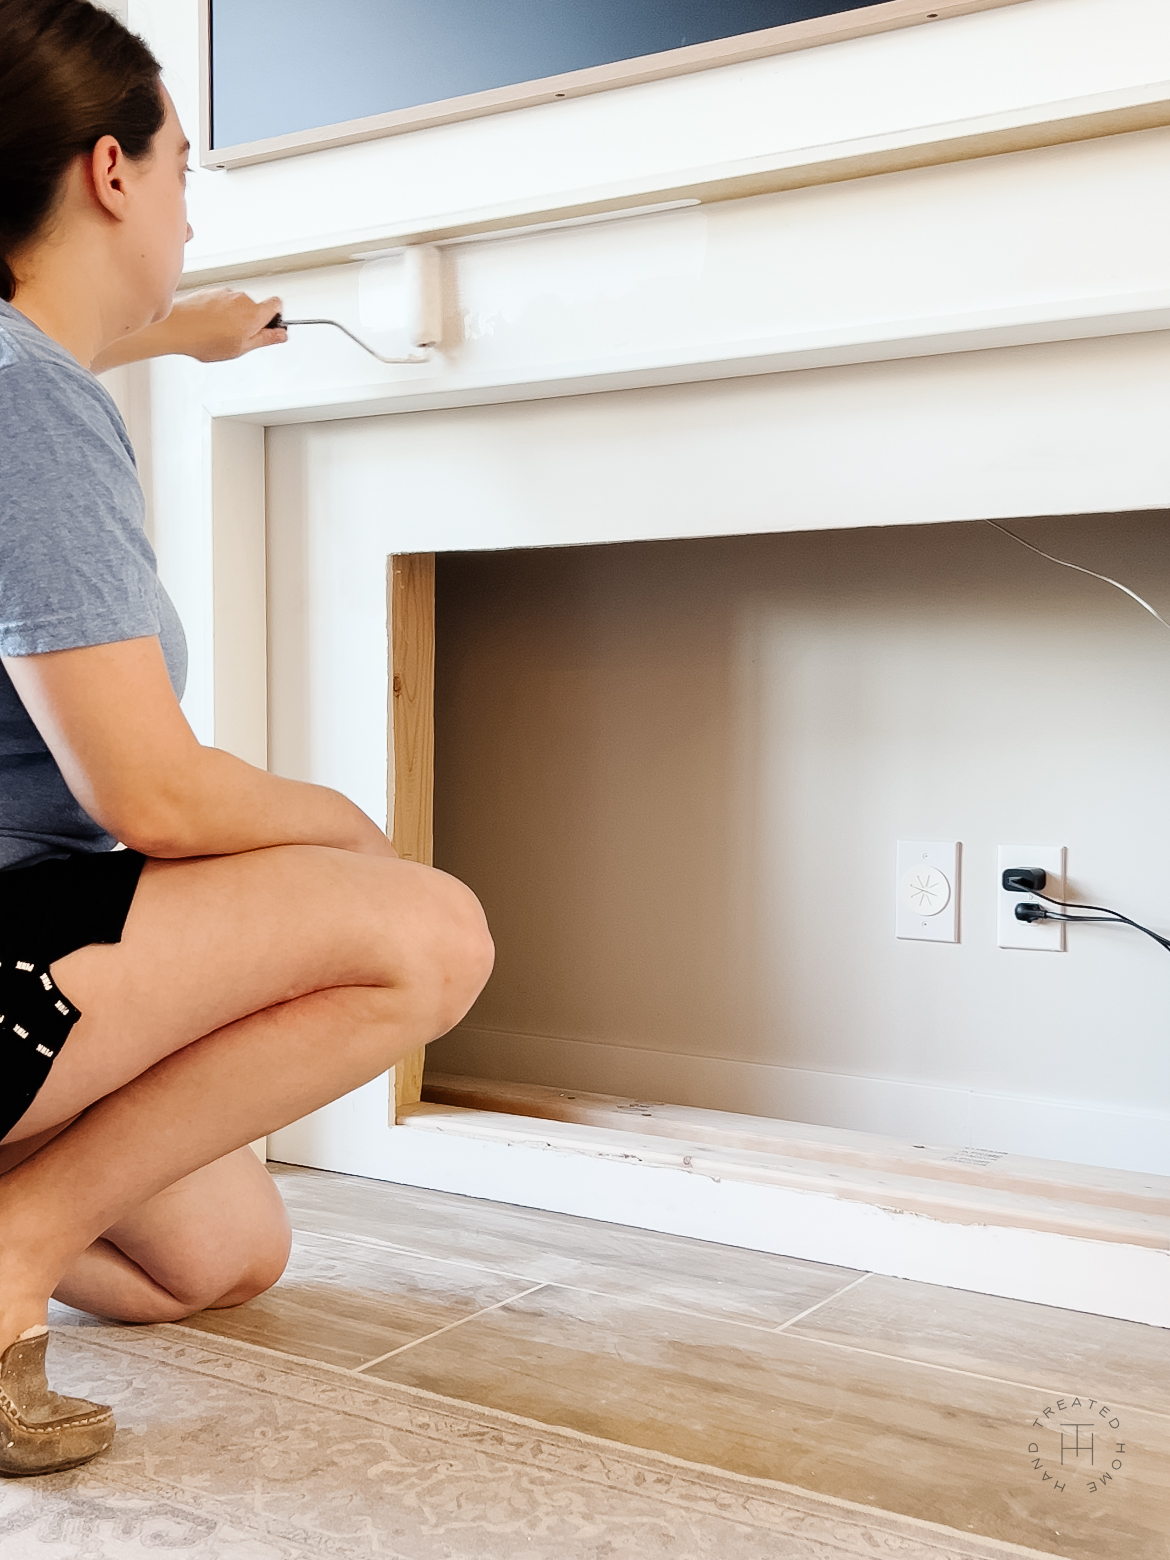
Fresh coat of white paint
Step 5: Install the Electric Insert
Now that everything is finished, it’s time to slide in the electric fireplace insert and complete the look!
I used the Revillusion Built-In Firebox in the 36 inch size with the herringbone brick background and the fresh log set. And It. Is. GORGEOUS.
I’d been wanting this insert since I built the fireplace originally and it absolutely did not disappoint. It is truly even more stunning in person and looks so real! This insert truly elevated the look of the entire fireplace and completes the room perfectly.
This insert is actually a hardwired insert, but you can convert it to be a plug in with their converter plug kit.
I cannot wait for the holidays so that I can see this new mantel decked in garland and see this gorgeous insert all aglow next to the Christmas tree, I can hardly wait! Christmas in July is a thing right?!?!
That’s it!
Make sure to share your projects with me on Instagram @handtreatedhome. I would love to see them!
Questions or Comments? Leave a comment below or send an email to hello@handtreatedhome.com!


Where did you get the side cabinets for each side of the fireplace? Did you build those? If so is there a tutorial to follow?
I did build them! I don’t have a blog post on it yet, but do have a detailed walkthrough saved as a highlight on my Instagram account.