How To Install LVP Flooring Yourself
This post for LVP Flooring is in collaboration with CALI. All opinions are my own. Thank you for supporting the brands that we love and that help support Hand Treated Home.
This page may include some affiliate links, meaning that at no cost to you, I could earn a commission if you purchase through these links. Learn more. As always, I only link items that I personally use and recommend. Thank you for your support by shopping through my links.
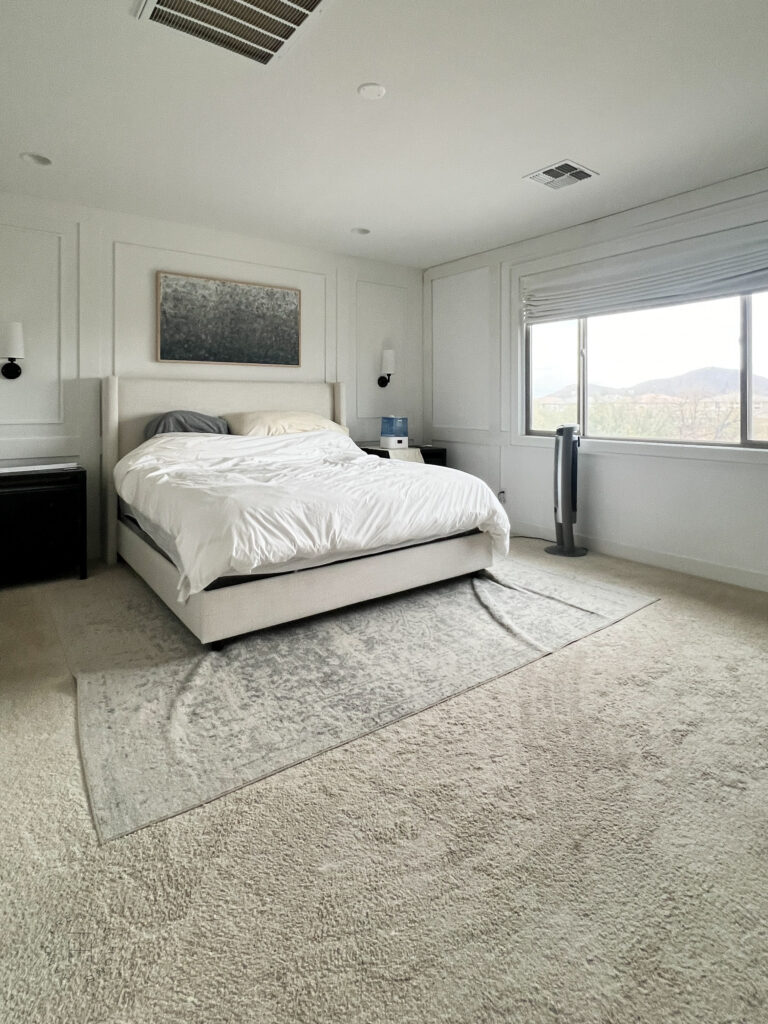
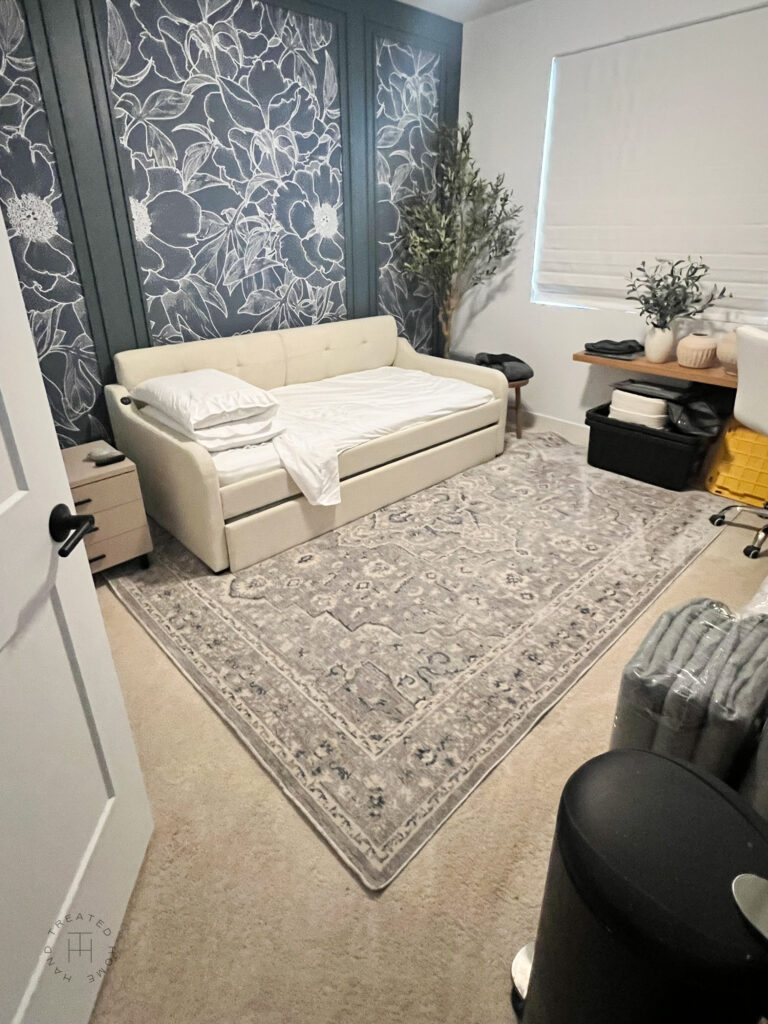
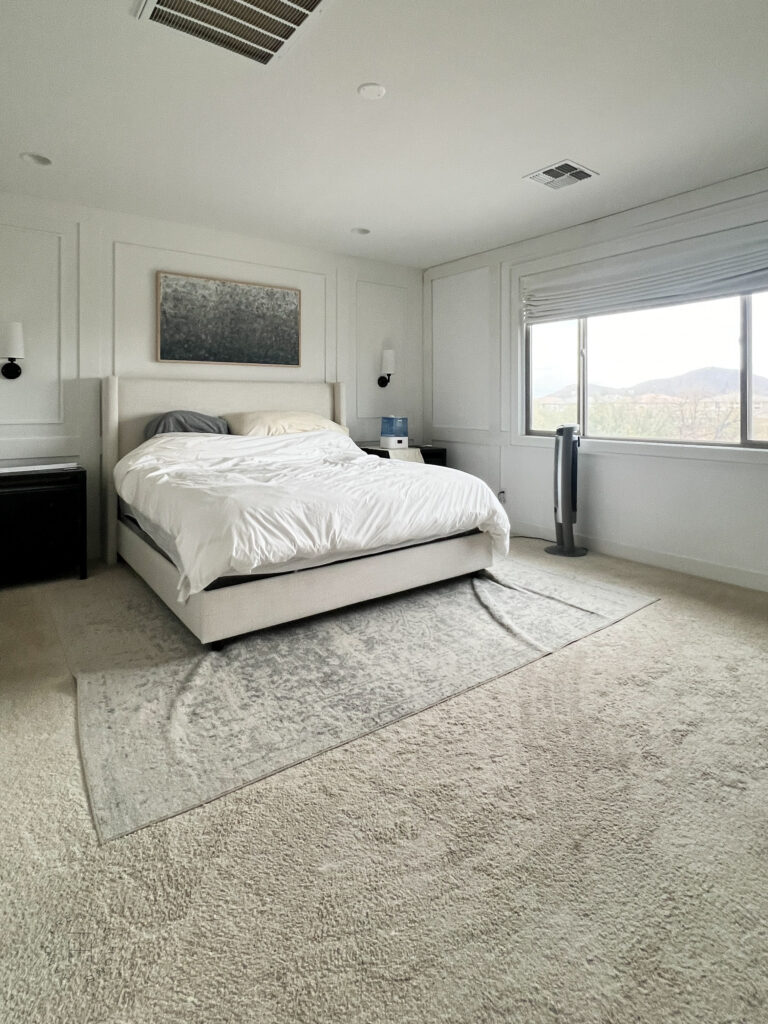
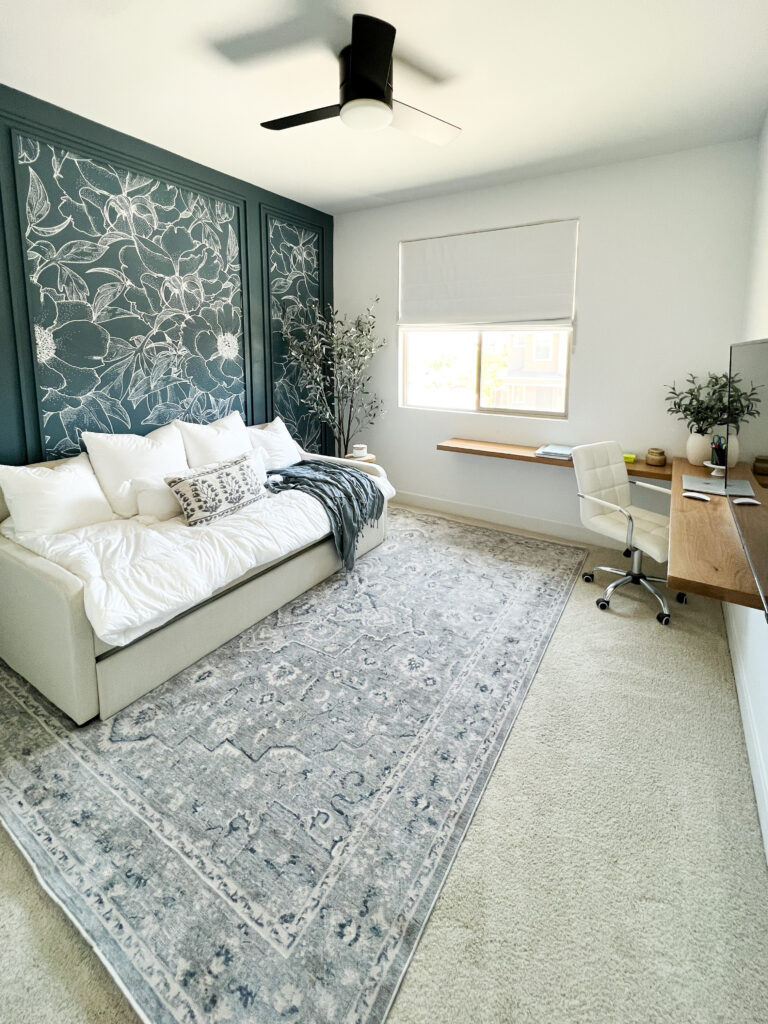
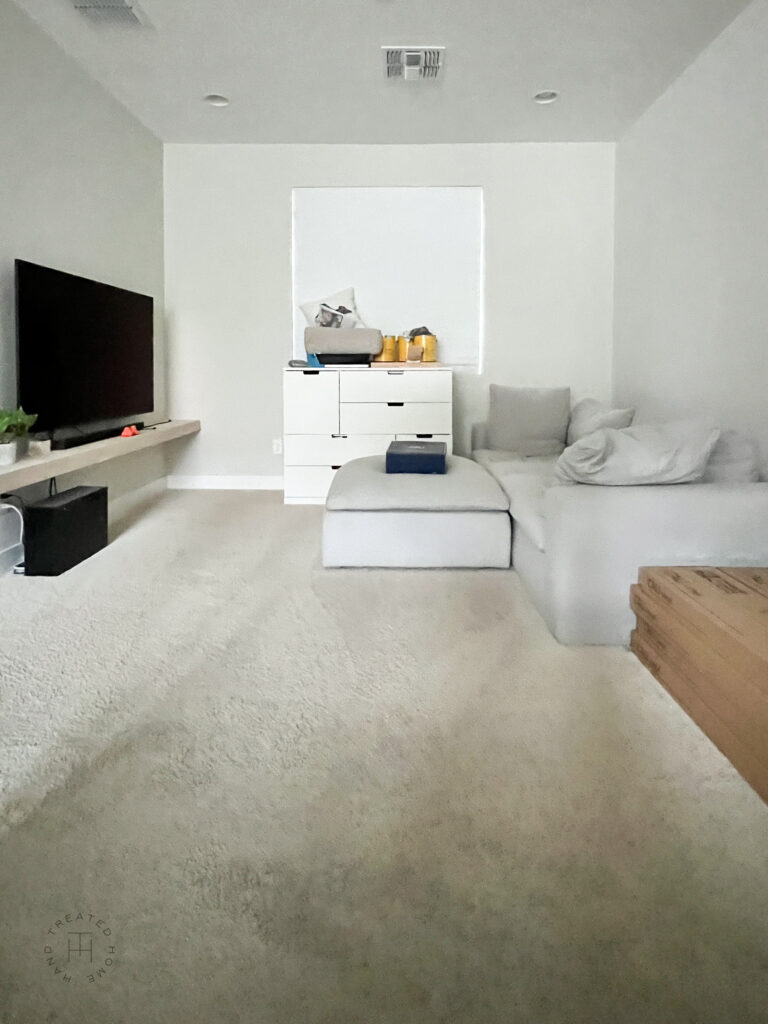
For years I have been dreaming about ripping up our sad dingy dirty beige carpet upstairs and installing LVP, luxury vinyl plank, flooring. However there were two main things I needed to figure out before jumping into this DIY home project.
The main issue was finding the right LVP flooring. You may know by now how picky I am when it comes to picking out items and finishes for my home, and especially if its something that impacts my two huskies (who definitely rule the house).
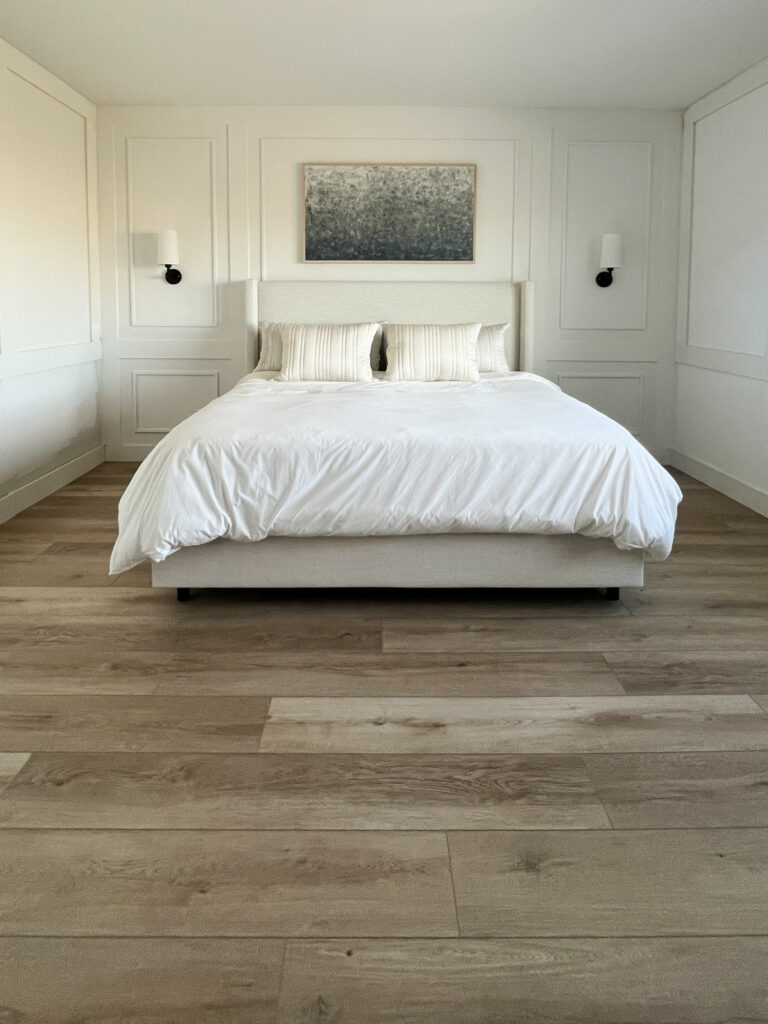
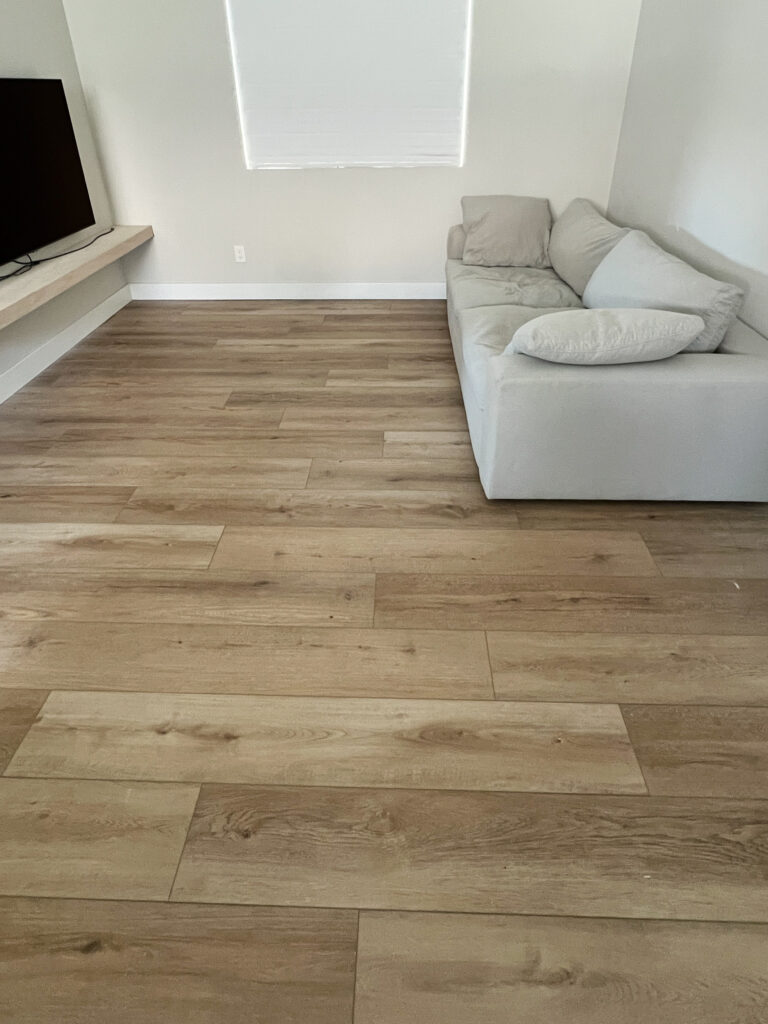
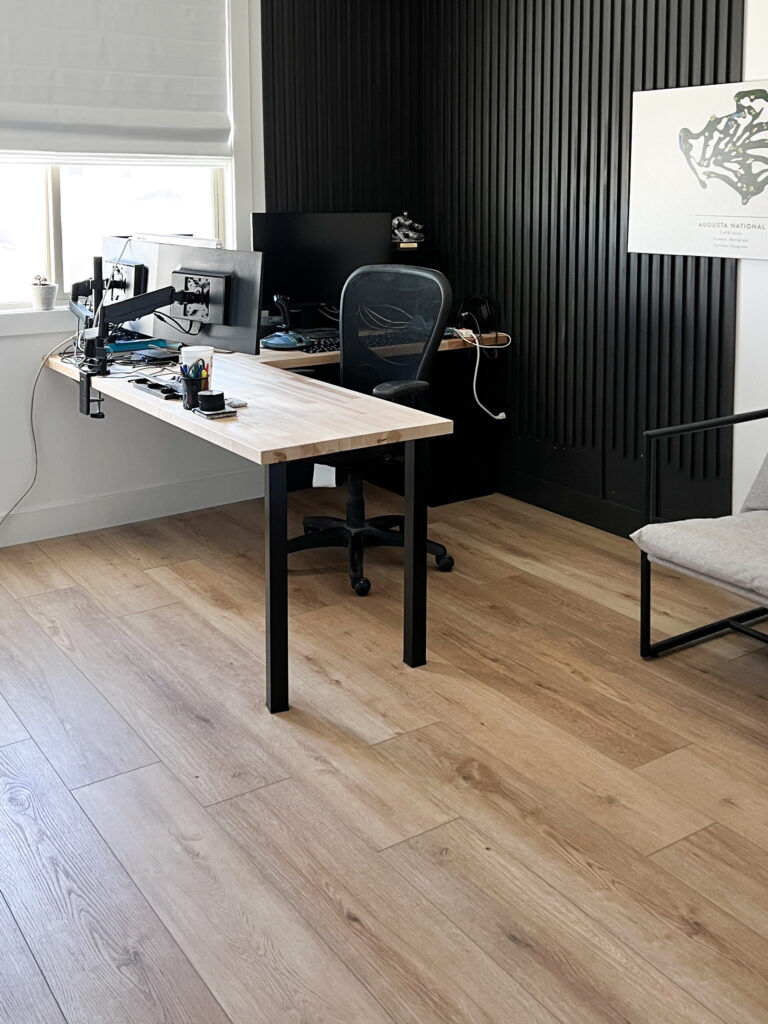
We have wood-look tile downstairs, and while the upstairs flooring doesn’t need to perfectly match the downstairs tile, I wanted it to be as close as possible so that both levels felt like a cohesive part of one home. The right flooring needed to be one that looked cohesive with the downstairs tile, looked and felt high end (wide an long planks with graining and color variation that make it look more like real hardwood floors) and that could both stand up to my two dogs and be easy for them to walk on.
The second issue was, I have never installed luxury vinyl plank flooring before. Clearly as a DIYer this wasn’t going to stop me, but this was quite a large project and therefore a large undertaking that I didn’t want to mess up.
I ended up calling in my friend and fellow DIYer who has LVP flooring installation experience to come and help me, and while I am so glad I did, I am going to tell you everything I have now learned about installing LVP flooring so that you can feel confident tackling this project yourself.
Supplies:
Moisture barrier (if laying over concrete)
5 in one Tool/Scraper
Floor Saw (optional, could score and snap with utility knife and speed square but I HIGHLY recommend getting the saw)
Jig Saw (for any cut outs)
Contour gauge (optional)
Laser Level (optional)
Brad Nailer (for reapplying baseboards)
Caulk (for reapplying baseboards)
If you enjoy video tutorials, check out my “how to” reel here.
Picking the right LVP Flooring
As I said, I was extremely picky when it came to selecting the flooring. After looking at several companies I ultimately fell in love with CALI. All of their LVP flooring samples were absolutely gorgeous and amazing quality.
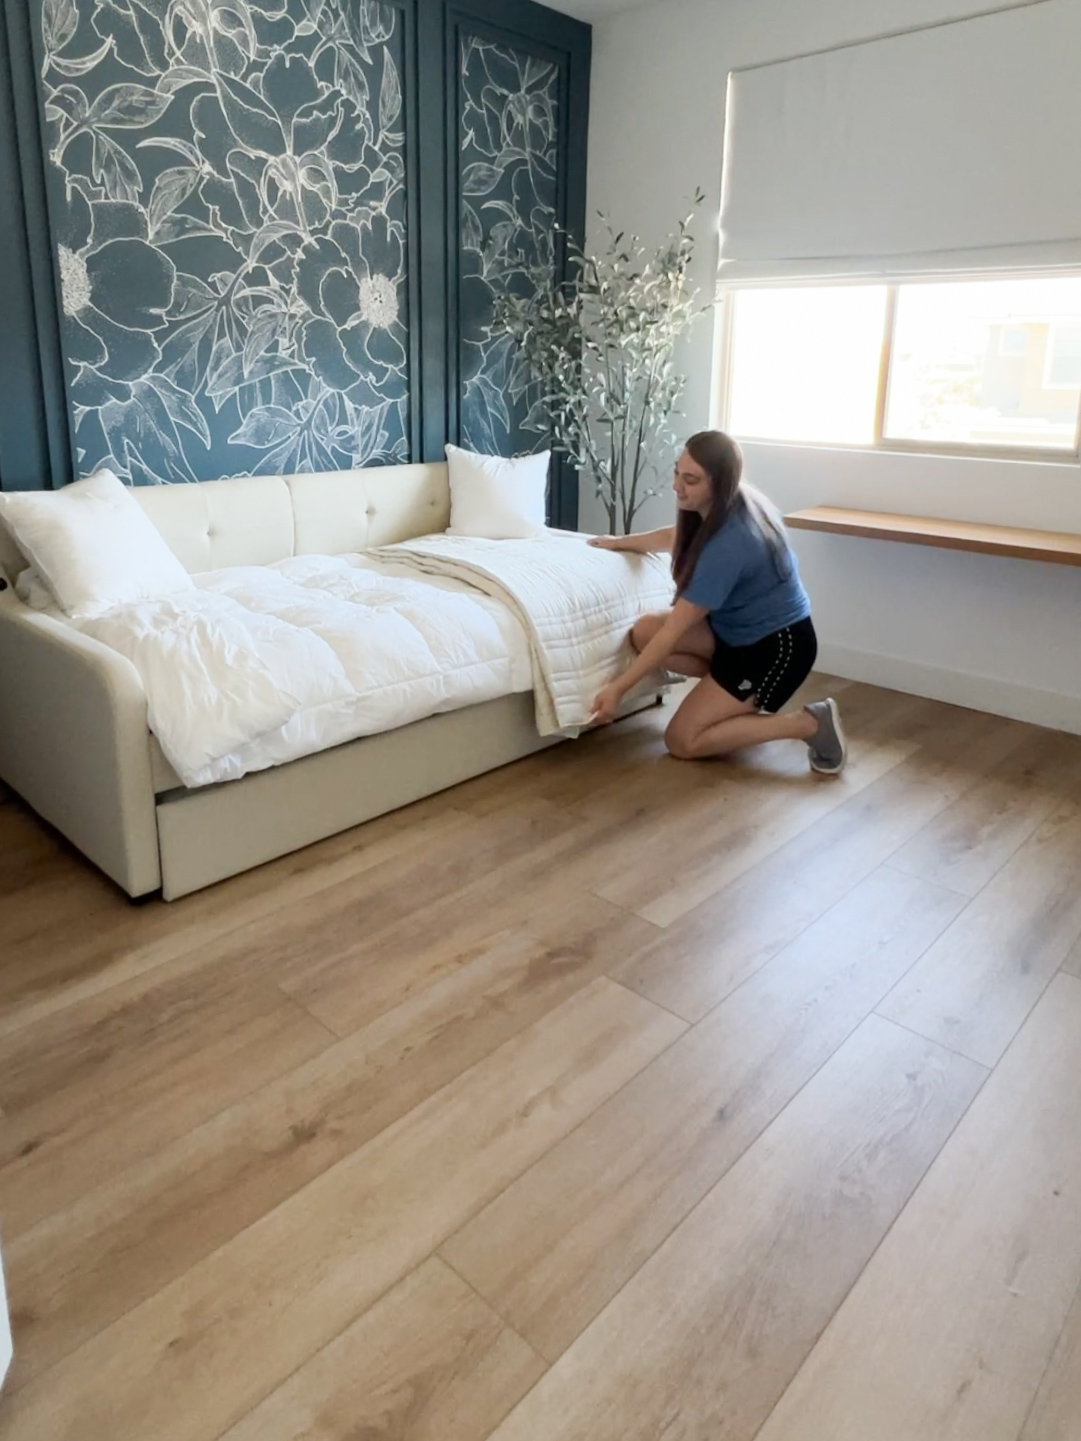
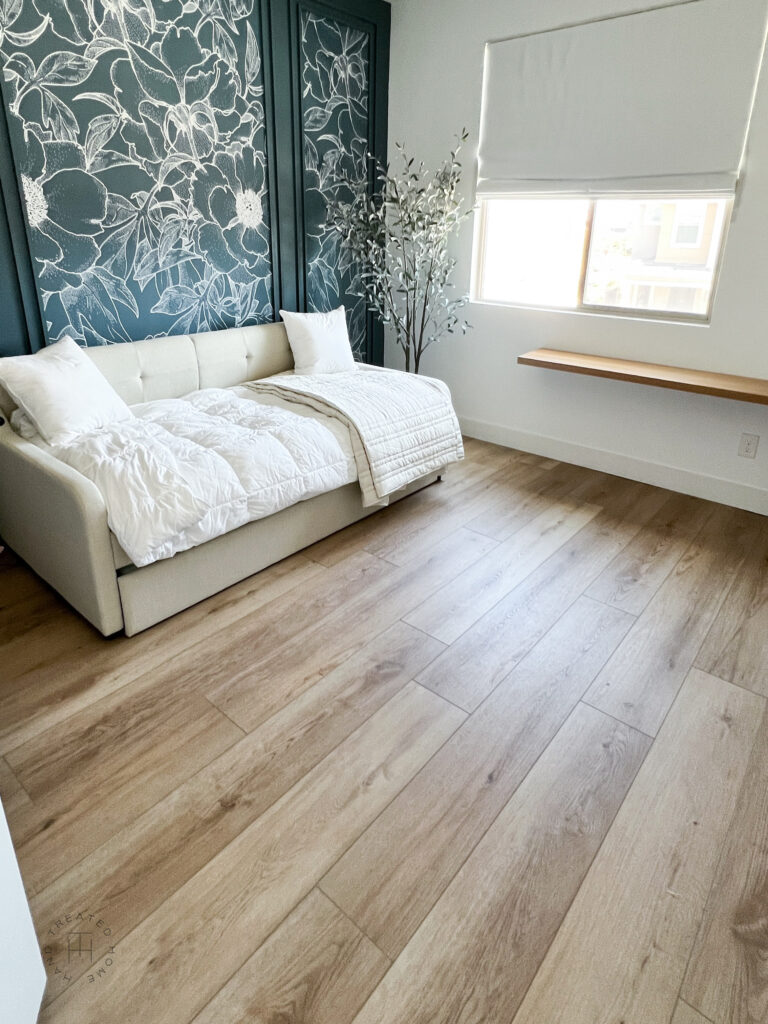
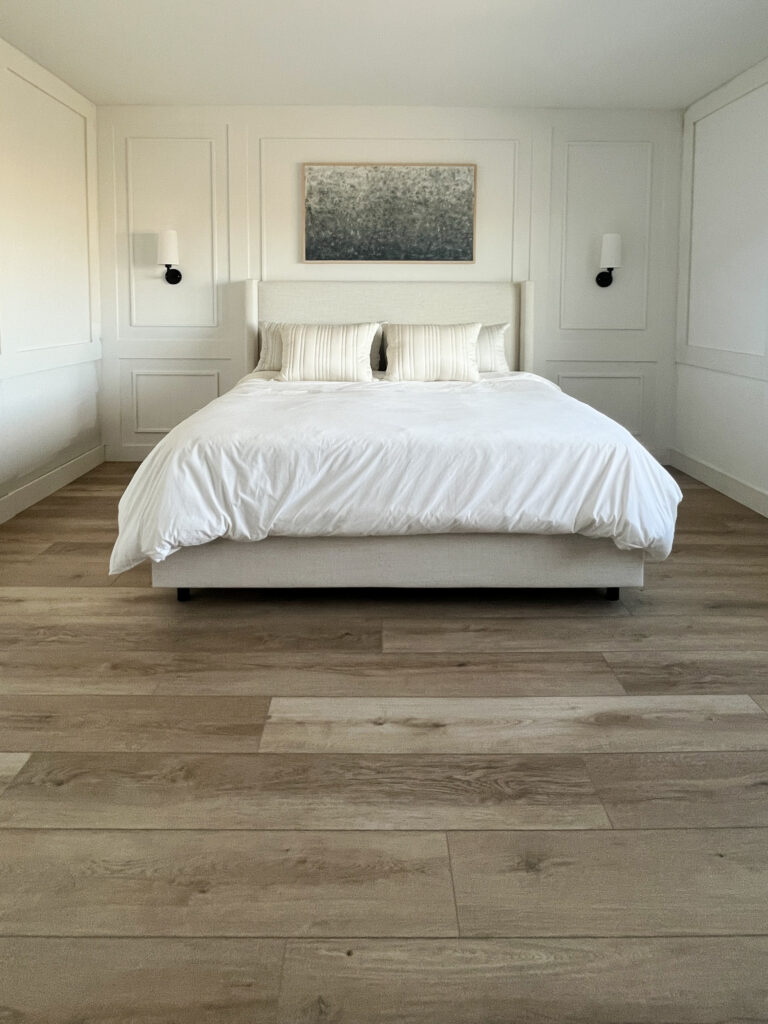
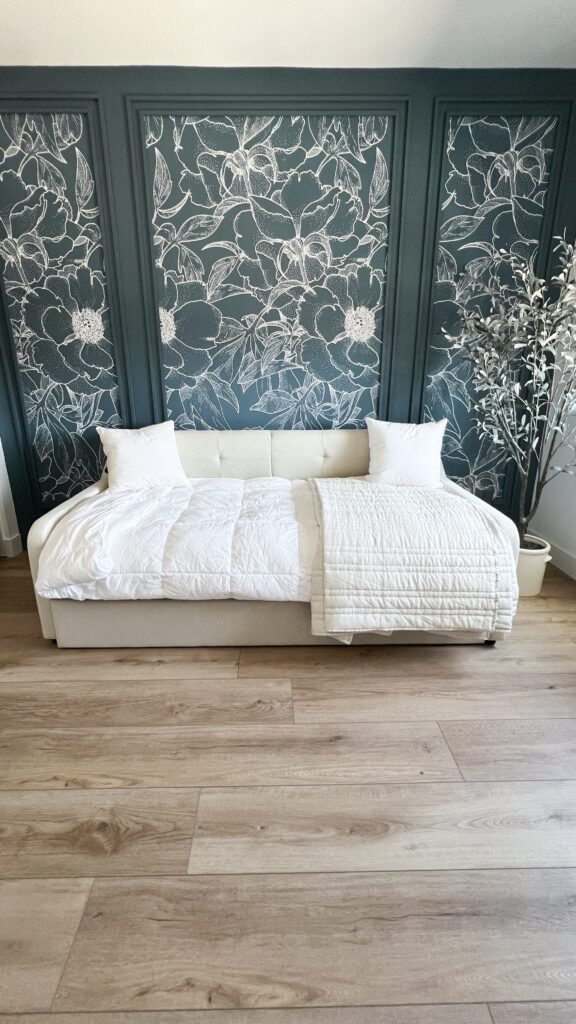
Once I saw their Legends Collection, I knew that was the one. The boards are extra thick (1/2inch thick) which better mimics real hardwood floors and they have a 20 mil wear layer for improved scratch protection and are 100% waterproof. I also loved how large the size of the planks are at 60 inches long and 9 inches wide and are strengthened with a WPC core and include an attached pad/cushion for quieter rooms. What sealed the deal was when I saw the color Oyster Isle. It is a gorgeous mid-tone color with a hint of gray, and they went so well with my down stairs flooring.
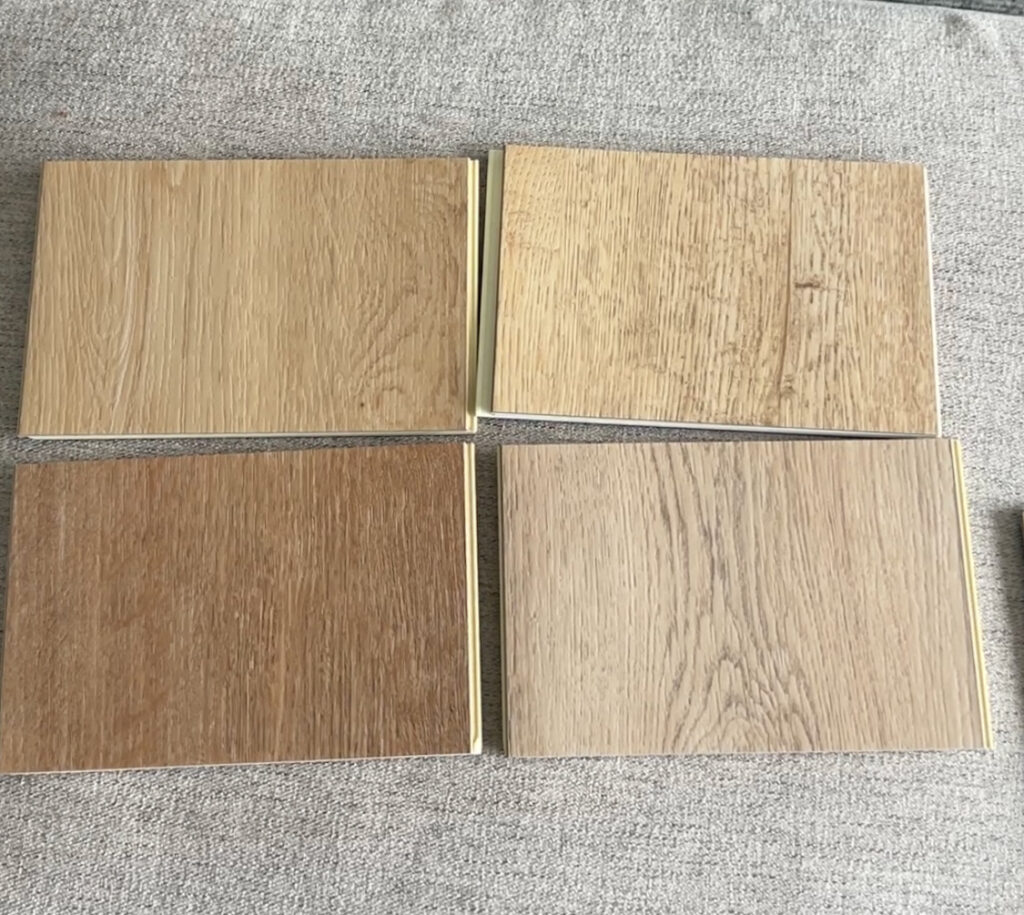
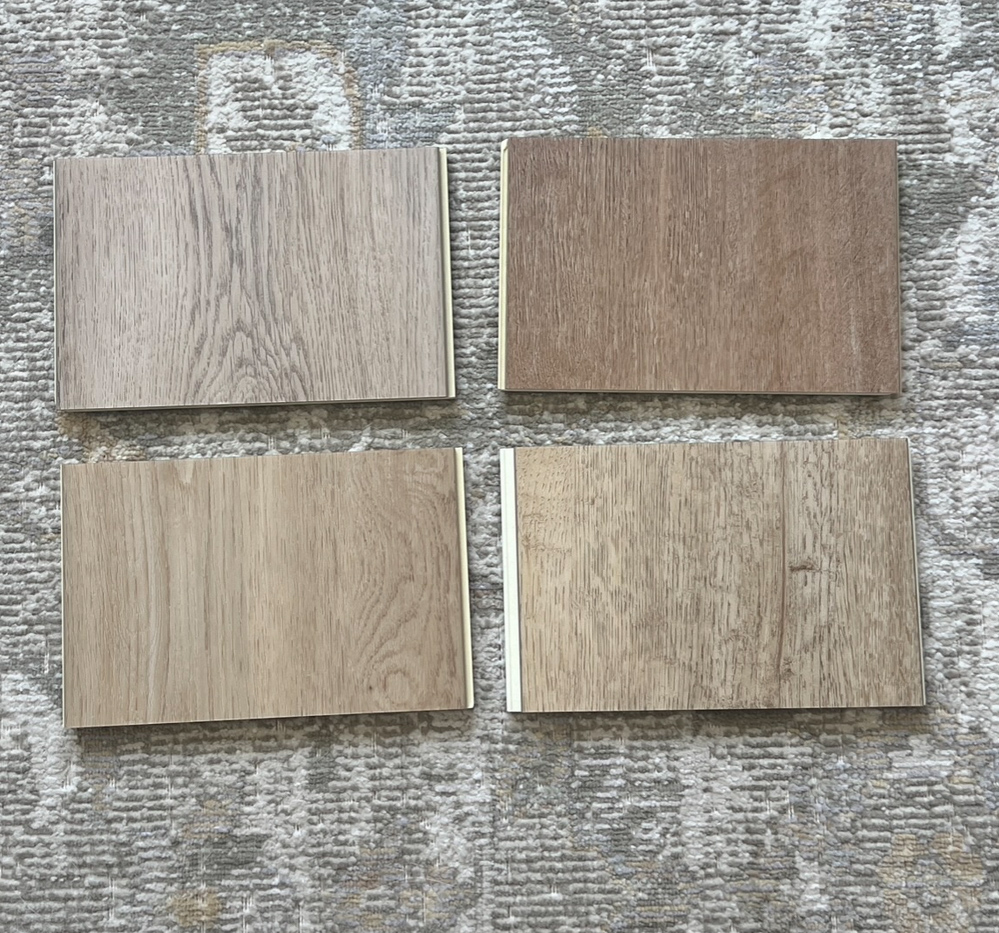
Order samples in order to see the color of the flooring in your home. Make sure to move them around so you can see them in different rooms and lighting throughout the day. Order several samples of the same colors in order to line them up as if it was one long plank and get a better feel for the color variations in the planks. CALI offers free samples but they also have a flooring visualizer on their website that is extremely helpful! Simply upload a photo of one of your rooms and you can see how their different floors will look in your room.
Flooring Resources:
If you have any questions, feel free to reach out to CALI’s customer service. They are extremely helpful and friendly and helped walk me through all of my questions.
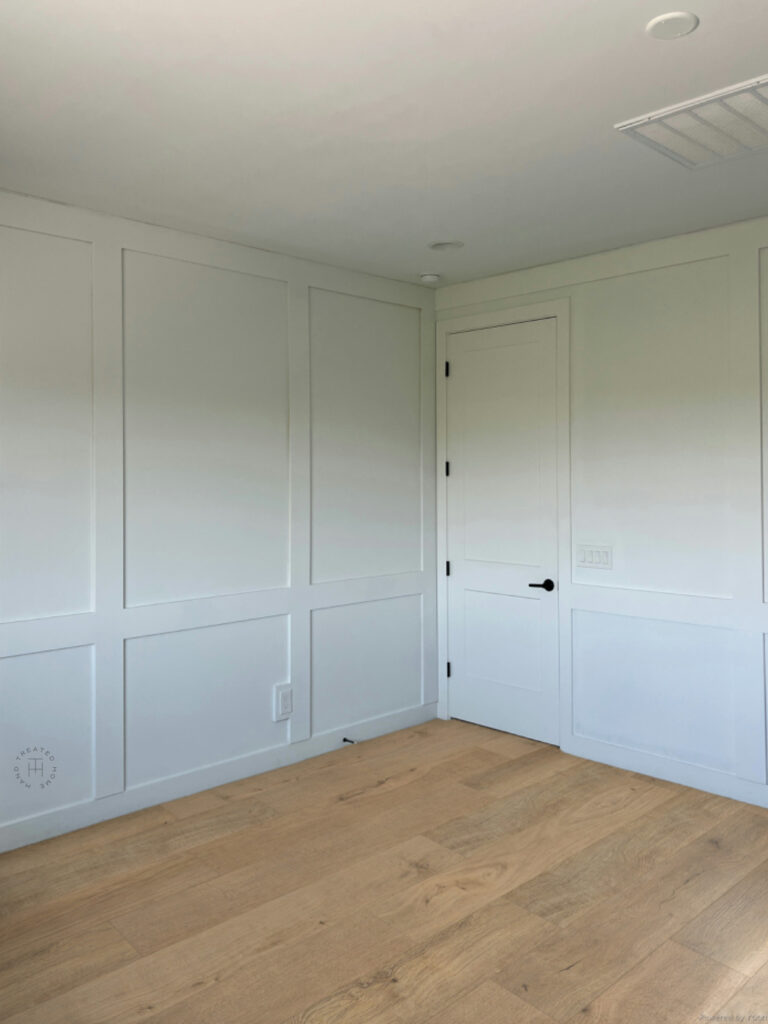
Before you Begin
Before you can even begin installing the LVP flooring there is a decent amount of prep work that needs to be done. I had carpet so I had to rip up all the carpet first. To do this, simply use a utility knife to cut the carpet and pad into strips, rip the carpet off the tack strips, roll it up, and discard. Then use a mallet and pry bar to pry up all the tack strips and needle nose pliers to grab any staples.
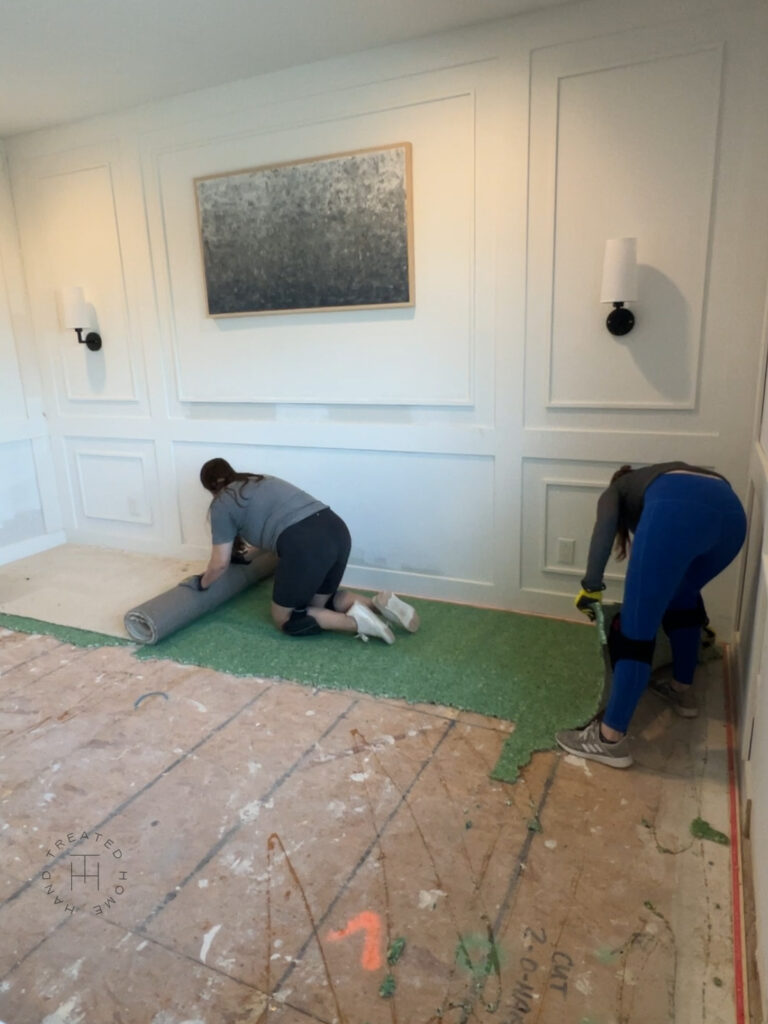
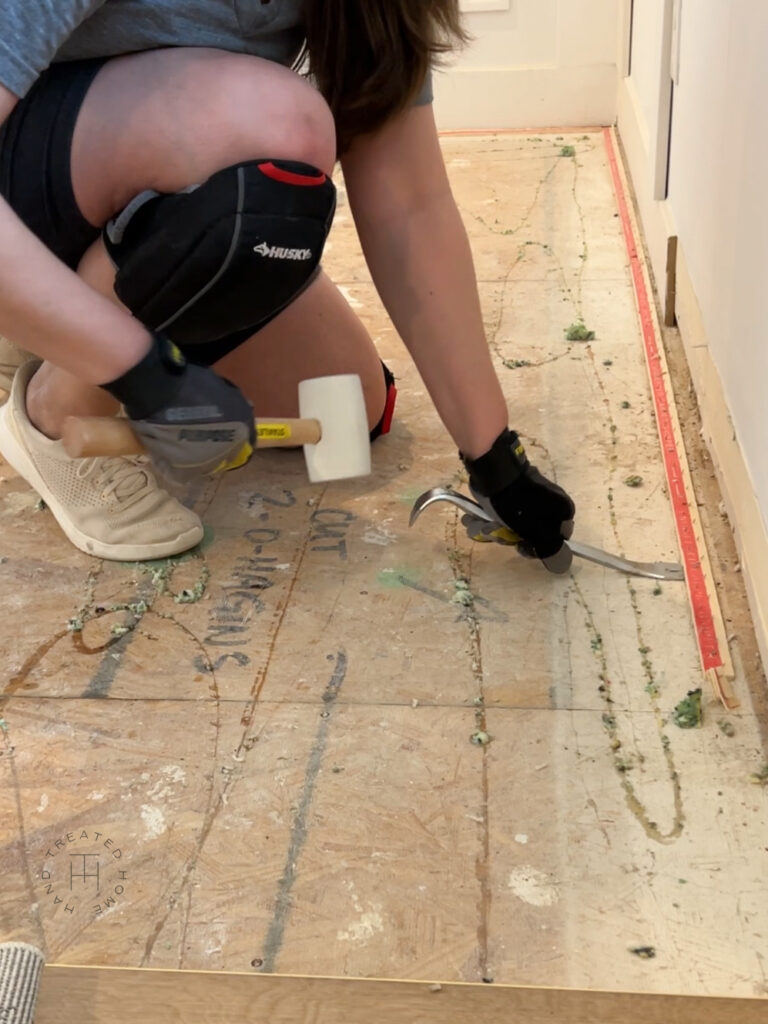
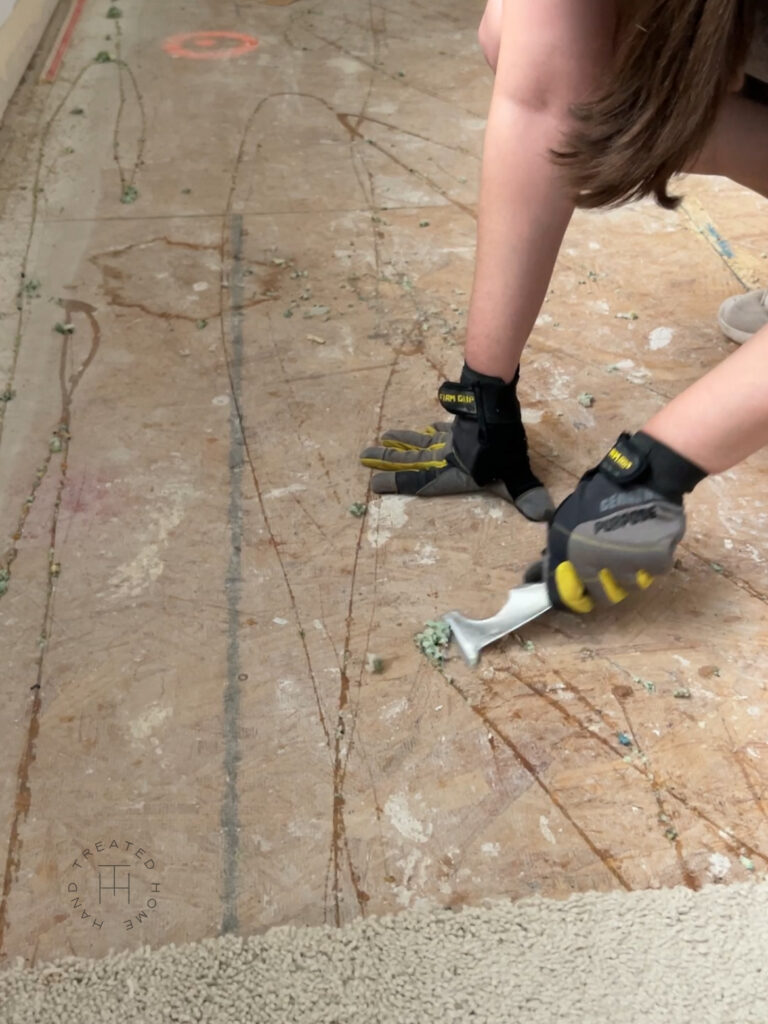
Making sure the subfloor is in good shape is extremely important before laying the floors. I scraped up any debris such as glue from the carpet or globs of paint or drywall mud to ensure I had a flat and even surface. If your subfloor is not level you will want to fix that now by either screwing down the plywood anywhere it is raised, lifting or squeaking, or pouring a self leveler if they are not level. Luckily mine were level and in decent shape so after removing the carpet and staples and scraping up glue and debris I was ready to move on to the flooring installation!
If you are installing over concrete subfloor you will need to put down a moisture barrier over the concrete before laying the flooring. CALI offers both a moisture barrier and CALI Complete All-in-One Underlayment.
Choose the flooring layout
Now that you are prepped and ready to lay the luxury vinyl plank flooring, it’s important to determine where you will begin the floors. The flooring I used is supposed to be installed from left to right, meaning your first board will be in the top left corner of the room and you will work to the right and down as you go. The flooring can be installed “backwards” if needed but it is more difficult this way so you want to minimize it as much as possible.
Setting up your first row is the most important row, so take your time. I spent a lot of time on the first row and even started over at one point to make sure it was perfectly placed. The first row is so important because everything is based off of it so it needs to be straight. Do not trust that your walls are straight. I used a laser level to mark my straight line for the first row.
TIP: Once your first row is down, use a few boxes of the flooring on top of that row to help weigh it down while you do the next few rows, you don’t want it to move off of your level line!
Laying the LVP Flooring
Place your first plank down lined up with your level line (make sure to leave a 1/4 inch gap between the ends of the planks and the wall for expansion). Take the second board and angle it up so that the tongue of the plank lays into the groove of the first plank, and then lower the board flat. Continue this for the whole first row.
When you get to the wall, Rotate your board 180 degrees. Push it up to the wall (leaving the 1/4 inch space) and then make a line where the plank meets the plank on the floor. Cut the plank on this line. Then flip the plank to the correct orientation and install.
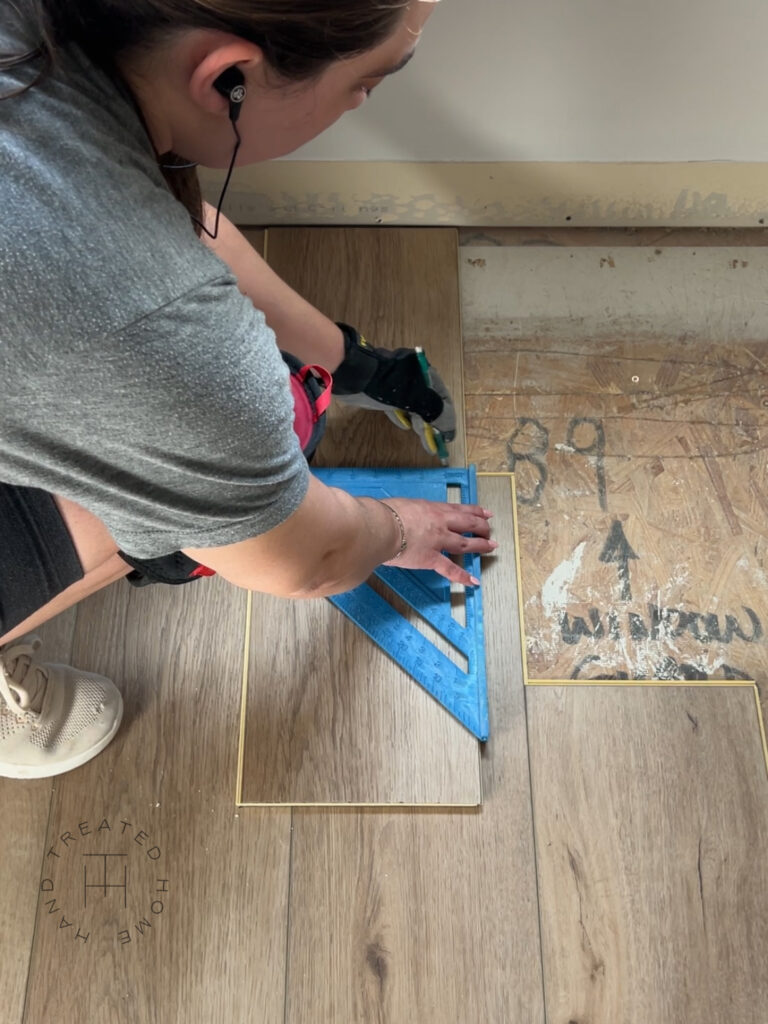
TIP: most LVP boards you can cut by scoring the cut mark with a utility knife and snapping the plank. I chose to buy a floor saw which I felt was invaluable. The CALI Legend Collection planks are very thick so having the saw made these cuts much easier, saved me time and gave me clean perfect cuts.
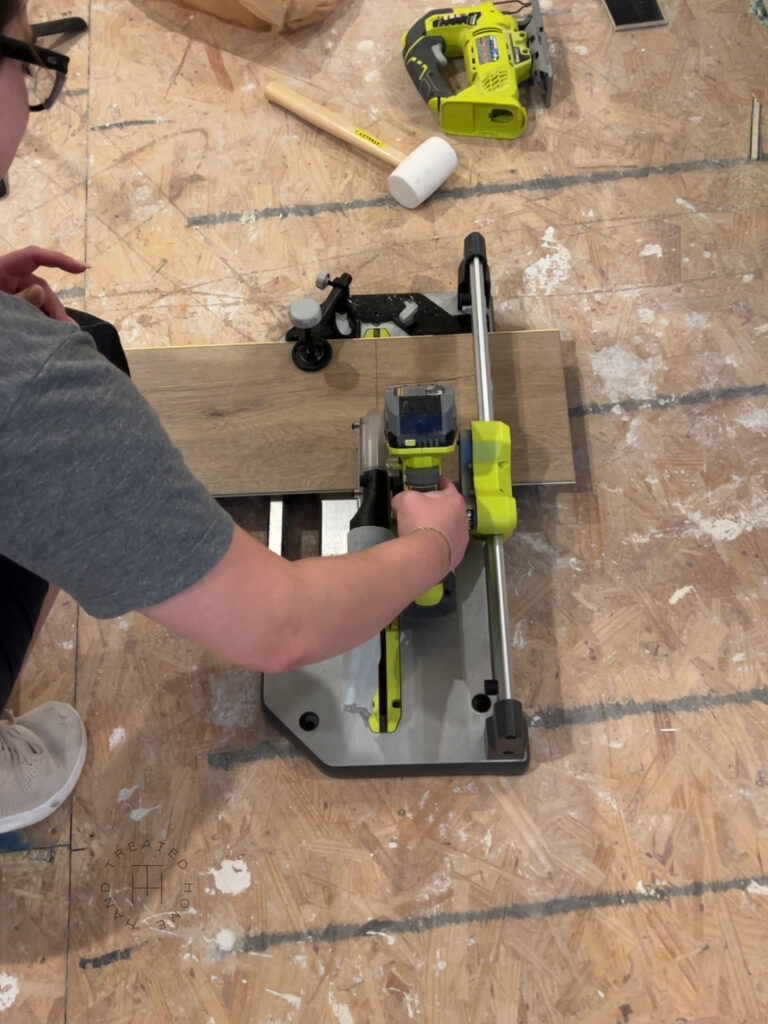
For the next row, most people take the discarded part of the plank that they just cut and use that to start the next row. I personally don’t like to do this as it gives you a “stair step pattern” which I did not want. Therefore I would either cut that same board down further or grab a new plank and randomize the length. I always saved my scraps and would try to use them elsewhere so I actually ended up having very little waste.
TIP: Open multiple boxes of flooring at a time and pull boards from all of them. This helps randomize the boards (you don’t want two of the same board next to each other) and helps randomize any color variations between boxes.
To lay planks you will angle the board up and set the tongue on the long side of the board into the groove of the long side of the plank on the floor. Then slide the plank, still at an angle, over to the left until it hits the board next to it (or until it is 1/4 inch off the wall if it is the first board). With it still at an angle, gently use a rubber mallet and tap along the length of the board in order to lock the tongue and groove together.
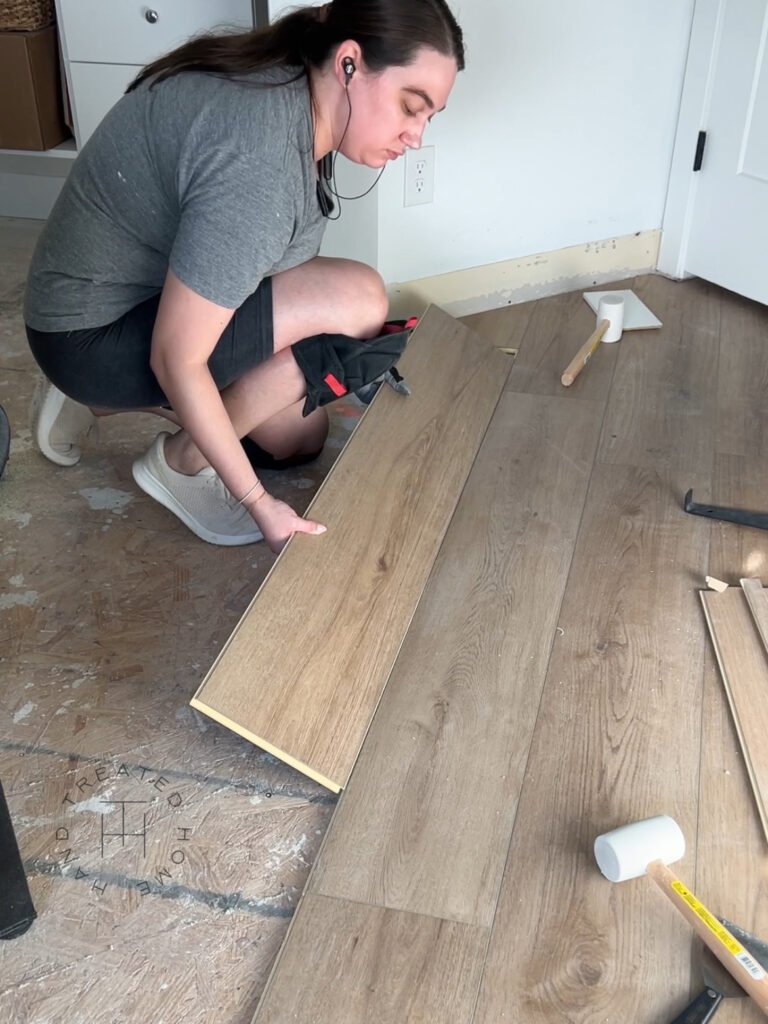
I was nervous about this part and not knowing when it was “locked” but you will visually be able to tell when the two planks are locked together and there isn’t even the smallest gap between them. Once they are locked you will notice the board will naturally start to lower towards the floor. If it is not lowering then it is not locked somewhere along the length and you need to keep taping (gently! don’t break the tongue or groove) until it is fully locked and laying more flat.
Once the plank is locked and lowered you will take the mallet and hammer the short seam to lock it into place.
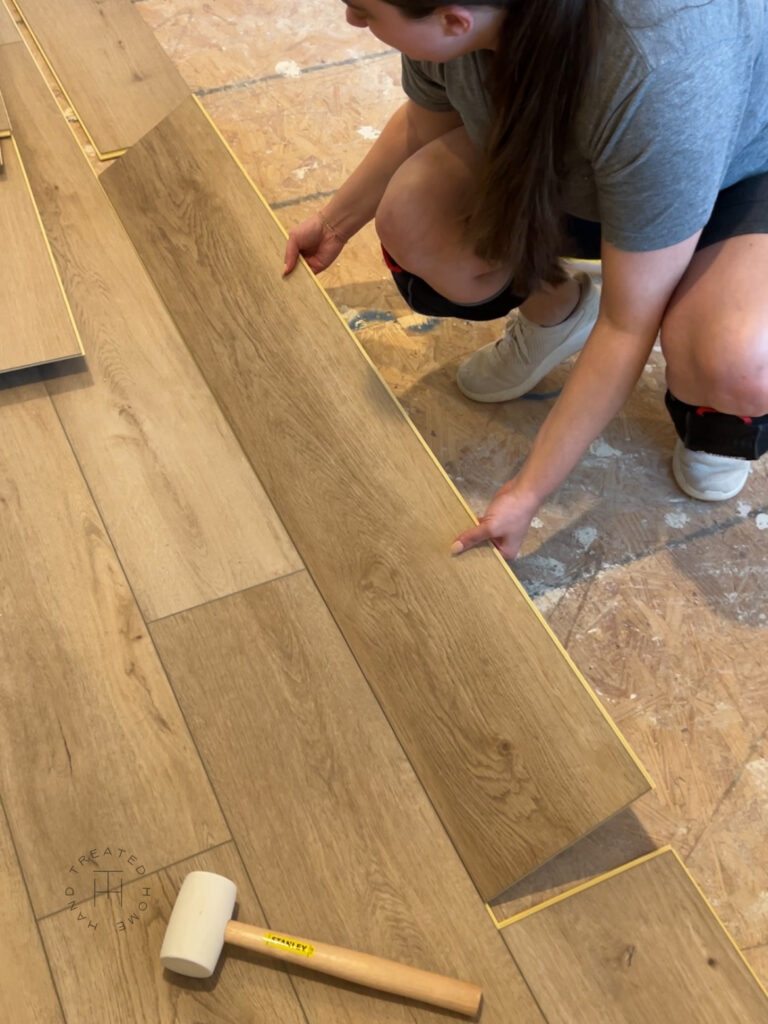
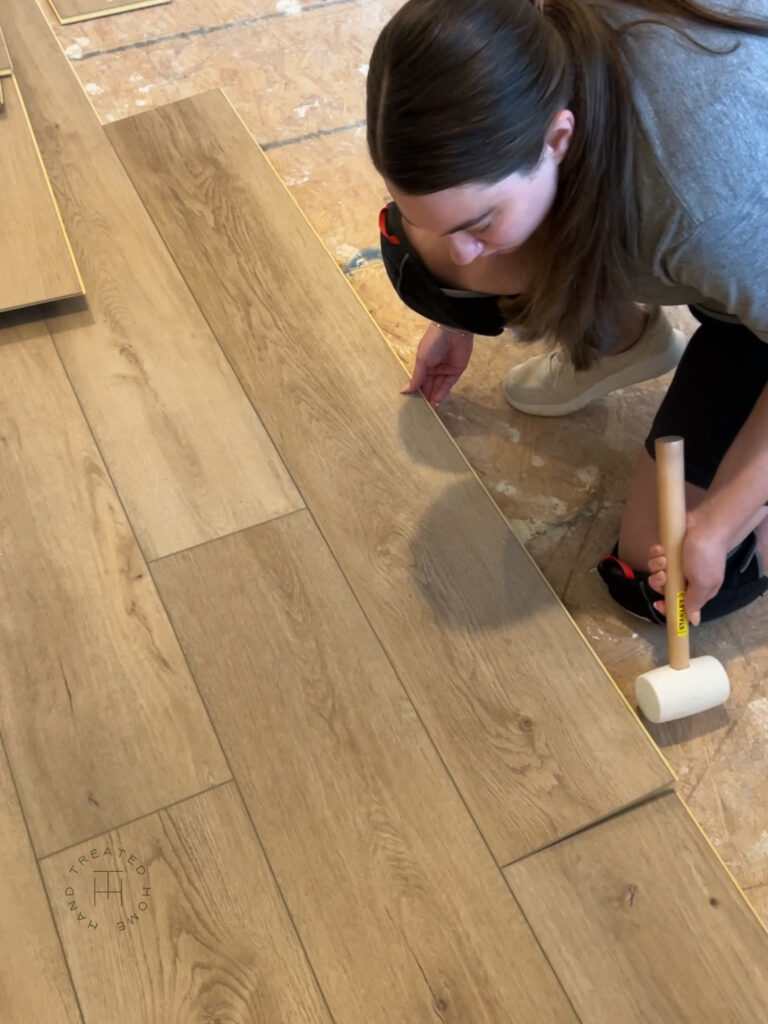
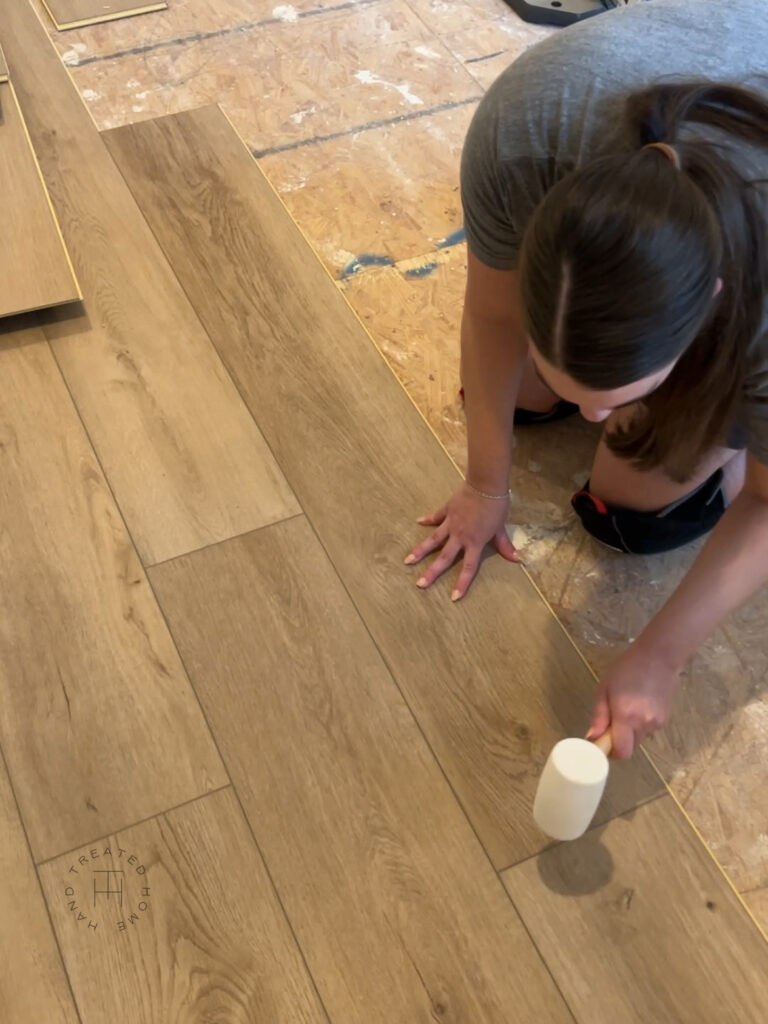
TIP: you always want to make sure the flooring is clear of debris. Before I laid each row I would do a quick sweep to make sure nothing had gotten in the way. Any little spec in the plank channel or under a board and be an issue so keep your workspace clean!
And really thats the gist of it! Once you get the hang of it, you can start moving really quickly!
Dealing with Obstacles
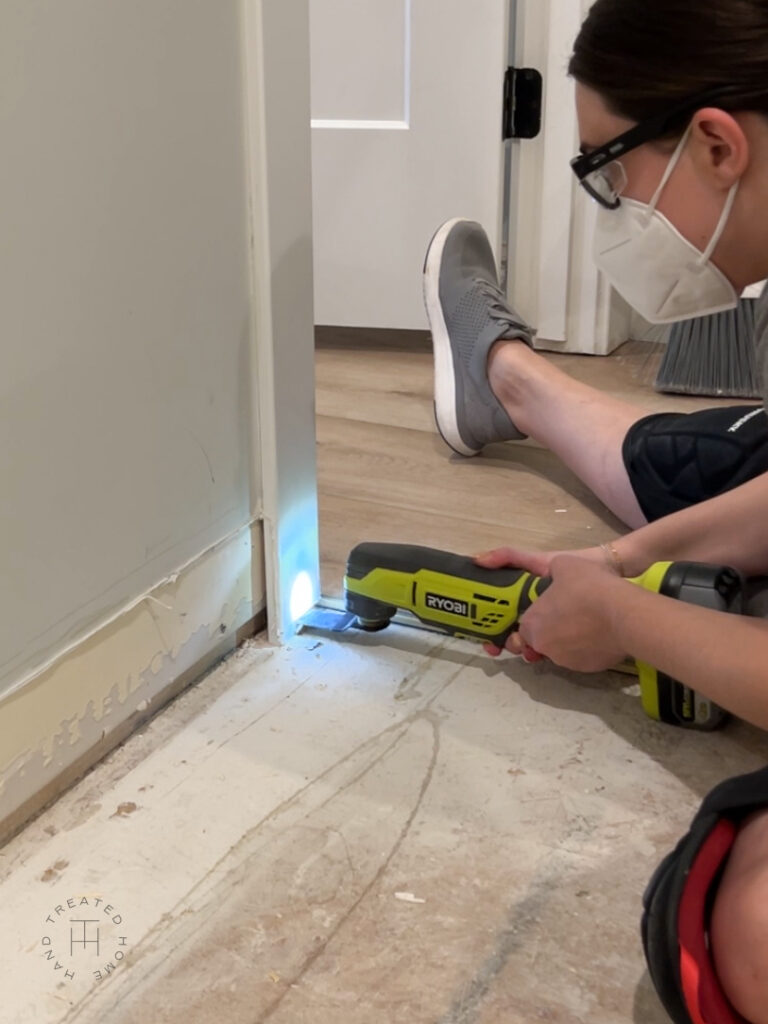
When you get to a doorway you will need to cut the door trim, and door jamb. Mark the height of where the plank hits and use a multitool to cut a little above that line. You need enough room to slide the plank under it as well as to angle it slightly in order to get that plank to lock in. You will need to play with cutting off enough to get the plank into place while not cutting off too much. Always start with less and cut more if you need to.
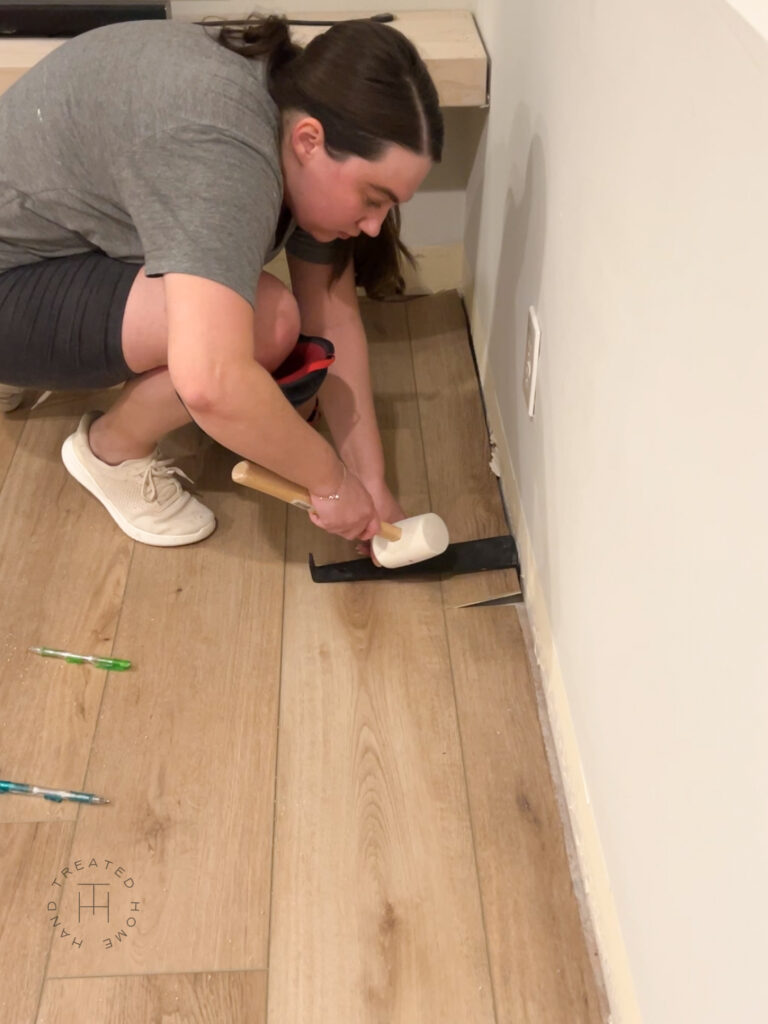
For the last row of LVP flooring you will need to use a pull bar to help you get the plank locked into place. I also use a pry bar at times. Any time you are going around obstacles you just need to stay patient and keep working the board. I had a few that I struggled with but I just kept working on it and eventually it would lock into place.
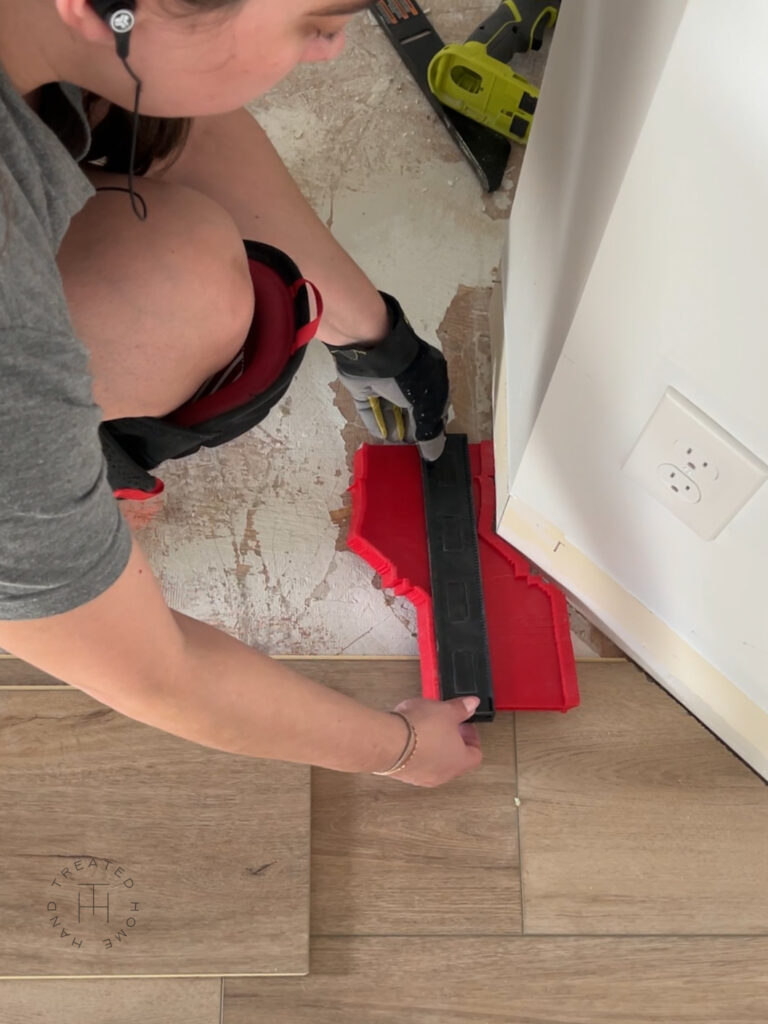
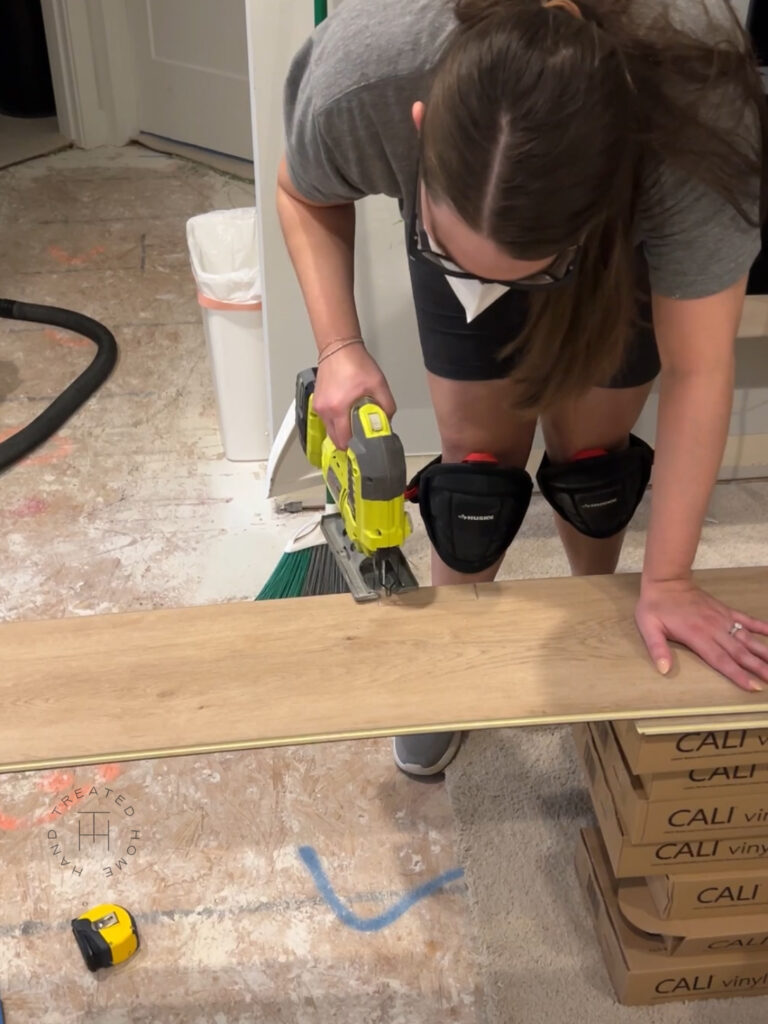
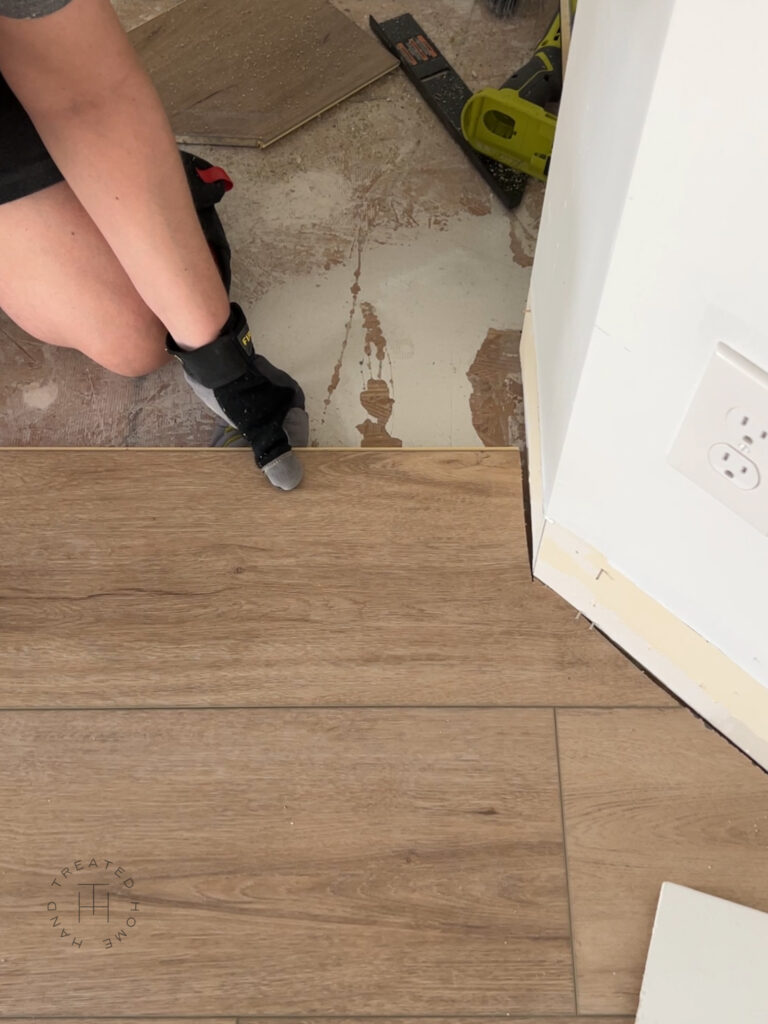
There may be a few places where you will need to use a jigsaw to cut the plank around objects of to cut down the width of the plank. You can also use a contour gage to help mark awkward cuts.
Baseboards
I chose to remove my baseboards before flooring install and then reuse them after. You can use this as an opportunity to change your baseboards if you don’t like them OR you can leave them and install shoe moulding after to cover the 1/4 inch gap. There is no right answer its just personal preference, but I am SO glad I went with removing the baseboards.
While removing the baseboards is one more annoying step you have to do before you can install the floors, I personally like the cleaner look of no shoe moulding. Also, by reusing my baseboards they were all ready to go for me once I was done with the floors. I simply removed the nails and caulk on them and put them right back into place giving me an instant finished look. Now, I will be going back and caulking them for what will feel like 100 years, but that is an issue for future me.
Durability and dogs
The burning question, how durable are the floors and how are the dogs doing with them? The floors have been extremely durable! They have stood up to the dogs nails without a scratch, moving furniture on them without any damage, and I have wiped up caulk and paint without any issues! The floors were the perfect upgrade for our home, not just from a function perspective but they have truly transformed the way our home looks.
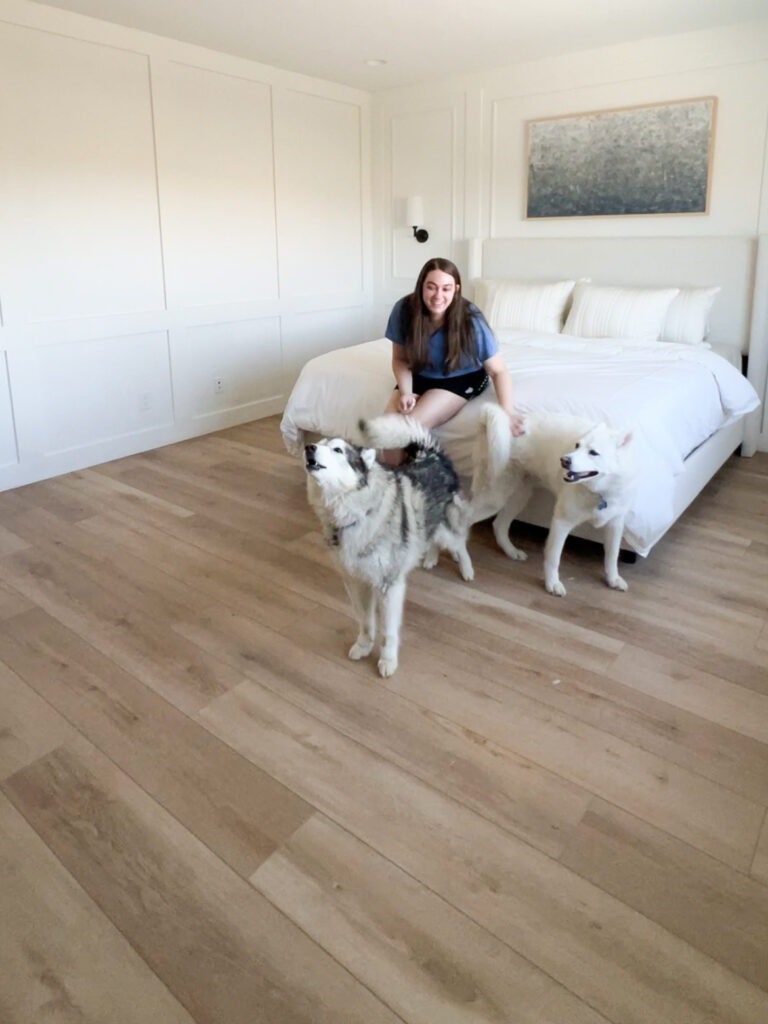
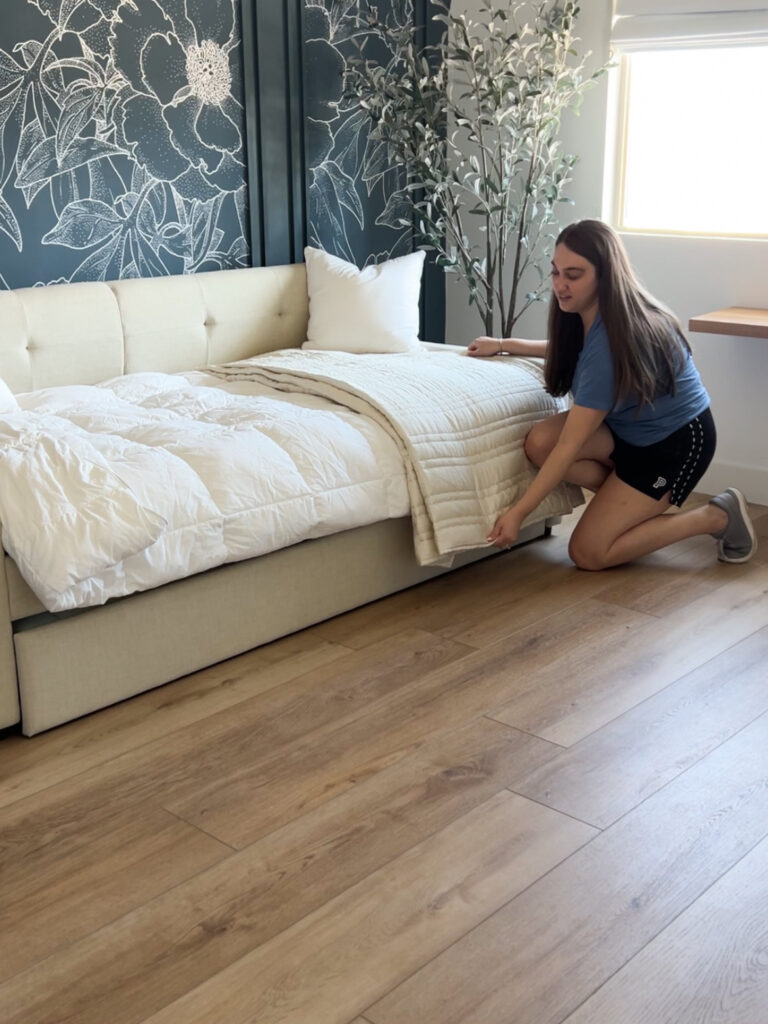
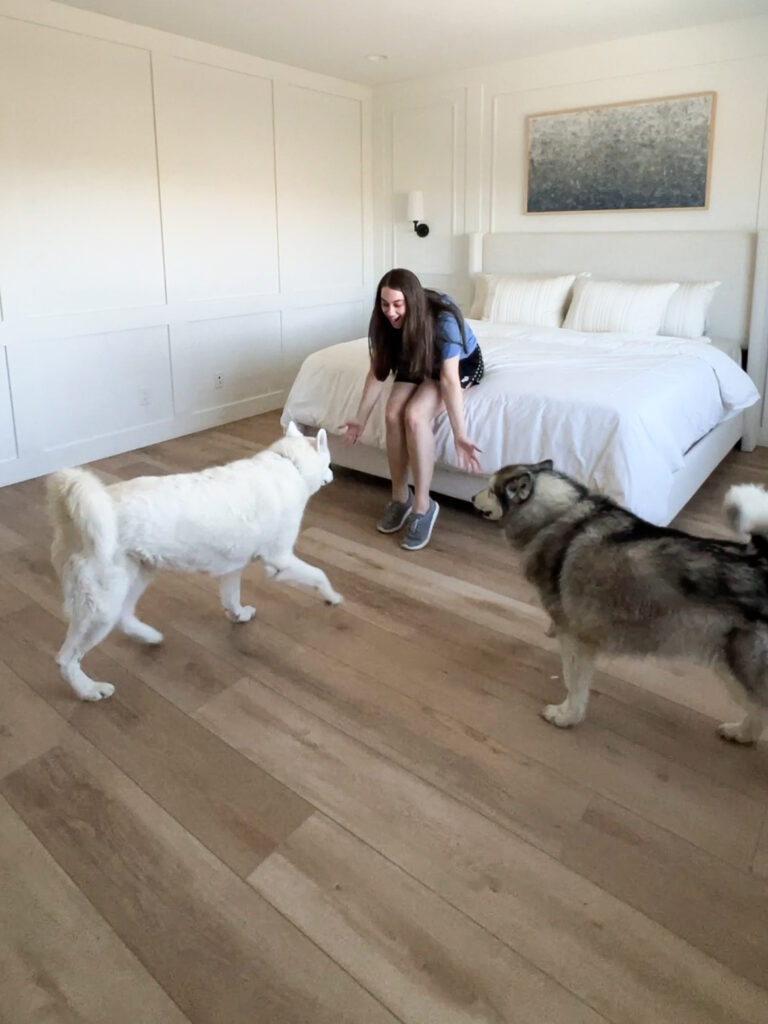
I have been pleasantly surprised with how well the dog are getting around on the LVP floors. They have been able to walk and run on them without any issues and get around on them much better than the tile we have downstairs. The floors have also been extremely helpful with all the dog fur. I don’t even want to think about how much fur, dirt and dander was trapped in those carpets. I have fairly significant sinus issues/allergies and I am so relieved knowing how much cleaner these LVP floors are.
Installing CALI Legends LVP flooring in our home was the absolute right decision for us and my only regret is that I didn’t do it sooner!
Stay tuned, because next up I am going to be making over my carpeted stair using CALI stair treads!
Tag me on Instagram @handtreatedhome if you tackle this DIY project!
Questions? Email me at hello@handtreatedhome.com or feel free to leave any questions or comments below!

