How To Install Cabinet Hardware
This page may include some affiliate links, meaning that at no cost to you, I could earn a commission if you purchase through these links. Learn more. As always, I only link items that I personally use and recommend. Thank you for your support by shopping through my links.

Black Matte Cabinet Pulls
An easy, quick, and inexpensive way to update cabinets, or to put your own touch on them, is to change out or install new cabinet hardware.
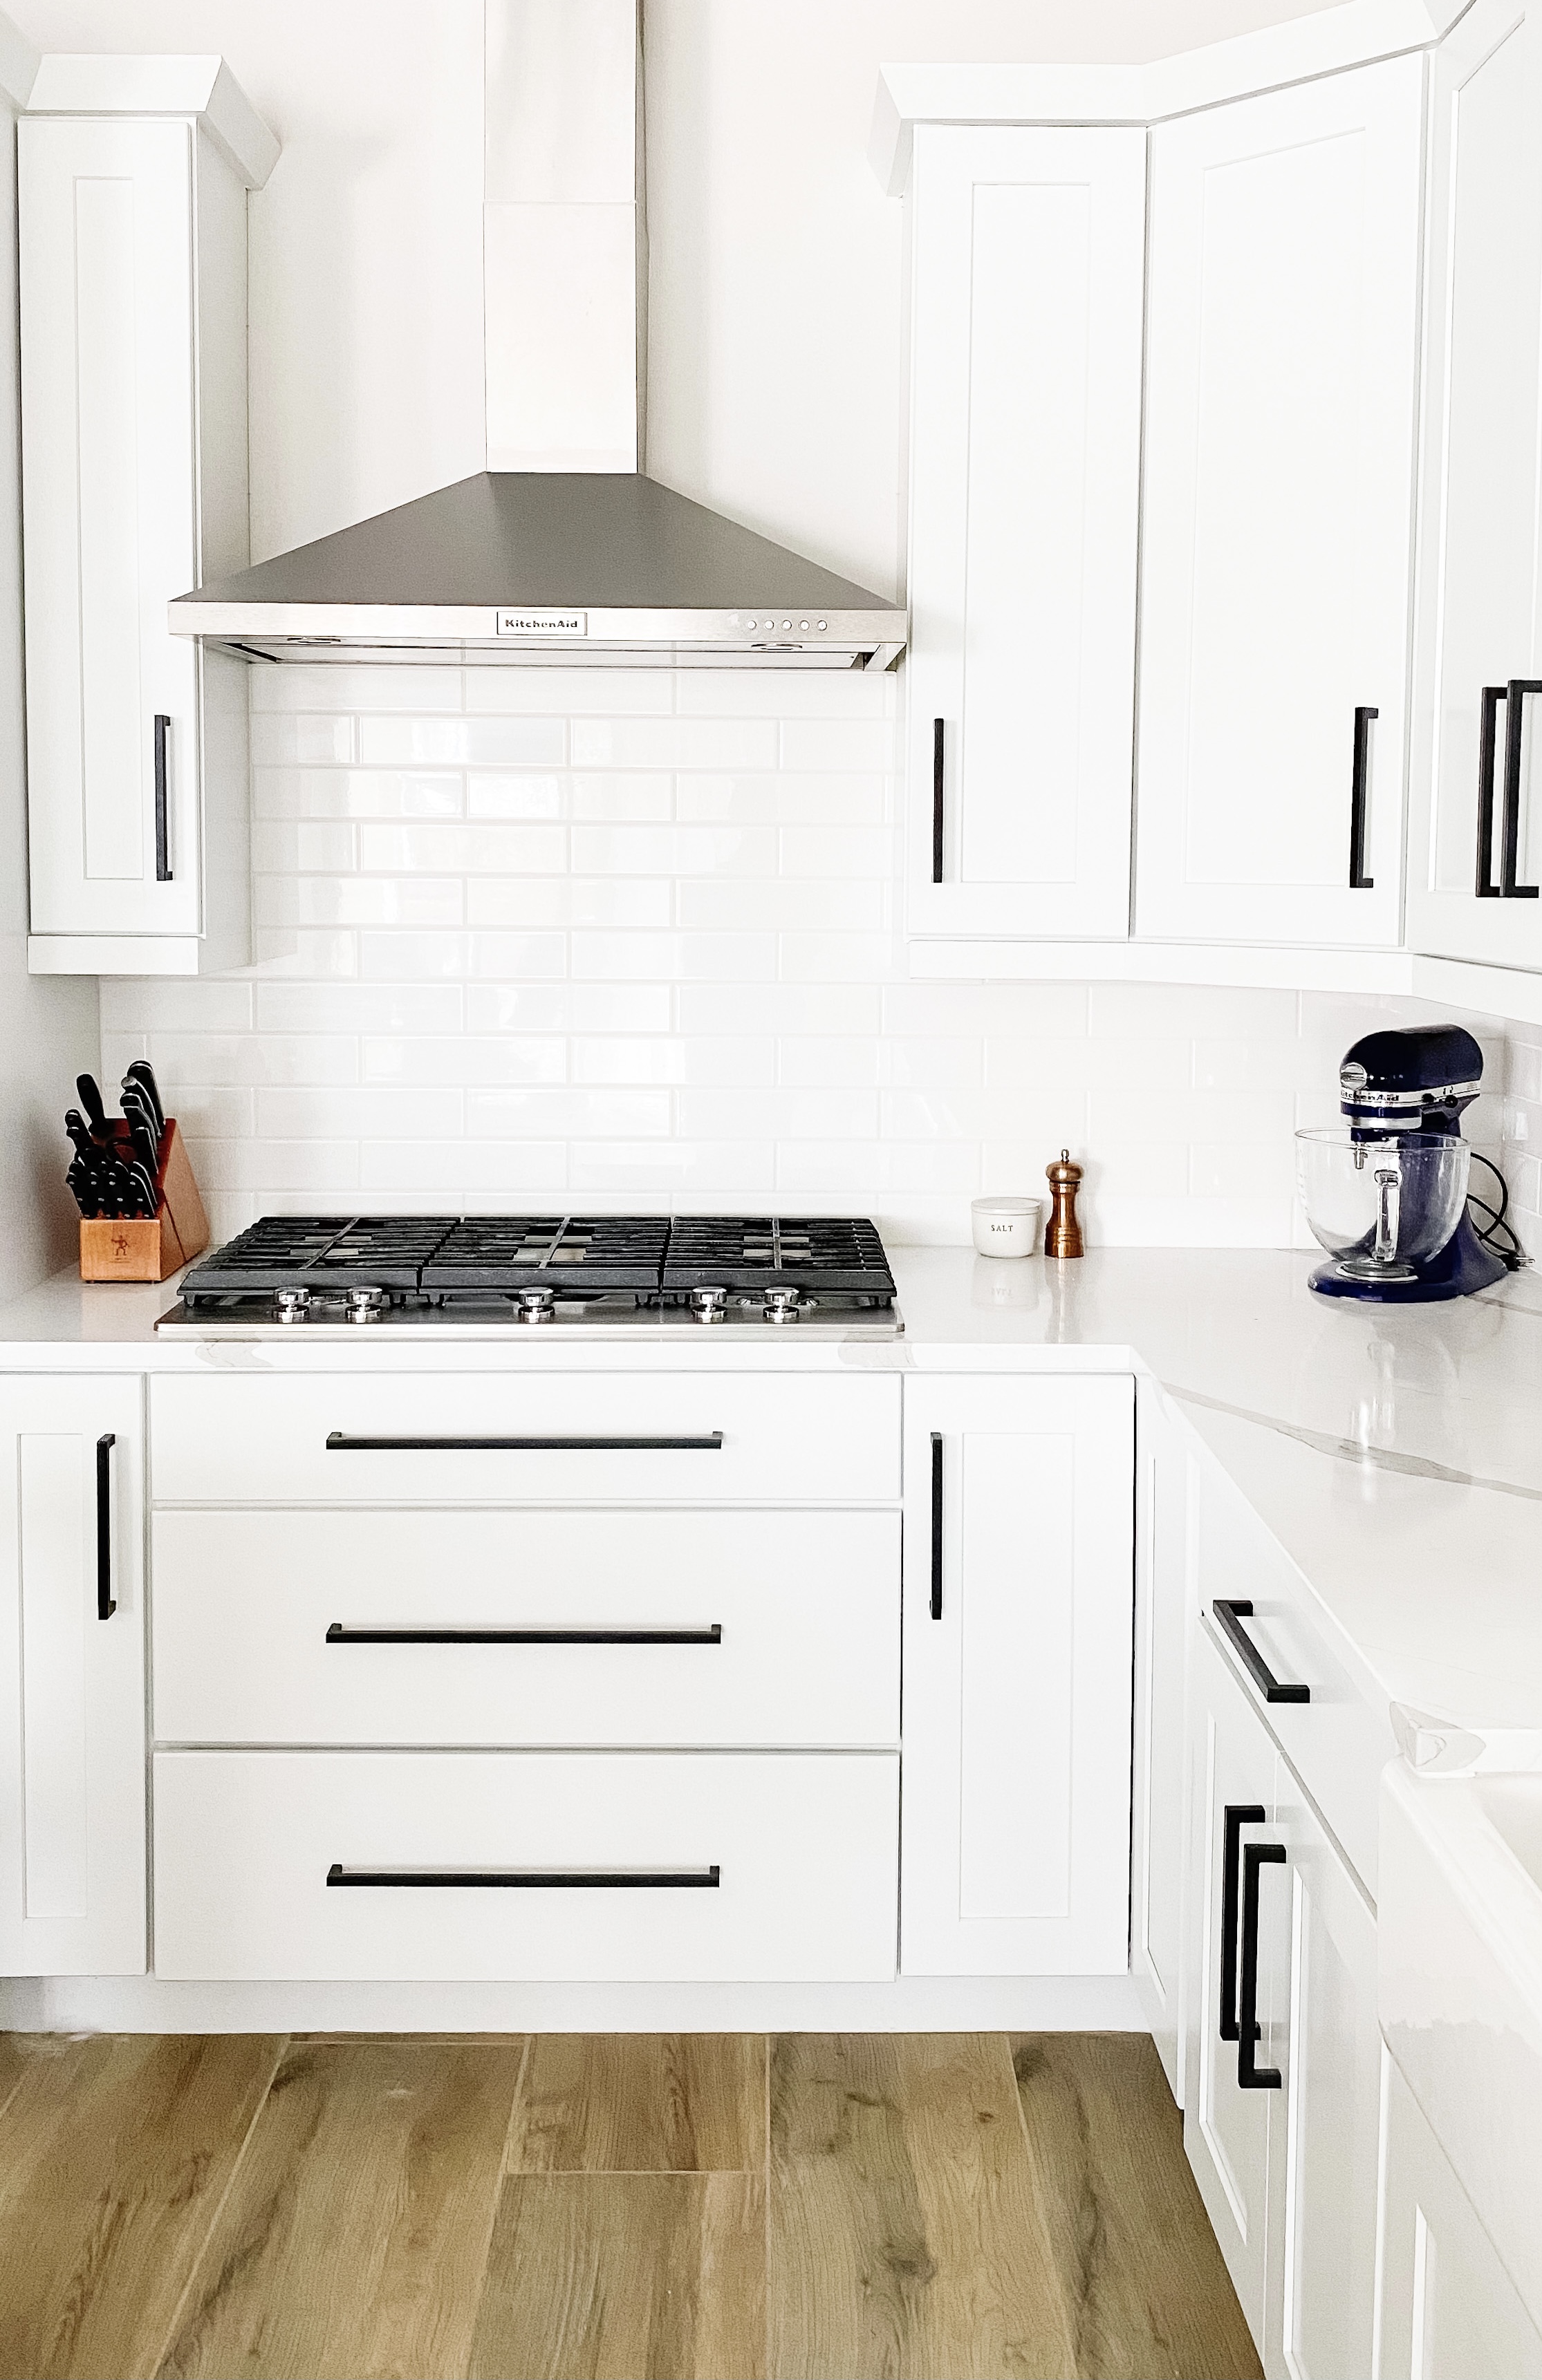
When we bought our first house, one of the first projects we did was to paint the cabinets white and install cabinet pulls. It made such a difference! Then when we bought our new build house, adding cabinet hardware was an upgrade (what isn’t an upgrade!) so we were able to save money by buying less expensive pulls from Amazon and installing them ourselves.
Let me walk you though how to do this simple yet impactful DIY!
Supplies:
Cabinet Hardware (comes in a variety of lengths)
Screws (mine came with the hardware)
Template (Optional) (This one comes with the drill bit, but it is not a pointer bit)
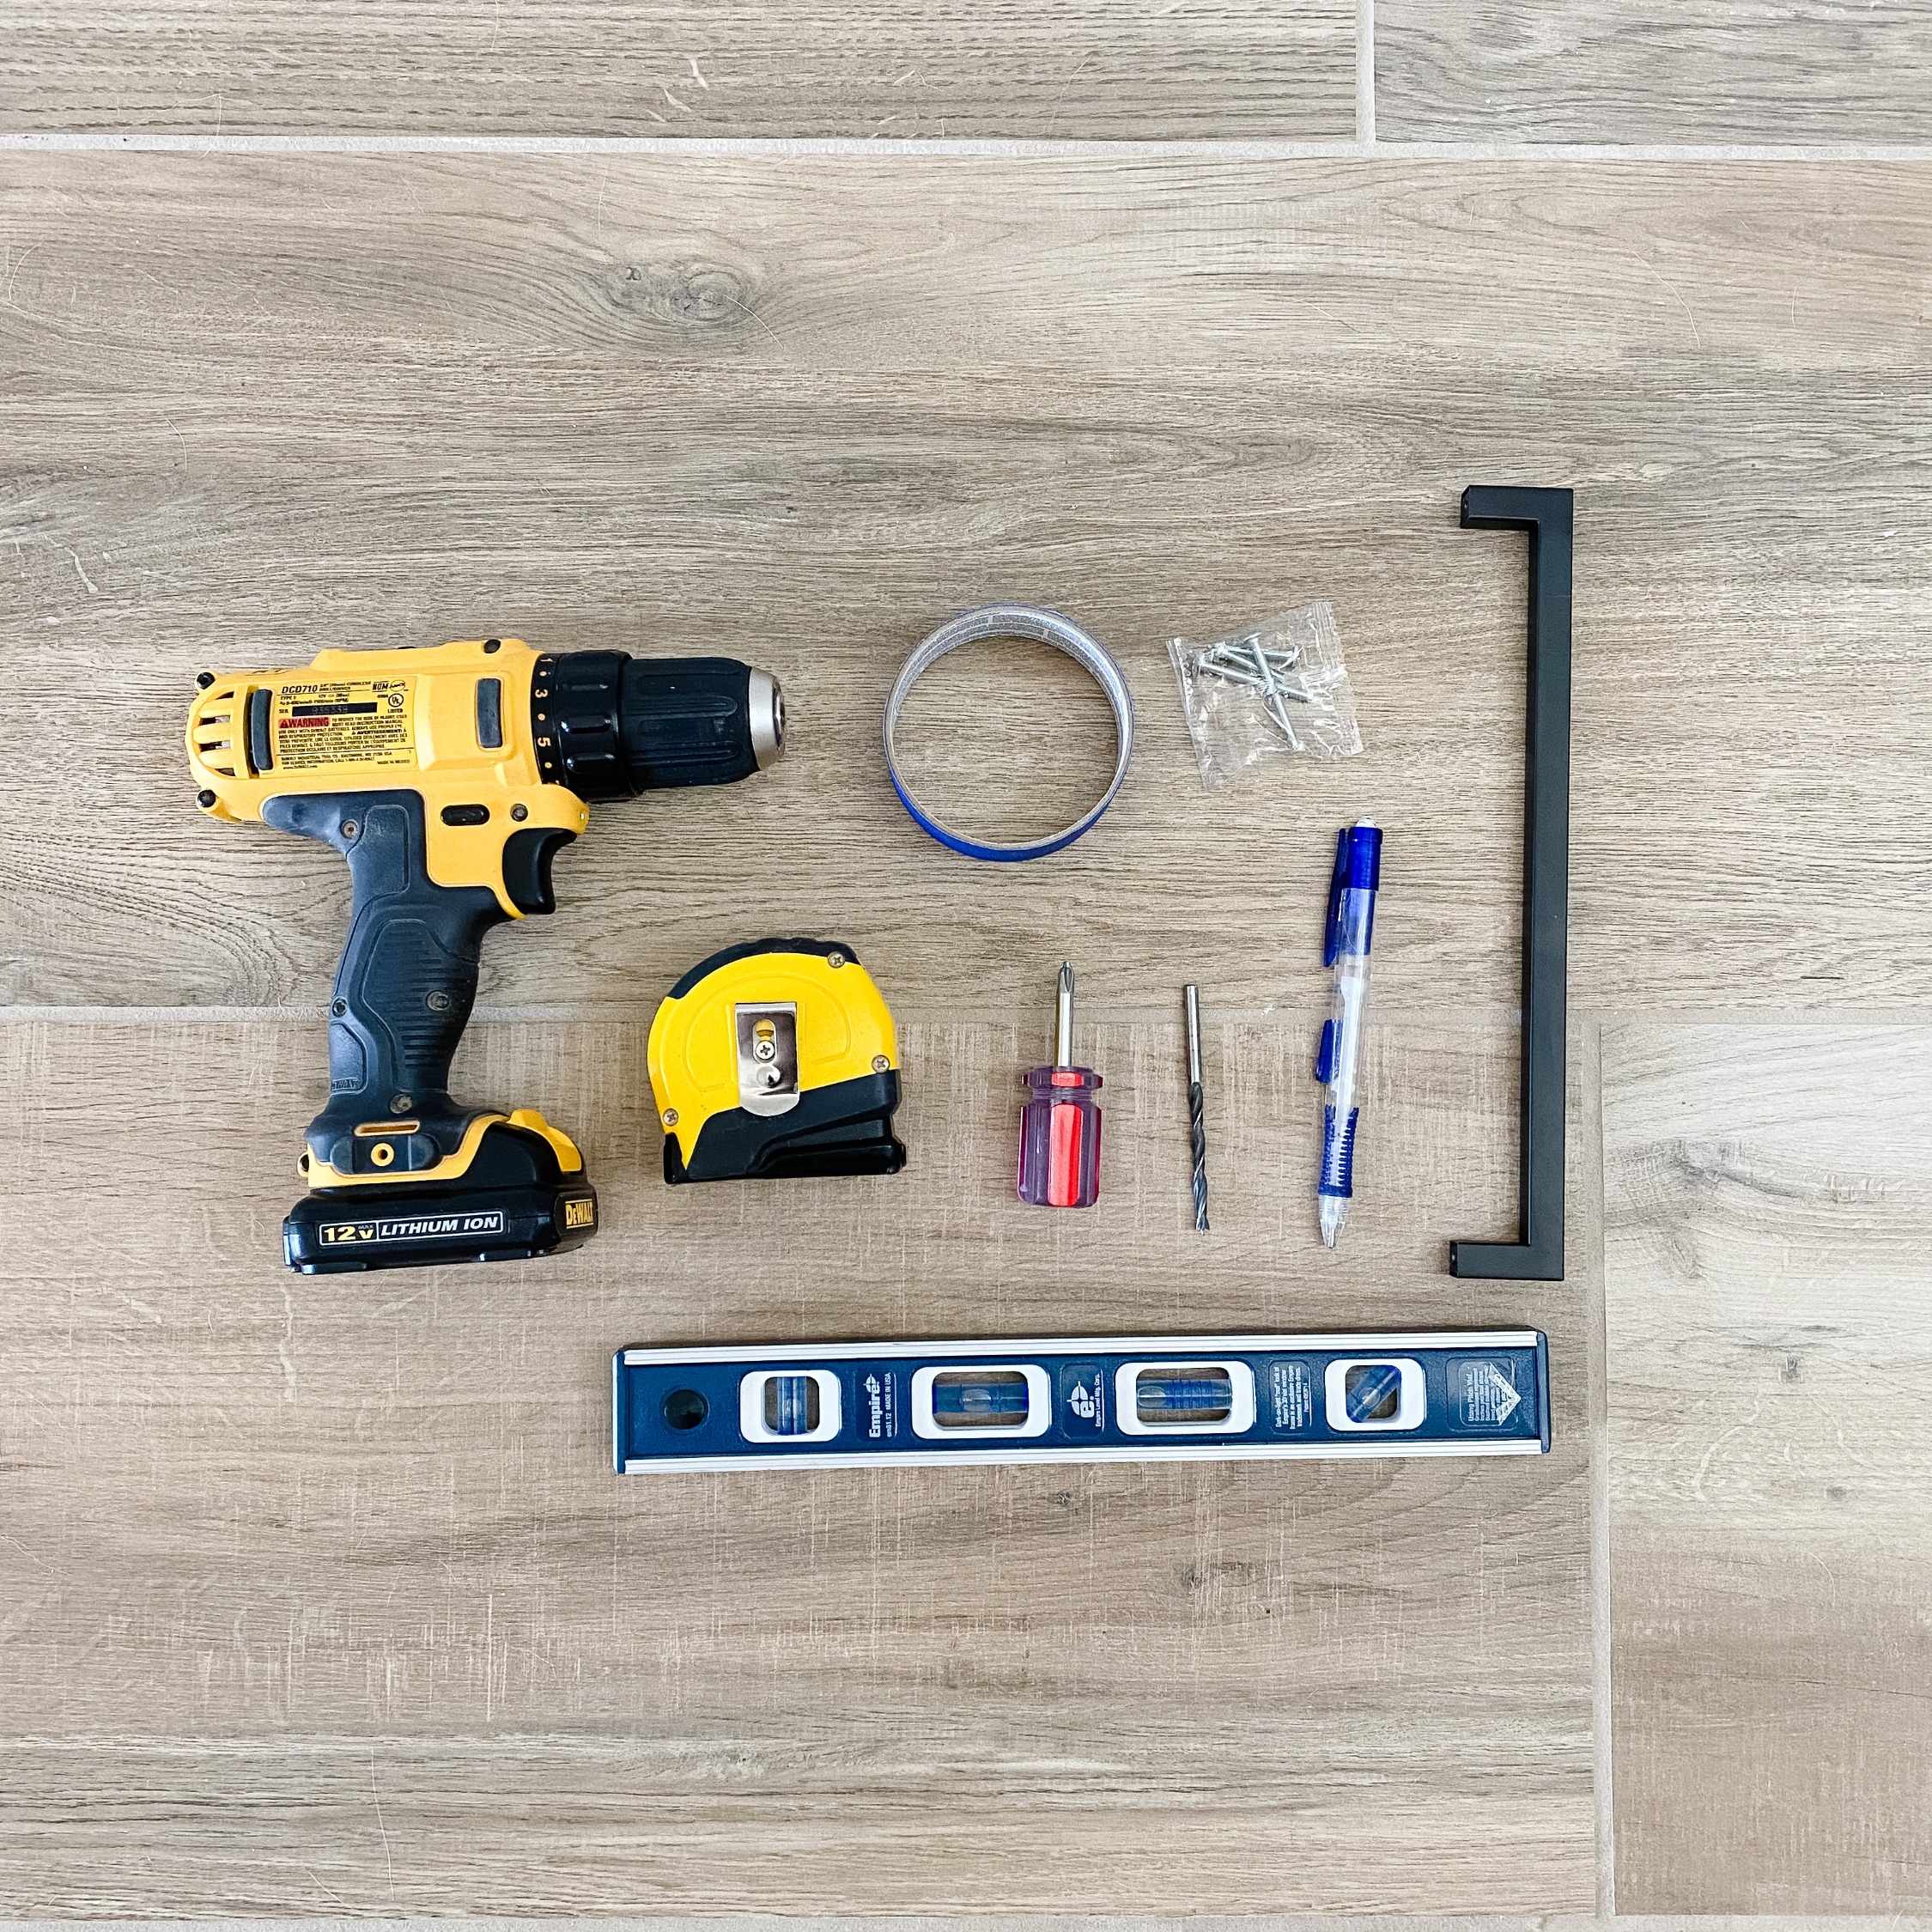
Supplies Needed
If you prefer a video walk through, check out my Instagram Highlight here and my Reel here.
Step 1: Measure
For a Drawer Front:
You first need to find the center of the drawer both vertically and horizontally.
If you are installing a knob (just one screw), go ahead and skip to step 3.
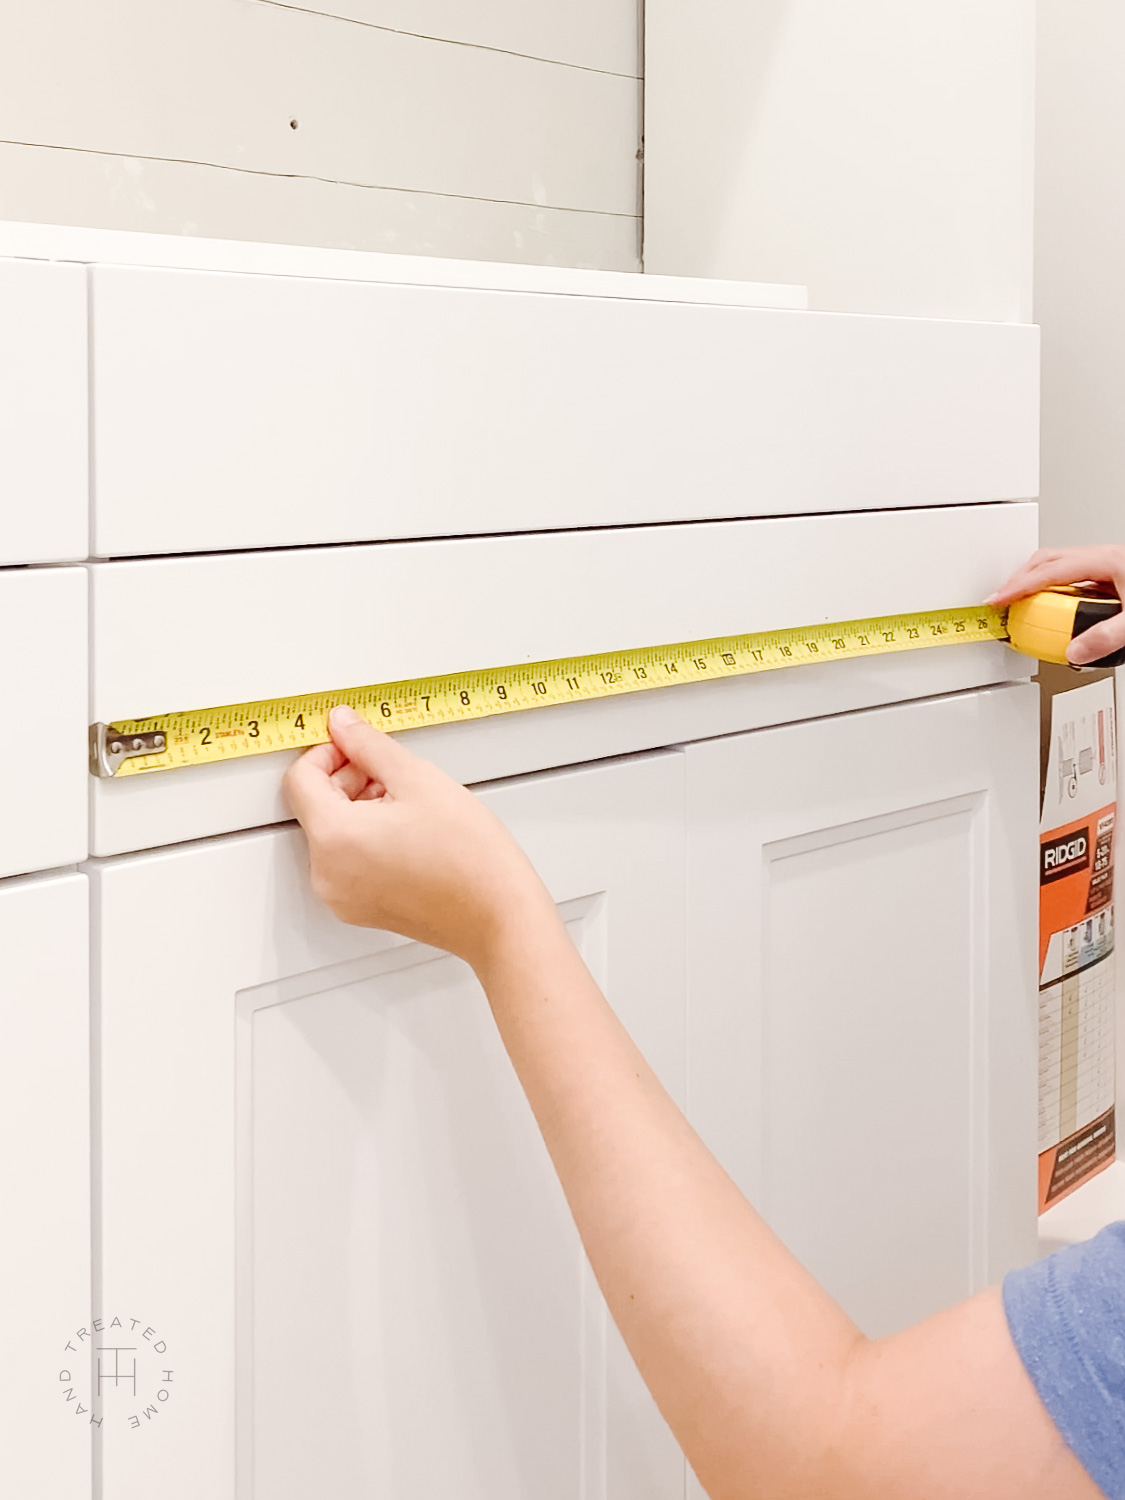
Measure to Find the Center
If you are installing a pull (two screws), you need to find the distance between the center of the two holes. Not the total length of the pull.
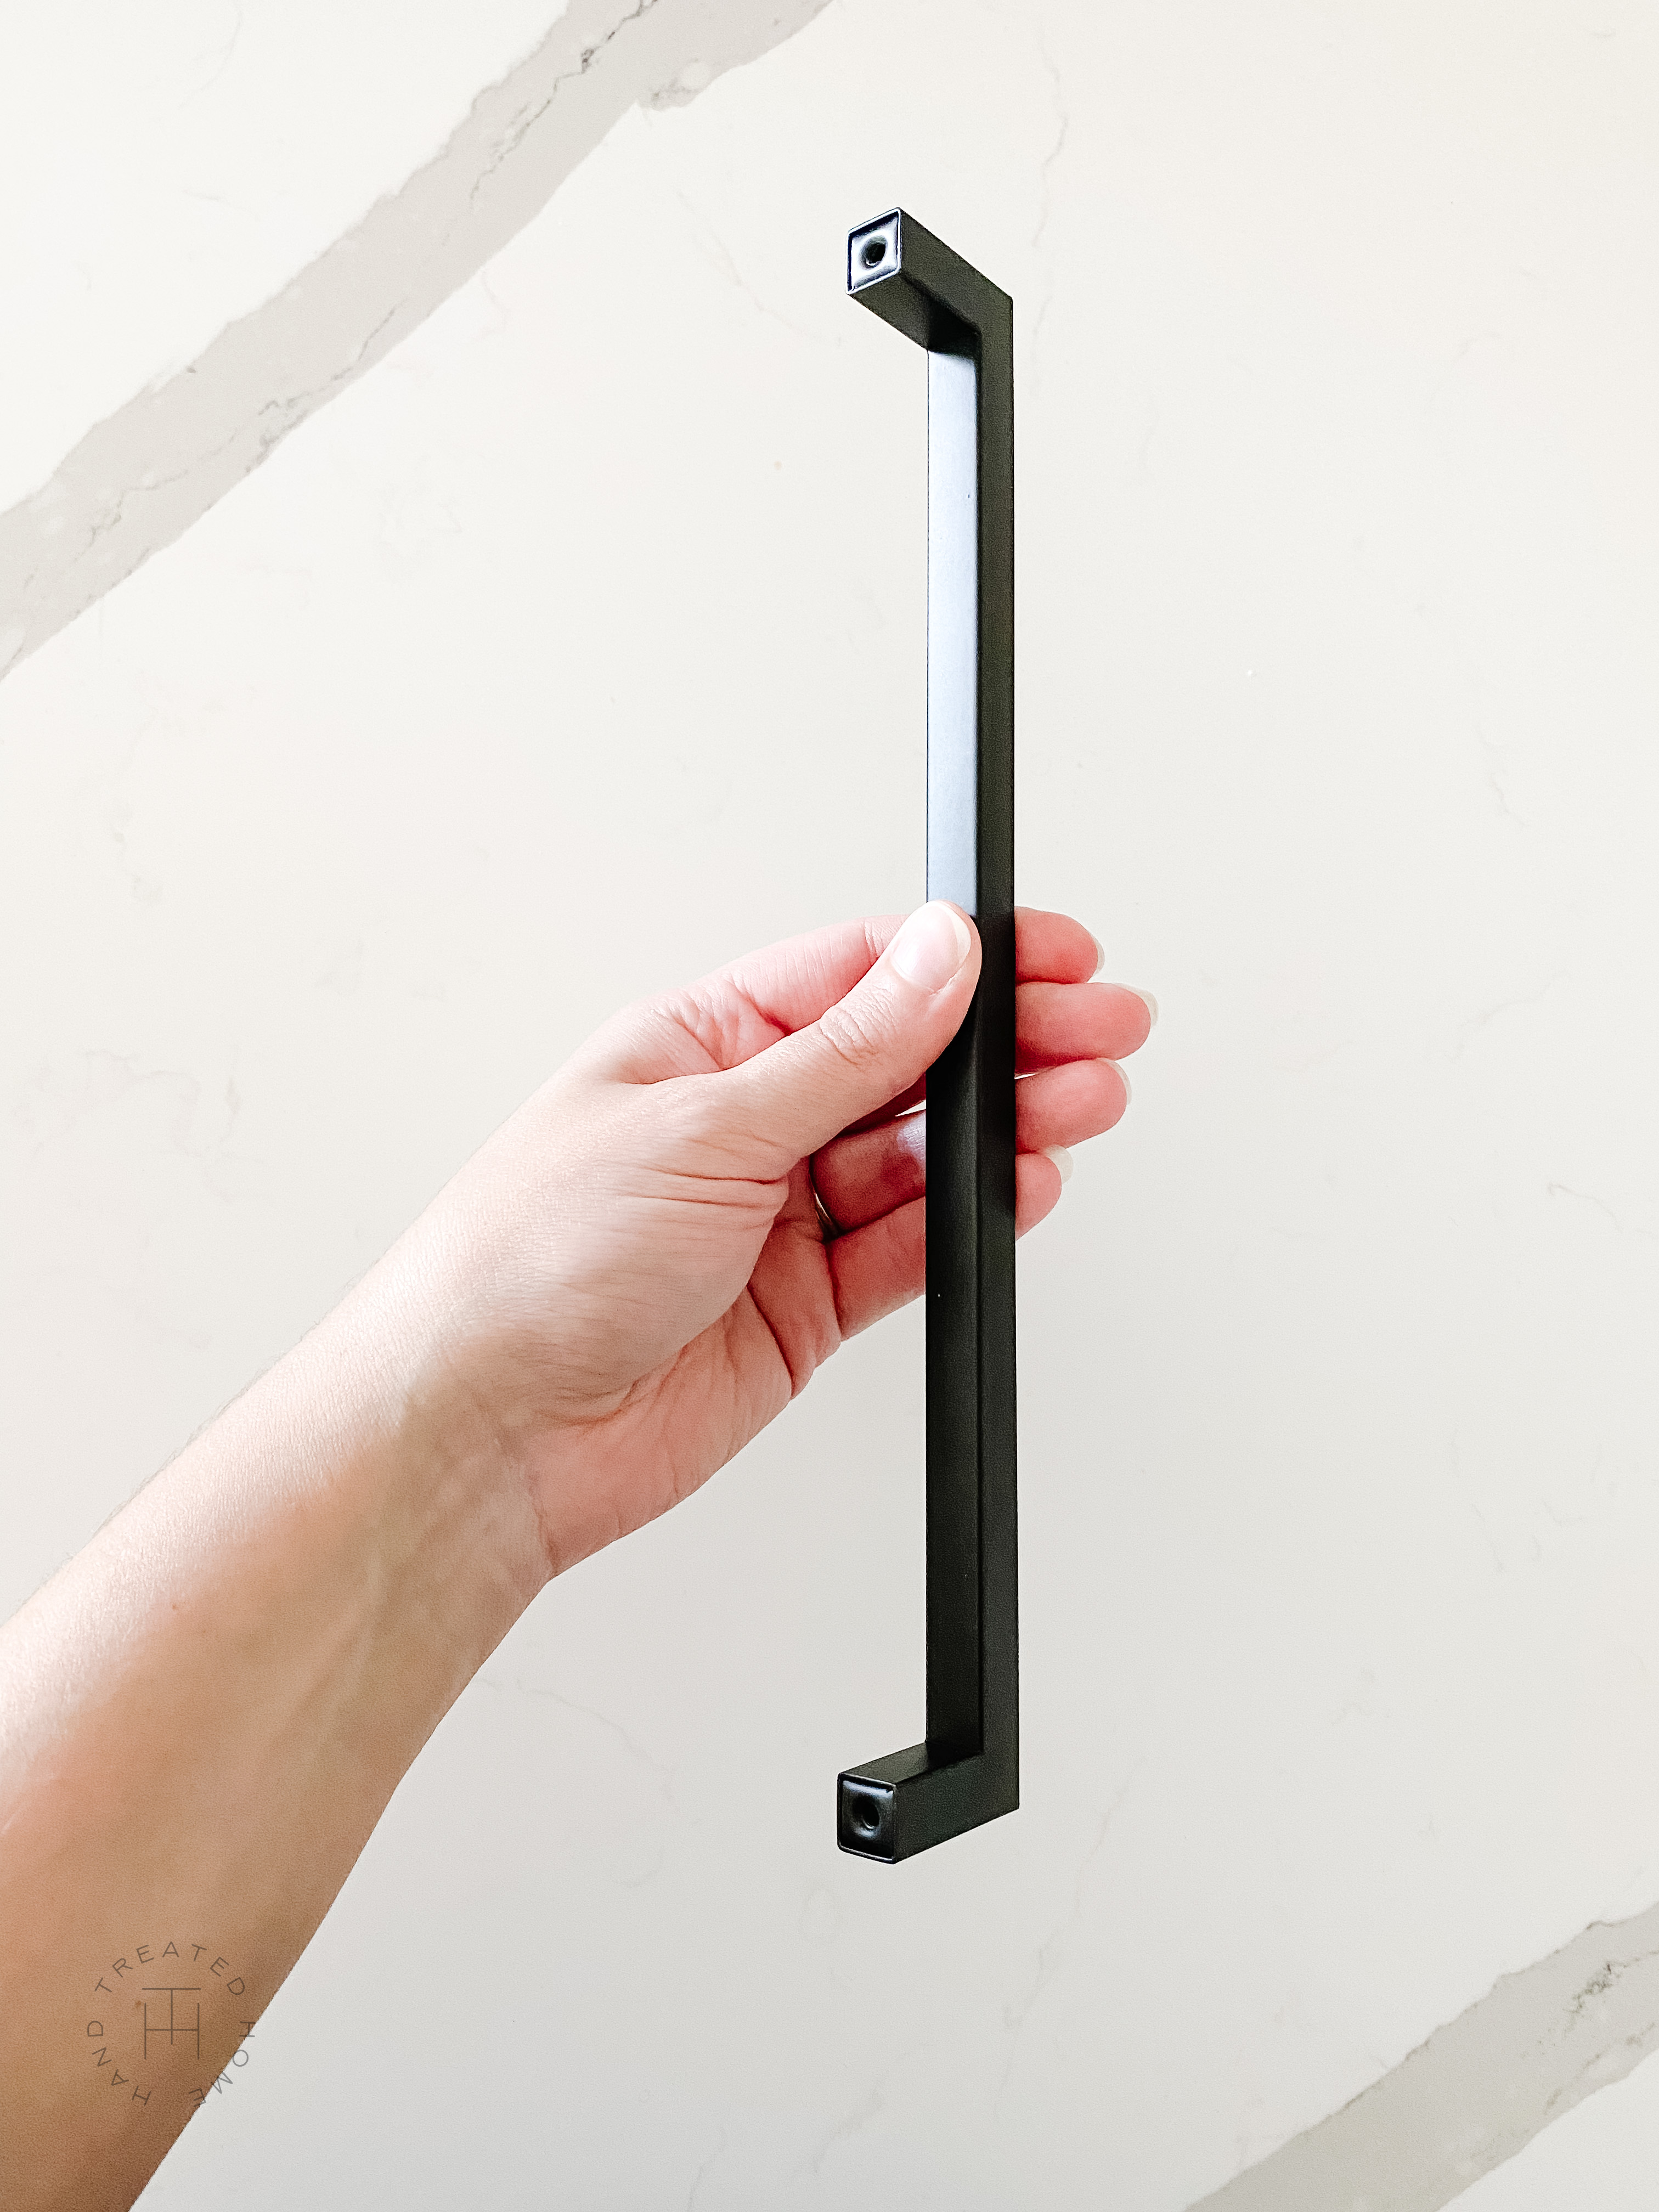
Measure Distance Between Center of the Holes
Once you have that measurement, center it on your original center mark on the drawer. To do this, divide the distance between the two holes in half, and then measure that amount out to the left and the right of your center mark.
Make sure those marks are centered vertically on the drawer front as well, use a level to double check your marks are level.
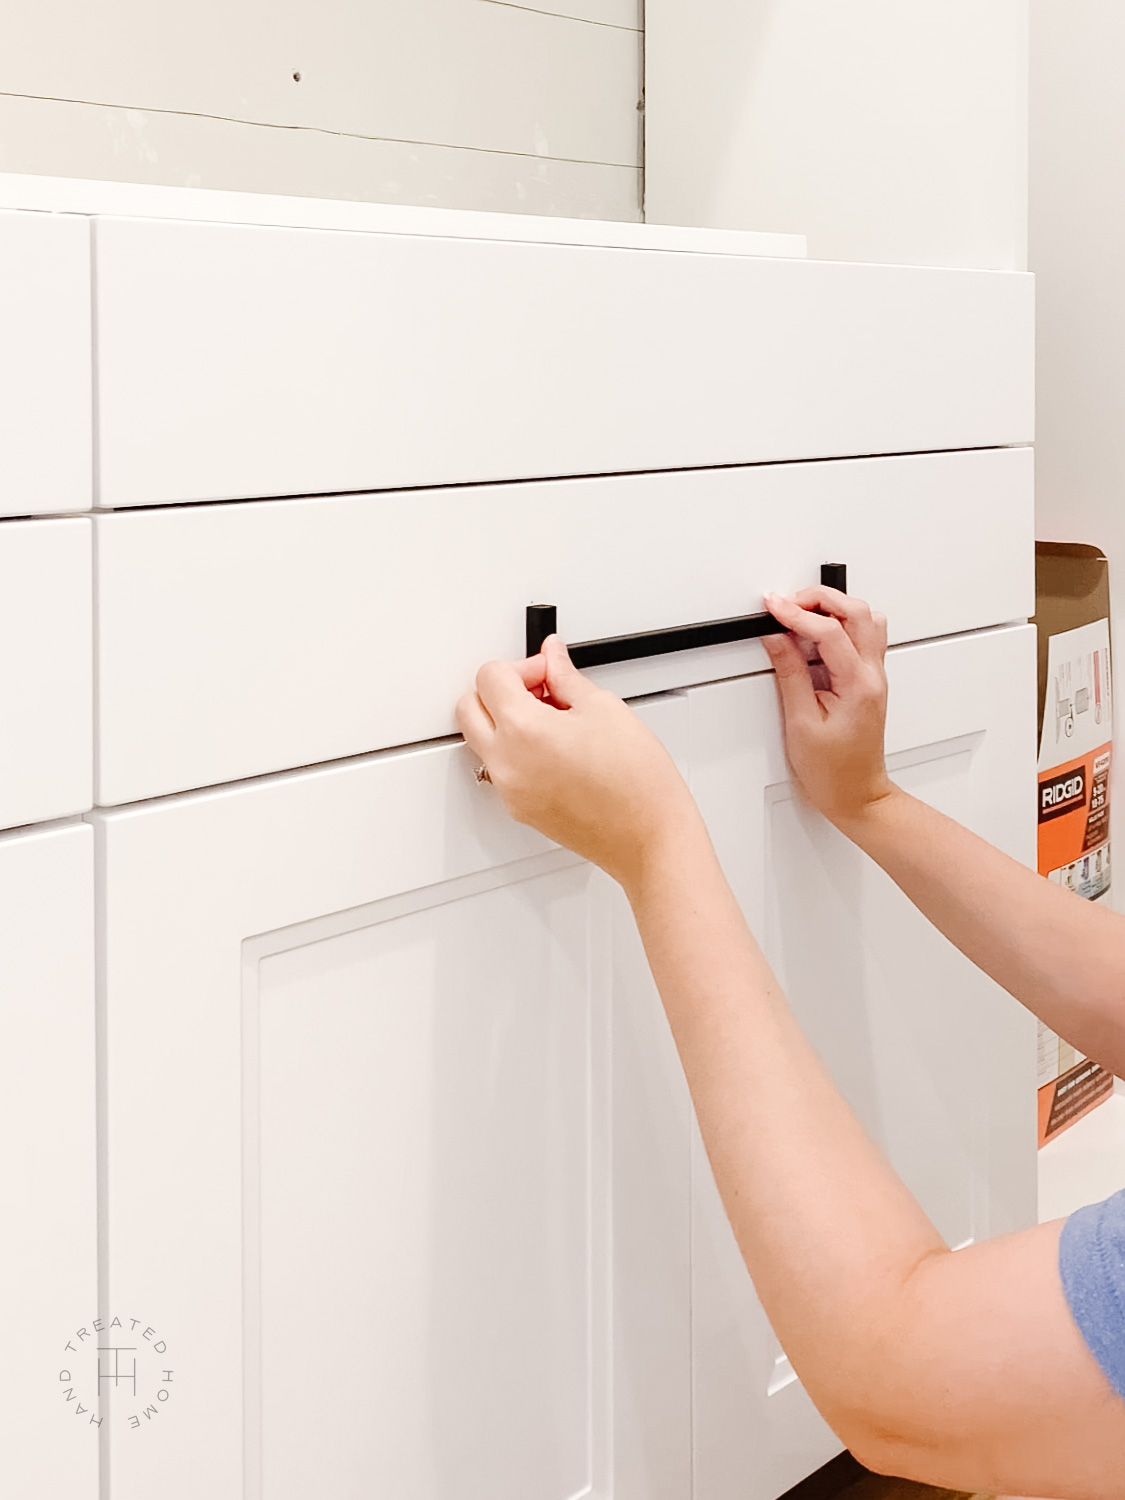
Hold Up Pull to Ensure Holes Line Up With Marks
For a Door Front:
First you need to decide where on the drawer front you want the hardware to sit. For me, my cabinets are shaker style, so I decided I wanted the top of the pull to sit right at the bottom of the top rail, and in the middle of the stile.
To do this, I measured where the middle of the stile was and made a mark, and where the bottom of the rail was and made a mark. Where those two marks intersect is where I made my dot.
Then measure down from there the distance between the center of the holes on the pull. Make sure it is centered in the stile (confirm with a level)
Step 3: Drill
Now that you have your marks, you can drill the holes. Make sure the size of your drill bit matches the size of the screws you will be using. My cabinet pulls came with screws so those are the ones I used.
I also like to use a pointer tip bit for this, though it is not necessary. A pointer tip bit has a point, which helps to keep it exactly where it is placed when you begin drilling, instead of potentially scooting off your mark.
TIP: You can use tape on the inside of the drawer or door where you will be drilling through to help minimize any tear out or splitting of the material when drilling through.
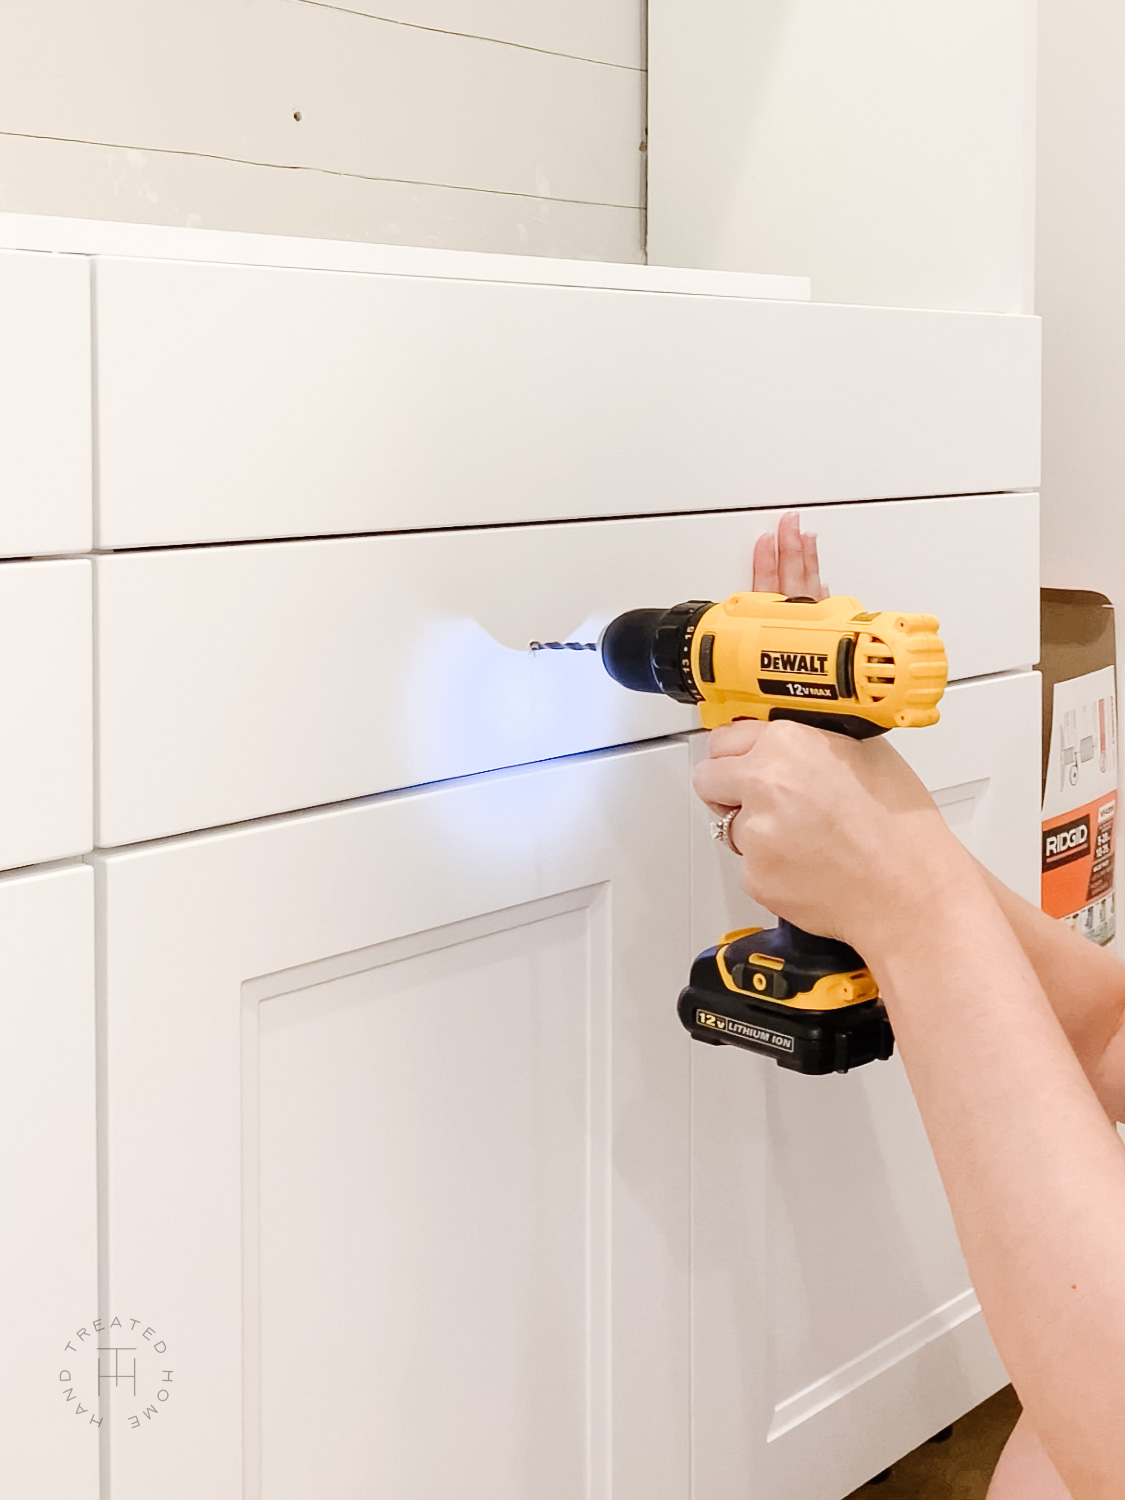
Line Up Drill With Marks and Drill
Step 4: Install Hardware
Now all you need to do is insert the screws from the back, and screw on the hardware. Using a screwdriver here is usually easier than using the drill to screw them on.
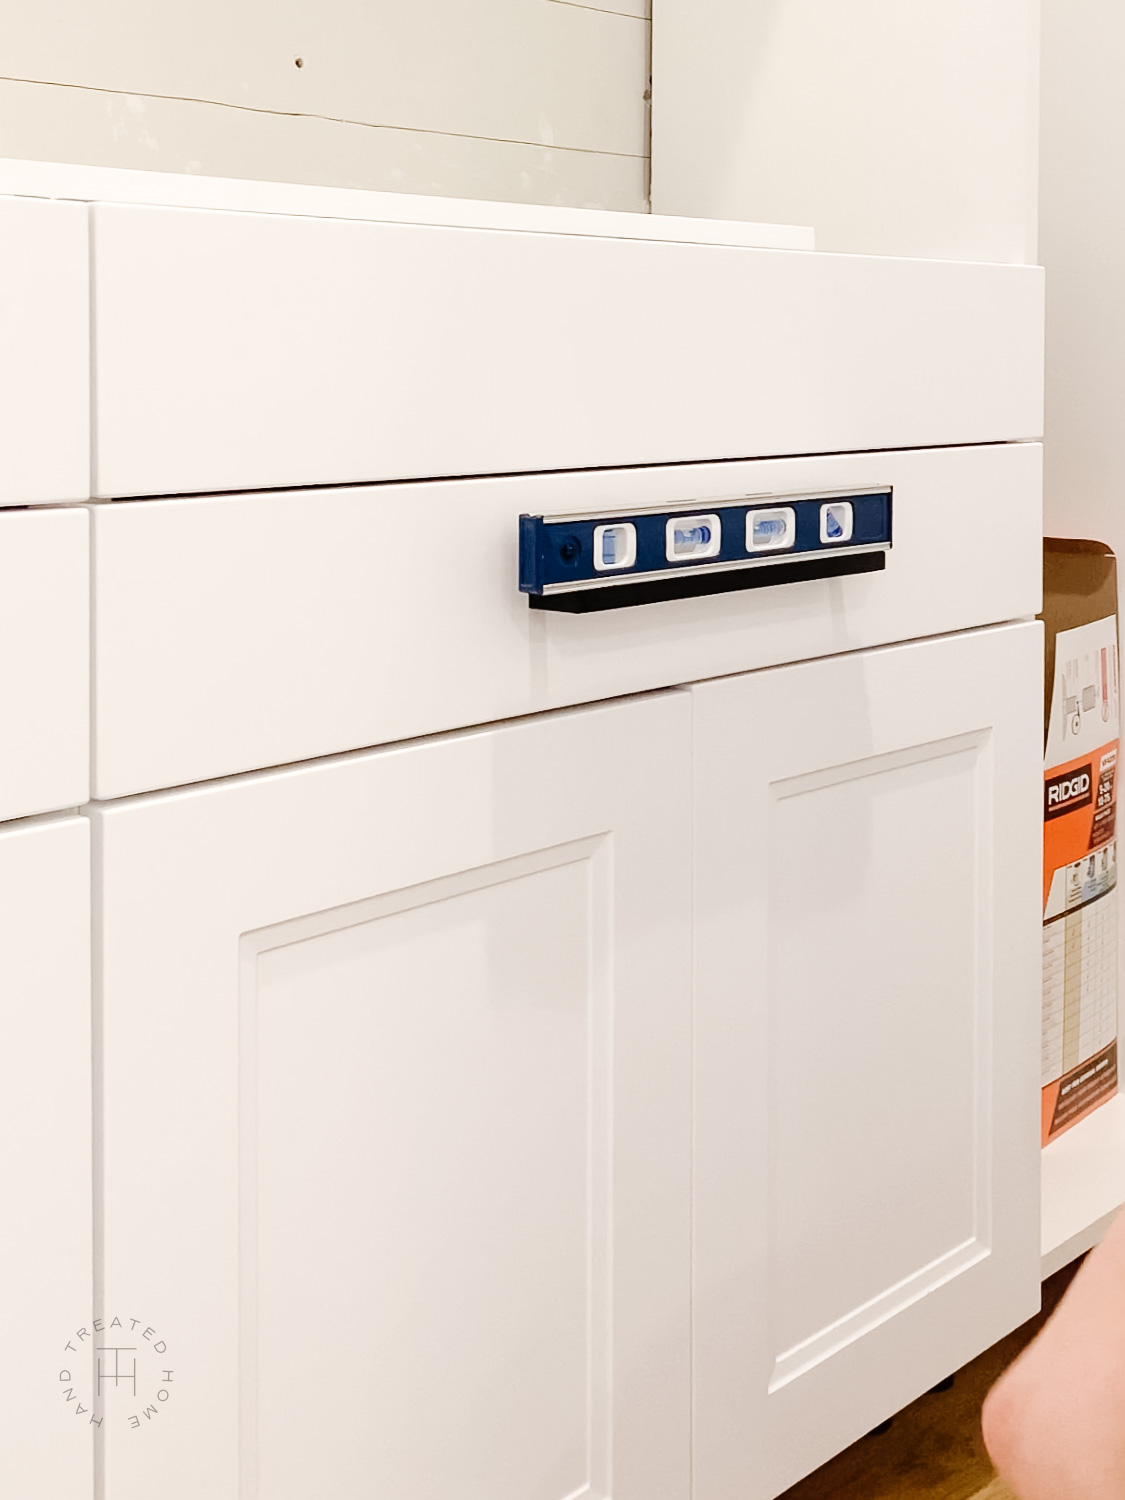
Install Hardware, One Last Check That It Is Level
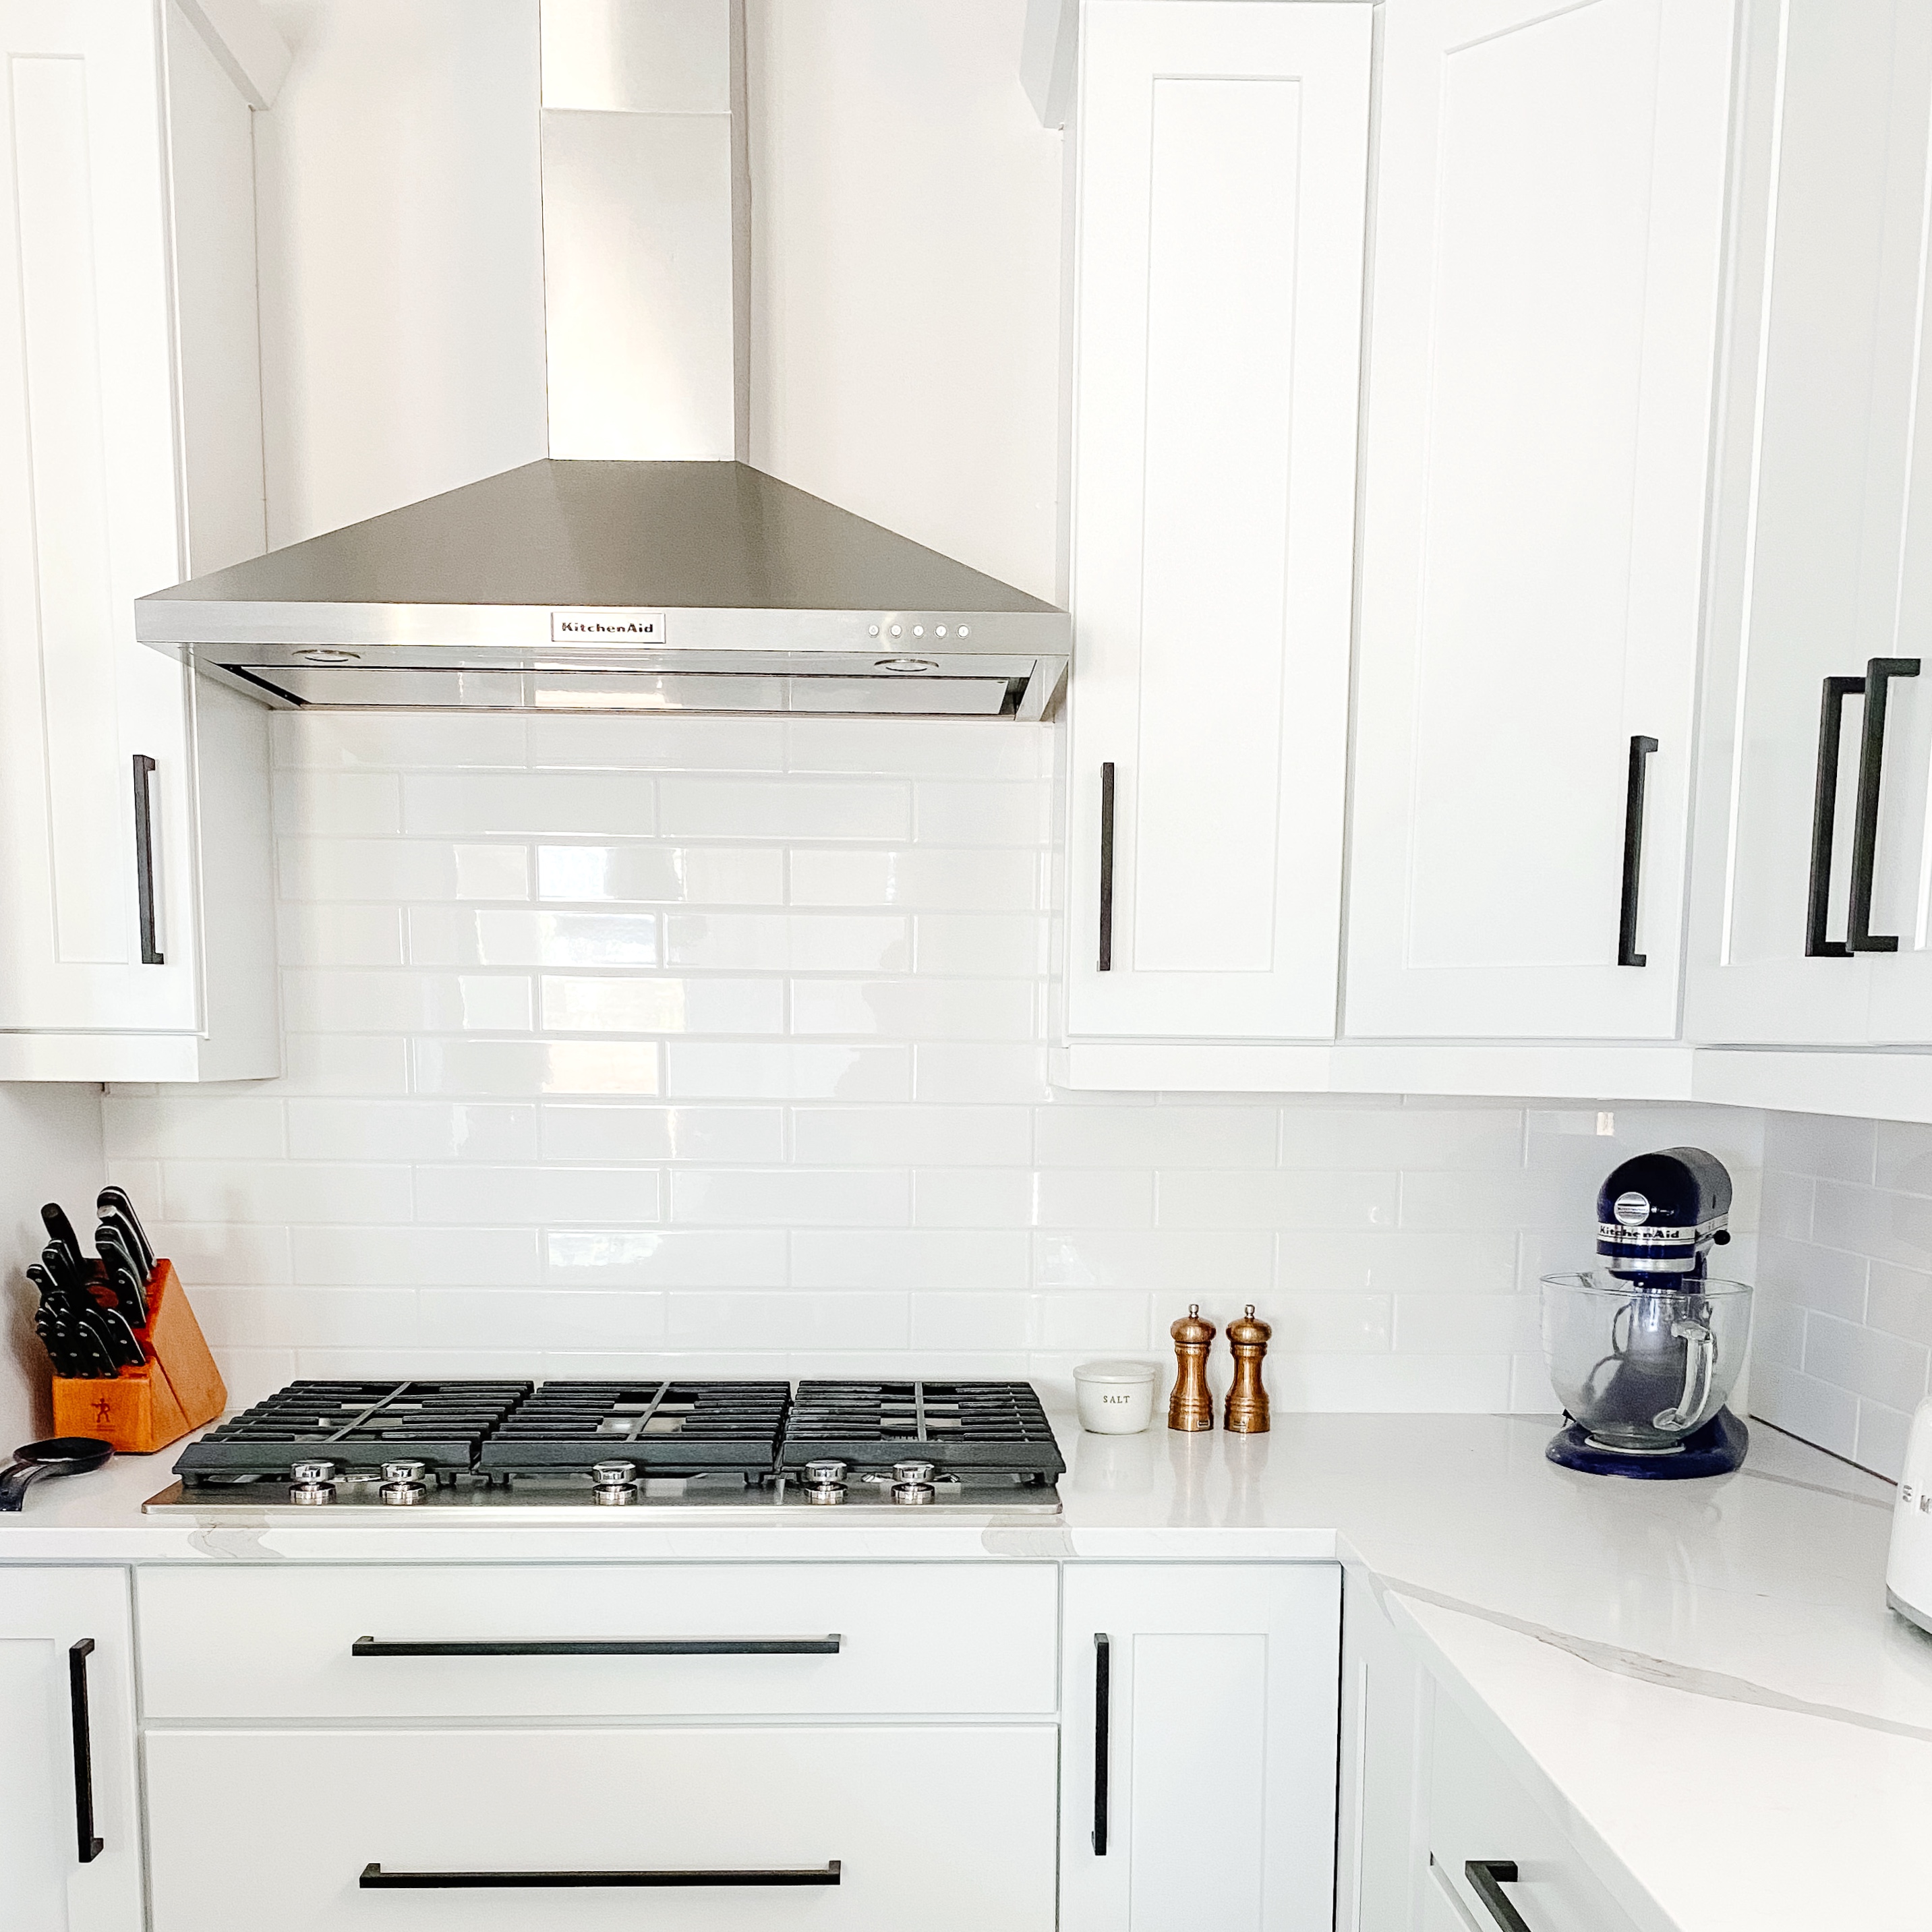
Black Matte Cabinet Hardware
You did it!!
Congratulations on elevating your cabinetry all by yourself!
Tag me on Instagram @handtreatedhome so I can celebrate with you!
Questions? Email me at hello@handtreatedhome.com or feel free to leave any questions or comments below!

