Floating Wood Shelf Guide
This post is in collaboration with Urbandi. Thank you for supporting the brands that we love and that help support Hand Treated Home.
This page may include some affiliate links, meaning that at no cost to you, I could earn a commission if you purchase through these links. Learn more. As always, I only link items that I personally use and recommend. Thank you for your support by shopping through my links.
Floating Wood Shelf Guide – What you need to know about picking, installing and decorating floating wood shelves
Floating shelves can be a great addition to many spaces in a home, but picking out the right wood, stain and size can be tricky. Once picked comes the installation and then the hardest part of all – decorating.
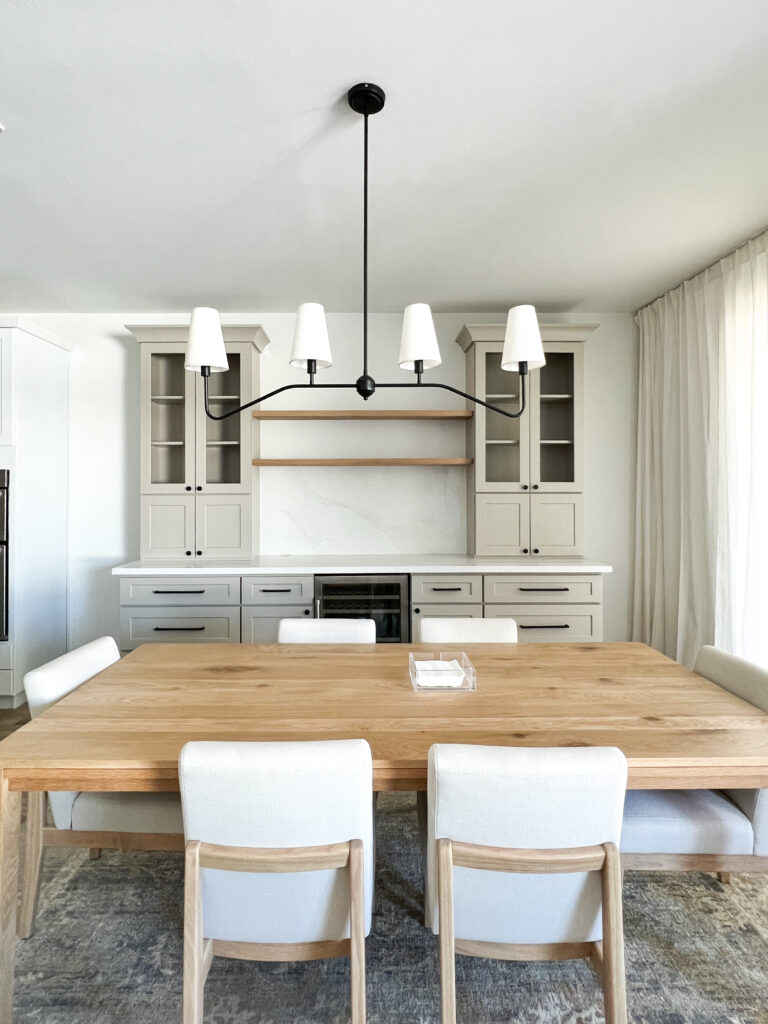
Picking your floating wood shelf
I have installed my fair share of floating shelves over the years. From building my own, to buying them at a big box store, to having custom shelves made – I’ve done it all. I think there is a time and a place for each option and certainly pros and cons.
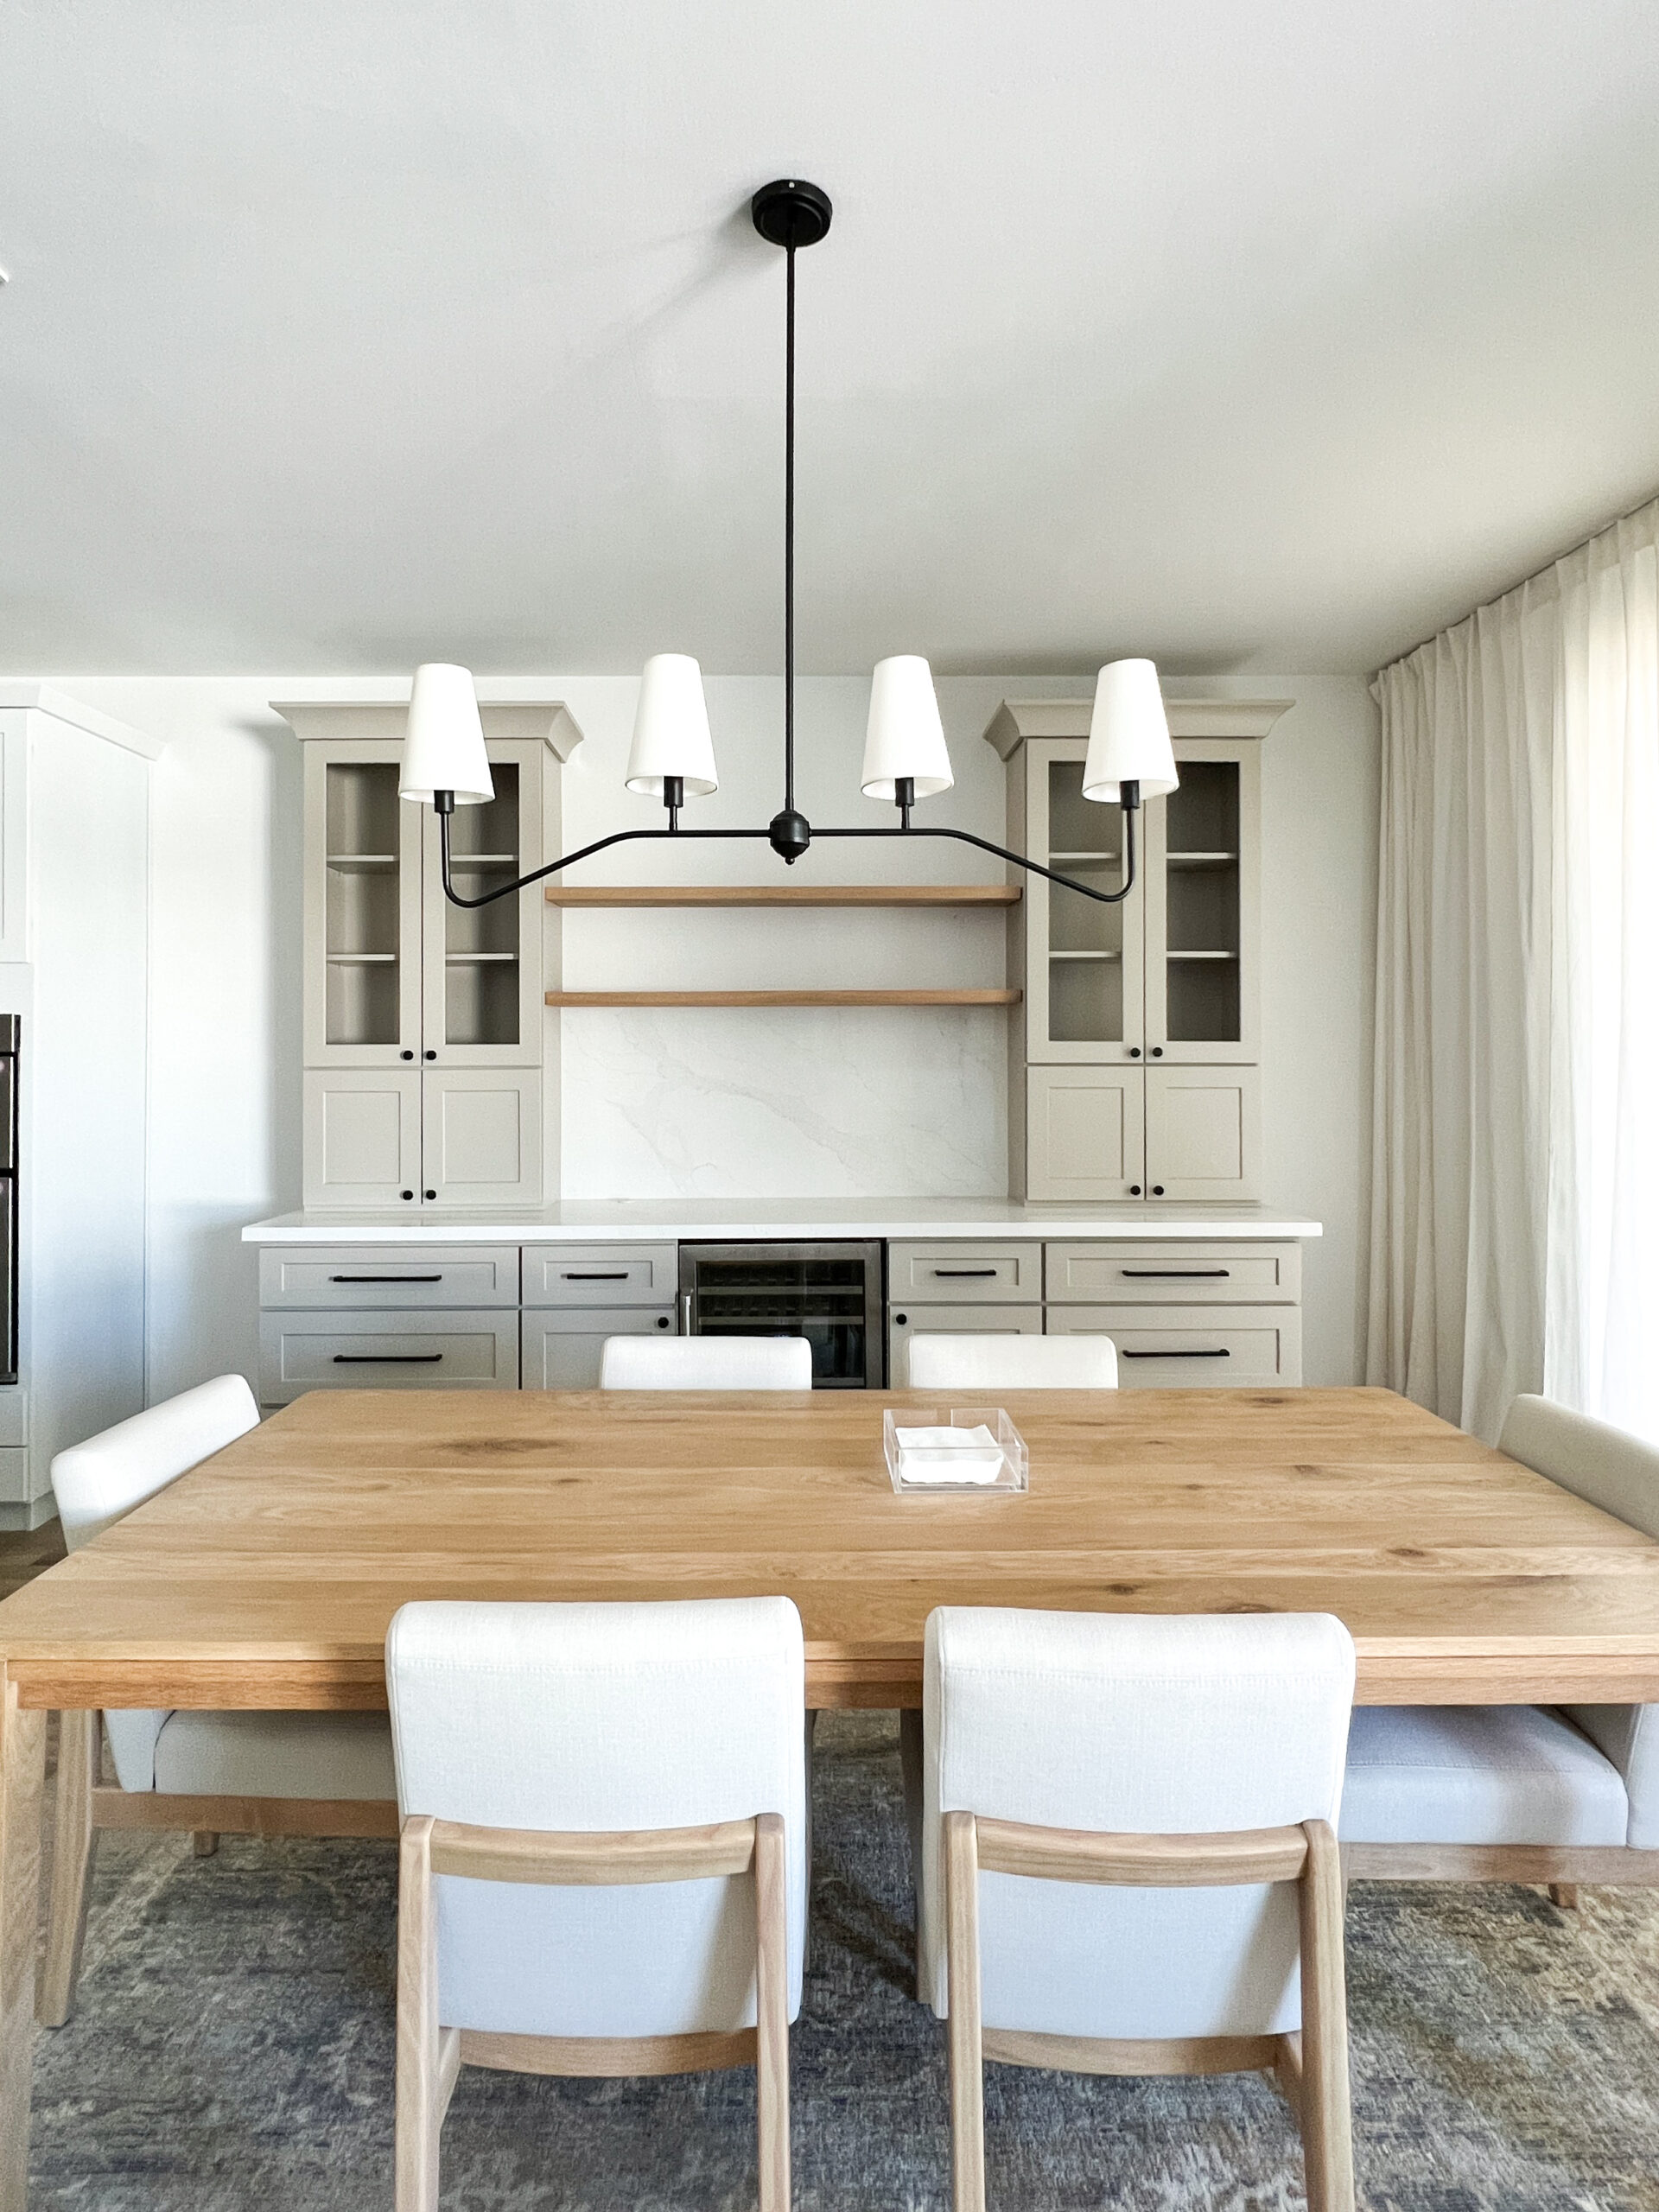
Currently my favorite way is to have shelves custom made. It is the easiest way to get quality high end looking shelves that are the perfect fit, size, and wood tone that you are wanting. I have gone this route three times now in my current home and honestly I don’t think I’ll ever go back. There is just something about having the perfect floating shelf that looks like it belongs in a magazine photoshoot that elevates any space to the next level.
These floating white oak shelves from Urbandi are the ones that I have and recommend. I especially love that they will send you samples of their different woods and finishes. This helped me a lot when I was deciding which wood and stains to go with as I was able to see the colors in my home and compare them to their surroundings. After seeing the samples I actually switched my pick from what I was originally going to go with.
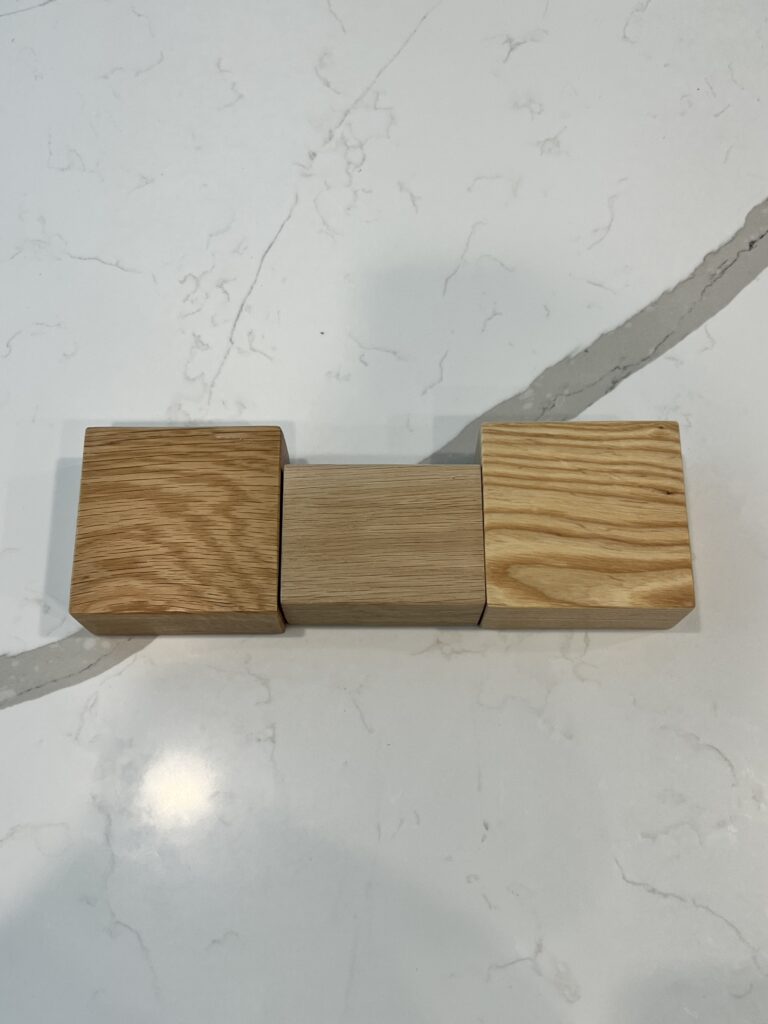
I have worked with Urbandi a few times and have their floating white oak shelves throughout my home. The quality of the shelves is phenomenal and being able to have custom sized white oak shelves shipped directly to me is such a breeze.
Now I have built shelves myself before and you can also achieve a great look. I have loved the shelves I have built and encourage you to give it a try if you have a hankering to dive into this DIY. You can check out my blog post here. It is for building a mantel but it’s the same concept as building a floating shelf, just change the dimensions.
One thing I do love about the custom made shelves is the wood and stain selections. I personally love white oak but it can be hard to find and can be expensive. You would need to visit a local lumber yard in order to find it instead of a big box hardware store. Places like Urbandi have white oak and other wood options available, allowing you to get the higher end look of quality wood easily.
Installing your floating wood shelf
Installing a floating shelf is pretty much the same whether you building it yourself or buy a custom shelf. The main difference will be the material of the bracket: wood vs metal. While I have made and used wood brackets, I do prefer the metal ones as they can hold more weight and just feel all around sturdier. The Urbandi shelves come with a metal bracket as well as the screws needed to install it.
To install the bracket you need:
Measuring tape
pencil
level
drill
screws
wall anchor (optional)
stud finder
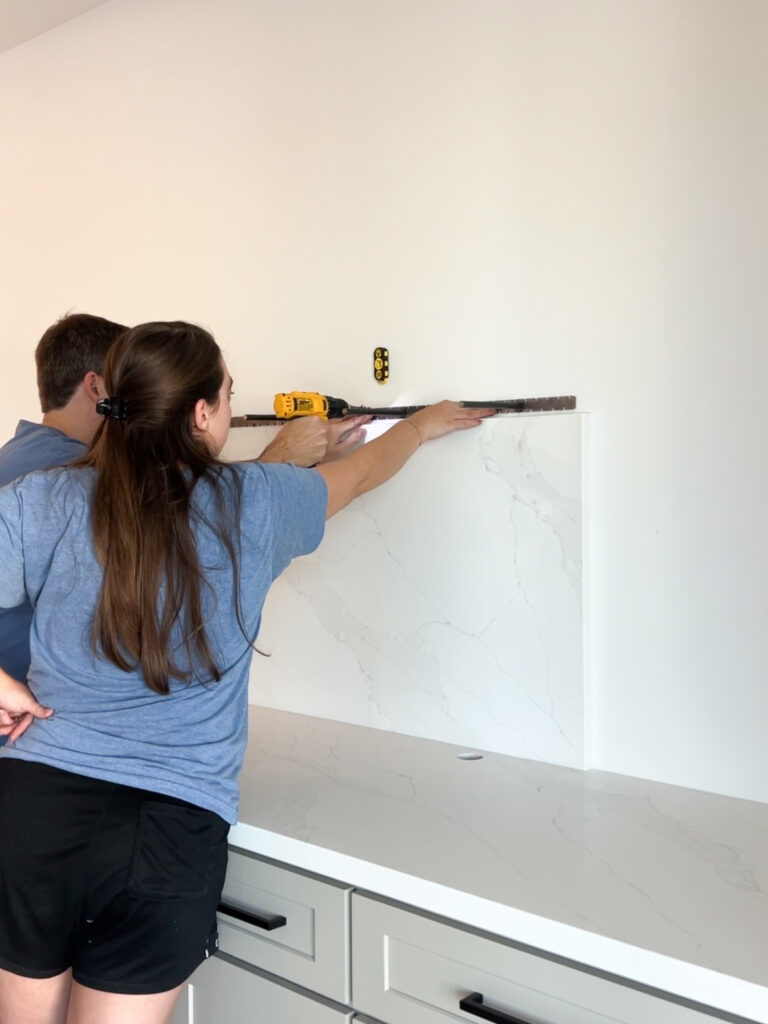
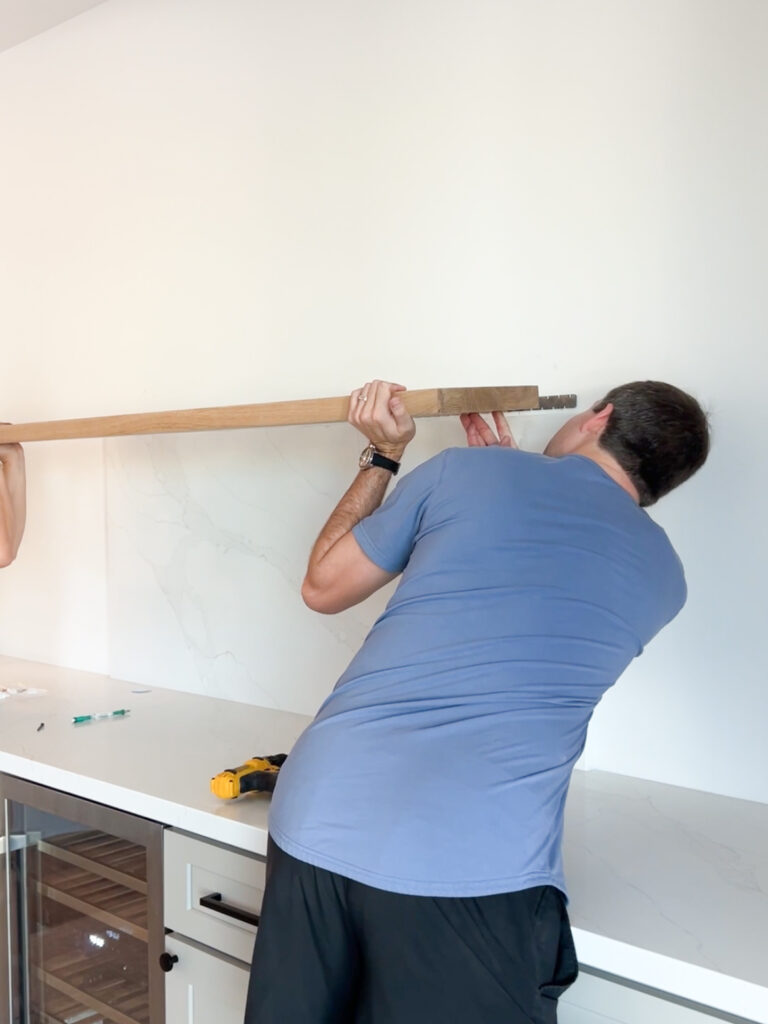
First determine where you want the shelf to be on the wall. Then use your stud finder to find the studs. You absolutely want AT LEAST one screw to go into a stud. The more the better, but it also depends on the length of your shelf, as it may only be long enough to cross one or two studs.
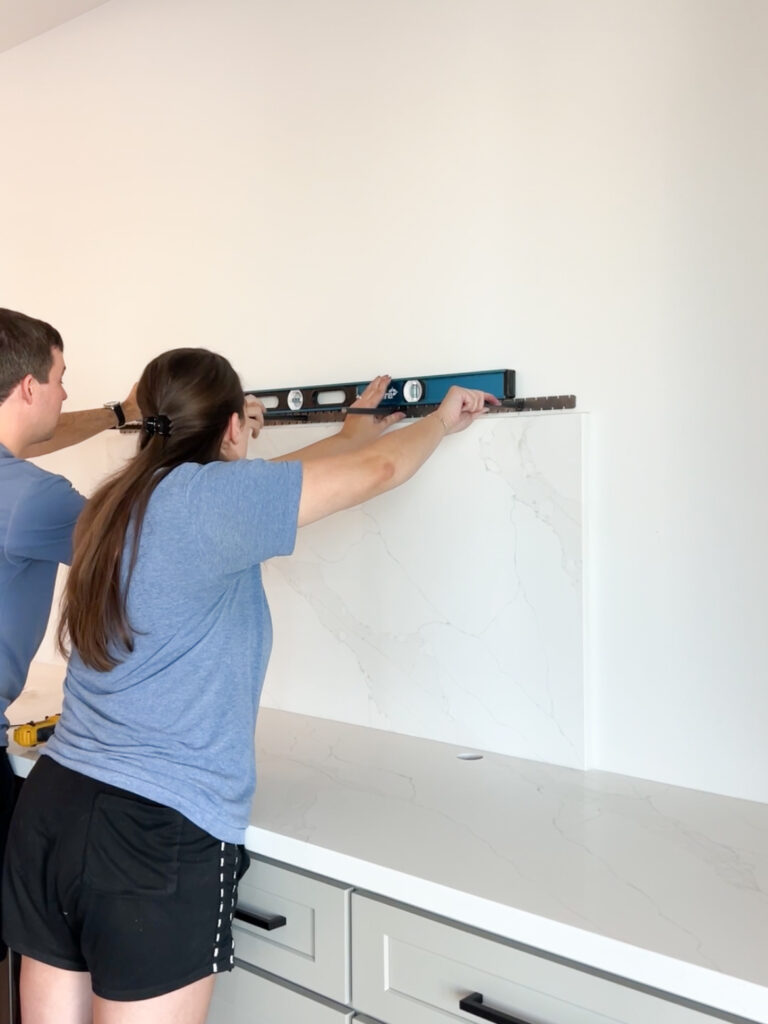
Once you mark the studs and where you want your shelf to go, draw a level line using your level. Then hold the bracket up to that line. Drill the screws through the bracket (if wood) or through the bracket holes, and into the wall studs. Pre drilling the wood beforehand will help to avoid splitting if your bracket is made of wood.
If using wall anchors, you would first hold up the bracket and mark on the wall where you will be drilling. Then remove the bracket and install the wall anchors. Then hold up the bracket and screw it into the wall anchors.
Once the bracket is on the wall and level, simply slide on the floating shelf. Double check that it is level and ta-da! You just installed a floating wood shelf!
Decorating floating wood shelves
For me personally, this is the hardest part. I always tinker with the shelf decor over and over until I get it just right.
I do have a few key tips to shelf styling that can be found here. These also apply to floating shelves as well.
The biggest tips are color pallette, object grouping, and variation.
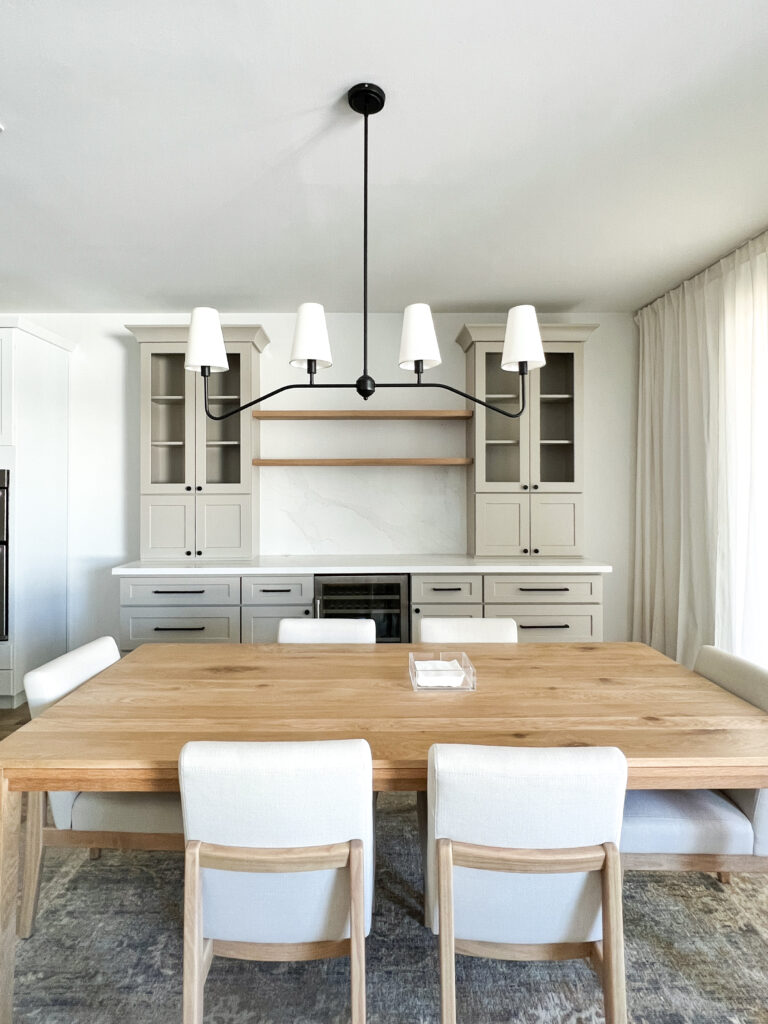
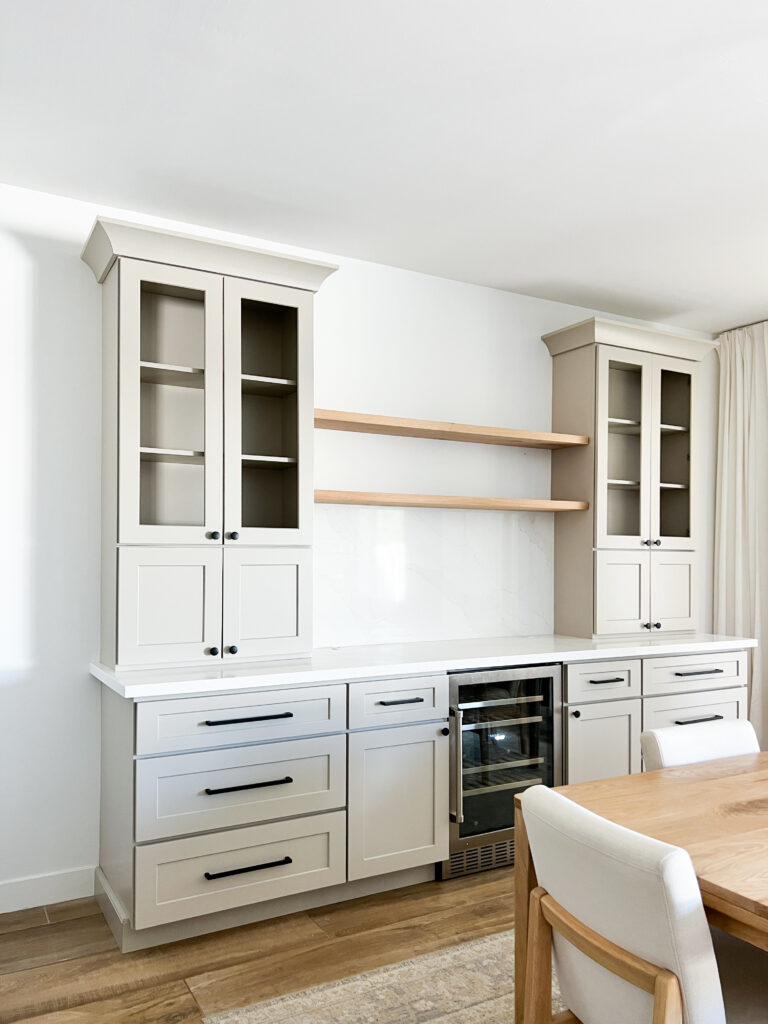
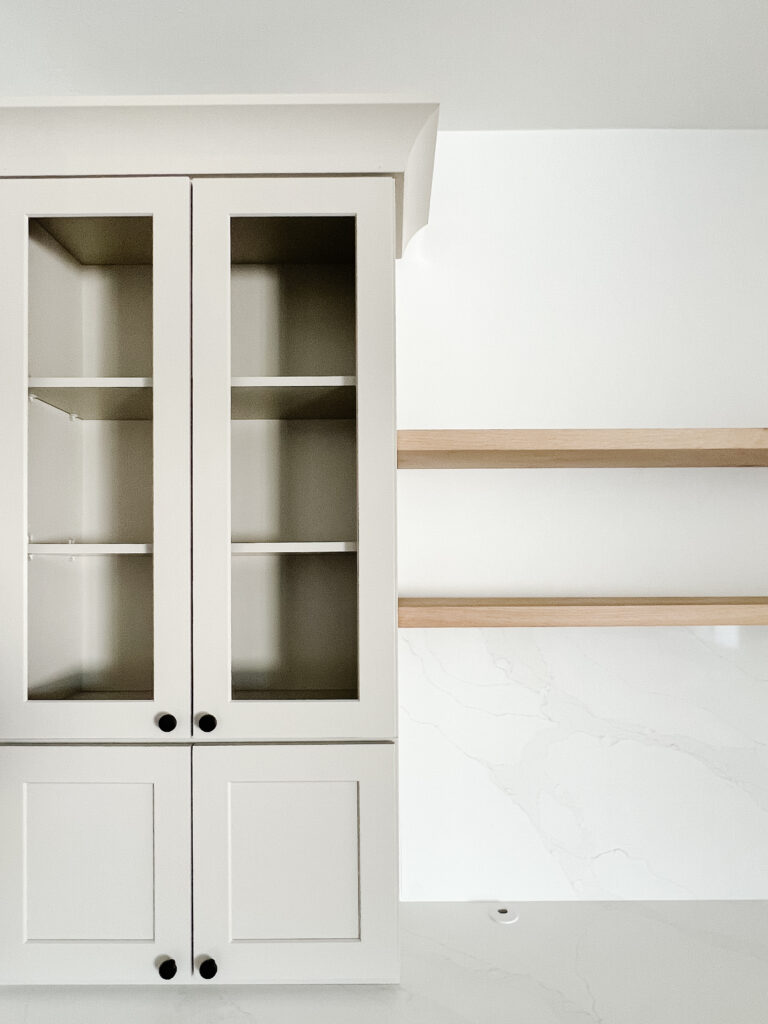
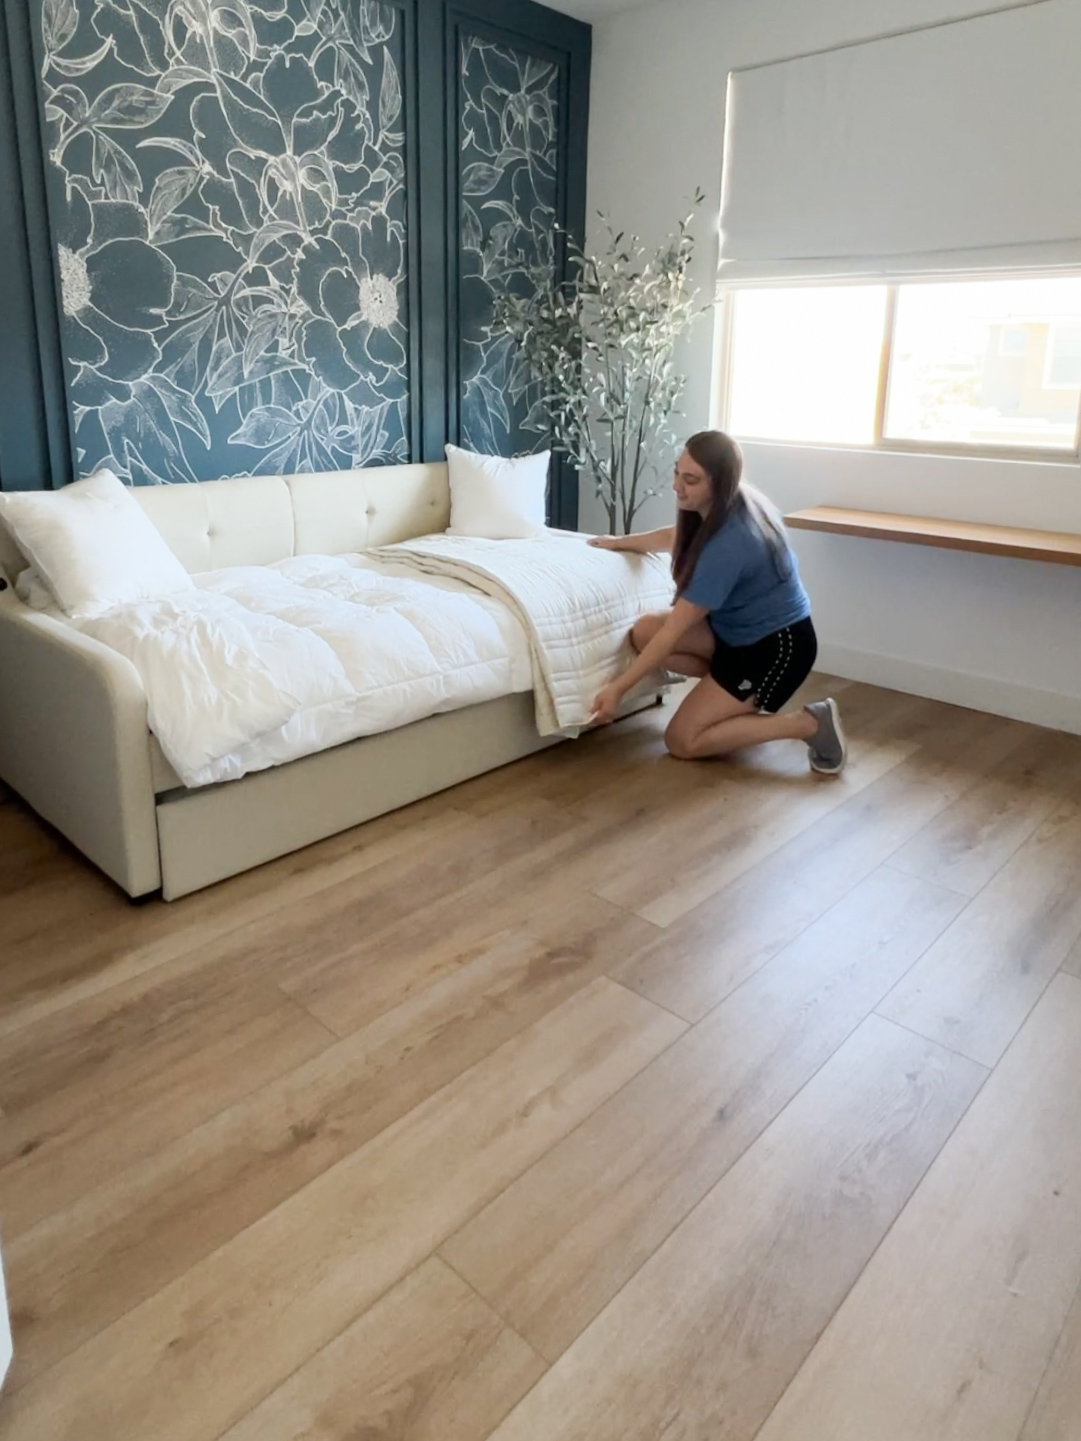
The floating wood shelves add so much warmth and texture to the space and add another design element that is also functional to the room
And that’s it! I hope this post has helped you with picking our your floating wood shelves.
Tag me on Instagram @handtreatedhome so I can see your shelves!
Questions? Email me at hello@handtreatedhome.com or feel free to leave any questions or comments below!

