How To Paint Like A Pro in 5 Easy Steps
This page may include some affiliate links, meaning that at no cost to you, I could earn a commission if you purchase through these links. Learn more. As always, I only link items that I personally use and recommend. Thank you for your support by shopping through my links.

Paint is one of my absolute favorite ways to transform a space. Compared to other DIYs, it’s simple, cost effective, and can instantly change the look and feel of your home.
That being said, painting is one of my least favorite things to do.
Yet you wouldn’t know it considering I completely repainted the interior of my last home…twice! And now, I’m in the middle of repainting my current home.
So why do I continue doing something I don’t like to do? Because of my original point. It really does have an amazing impact!
If you’re like me and painting isn’t one of your favorite things to do, you’re in luck.
Since I’ve gone through this process several times, I’ve picked up a few helpful pointers that I wish I’d known from the beginning. So I wanted to share these simple tips with you in hopes it might help salvage your relationship with paint.
First, here’s my supplies list:
For a video walkthrough of this project, check out my Instagram highlight here.
Here are my must follow rules to paint like a pro:
1. Use High-Quality Paint
I know, I know, I didn’t believe this one either. It’s all just paint, right? How can this $70 gallon paint be any better than this $30 one?
Trust me – it IS better!
The main reason it’s worth the extra money is because of the coverage. The higher quality paint covers better in fewer coats, and many of them even have a primer built in. So you don’t need to buy a separate primer, which saves you money, but you also use less paint since you need fewer coats.
Note: When going from a very dark color to a very light color, such as black to white, I would still advise doing at least one coat of primer.
Even though the high quality paint costs more per gallon, you’ll use less. So ultimately it will save you money, and it will take less time to paint. That sounds like a win-win to me.
More expensive paint also has better qualities, such as durability, and it’s easier to clean. Make sure to read about the qualities of the paint line you’re considering as it will state its merits.
My favorite paint brands are Benjamin Moore and Sherwin Williams. BEHR also gets an honorable mention.
Within each brand of paint, there are lines of paint starting from their lowest line to their highest.
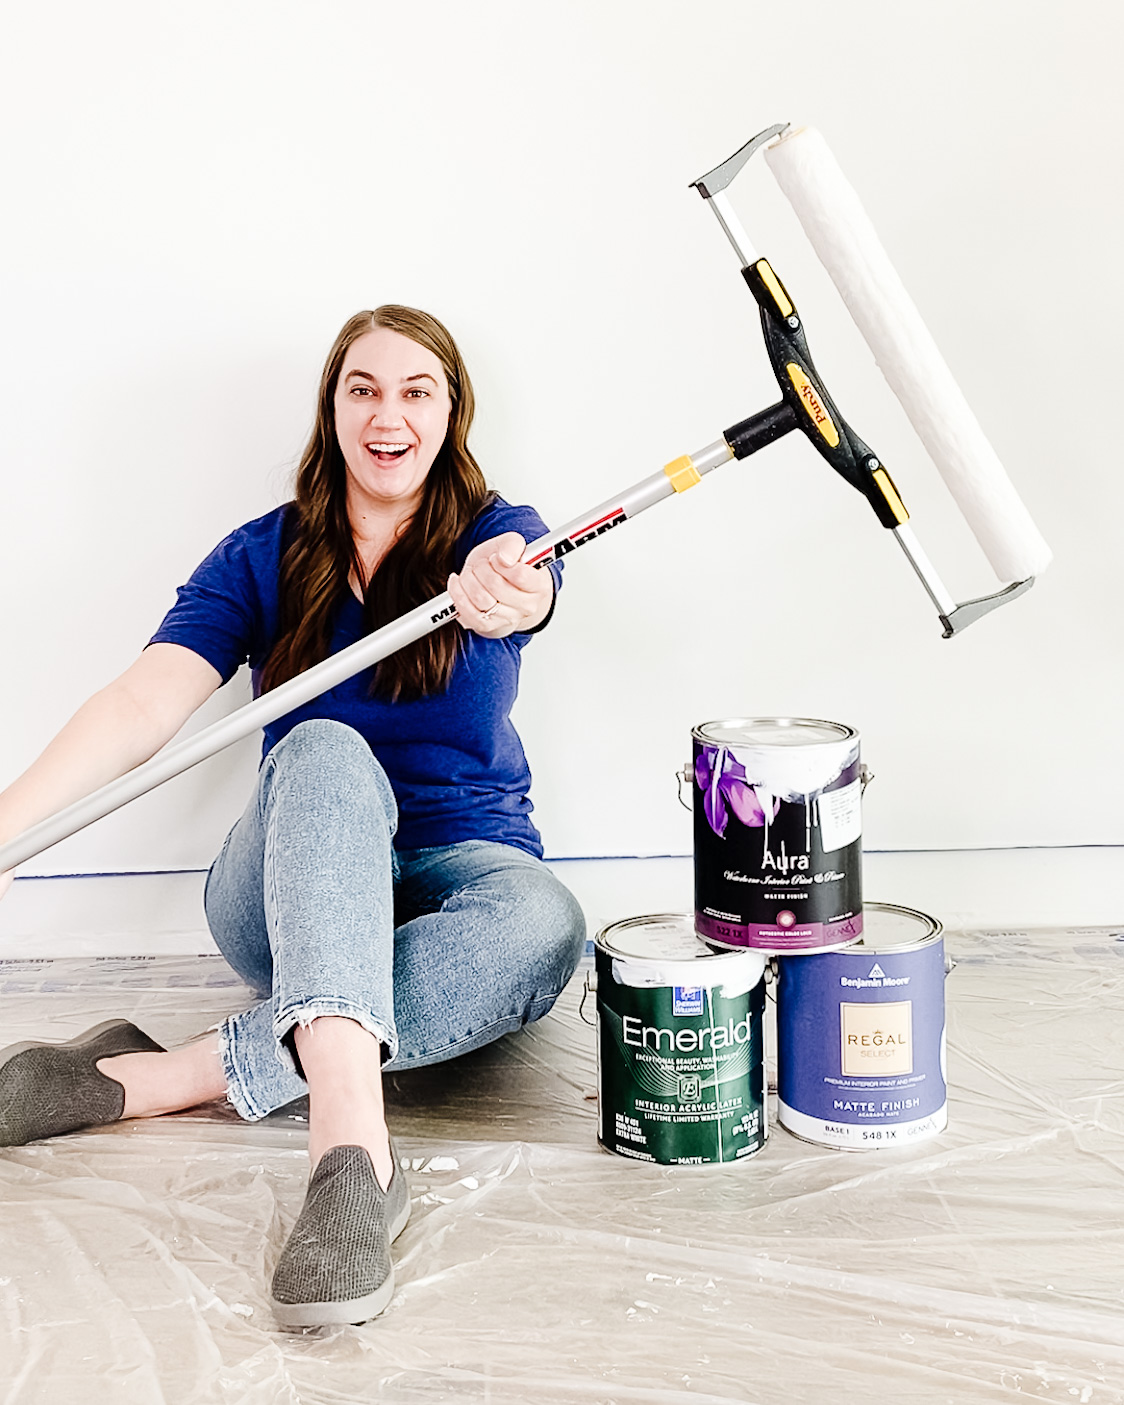
For Benjamin Moore, their top line is Aura, which I highly recommend. If you want to save a few bucks, you can go down one step to their Regal line.
For Sherwin Williams I would stick with their Emerald Line. It’s their top line, and I feel it is comparable to Benjamins Moore’s Regal Line.
Finally for BEHR, I would stick with Marquee, their top line, or one step down to Ultra.
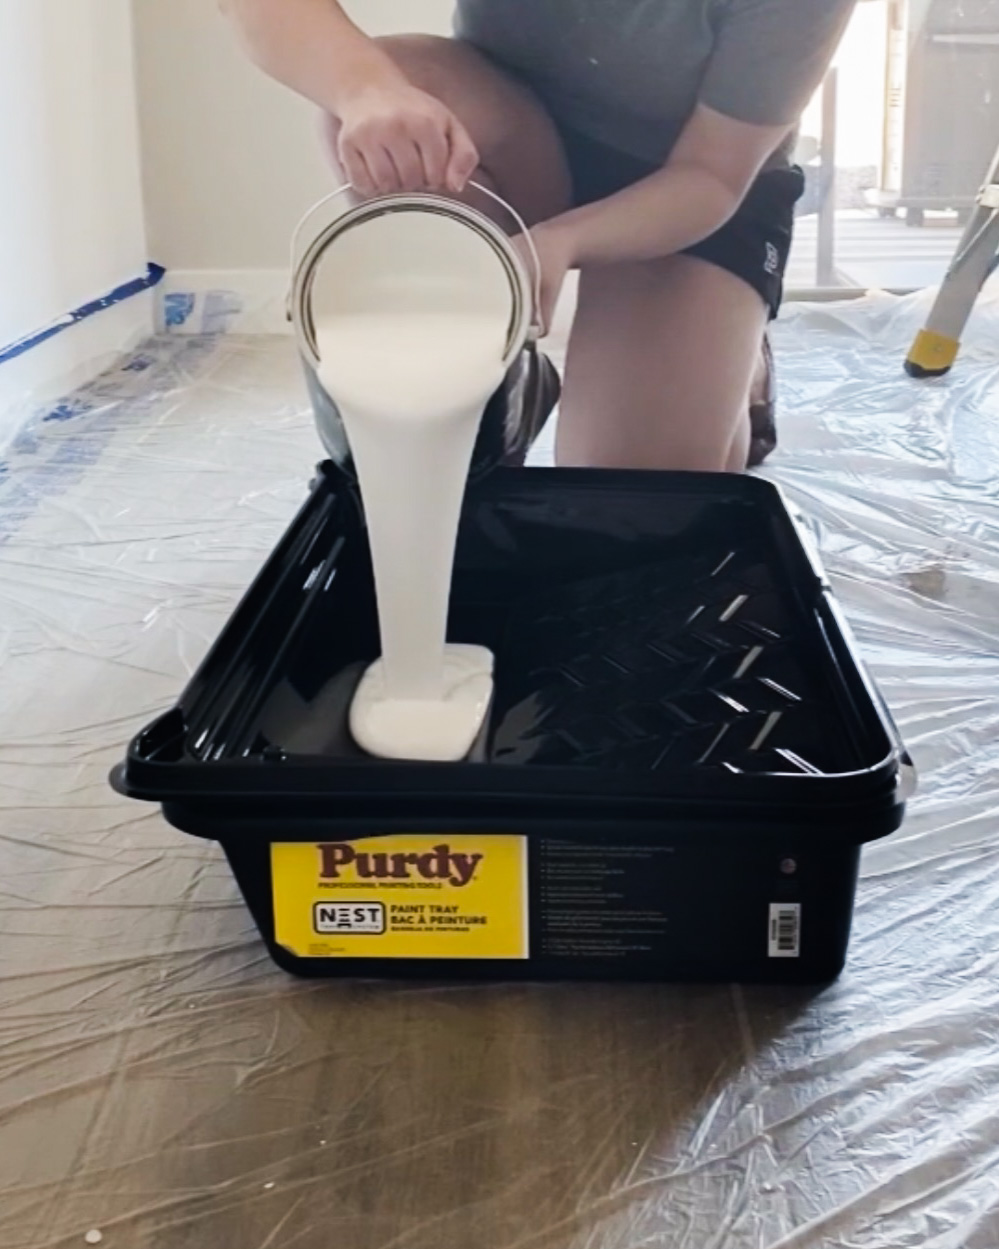
Using high quality paint makes all the difference!
2. Protect Your Work Area
I never used to do this step. Ever. But as I’ve grown older and (hopefully) wiser, I have learned that this step is very important and saves you time in the long run.
I like to put down plastic under the area I am rolling to help protect the floor from any splatter. I also recently tried taping off my baseboards to protect them from any splatter or drips, and I can’t believe I never did this before!
Now with regards to taping off for edging, I find this to be personal preference. If you are new to painting, I say tape it off. I made the mistake of allowing my husband, a novice painter, to try edging without tape or supervision, and he has since lost those privileges.
I typically choose not to tape edges, as I have learned how to edge well without taping, but there are still instances where I find it to be useful. So for this one, I say start out by taping off and then determine if you need to do it going forward.
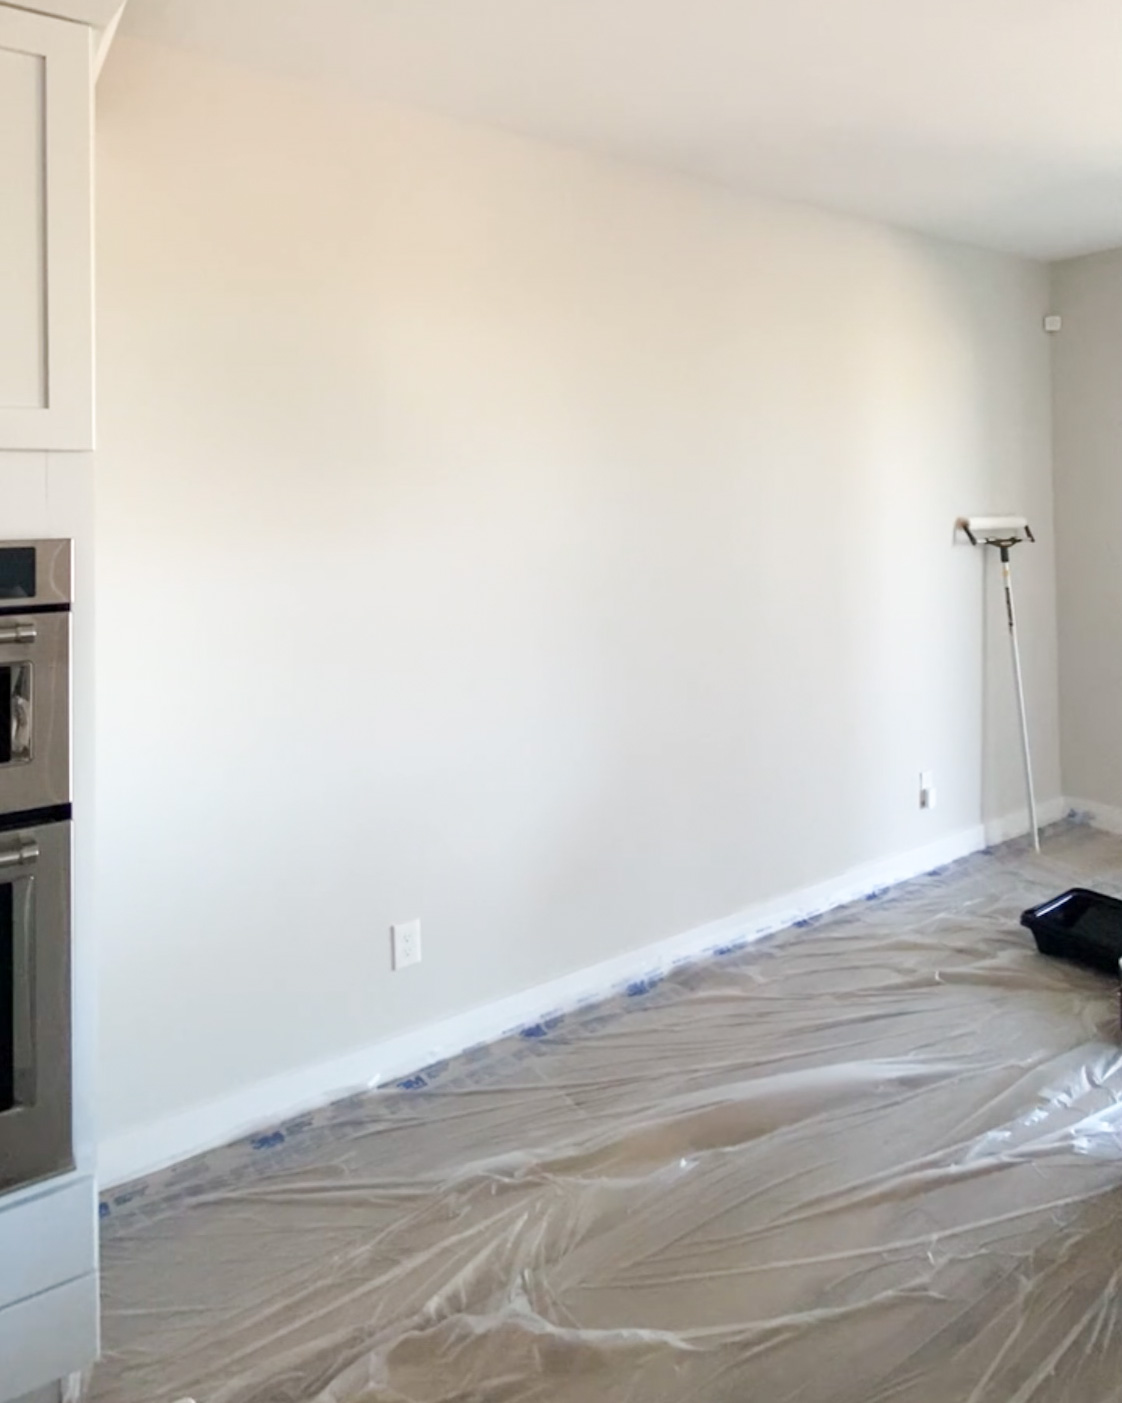
Put down plastic to protect the floors.
3. Use an 18-Inch Roller and Extending Pole
This is my holy grail tip!
Why wasn’t I told about this incredible roller early on? And why are there still so many DIYers painting with 9-inch rollers?
When I was about to embark on my third and most recent painting endeavor, I did a lot of research to see if there was a better way. And that’s when I discovered this game-changing 18-inch roller!
It is actually the most amazing and magical thing I have ever used on a DIY project. I painted the first coat on a 14’ x 9’ wall in 10 minutes. TEN MINUTES! Do you know how long that would have taken with a regular 9-inch roller? For the sake of my arms and back, I don’t even want to think about it.
The second coat went on in a mere 6 minutes! If you aren’t convinced after this then I don’t know how else to convince you.
Get an 18-inch roller!
Bonus tip: It’s important to fully saturate your roller with the paint. Roll it into the paint in the tray several times to fully cover it. If you run your roller on the wall and it’s streaky, it’s not loaded with enough paint.
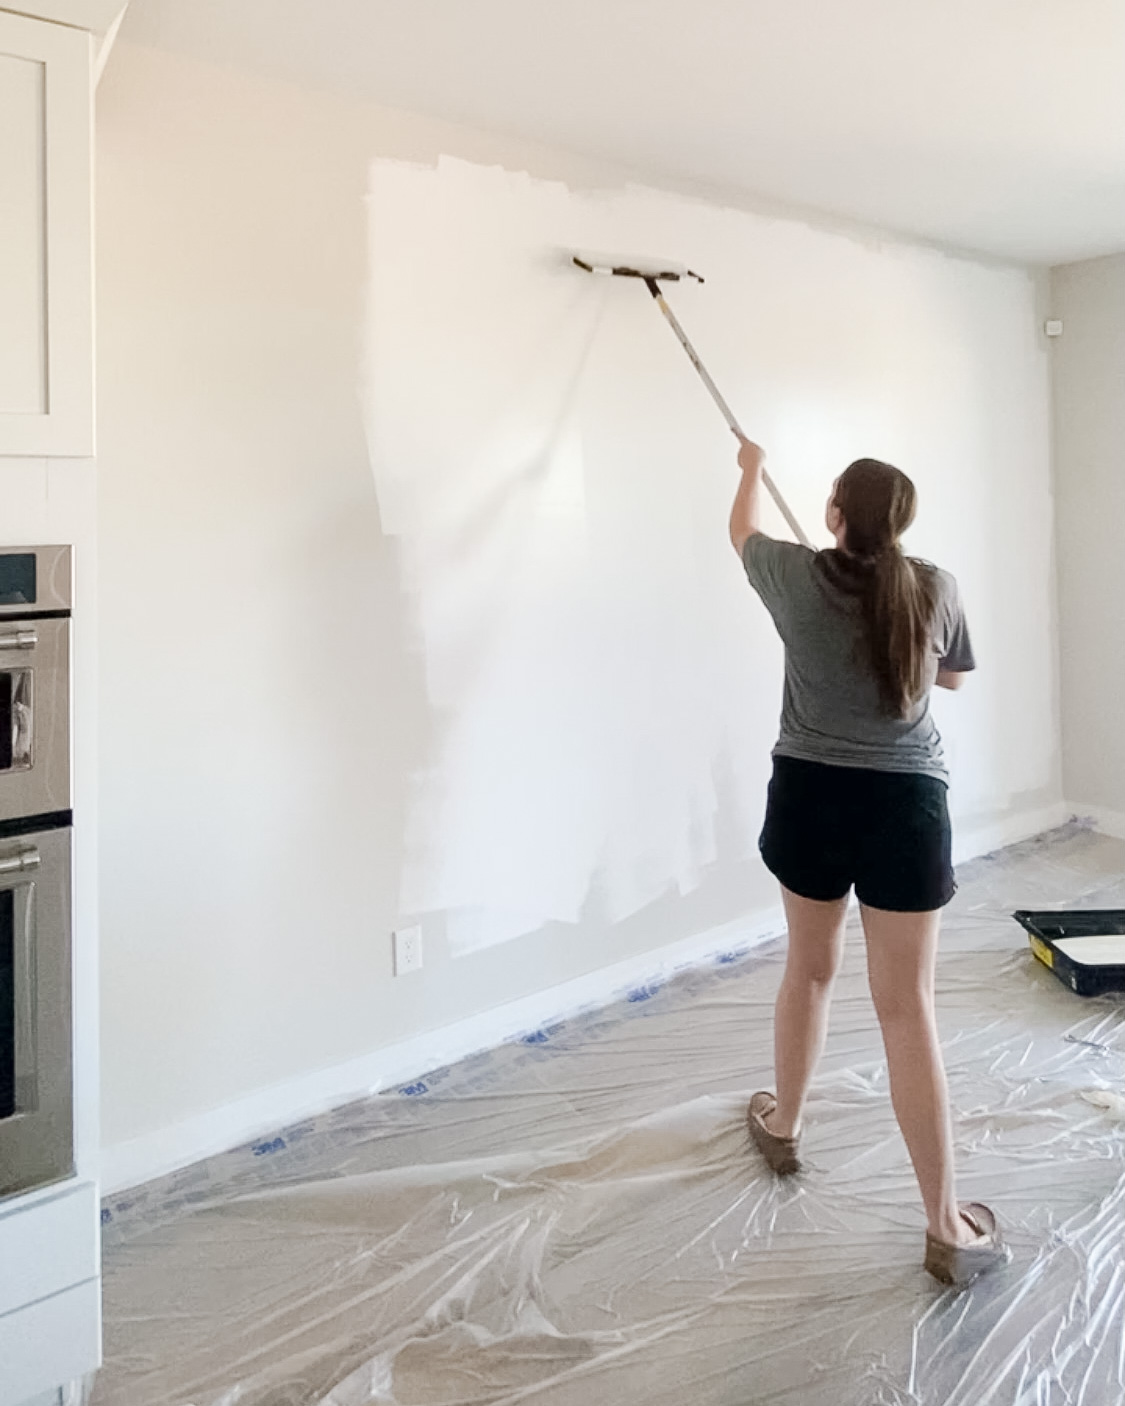
Using an 18 inch roller is a total game changer!
4. Feather Out the Edges When Using a Brush
When you’re edging with a brush, make sure to feather the paint out and away from the edge, and into the rest of the wall. This will help you avoid a visible harsh line, and it will allow the paint to feather out and blend seamlessly into the rest of the wall. To do this, use an angled paint brush between 1 to 2 inches wide, brush the paint onto the wall and drag it along your edge line. Then using your brush, pull the paint up and into the wall to blend into the rest of the paint.
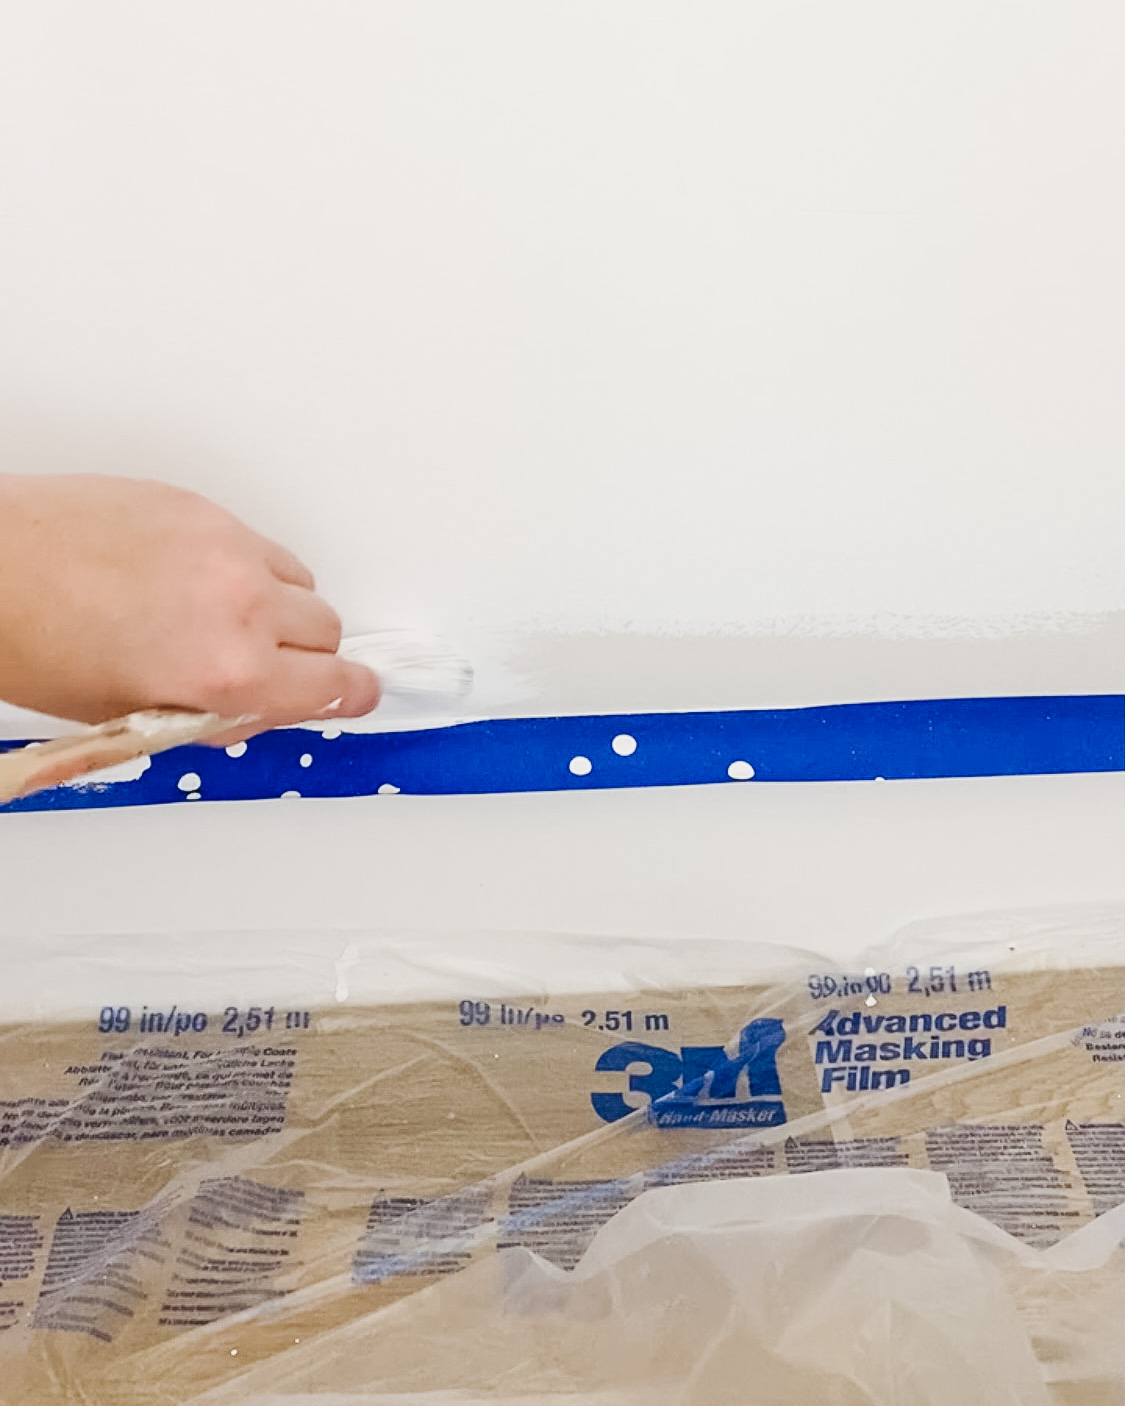
Feather out the paint to blend with wall.
5. Use a 5-in-1 Tool When Cleaning Your Roller
Now this tip really made me feel like a pro the first time I tried it.
Remember that expensive, high quality paint we bought earlier? So expensive that it feels like each drop is liquid gold?
Well, that amazing roller we’ve been using sucks up a lot of that expensive paint, and we don’t want to waste a drop of it .
So I have a solution. When you’re done using the roller, hold its over your paint can and use the rounded out notch on the 5 in 1 tool to squeeze out the paint.
You’ll be astounded at how much paint comes out and goes back into the can saving you money. And while we’re at it, if there’s any paint left in the roller tray, go ahead and pour that back into the can as well. You can use your paint brush to help scrape and guide the paint back into the can.
Speaking of paint trays, here’s a bonus tip: Line your trays with aluminum foil. This way you don’t have to throw the tray away or try to clean it. Just peel off the foil and throw it away when done!
Now I don’t do this with the large 18-inch tray because overlapping the foil could allow the paint to seep through, but I do this whenever I do need to work with smaller rollers and trays.
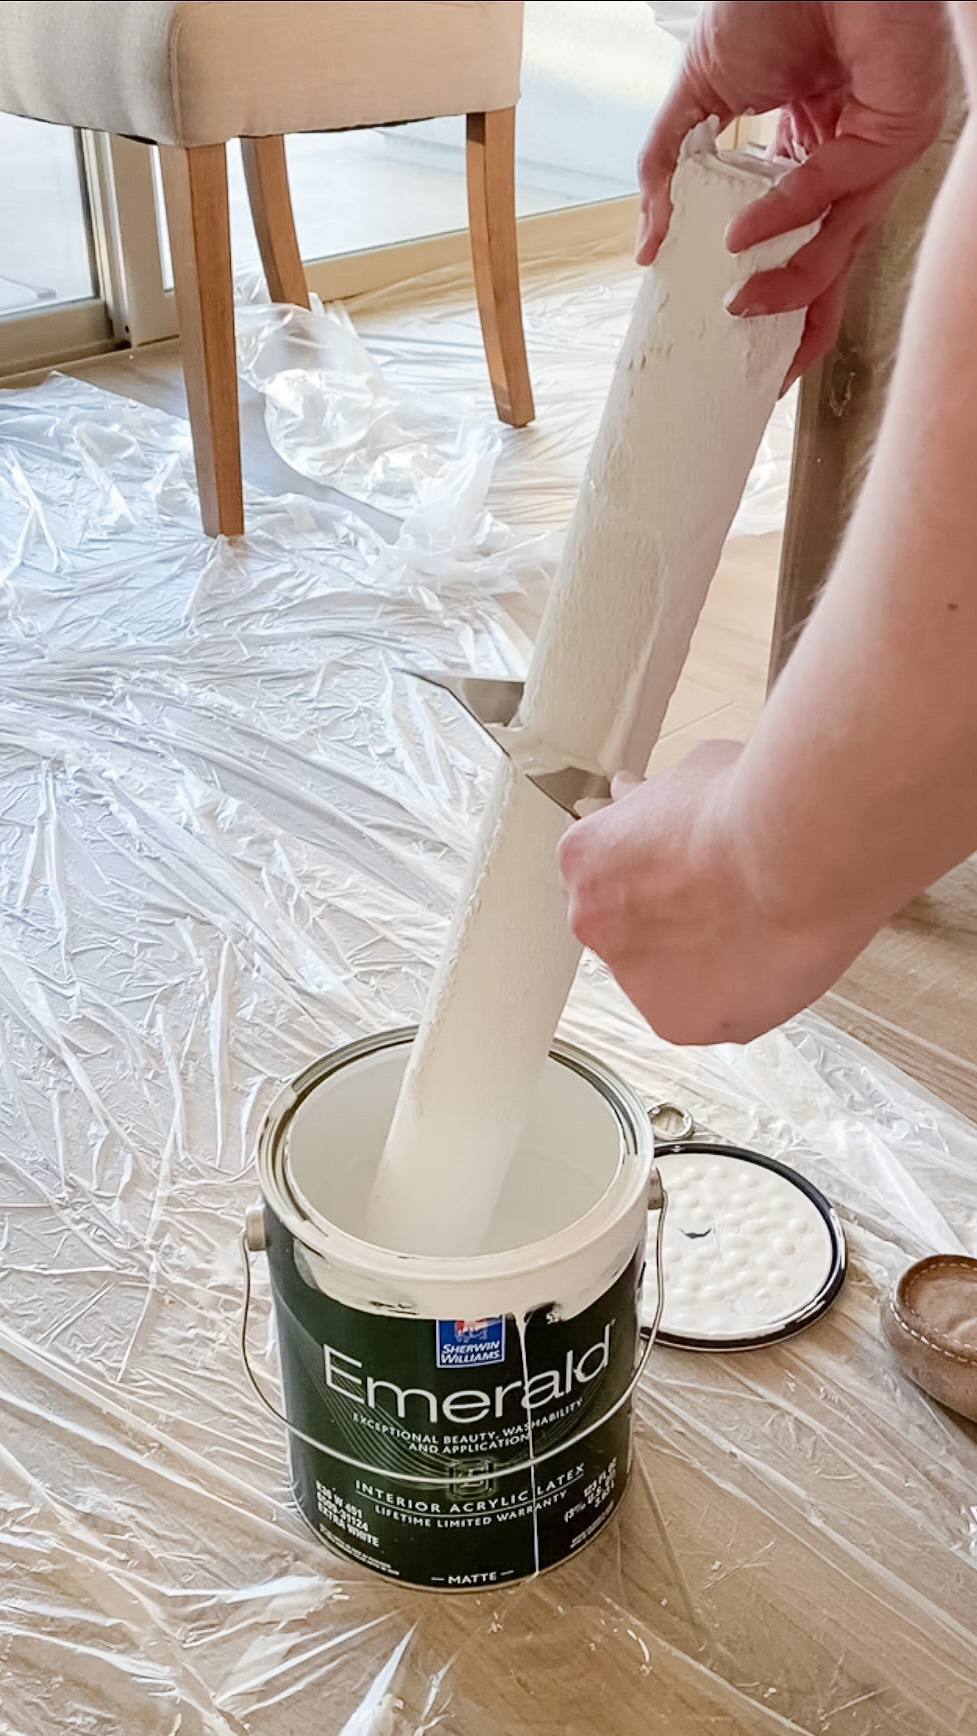
5 in 1 tool to help scrape of extra paint into the can.
Do you want even more painting tips and how-tos? Check out my How-To Guide to Painting for all my best painting information! Check it out here.
And there you have it!
Follow these tips and you’ll be on your way to transforming your space through the power of paint AND it won’t be your least favorite thing to do!
Look at you painting like a pro! Tag me in your freshly painted rooms on Instagram @handtreatedhome, I can’t wait to see them!
Questions? Email me at hello@handtreatedhome.com or feel free to leave any questions or comments below!

