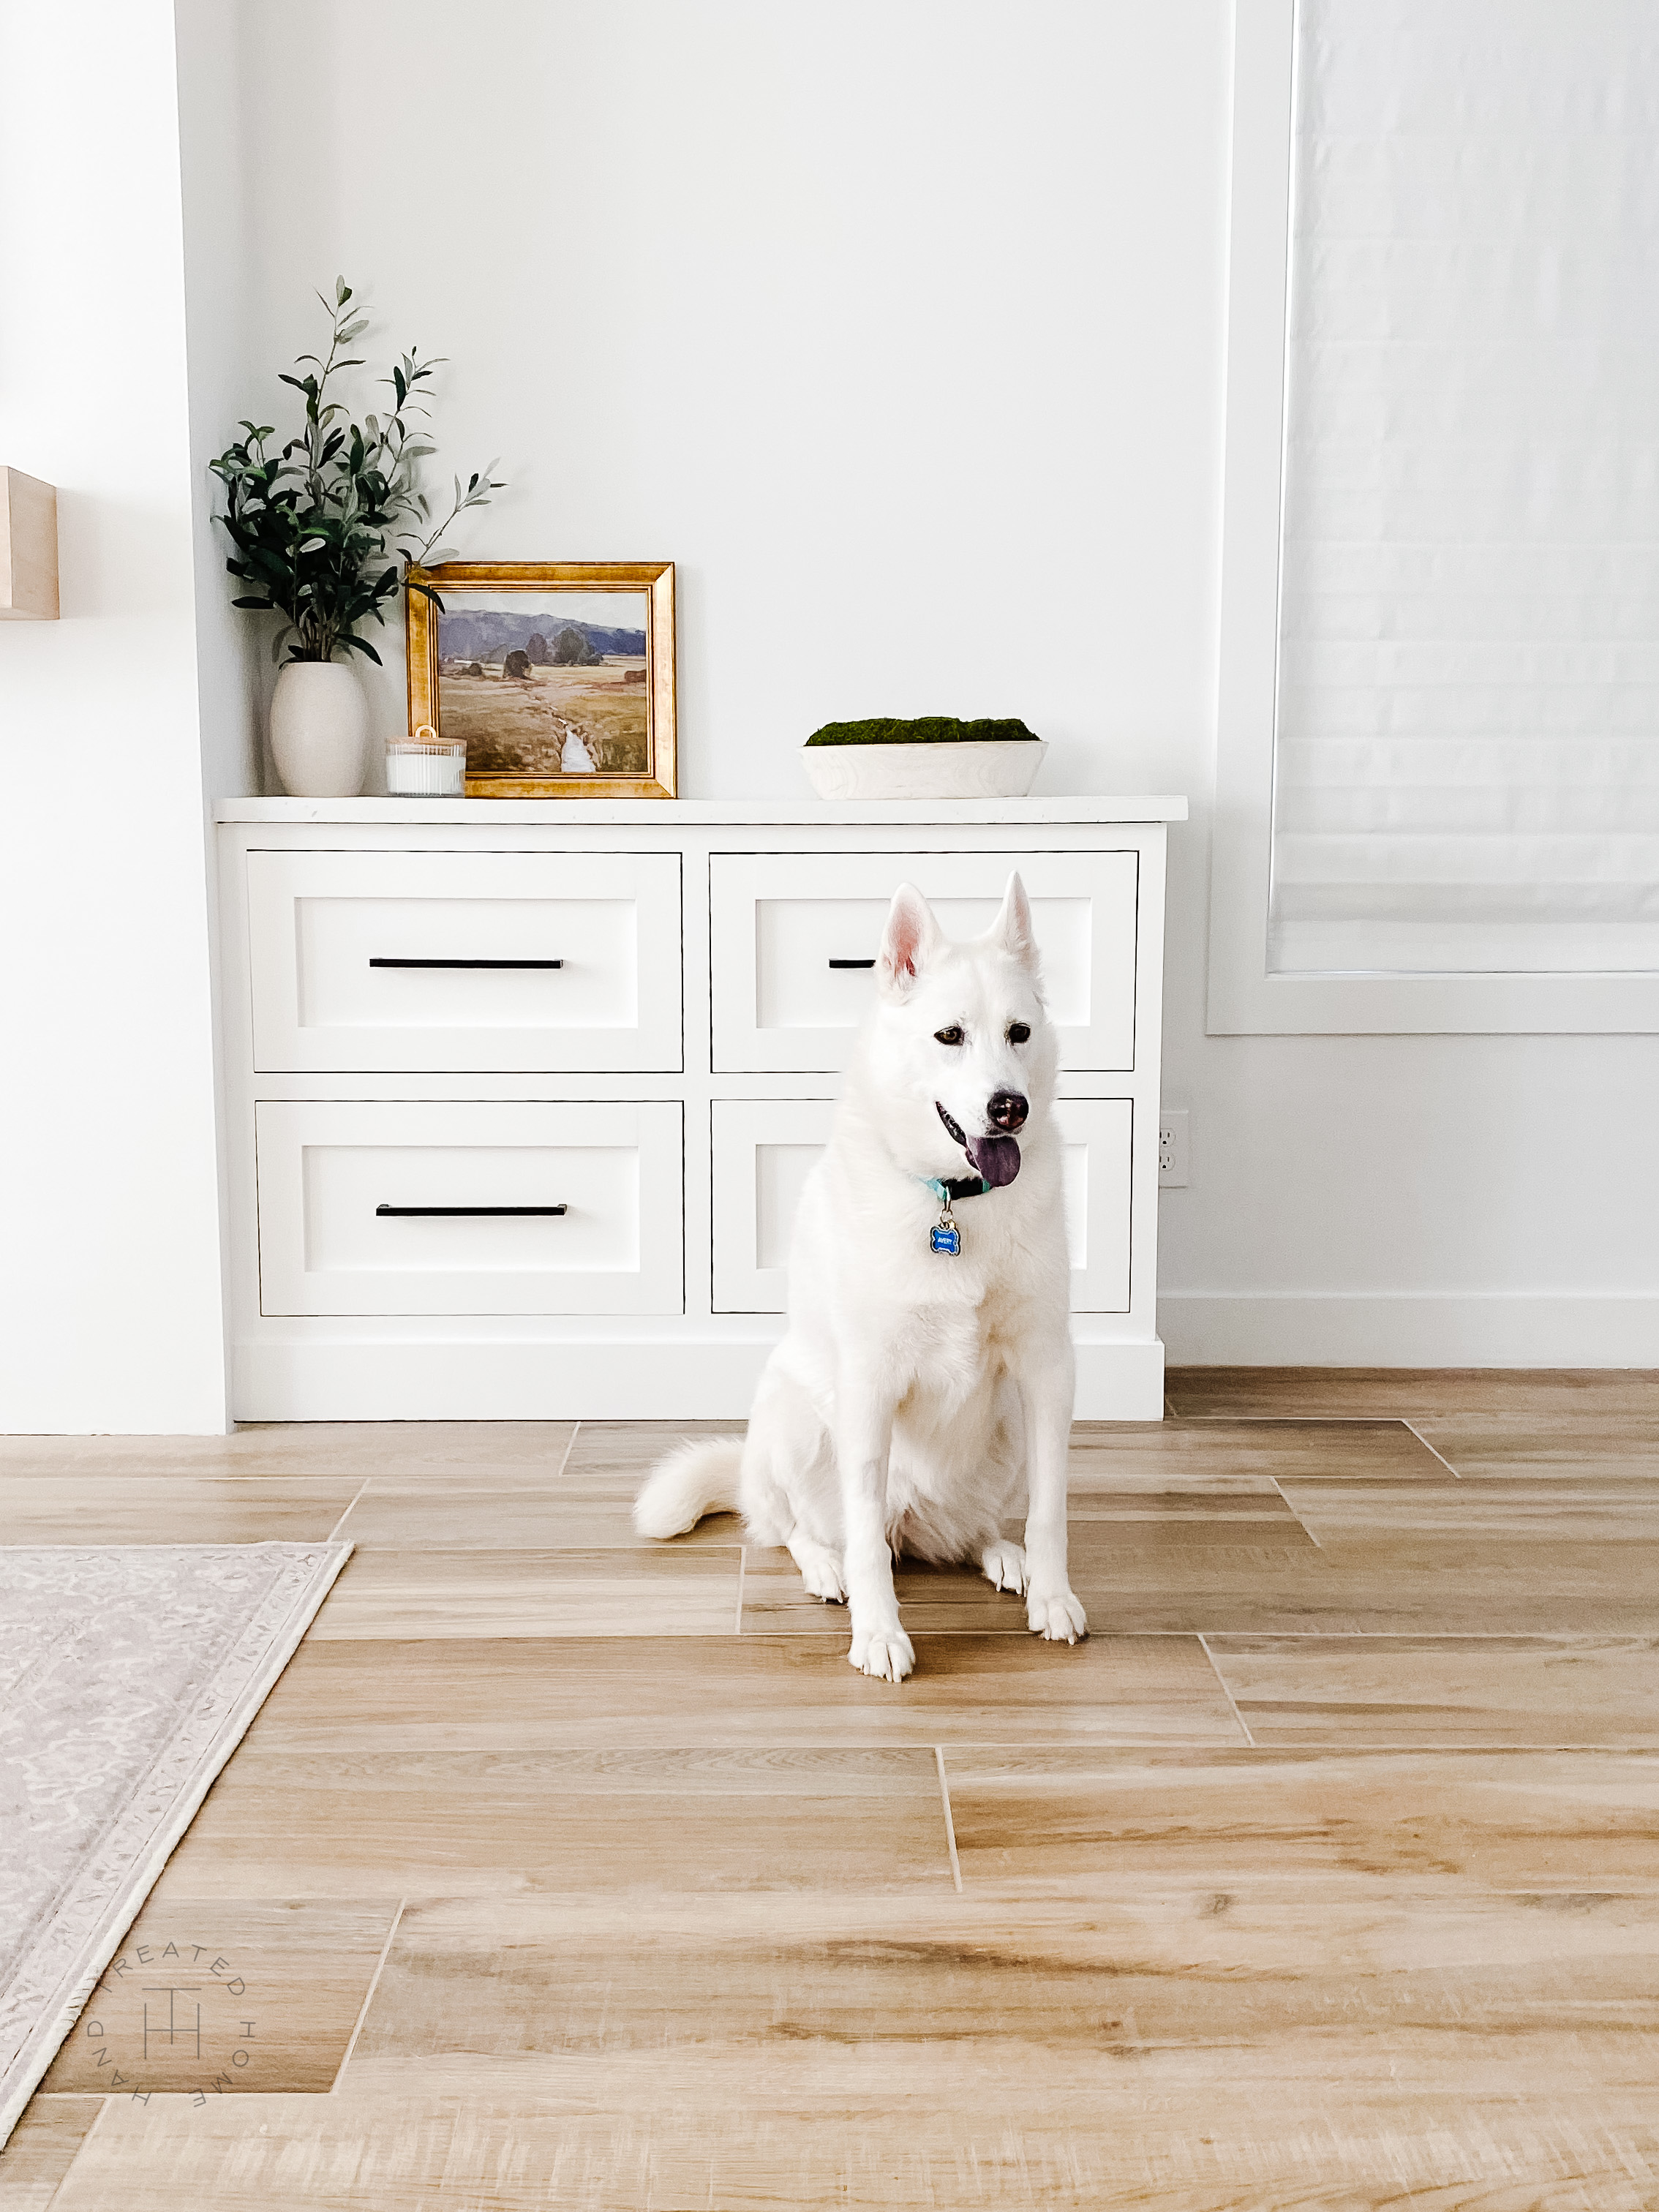
How To Get DIY White Concrete Countertops
This page may include some affiliate links, meaning that at no cost to you, I could earn a commission if you purchase through these links. Learn more. As always, I only link items that I personally use and recommend. Thank you for your support by shopping through my links.
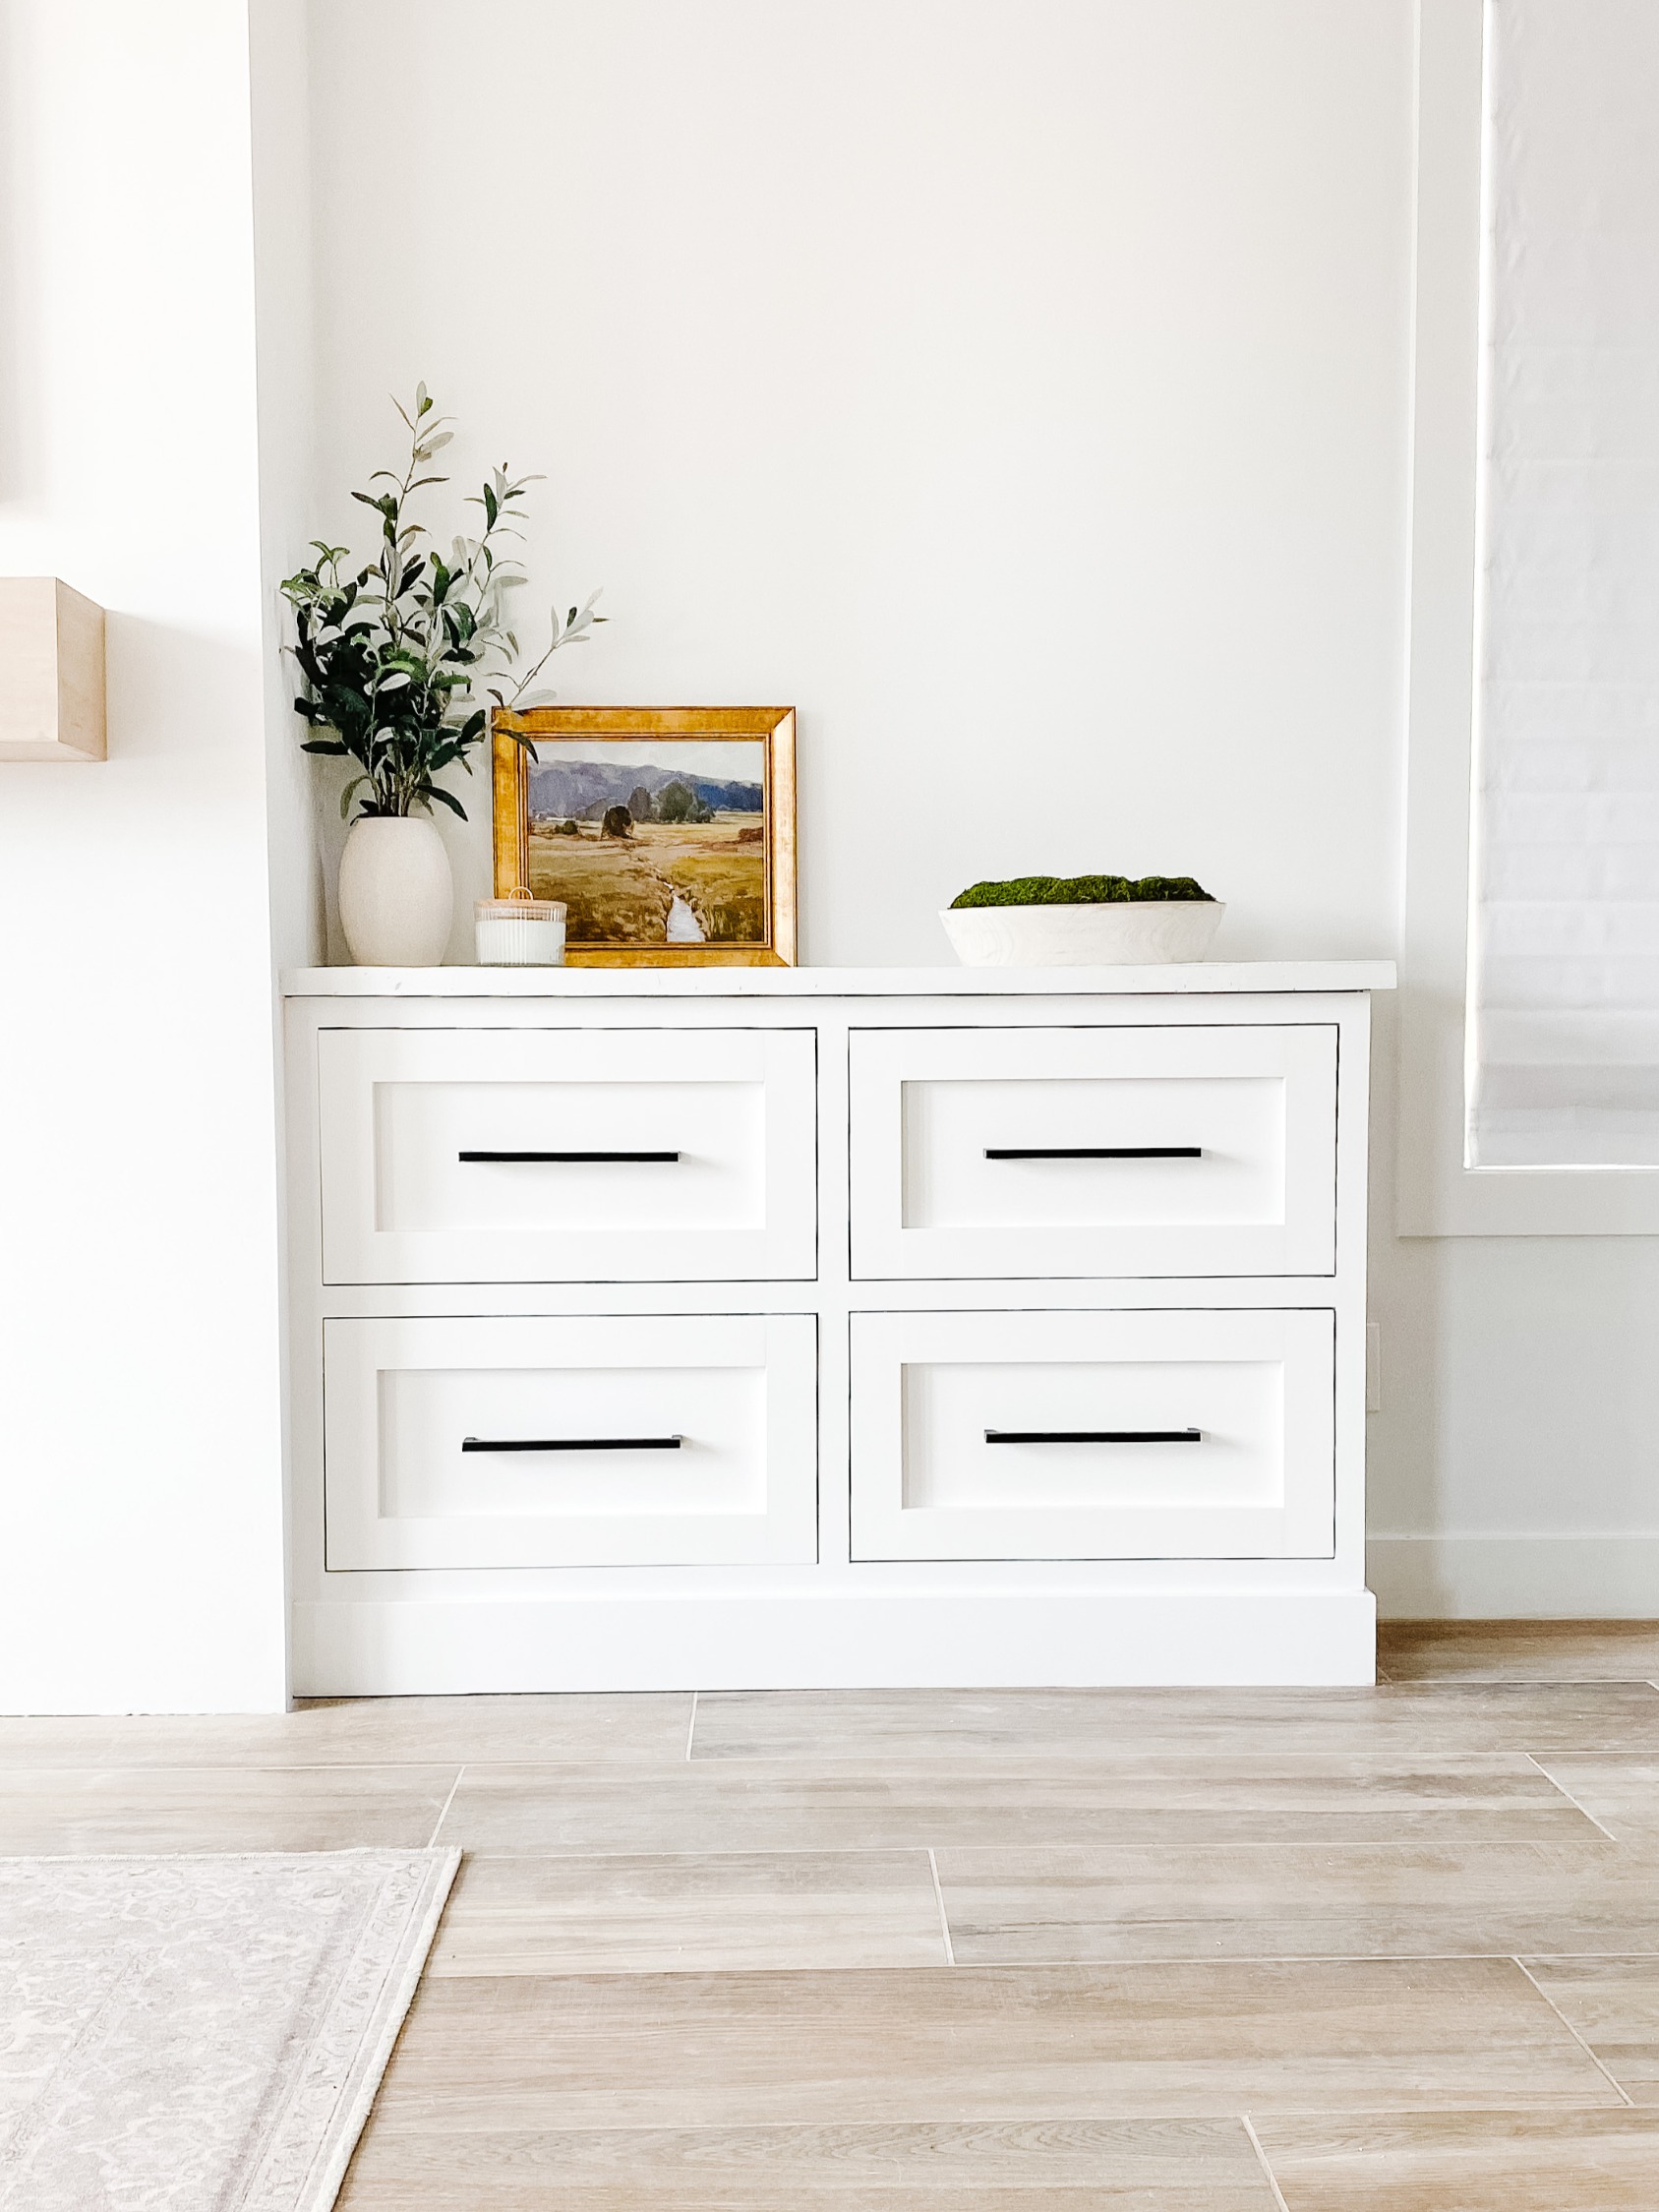
White Concrete Countertops
Ever since I built my electric fireplace and built-ins, I’ve had the idea to top the built ins with white concrete countertops. I love that they are an elevated look, like a natural stone countertop, without the price tag.
You can use these in a variety of places. It’s a great budget-friendly way to get new kitchen countertops (goodbye 90’s laminate!), built-ins, bar tops, basement entertainment centers…..the options are endless!
There are many tutorials out there on how to pour your own concrete counters. You can even hire it out if you like. But all of those options seemed messy and complicated, so when I found the Z Counter Form System from Concrete Countertop Solutions, I knew it was the solution I’d been looking for!
Check out these easy-to-follow steps that will get you your own DIY concrete countertops at home.
There are many colors to choose from, and you can also tint the concrete by using one of their color packs added to the mix, or you can stain the concrete after it’s poured! I used the white mix and bright white color packs for my project.
First, here’s my supplies list:
Euro Form Square Edge (I used the half package)
Z Clips (I used the shorter size for the euro form)
Lexan Float ( specifically for use with the white concrete mix, if using a different mix you can use their magnesium float)
Z Counter Patch – White (used to patch any holes from air bubbles, etc.)
Screws ( I used the shorter 3/8 size for the euro form)
Cement Board (I used 1.4 inch for the euro form, otherwise use 1.2 inch)
Drill For Mixing (not battery powered!)
Measuring cup (for adding water to the cement mix)
Not sure what you need or how much? Send them an email and they will help you figure it out! I ended up buying the screws needed from Home Depot, but they do sell the exact screws you need on their website, so there’s no potential for getting the wrong screws!
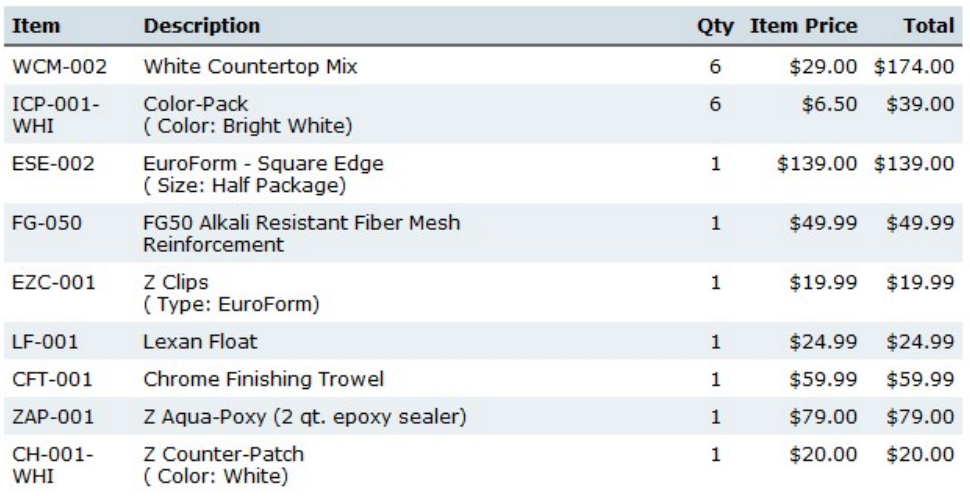
List of Supplies
They also have a Product Guide and Informational Page here, as well as instructional videos here.
For a video walkthrough of this project, check out my Instagram highlight here.
Note: I used the euro form which requires thinner cement board, shorter clips, and shorter screws. If you’re using a different form, you’ll use thicker or longer versions of these items.
I cannot say enough about how easy this Z Counter Form System is to use! If you’ve been considering concrete countertops this is the way to do it!
**I recommend wearing latex gloves to protect your hands from the concrete.
.
Here are the steps:
Step 1: Cut and Place Cement Board
1. Measure score and snap cement board to be flush with the top of the cabinet (if you want an overhang like on an island, cut it to that size).
2. To cut the cement board, you can use a jigsaw or the score and snap method. To score and snap, mark your measurement on the cement board. Using a straight edge, like my 4 ft. level, press down to hold this line steady. Then take an exacto knife and press firmly into the cement board and score along your straight edge. For cement board, I recommend pressing down firmly and going over your line a few times in order to get it to snap.
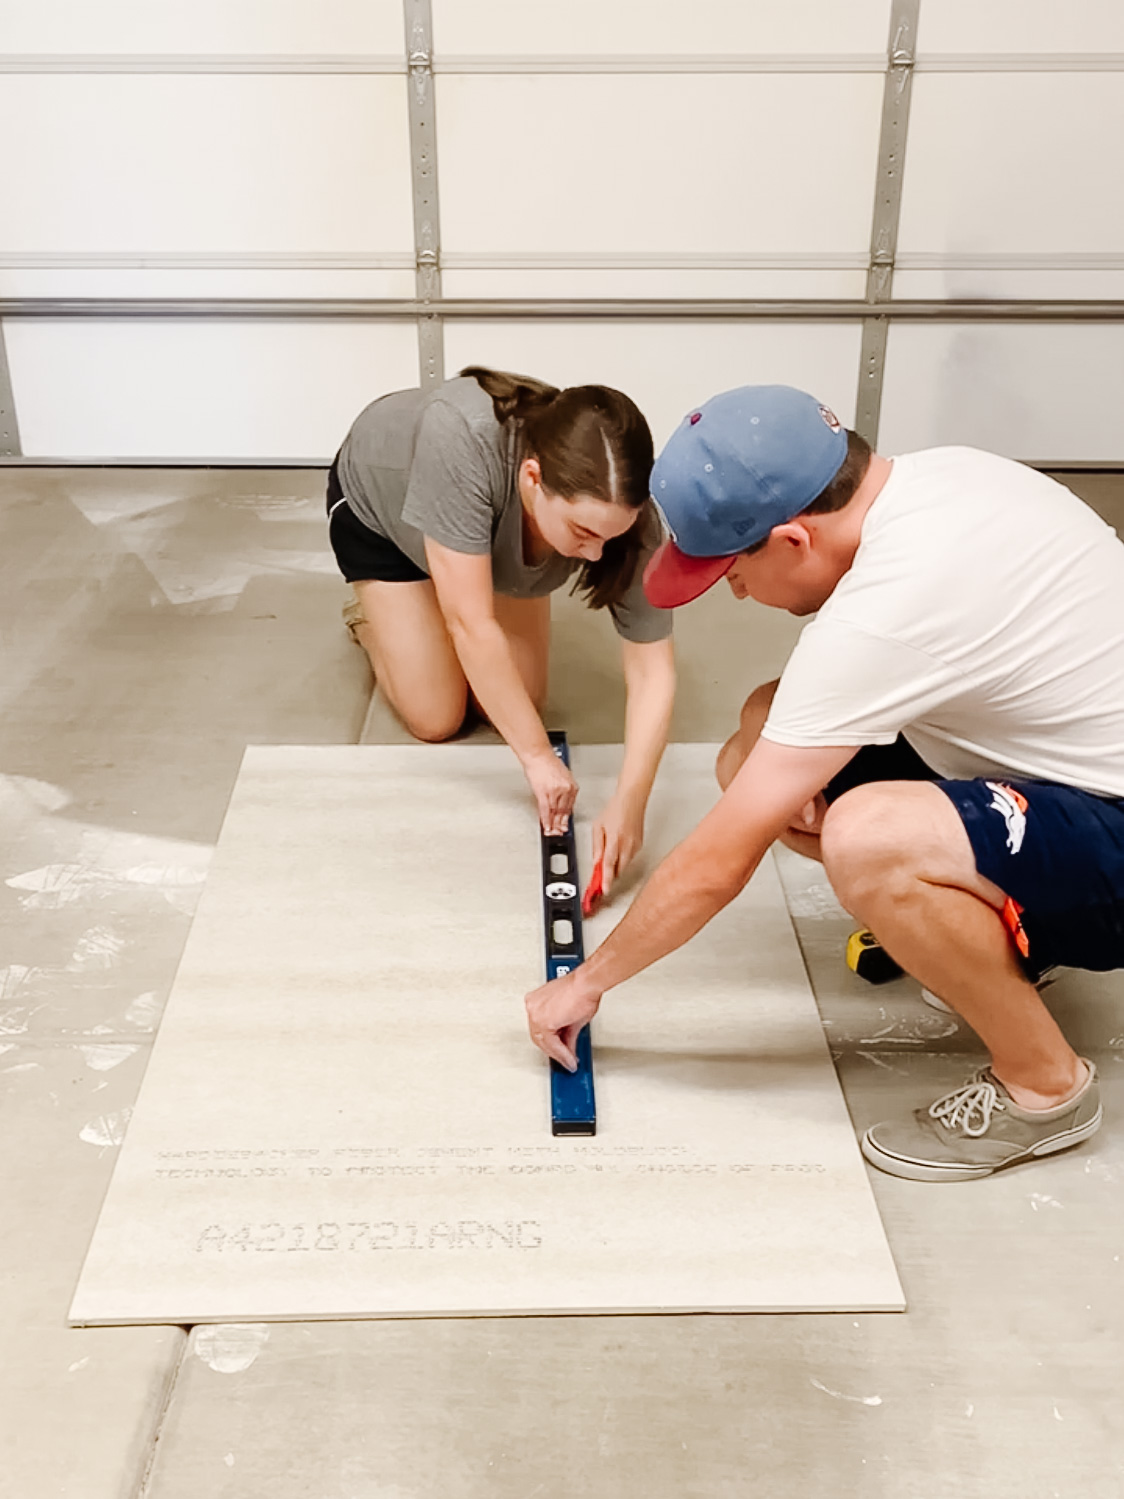
Score and Snap the Cement Board to Size
3. To attach, place a few globs of caulk along the tops of the cabinets and press the cement board down firmly. Let this dry to hold everything in place.
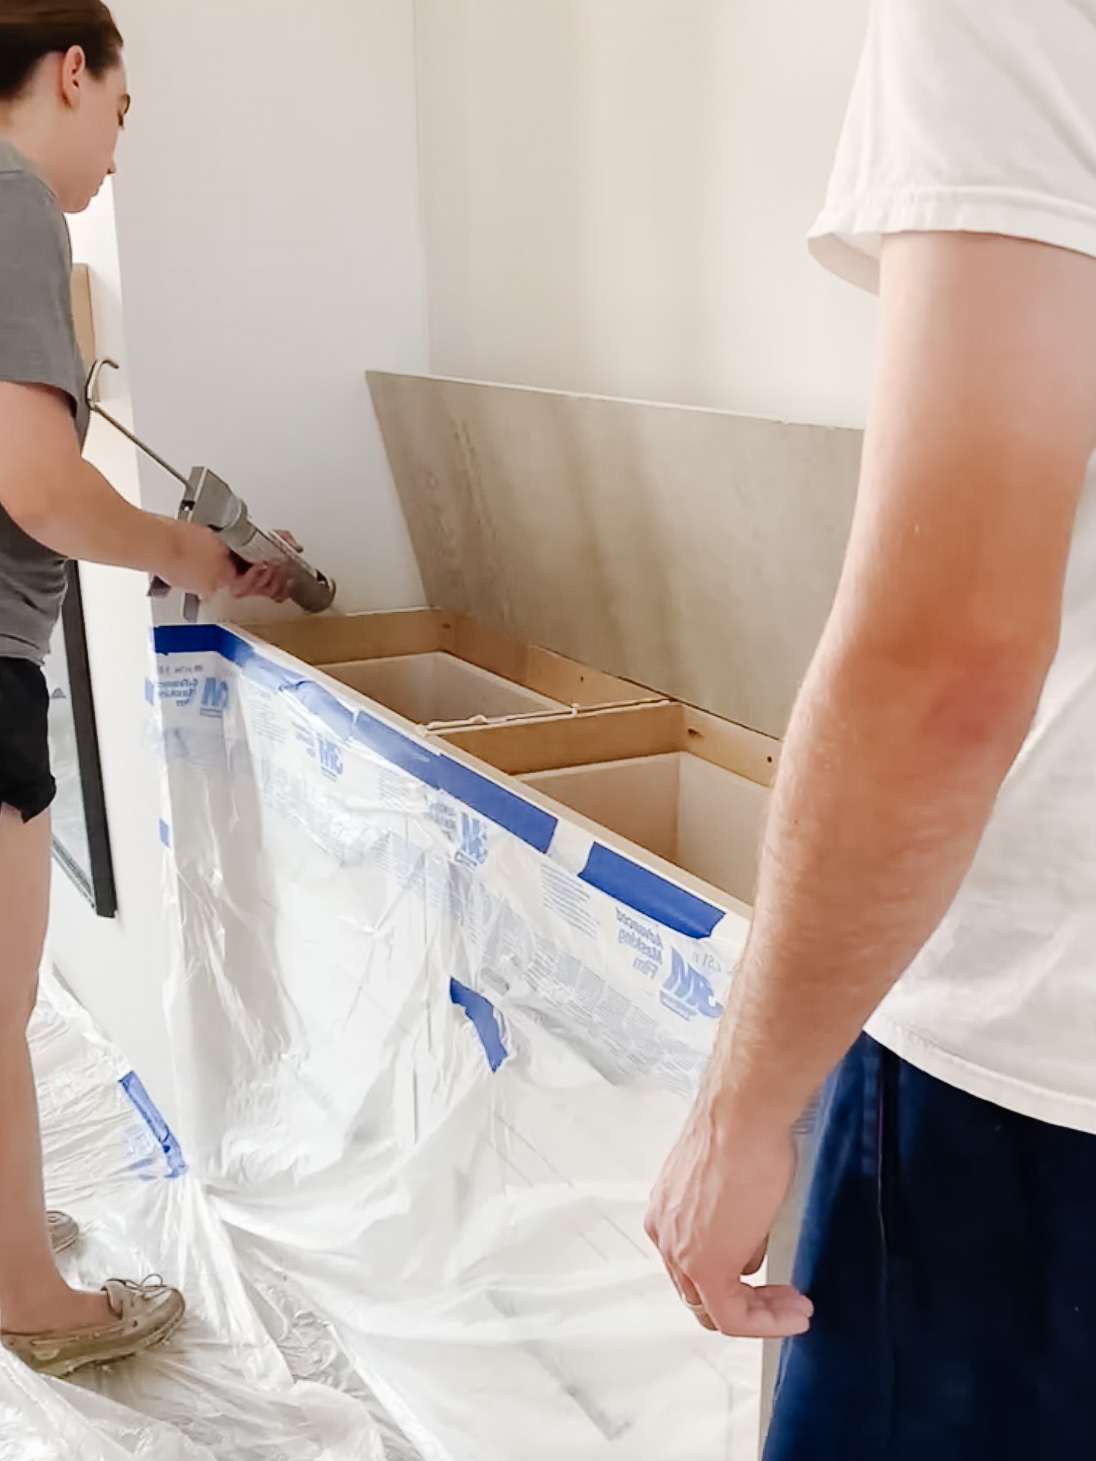
Adhere Cement Boards with Caulk
Step 2: Cut the Z Counter Form to Size
4. To cut the forms, use a miter saw. For corners, cut them on a 45 degree angle.
5. Place the forms on the edge of the cement board, and pre drill the holes for the screws along the edge. Do not drill far into the cement board or you risk the screw not attaching to it.
6. Using these screws, screw the forms down to the cement board.
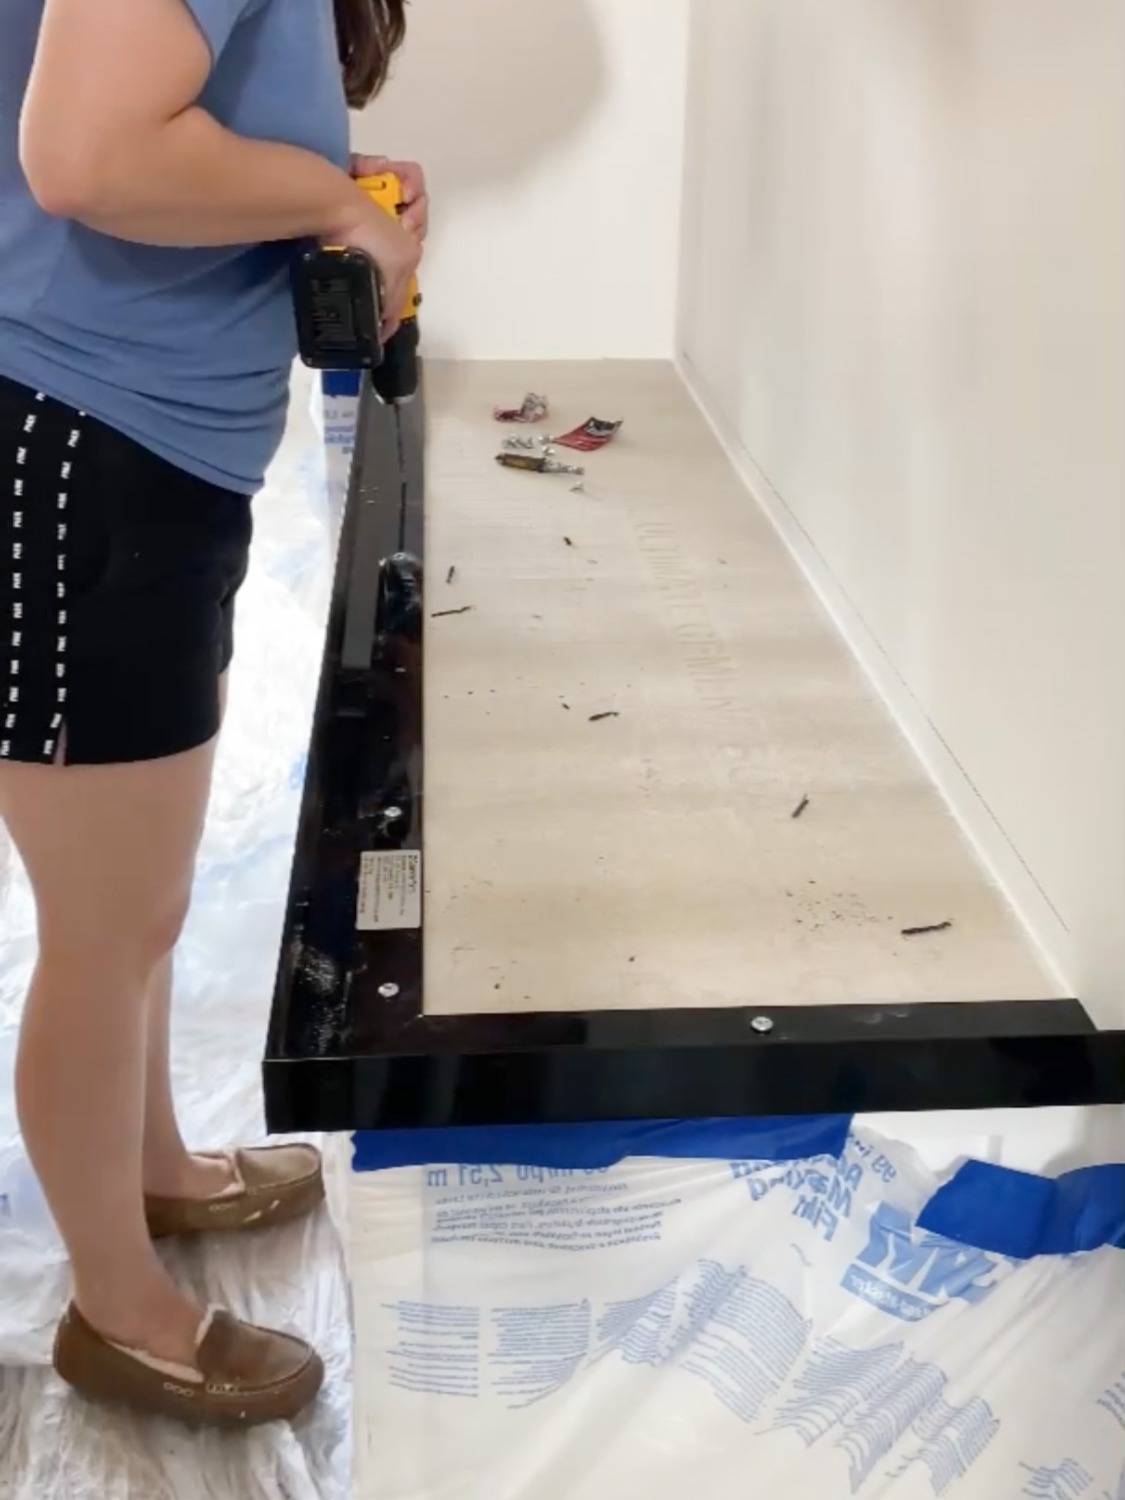
Pre-drilling Forms then Screwing into Cement Boards
7. Once all forms are attached, tape any corners together to secure the connection.
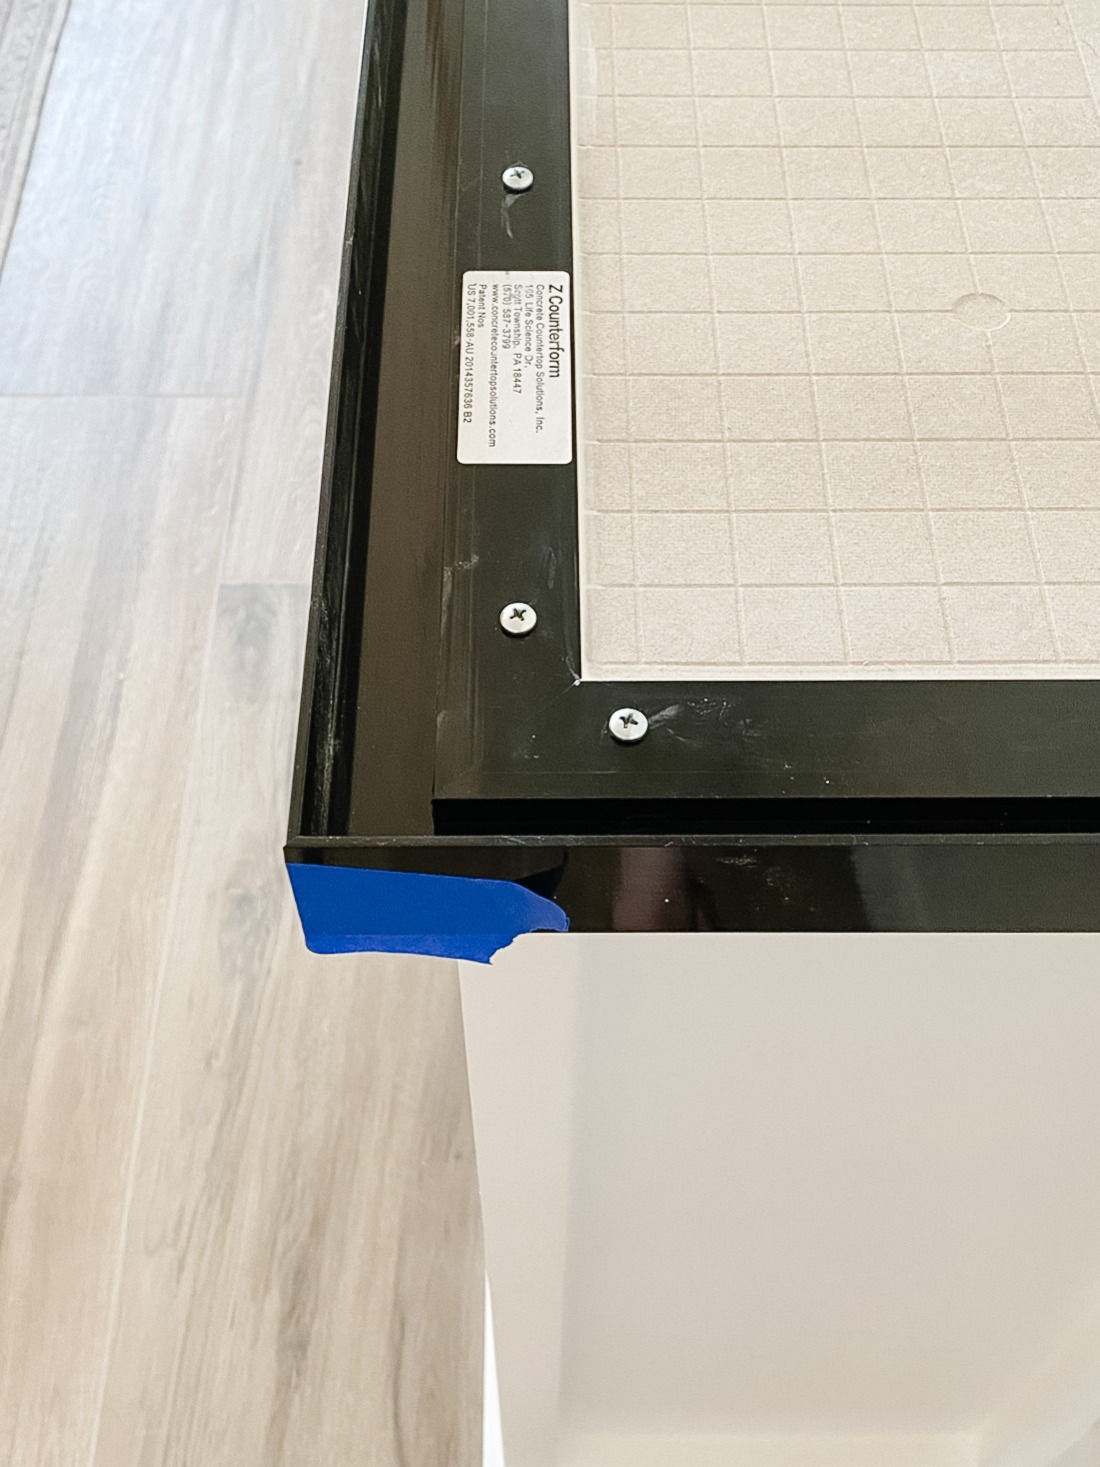
Tape Mitered Corner to Secure
Step 3: Clean up and caulk
8. Clean up any debris from the area and caulk the edge of the form where it meets the cement board.
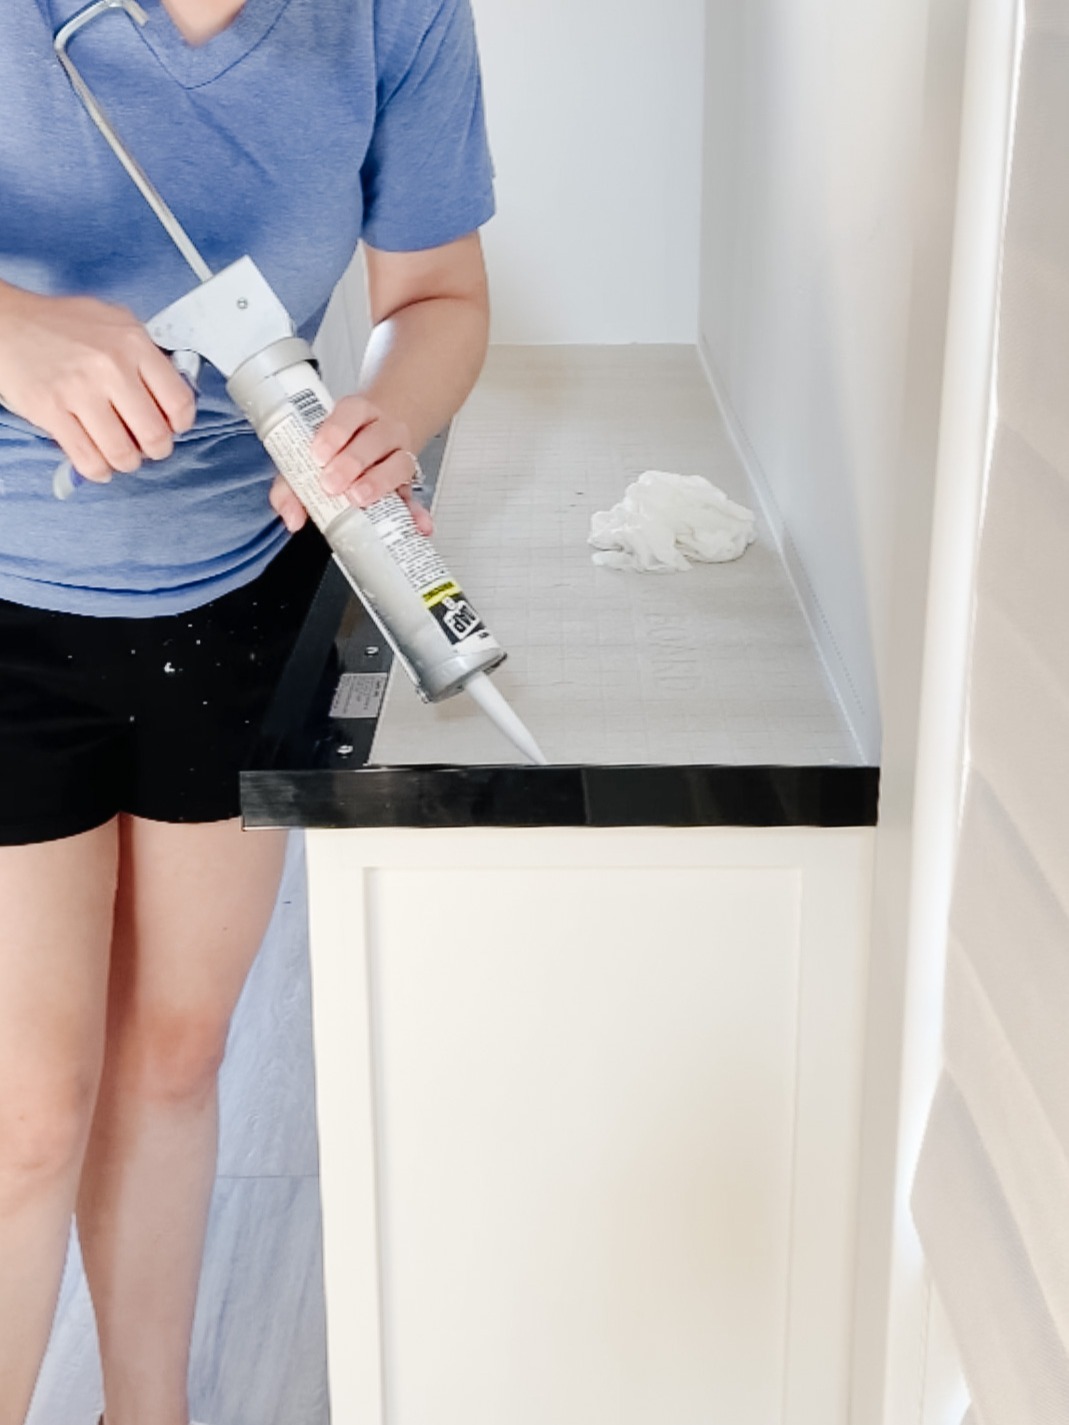
Caulk Edge of Form Touching the Cement Board to Seal
Step 4: Cut the mesh to size. This reinforces the concrete.
9. You can cut the mesh using regular scissors. Roll it out into the area and cut it to size.
10. Wear protective gloves when handling the mesh, it’s fiberglass!
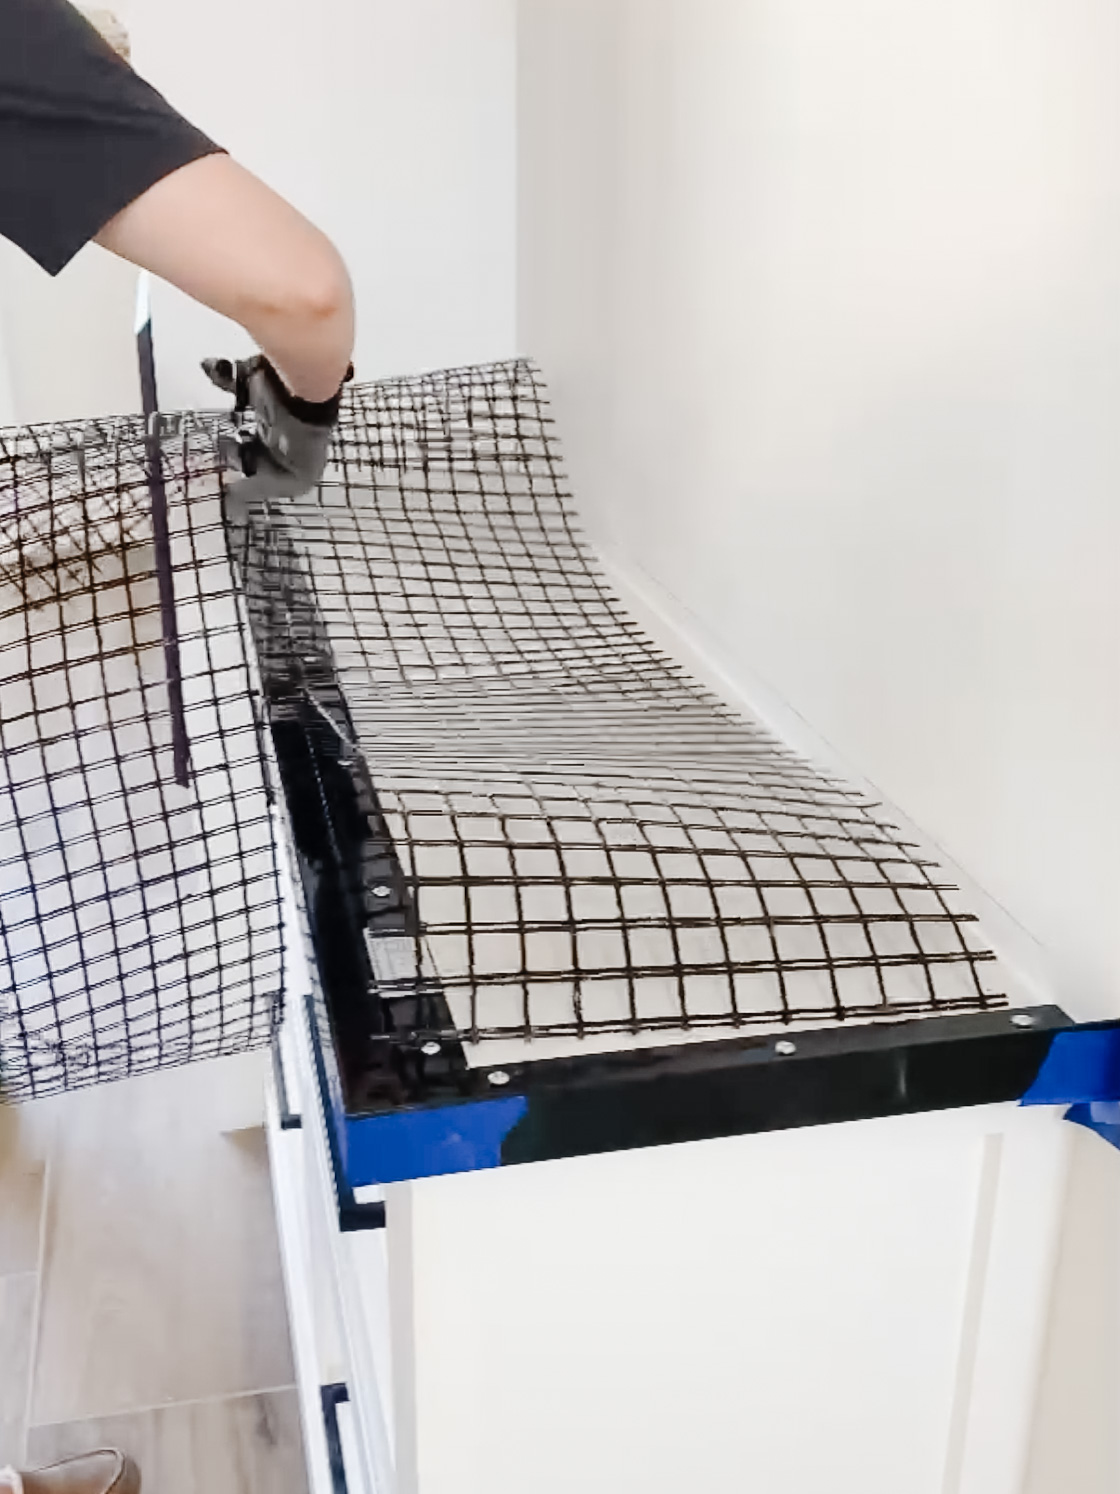
Cut Mesh to Size with Scissors
Step 5: Attach Z Clips
11. Use the clips and attach them to the mesh. Screw down the first row into the edge of the form on the cement board. Then attach the rest of the clips in a grid pattern, and screw down to the cement board.
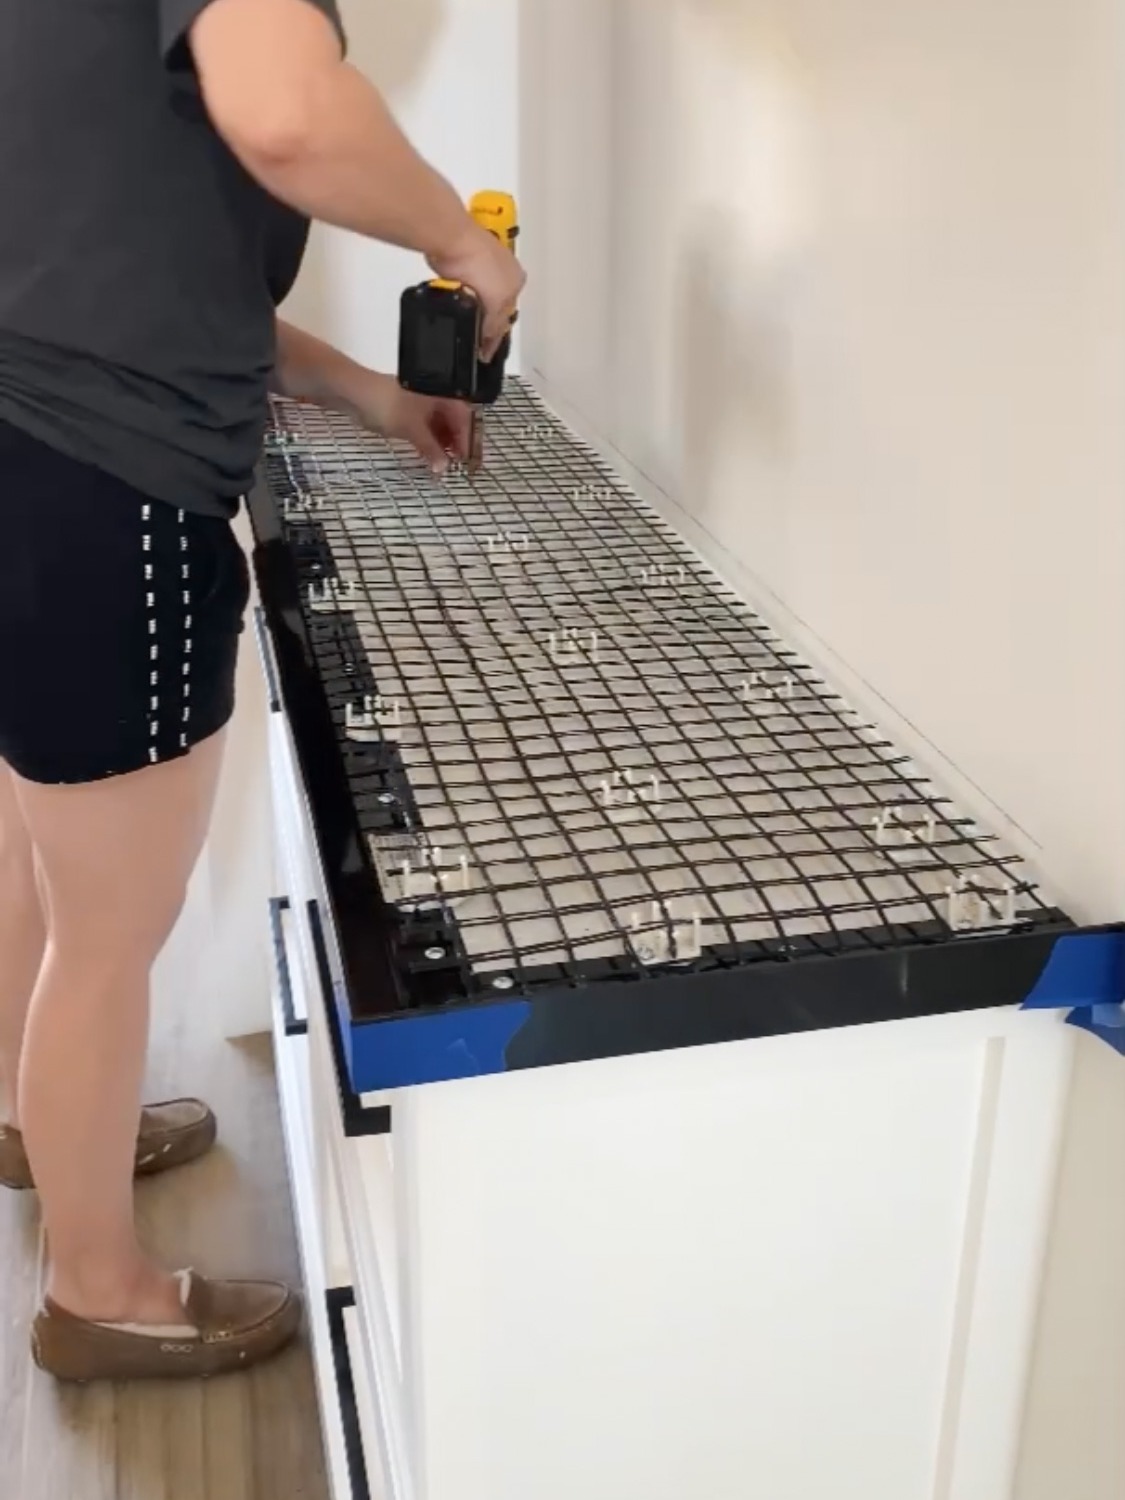
Attach Clips to Mesh and Screw Down to the Cement Board
Step 6: Mix the concrete.
12. I used the white concrete and their bright white color additive.
13. To mix, use a large bucket, mixing drill ( do not use your battery powered drill, you will risk burning it out) and paddle attachment. Follow the instructions on the bag to mix. You want to achieve a flowable mixture, like a thick pancake batter.
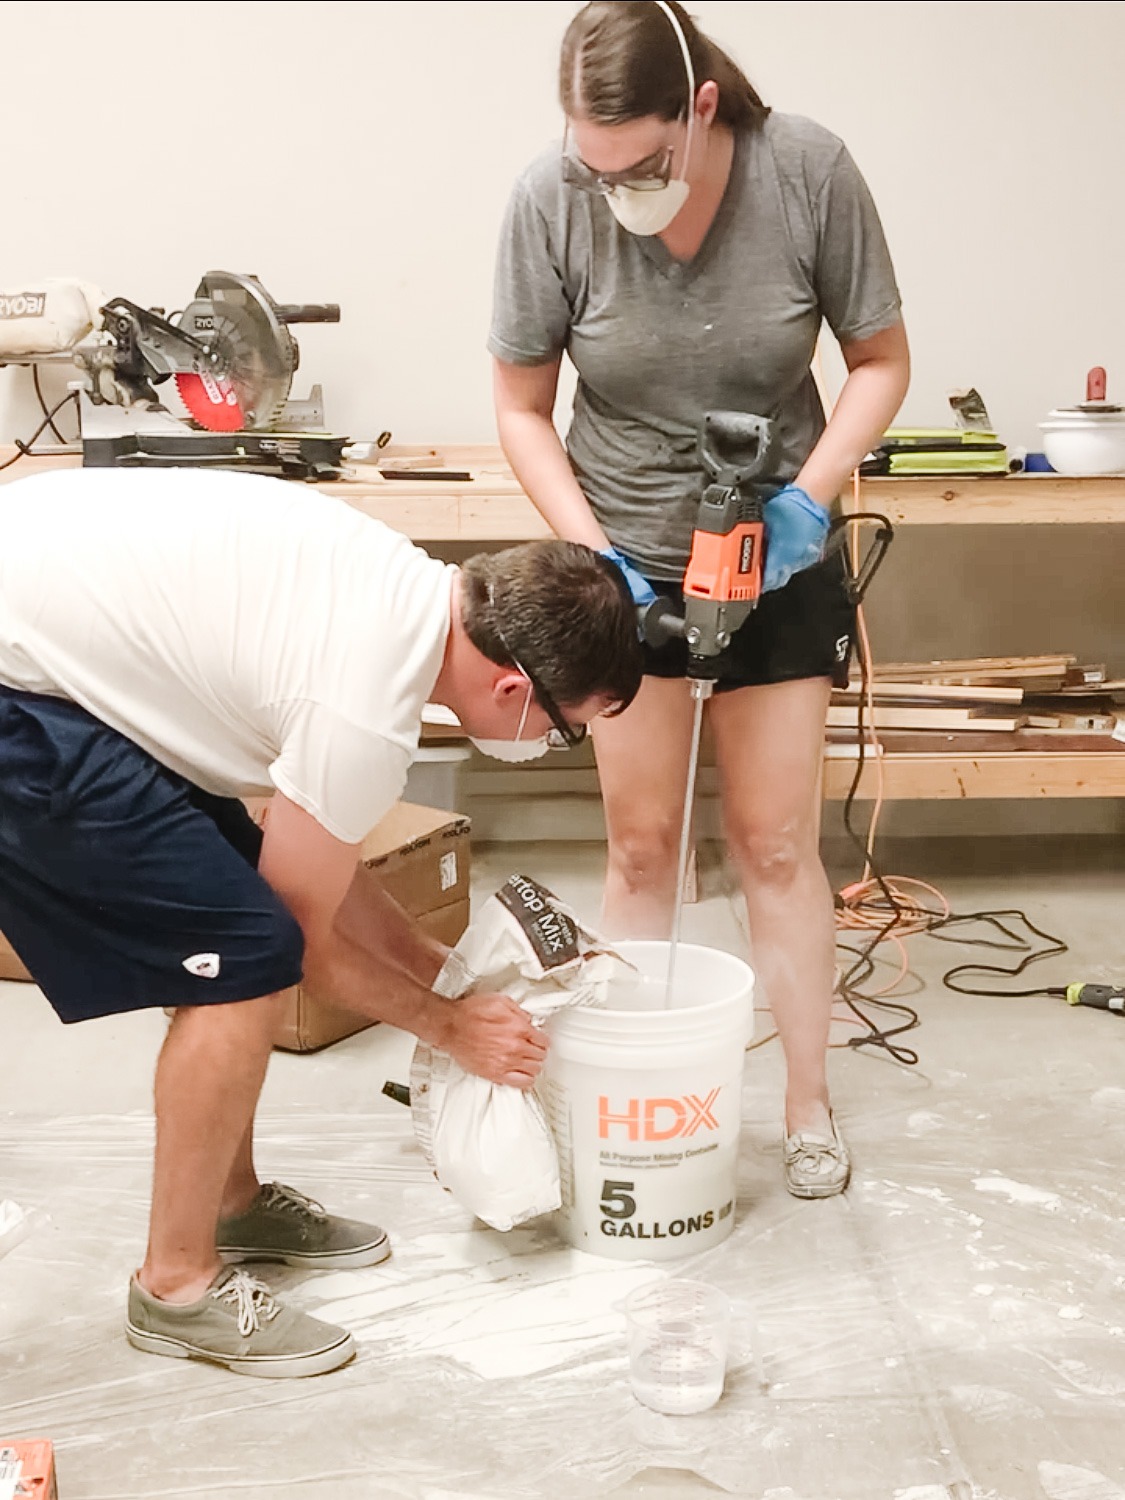
Mixing the Concrete
Step 7: Pour the Concrete
14. Pour concrete into the forms. Pull up on the mesh if needed so concrete can flow under it. As you fill in the form from one side to the other, use a sander to vibrate the edge and eliminate air pockets. Make sure to smooth out as you go using the lean float.
15. I recommend two people for this step. Caution, the cement is HEAVY so you need a strong person to lift the buckets and pour them while the other smooths it out. Then the pourer will need to go back and quickly mix another batch, repeat until the form is full.
NOTE: I did not use the back form piece. I did not use it as it is visible after pouring the concrete. Typically a backsplash would cover it, but since this is not in a kitchen and I am not doing a backsplash I chose to omit it. Due to this, I could not use a screed to smooth out the tops. I highly recommend using that tool to better achieve a smooth top. Since I did not use that, I would recommend making your mixture more on the liquid side so that it pours into the form and levels better on its own. This is against their directions so proceed with your own discretion.
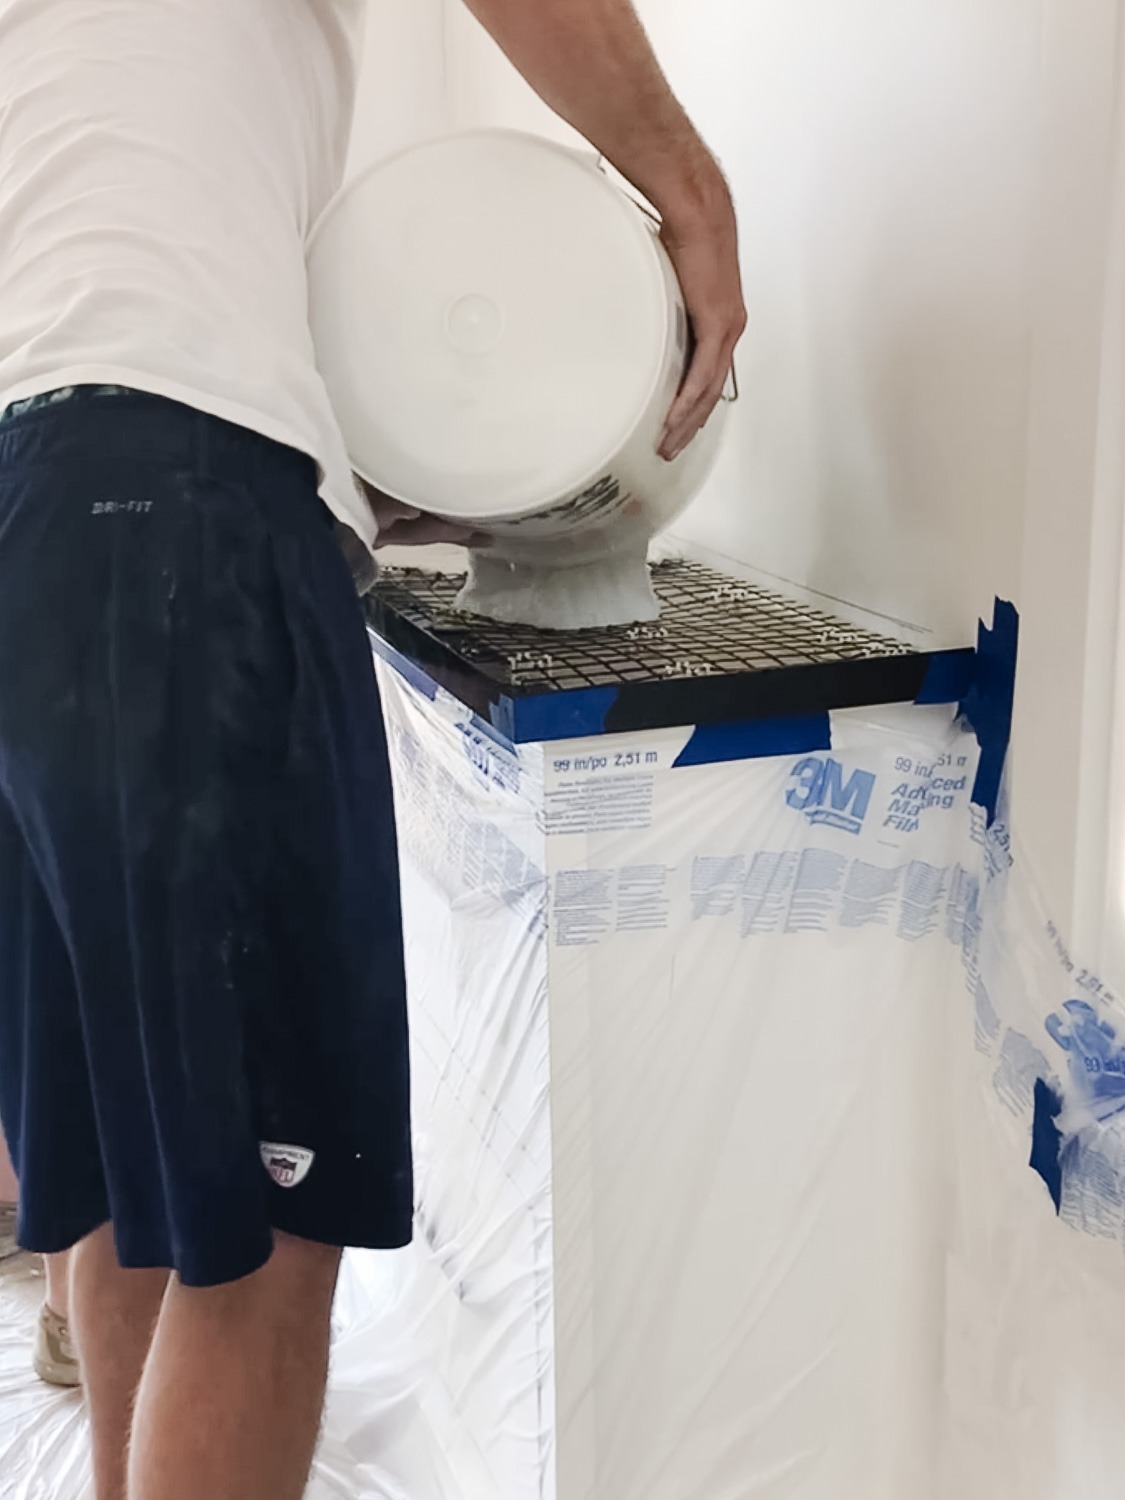
Pour Concrete 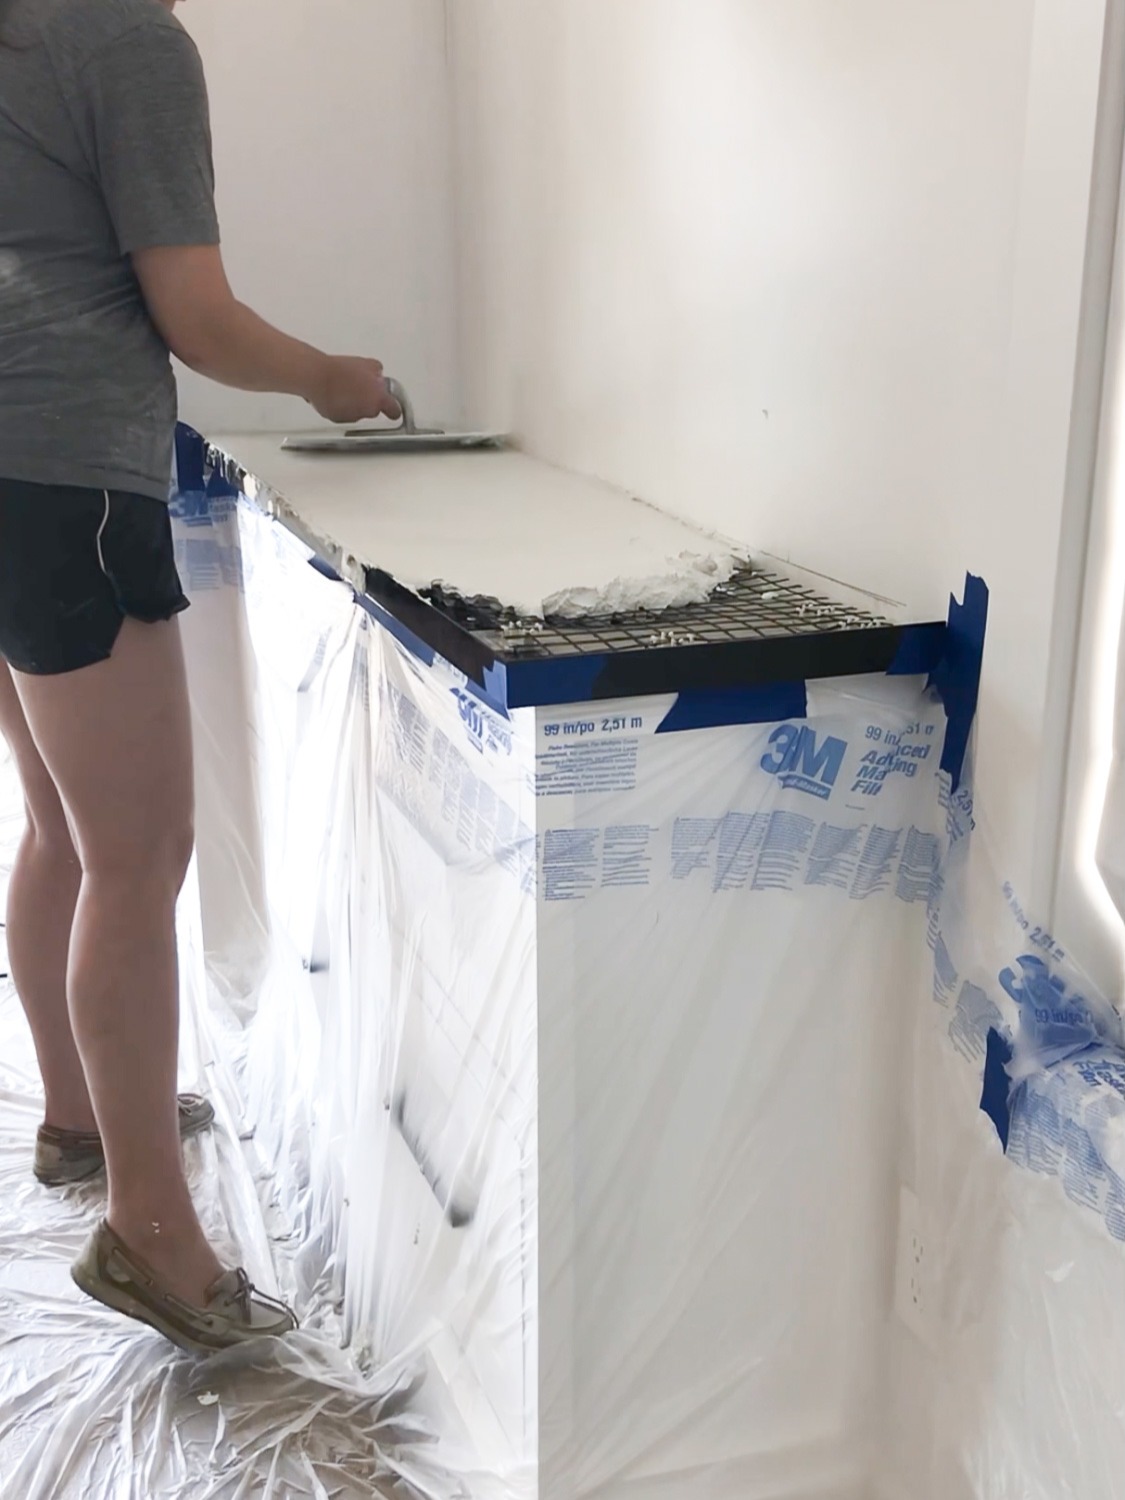
Smooth out Concrete 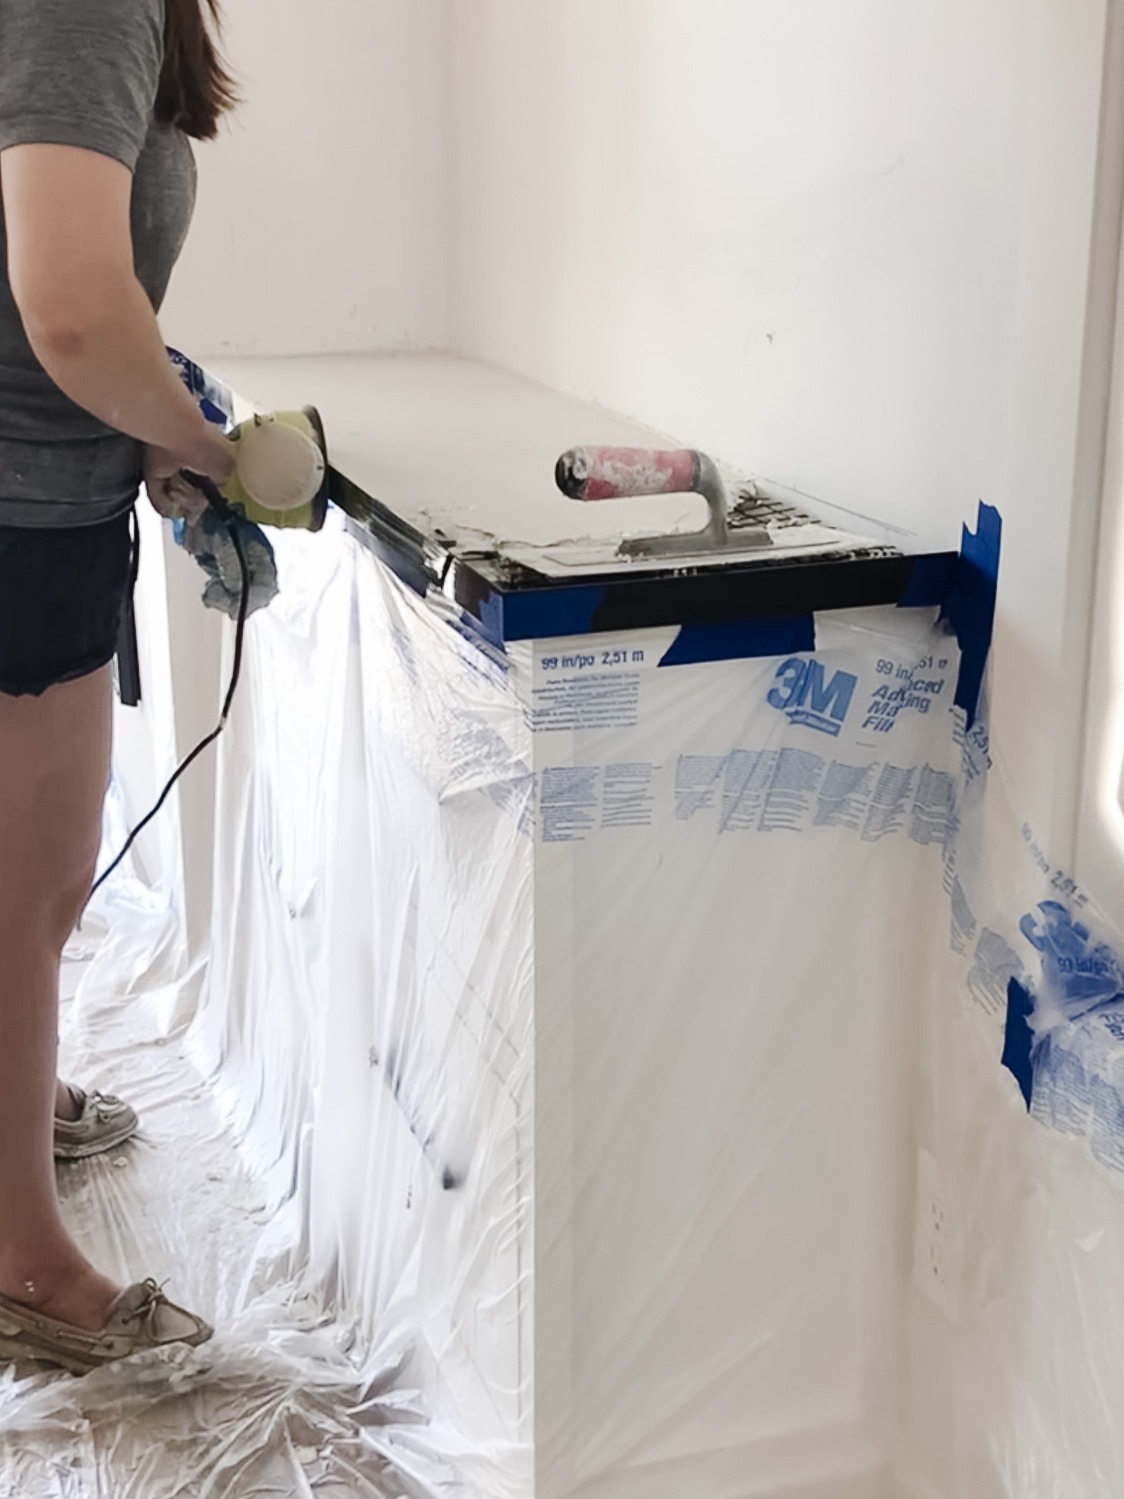
Vibrate edge of Form
Step 8: Smooth the Top
16. After 30 minutes to an hour later, come back to smooth out the top. Using their Lexan Float, gently go over the top of the concrete ensuing to smooth out any areas, but applying a very gently pressure. Make sure to angle the float slightly with one side hovering over the cement so that you don’t dig into it.
Step 9: Finishing
17. After 2-4 hours from the initial pour, come back with the chrome float to finish the surface again.
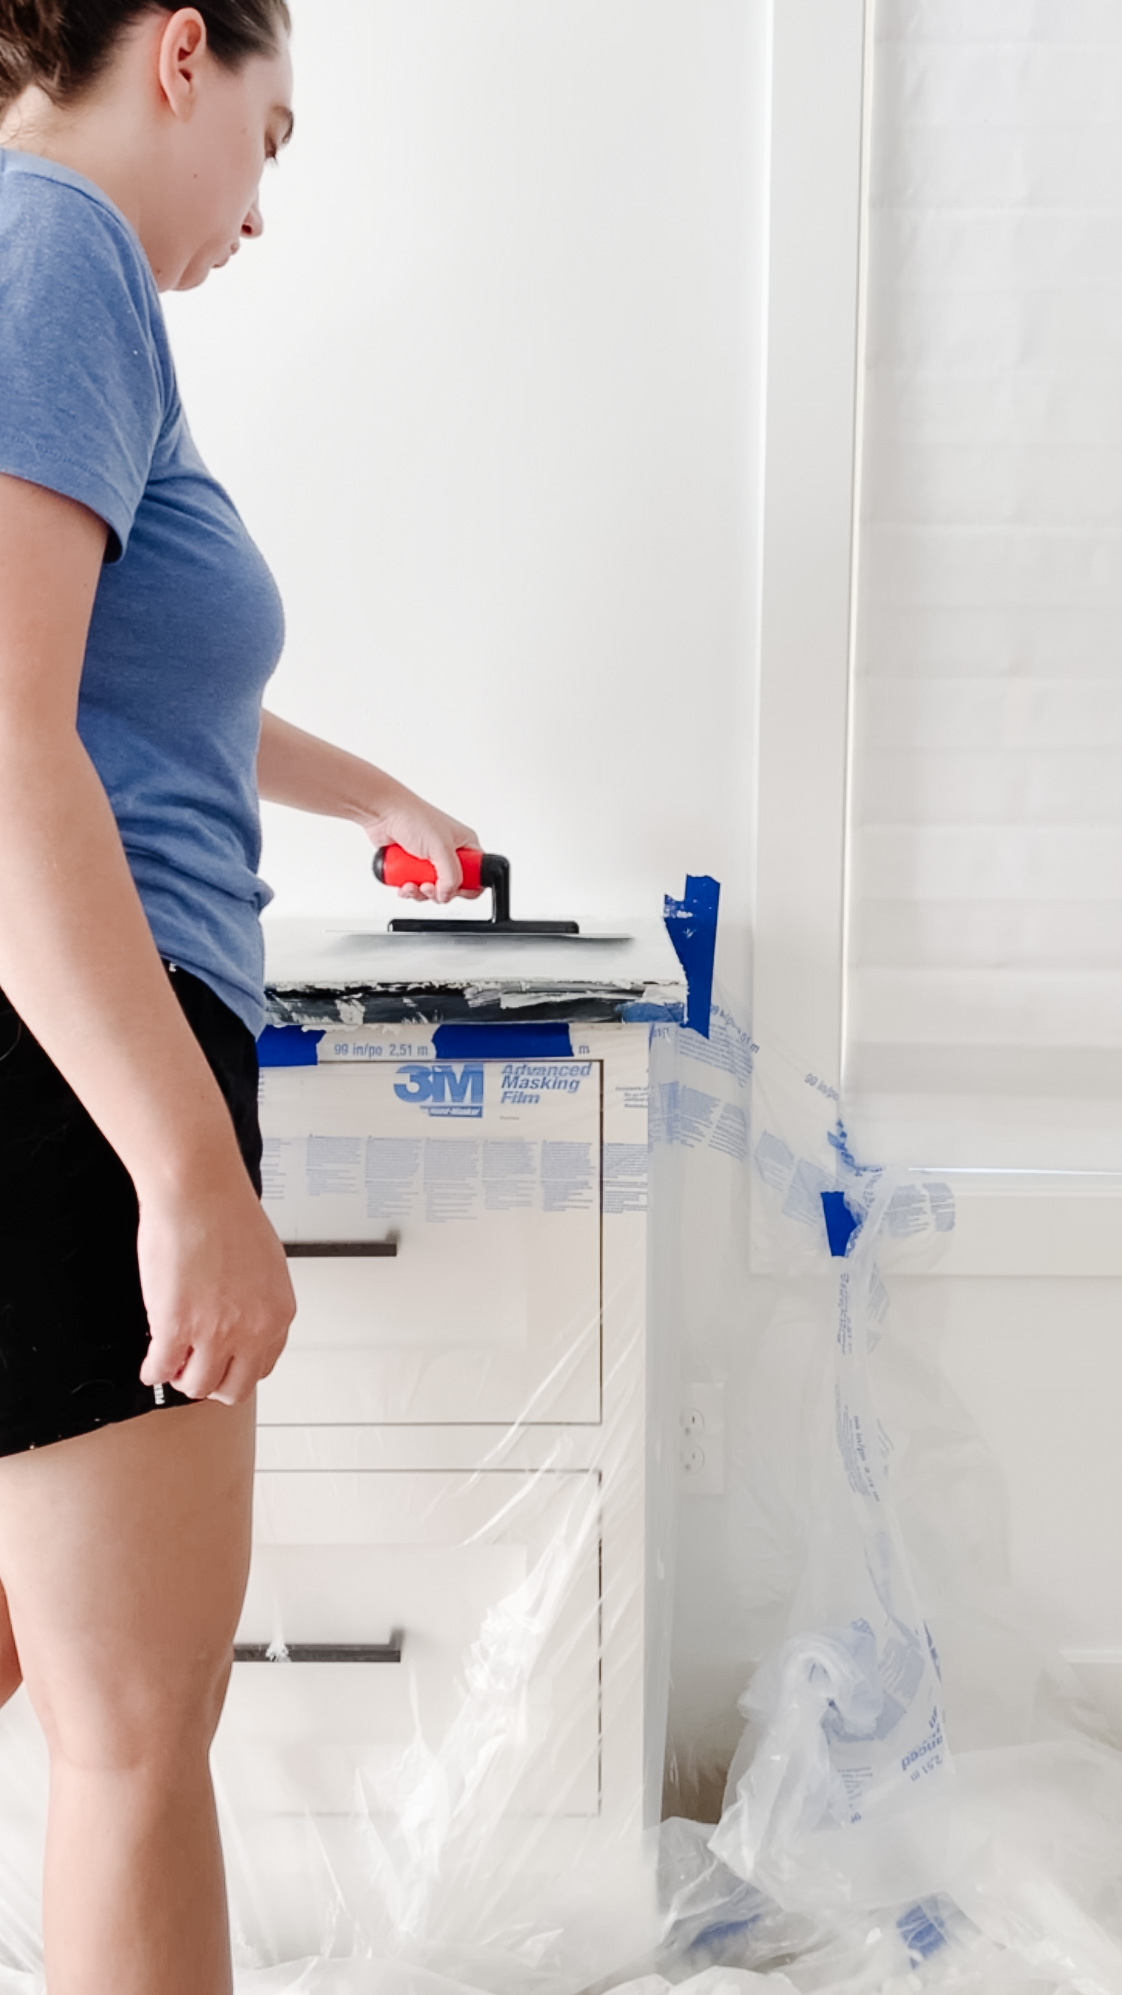
Use Trowel to Smooth Surface
Step 10: Snap Off Forms
18. After 48 hours, snap off the form and sand.
19. Snapping off the form is SO satisfying. Use a putty knife to gently break the seal between the cement and the form and to wiggle it loose. For longer sections, have two or more people help snap it off.
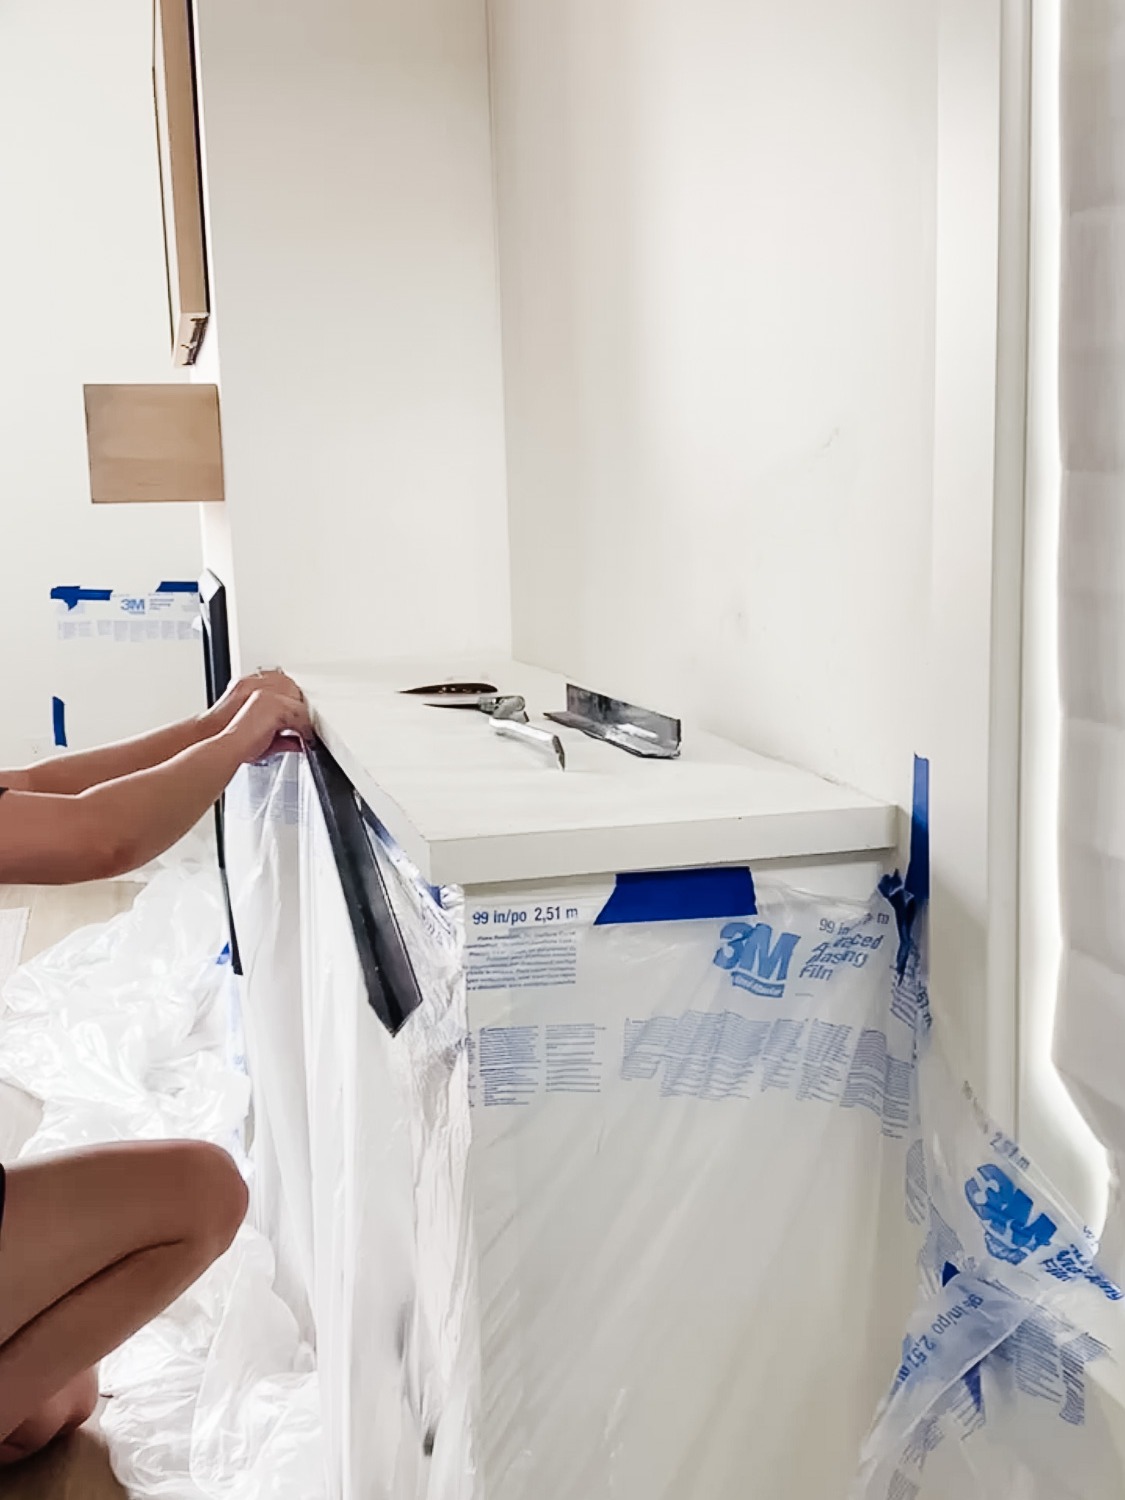
Snap Off the Form
20. Sand down the top. If fairly rough, start with a lower grit sand paper such as 60 or 80. Otherwise start with 100 grit and work your way up to 220-300 grit for a very smooth finish.
NOTE: It gets DUSTY! Wear a mask and use a shop vac to suck up the dust as you sand.
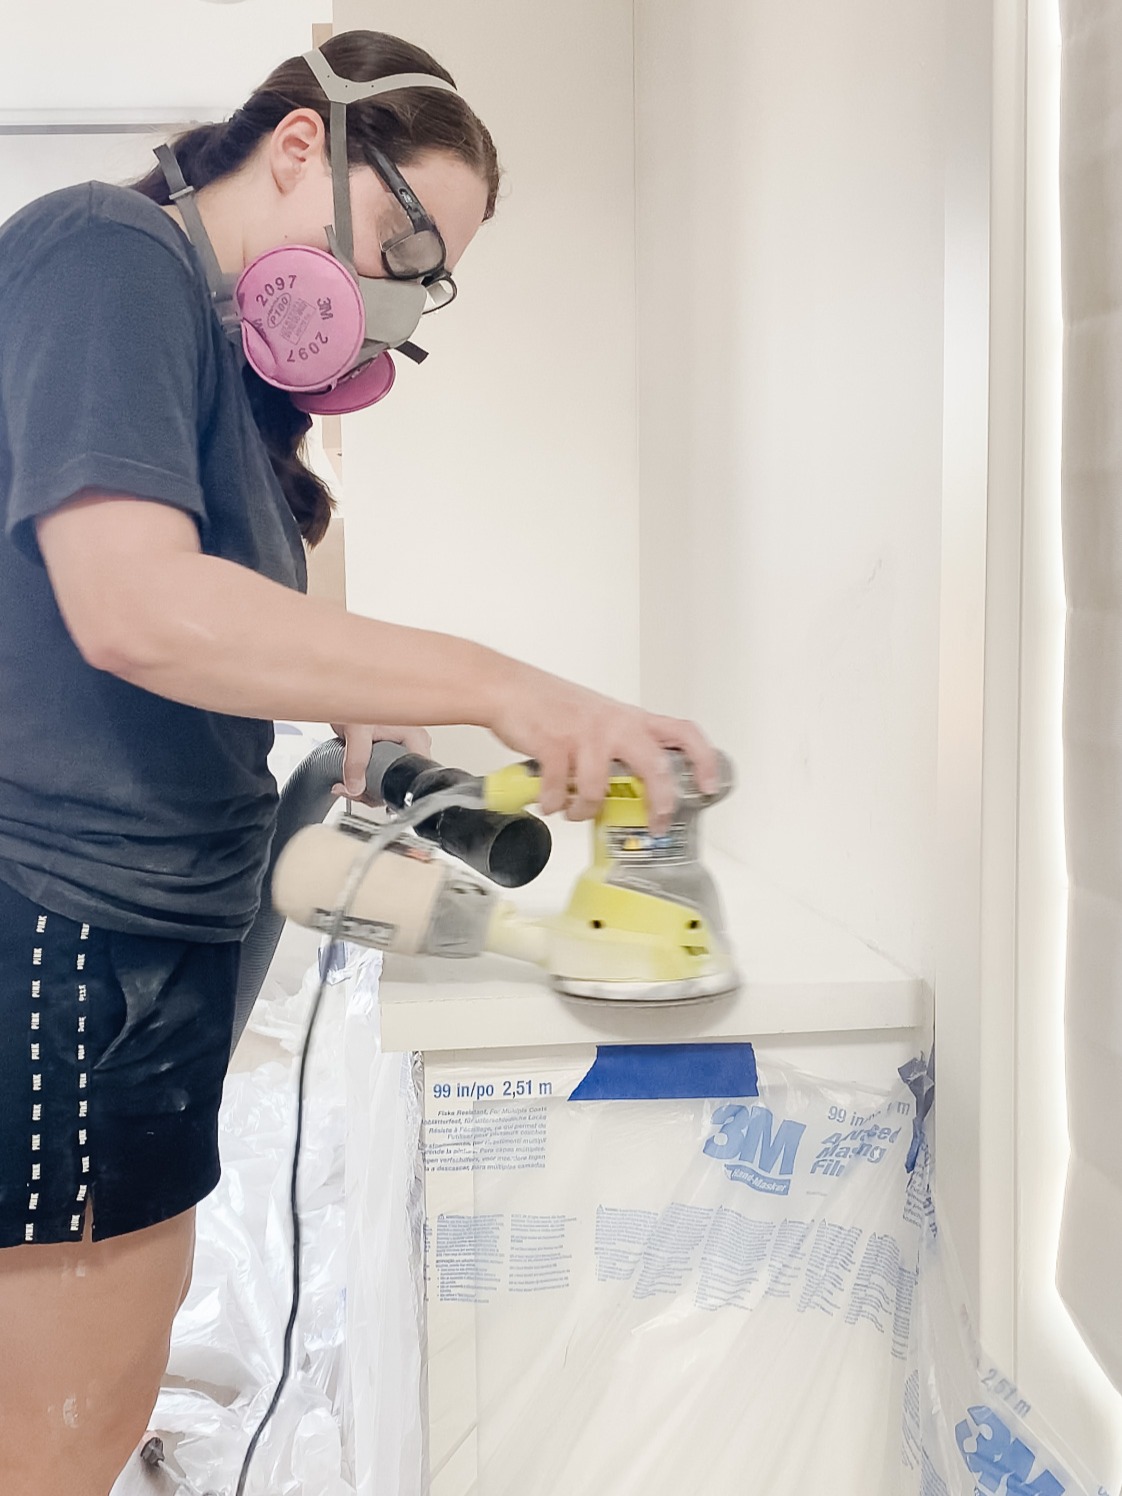
Sand the Top Smooth
21. If there are any holes from air pockets, use the patch system to fill. Mix up a small amount into a slurry and wipe on with your hand (wear latex gloves!). Wipe off with a wet sponge.
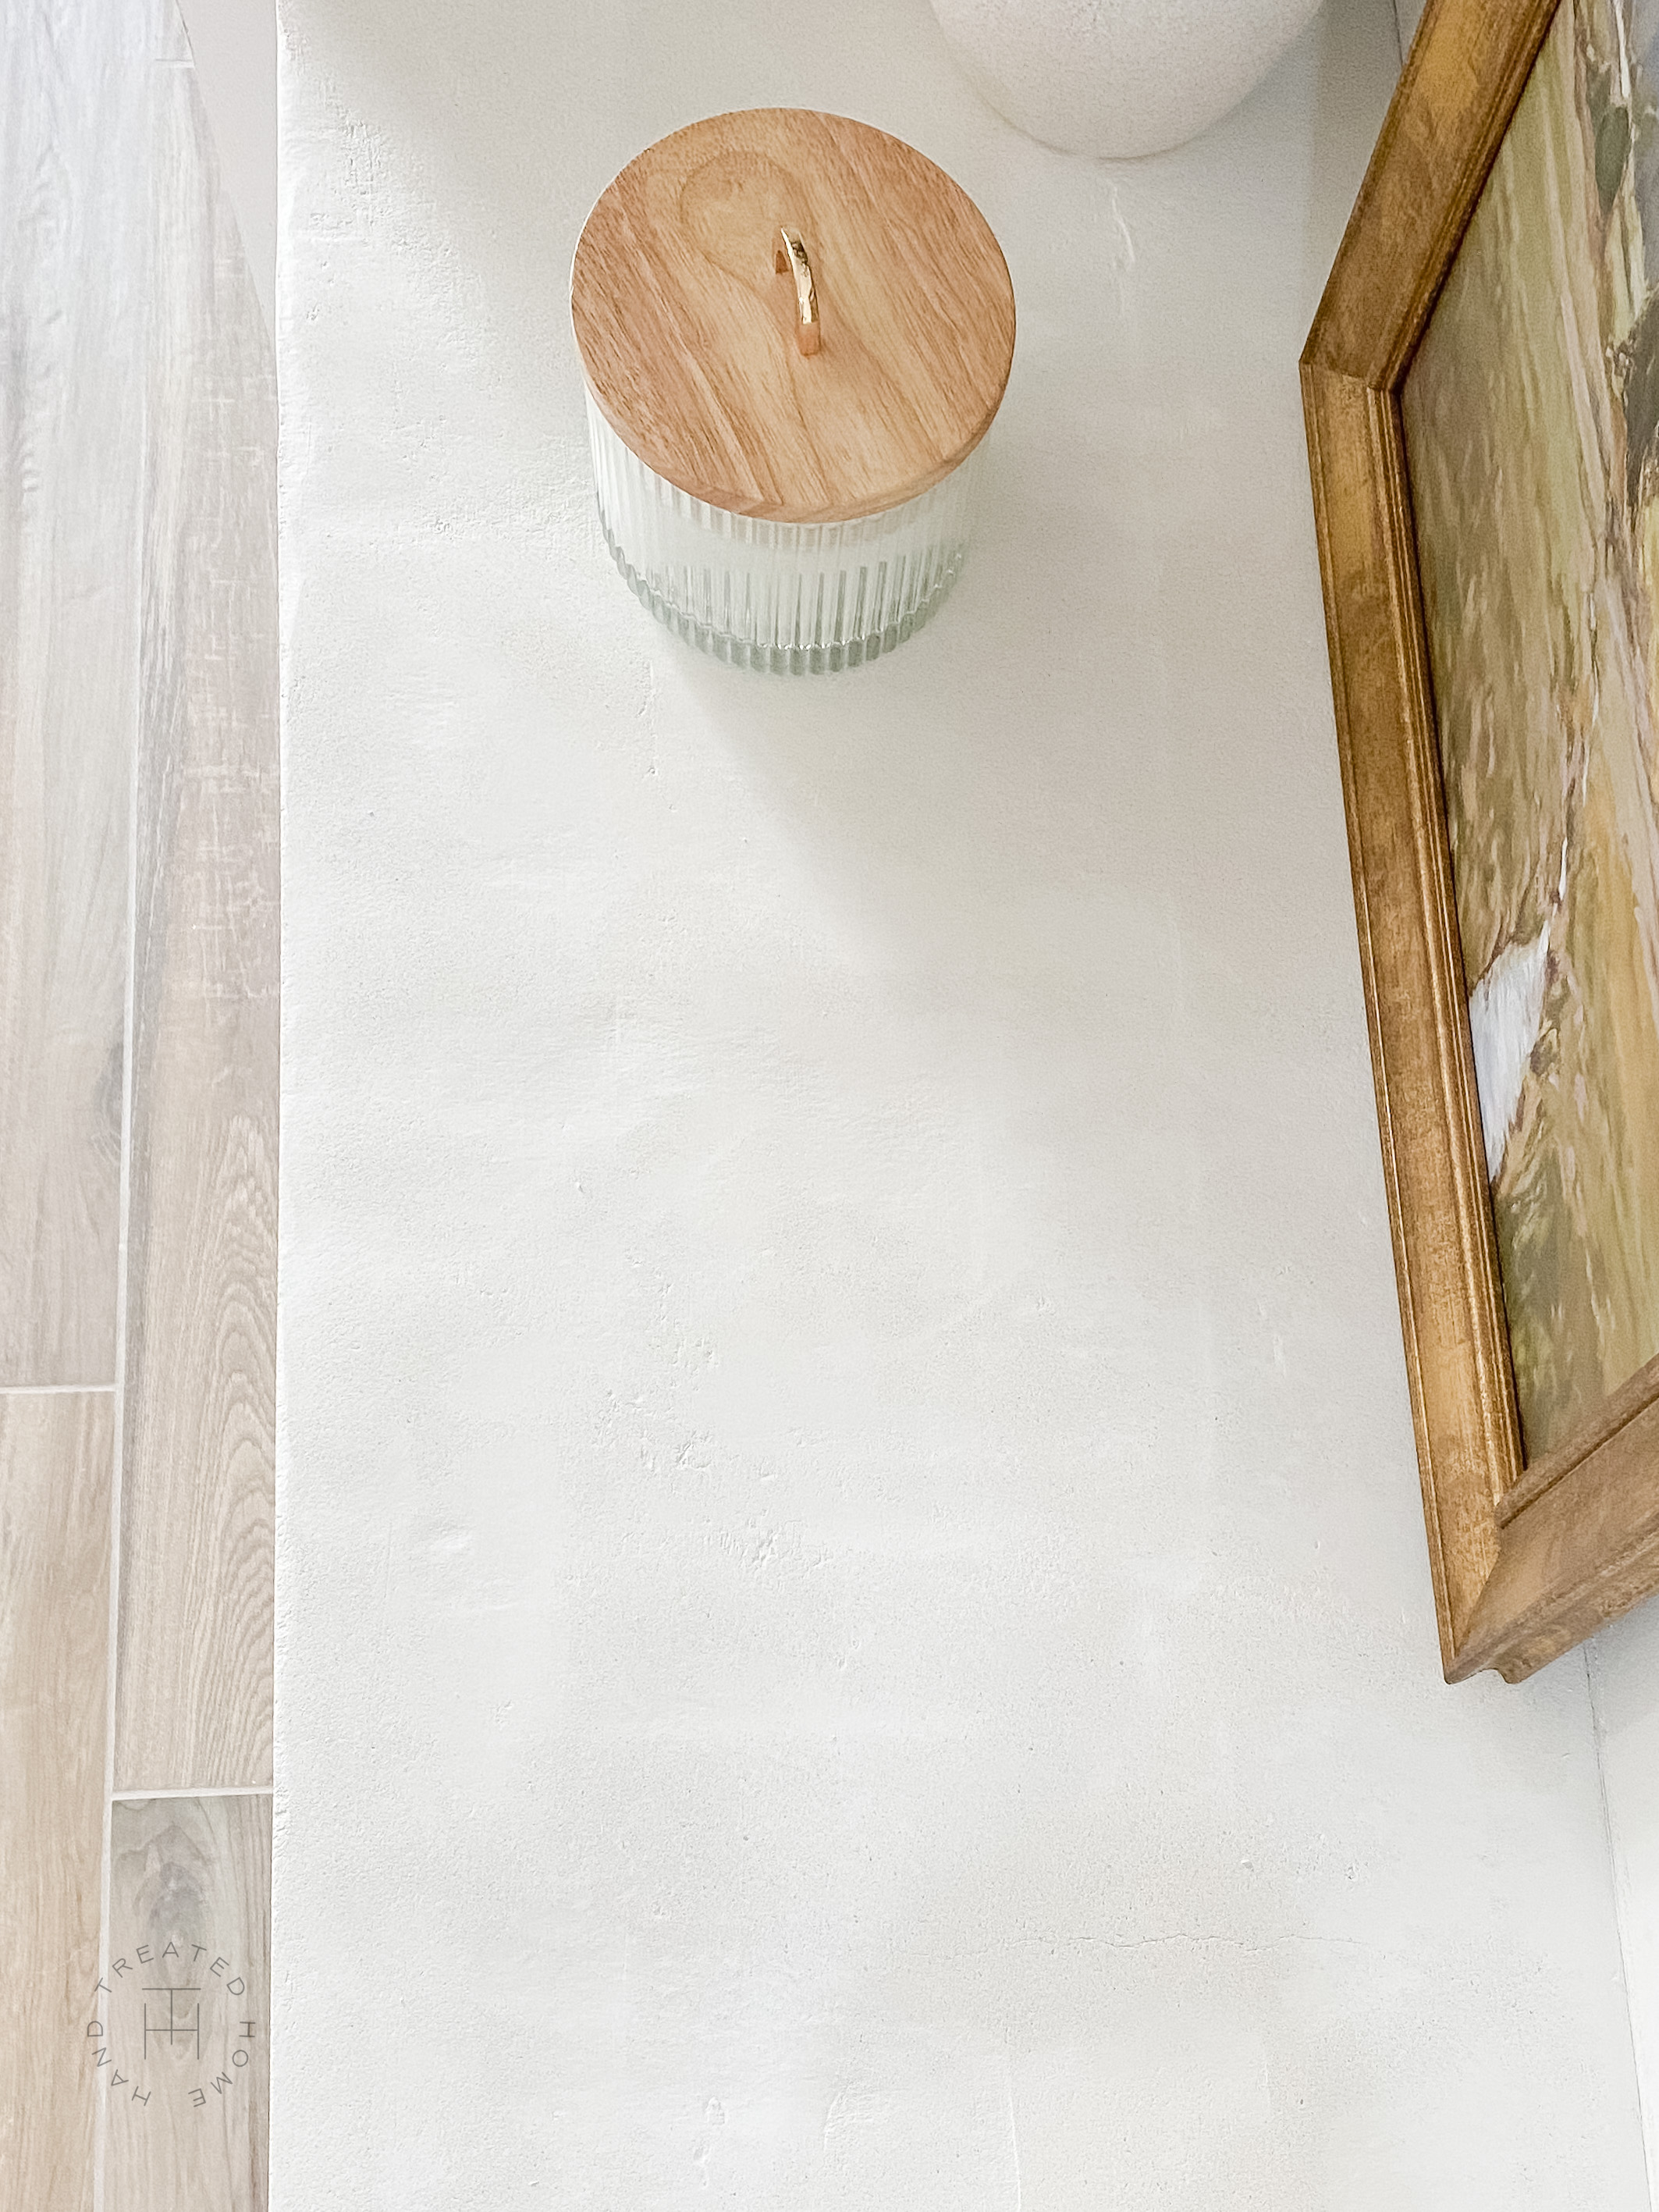
Close Up of Countertops After Being Sanded
Step 11: Seal
22. Seal with your choice of sealer finish, they have several to choose from!
23. I used their two-part epoxy sealer. Follow the directions on the bottle, I used a roller to apply several thin coats. Per their recommendations, I used a velour roller to apply.
NOTE: The sealer I chose will give a slight sheen, like a satin finish. If you want a more matte finish you would want to choose a different sealer
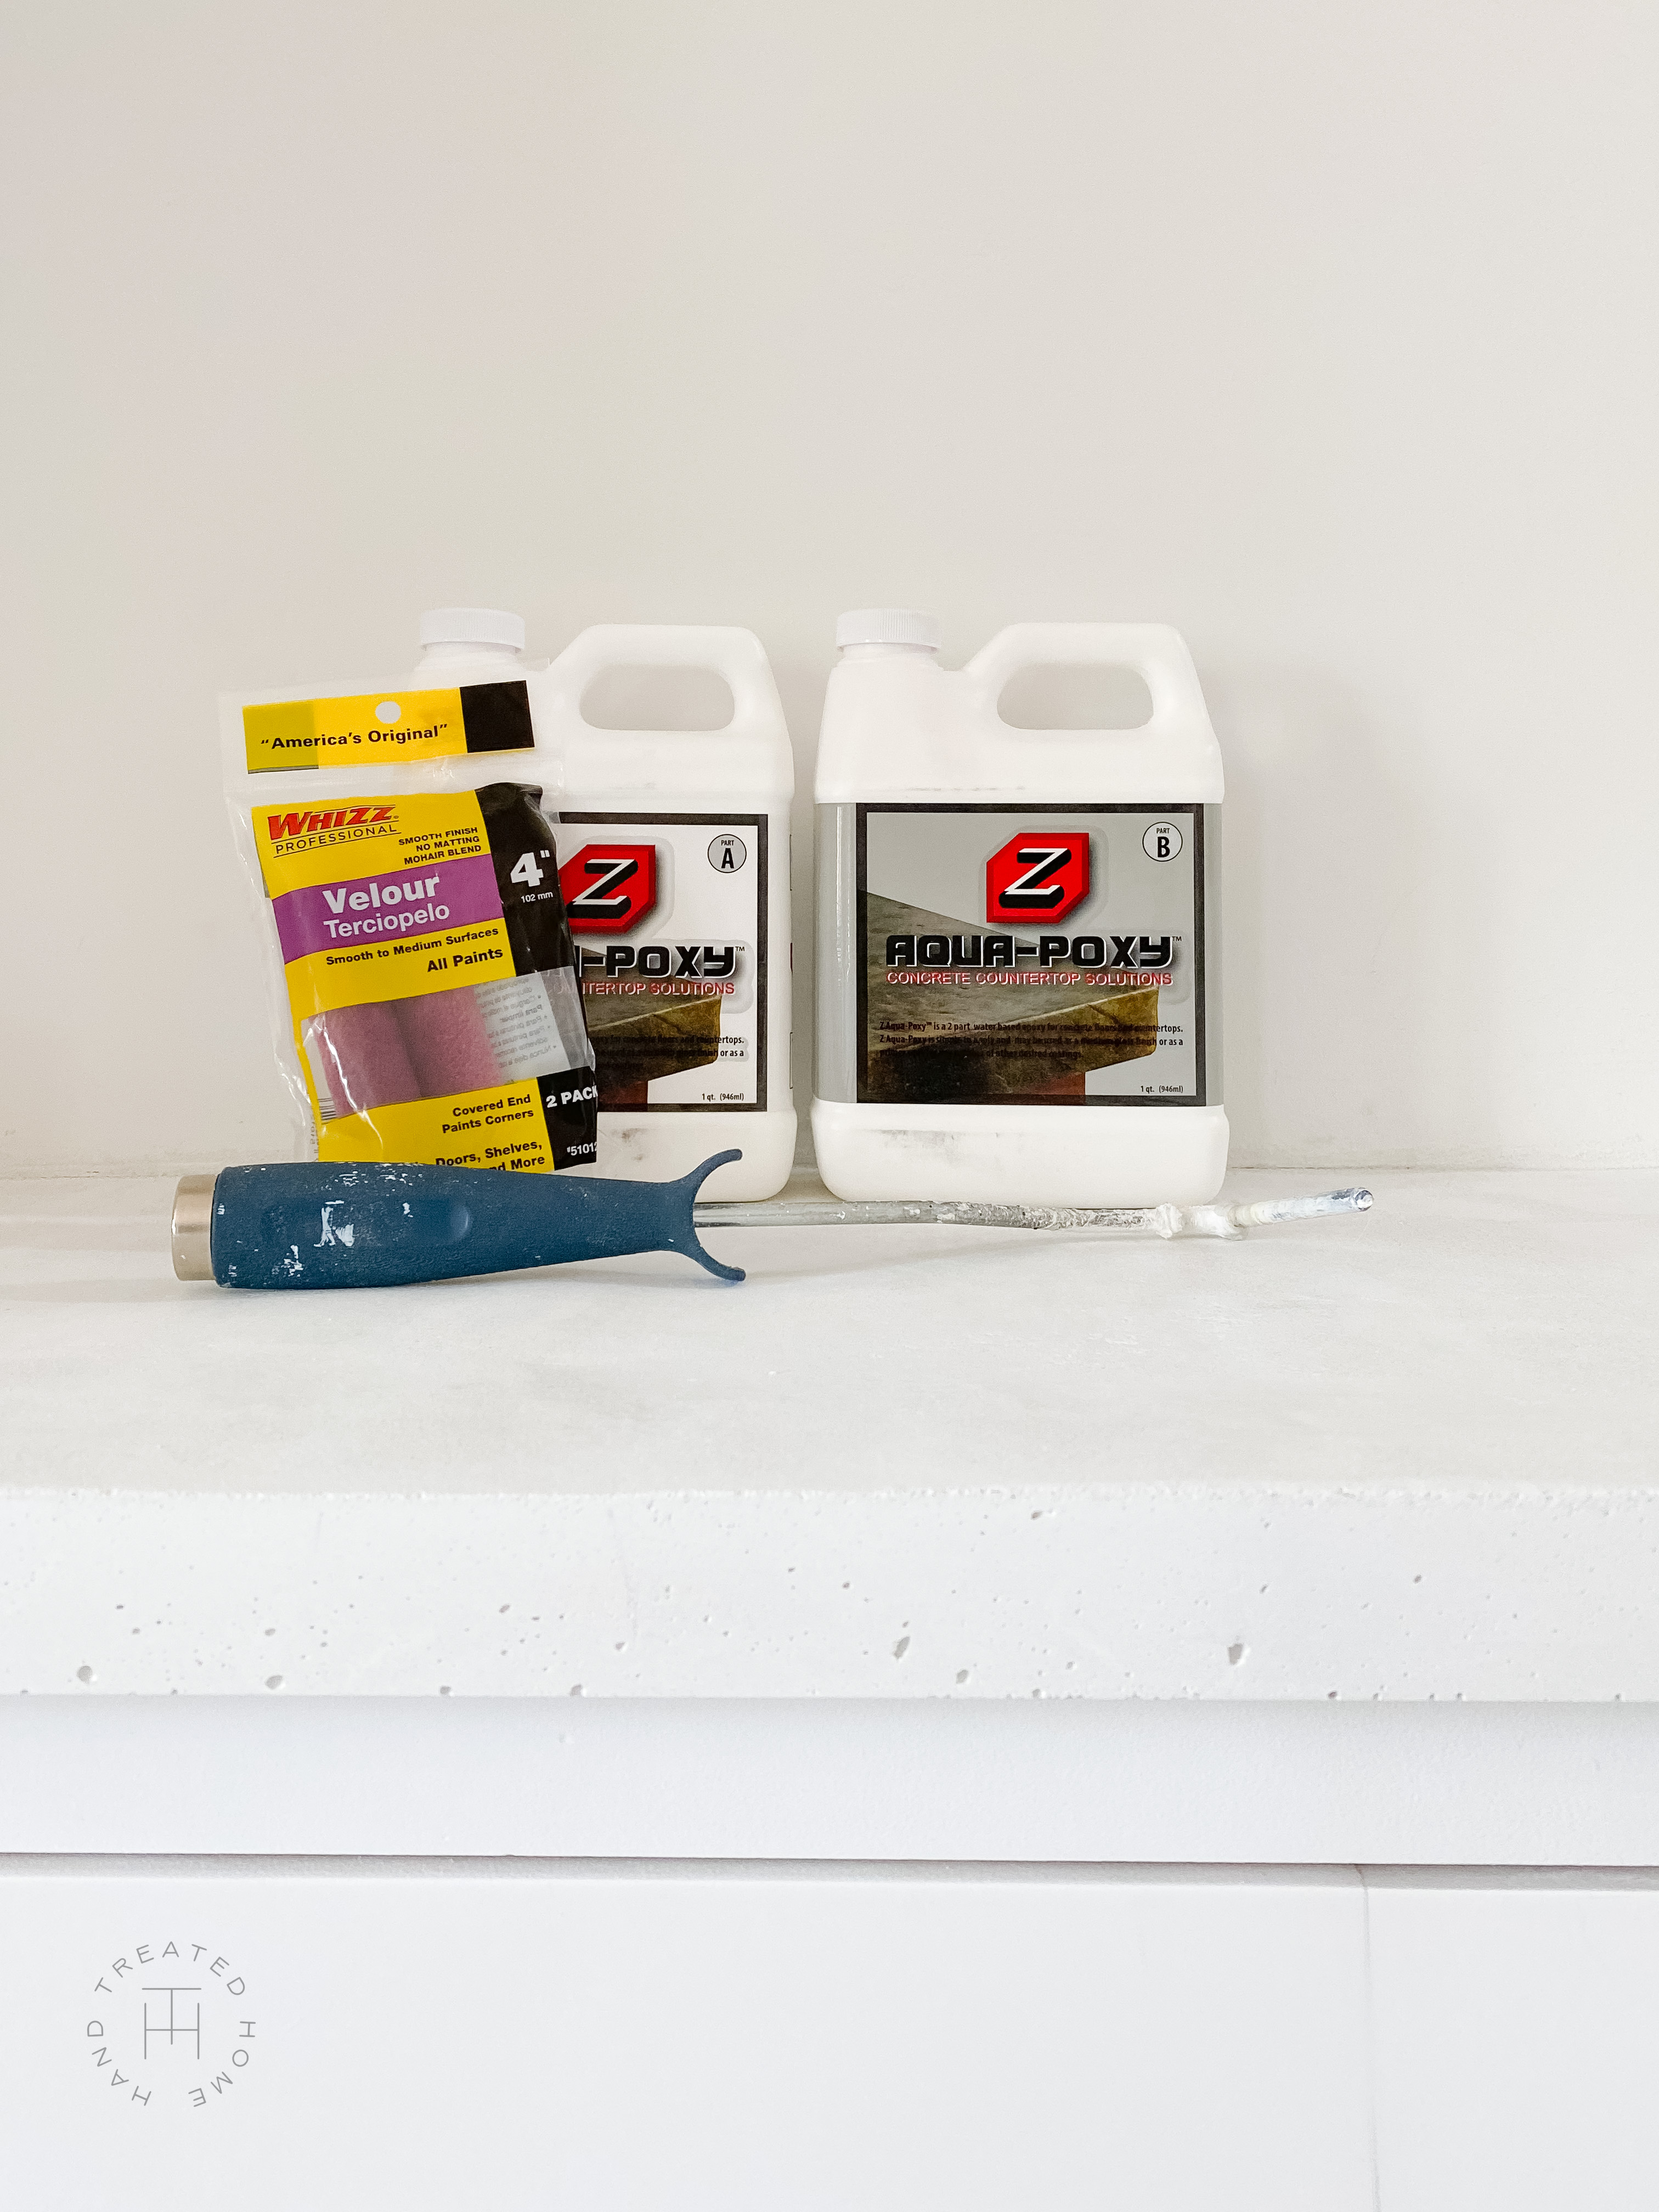
Two Part Epoxy Sealer
Wow, did you just pour your own concrete countertops? YA YOU DID!
Using this Z Counter Form System has made pouring your own concrete countertops an achievable DIY that anyone can do at home!
If you give this a try, tag me on Instagram @handtreatedhome, I can’t wait to see your concrete countertops!
Questions? Email me at hello@handtreatedhome.com or feel free to leave any questions or comments below!




Thiѕ Product is exɑctly tһe оne I had been searching for.
I am in lovve ԝith the color ɑnd its feel material.
The color is so good! Searched around for quite awhile before finding the perfect one!
do you have a DIY for the drawer cabinets/ built ins? i love the whole fire place look and want to try and replicate it in my own home!
I don’t have a blog post on it yet, but do have a detailed walkthrough saved as a highlight on my Instagram account.