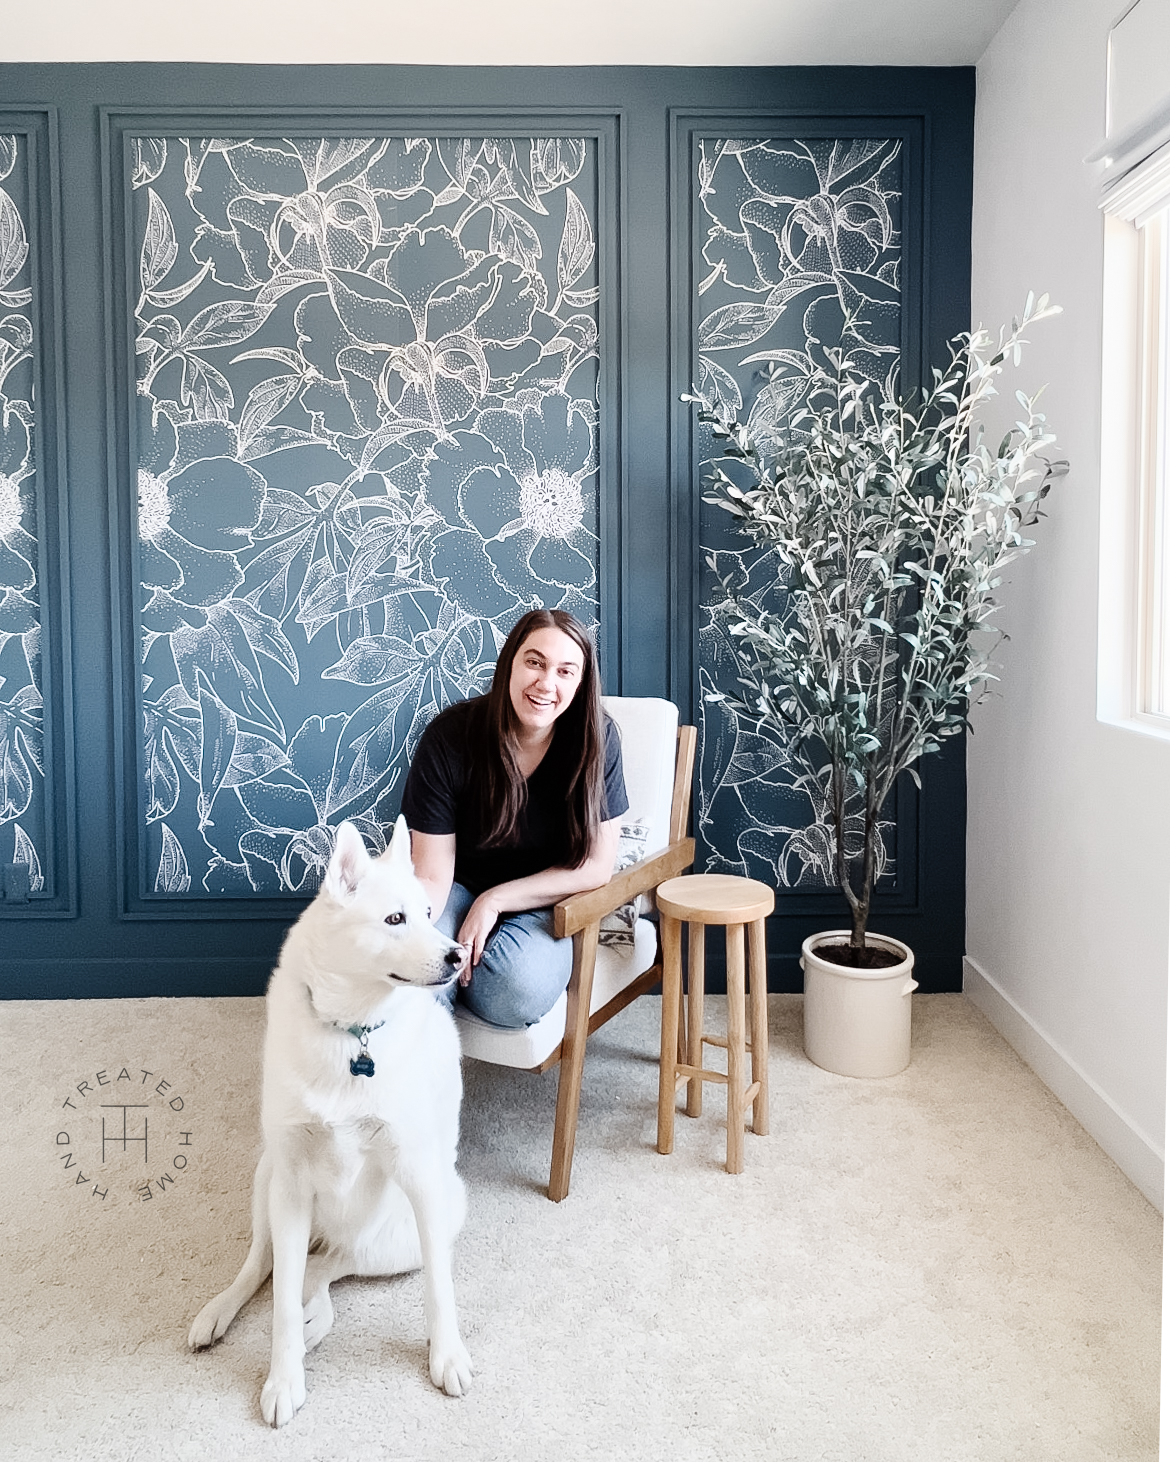
Box Trim Moulding with Inset Wallpaper Tutorial
This page may include some affiliate links, meaning that at no cost to you, I could earn a commission if you purchase through these links. Learn more. As always, I only link items that I personally use and recommend. Thank you for your support by shopping through my links.
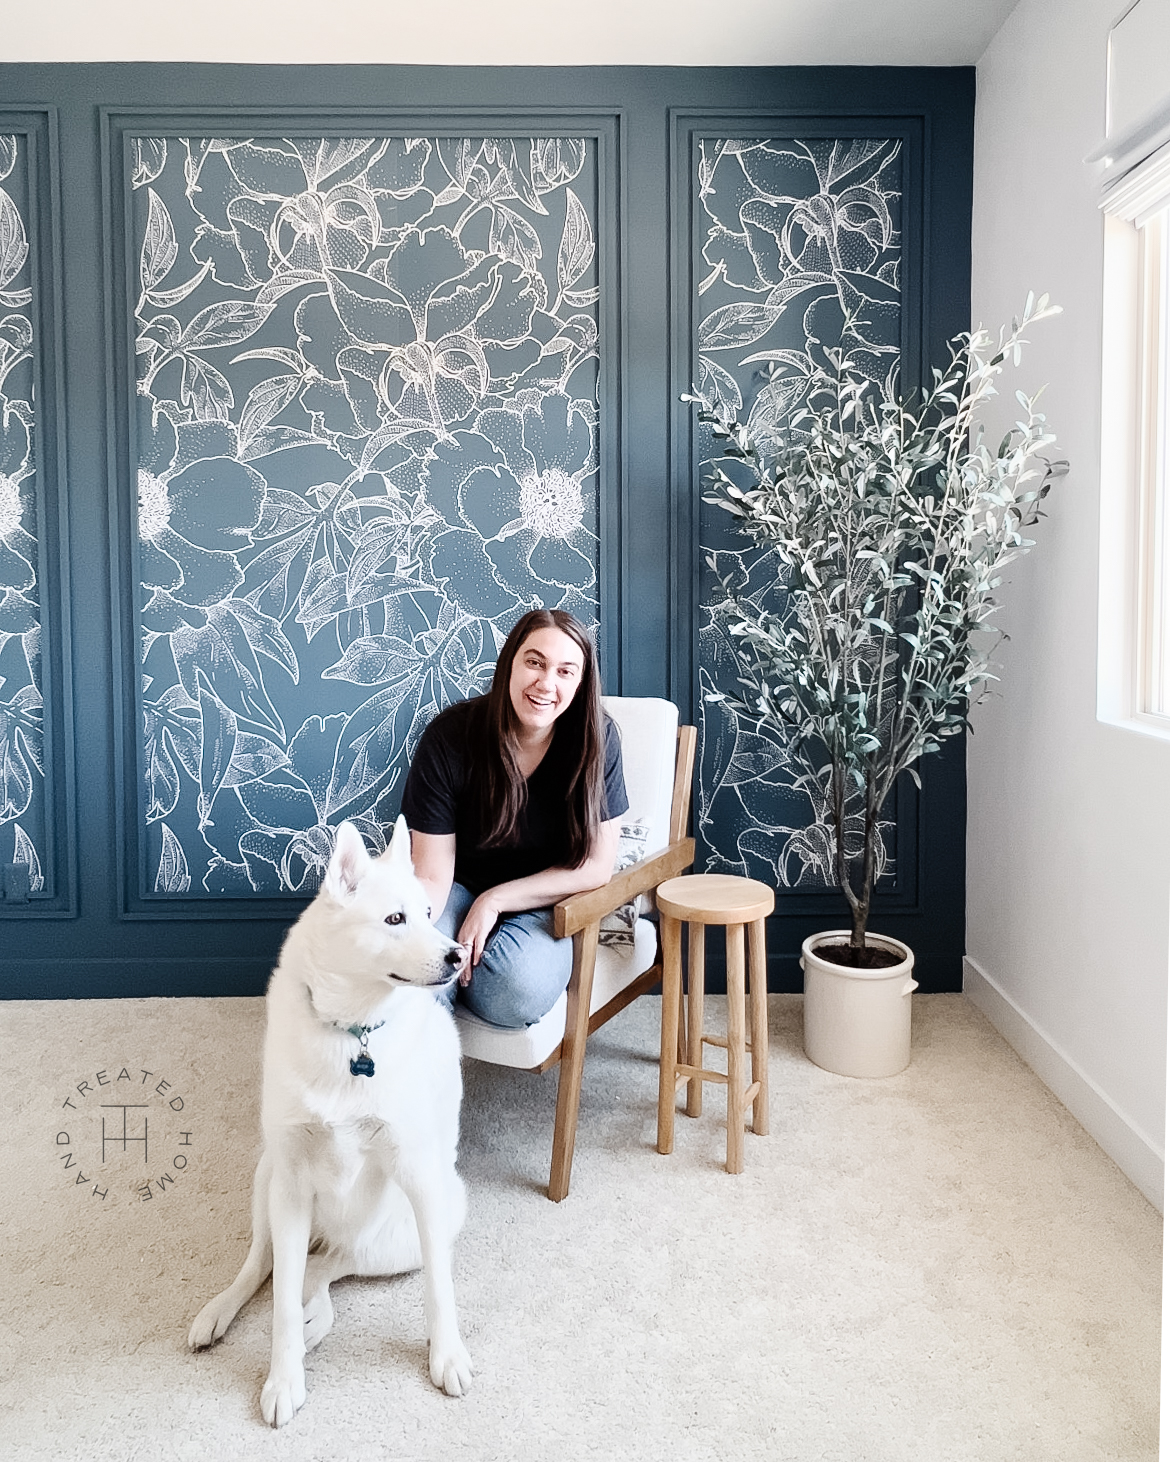
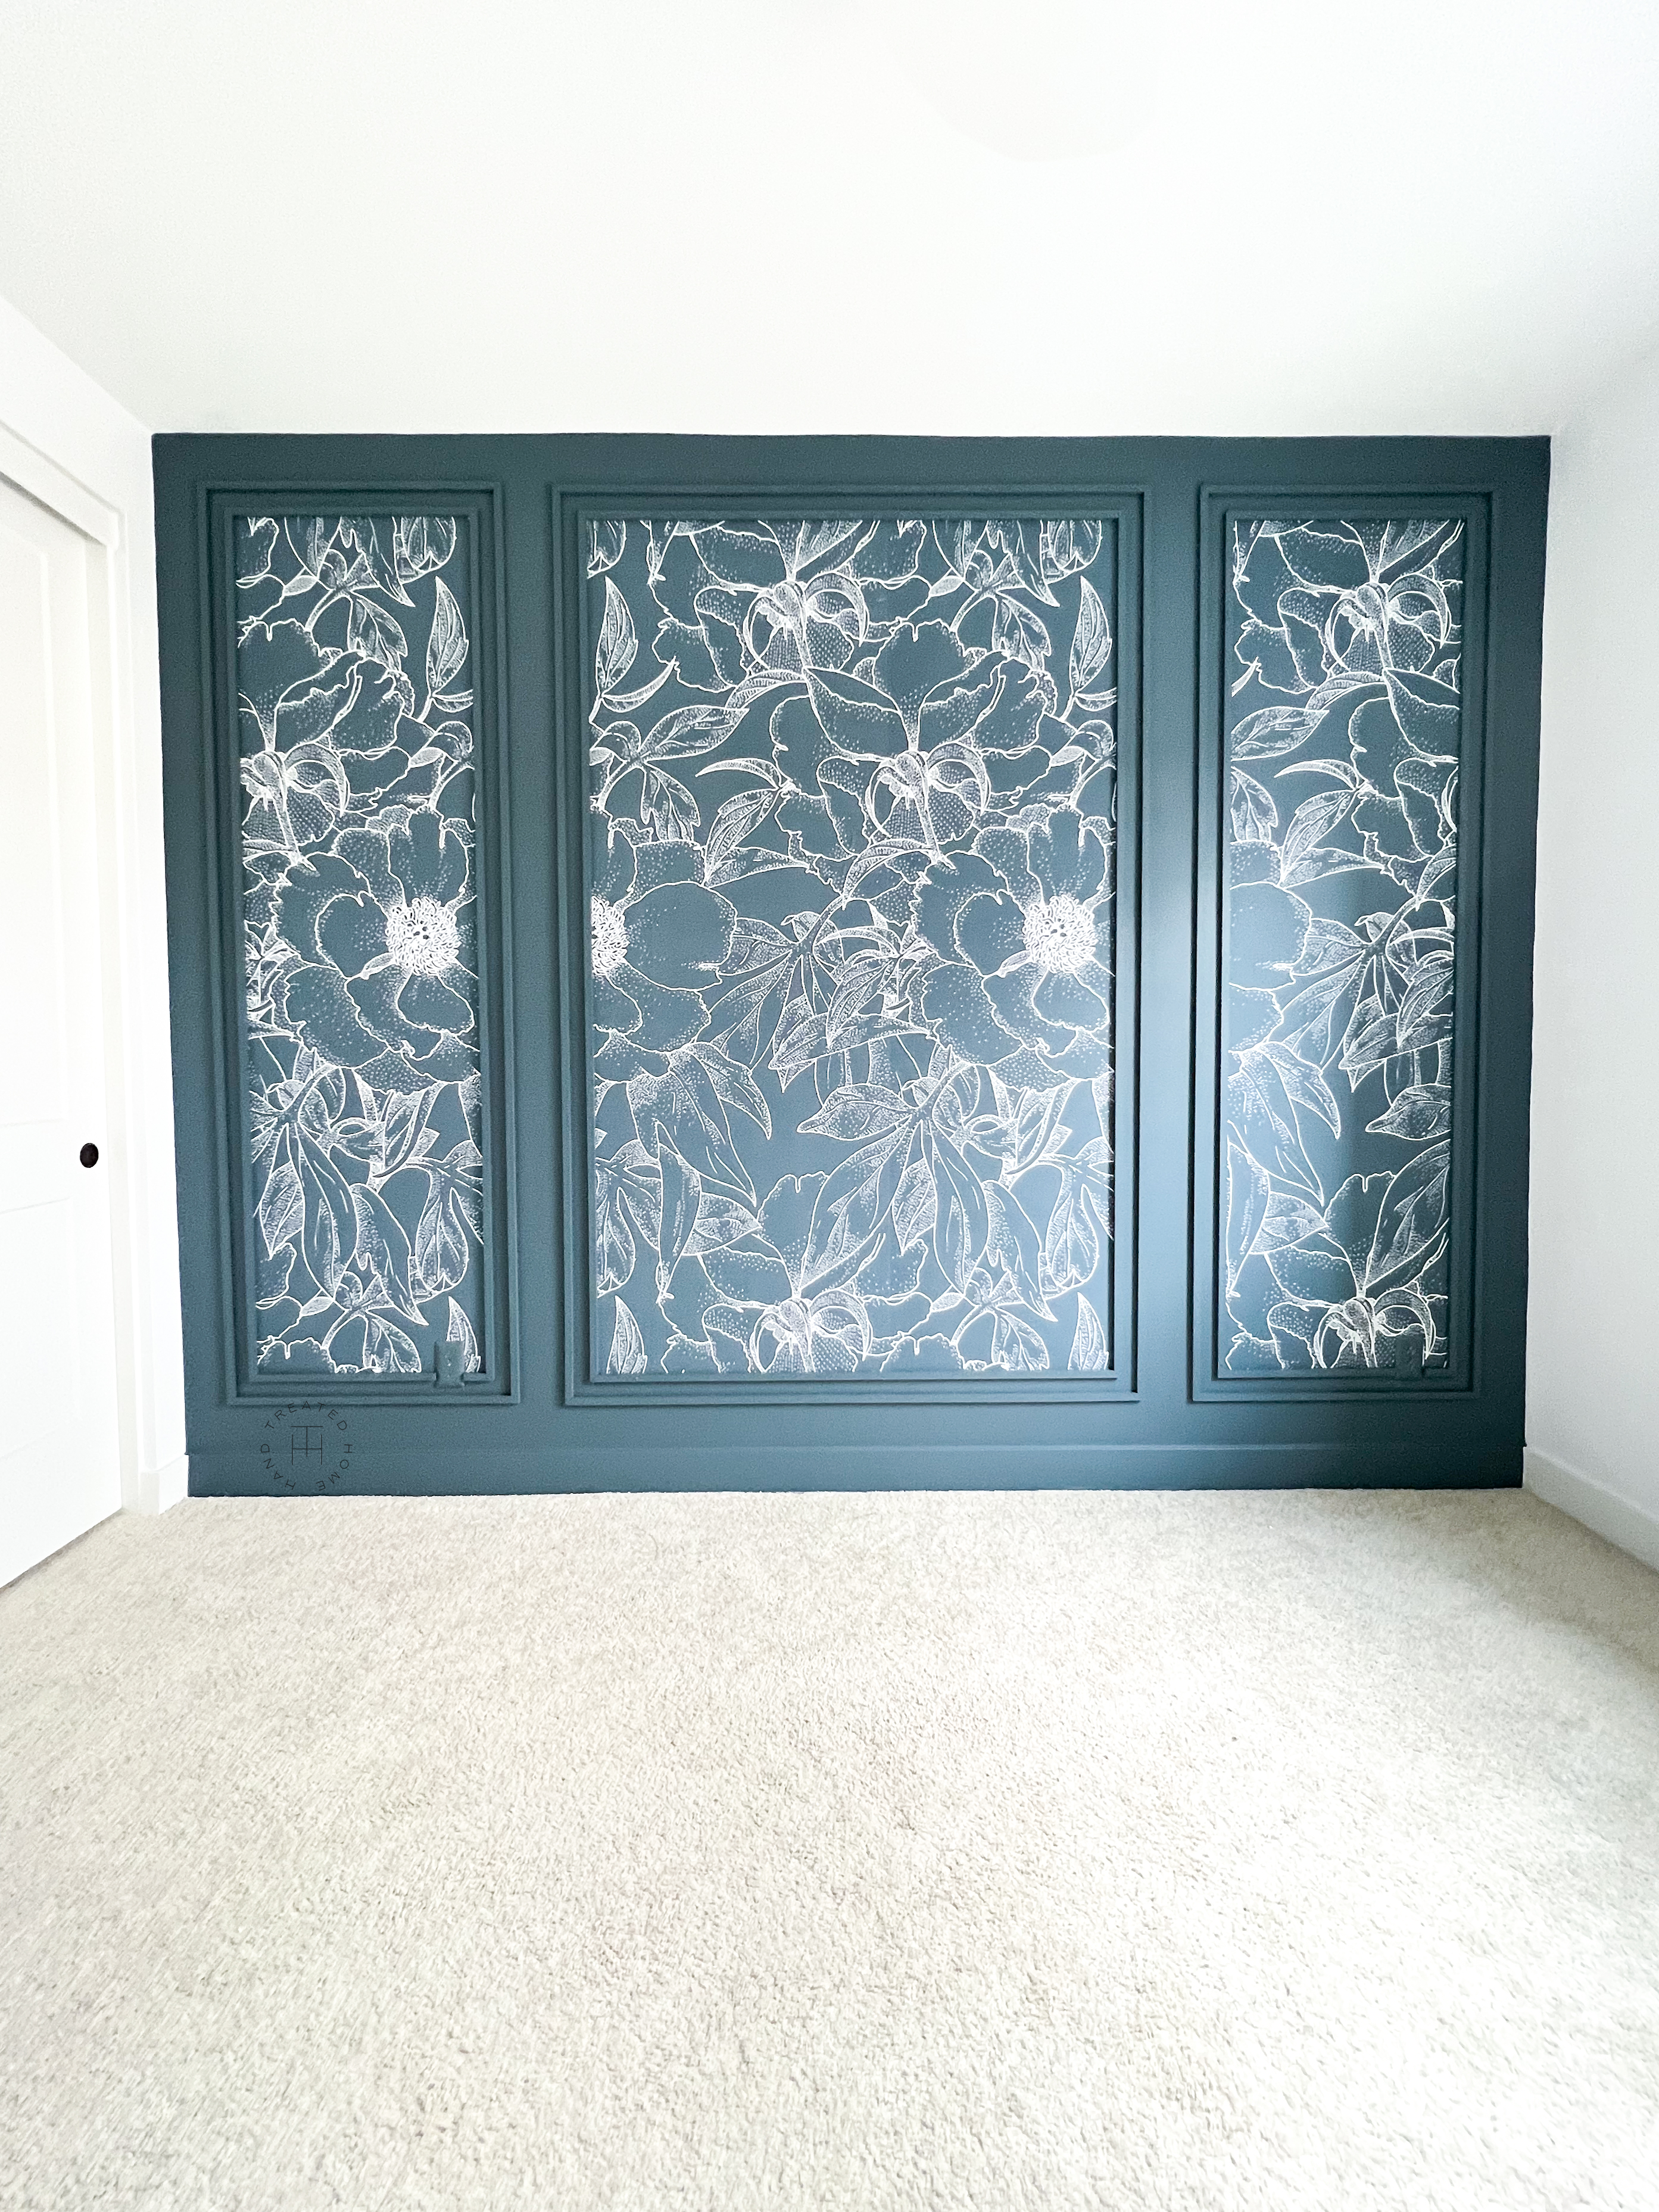
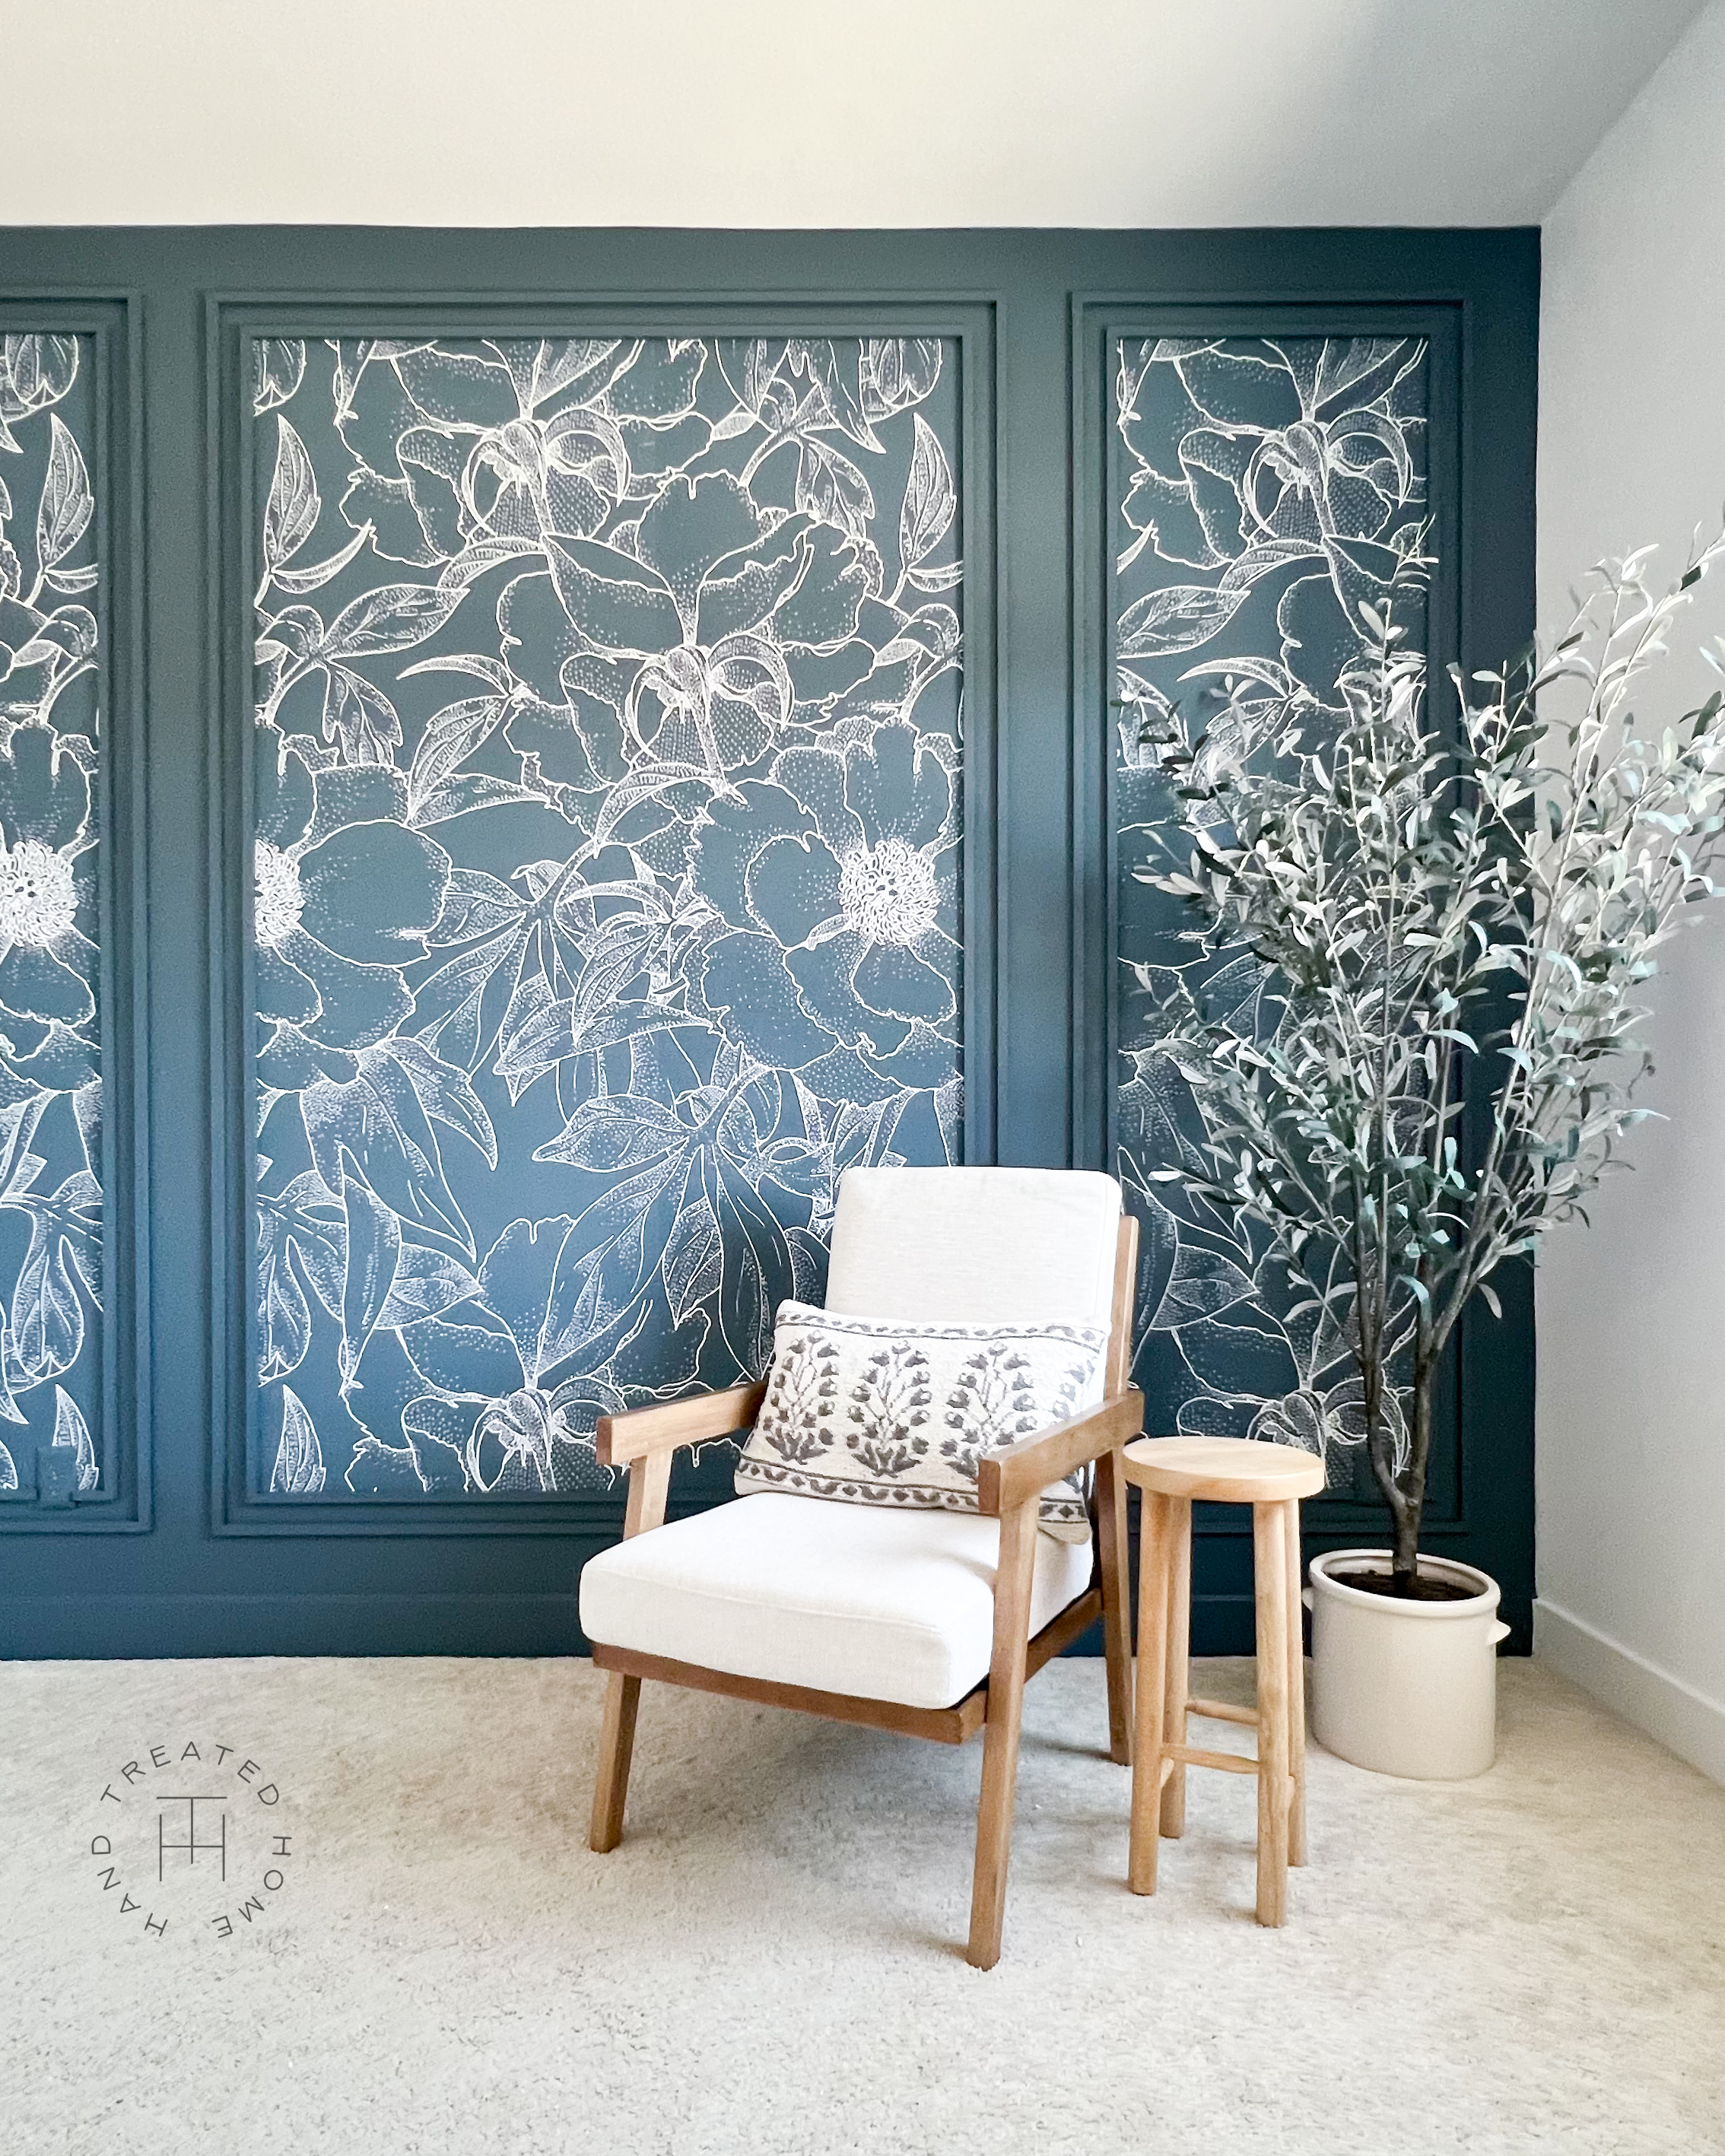
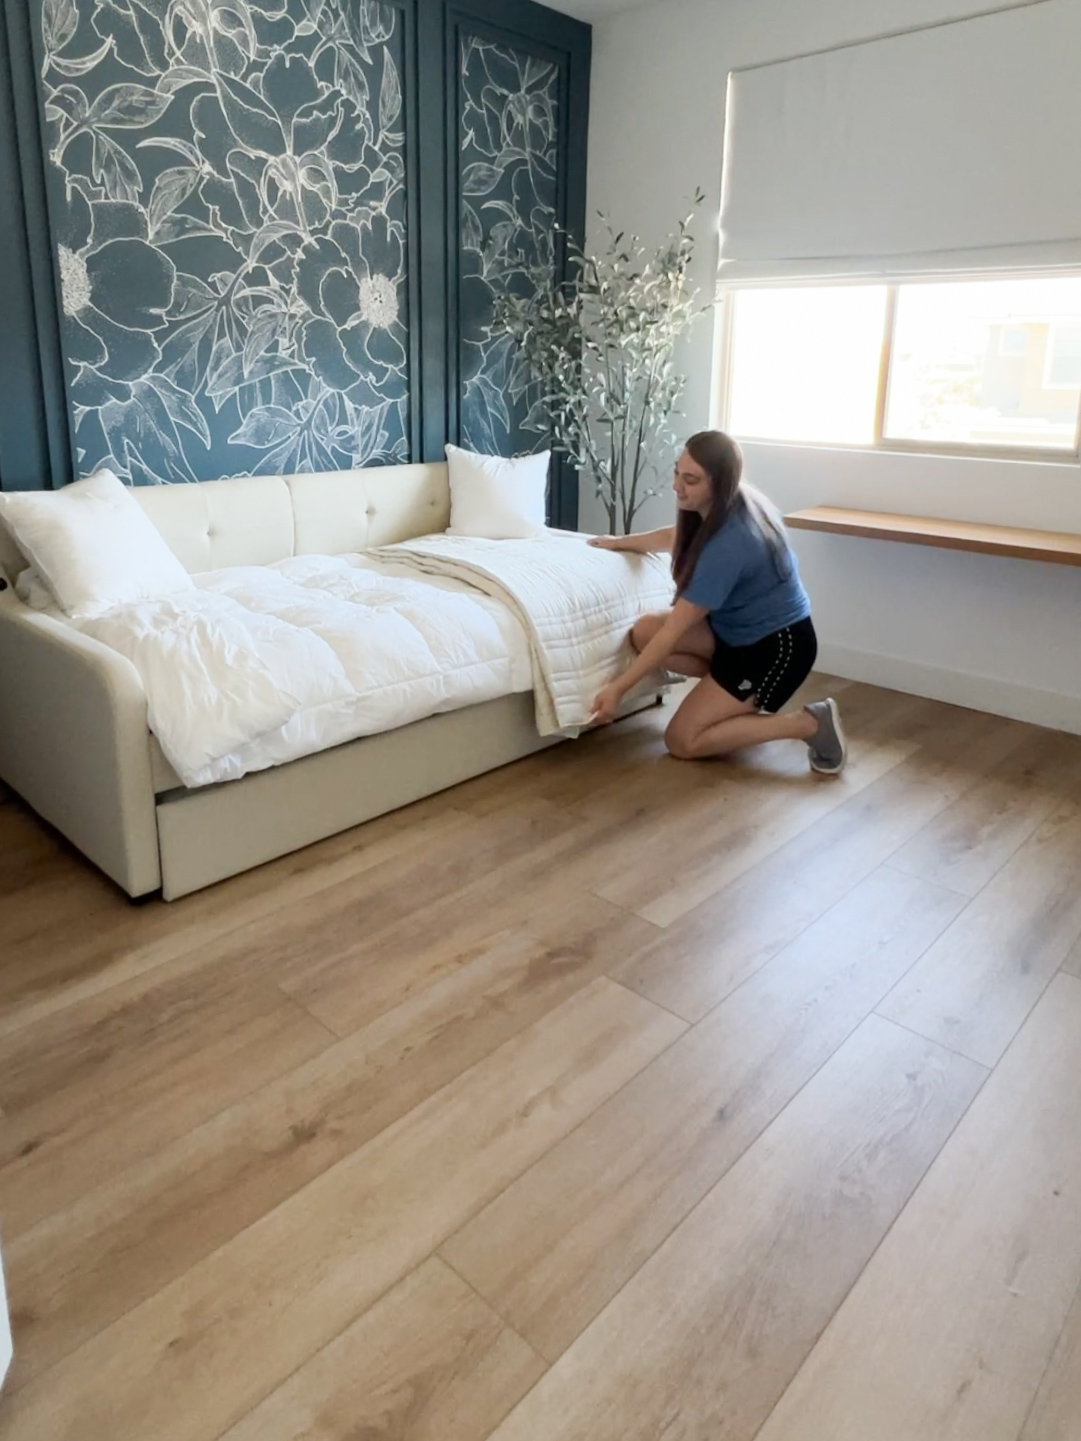
Double framed box trim moulding with inset wallpaper
When I began thinking of ideas for my office/guest room, I knew I wanted something elegant and timeless, but I also wanted to go bold. The rest of my home is very neutral, which I like, but since this room is a separate space just for me, I wanted to go bold, and have a space that would foster creativity.
I was instantly drawn to box trim moulding. It is one of my favorite accent walls to do (I have it in both my bedroom and dining room) but I wanted to do it with a twist. That’s when I decided to do wallpaper inset in the box trim.
I love that this takes a classic feature, but gives it a bit of a design twist!
And the best part? You can totally customize it to look however you want!
I chose to do three large rectangular boxes that have a double frame, but you could do it so many different ways, and change up how you incorporate the wallpaper. Just simply changing the wallpaper and the colors would drastically change this look!
Ready to get started?
Here’s what you’ll need:
Miter saw (or miter shears)
Caulk
Wallpaper
Paintable Outlet Covers (optional)
Xacto or Utility Knife
I used wallpaper from Love Vs Design. The pattern is vintage anemones in the color anchor and white, in the woven texture. I love this wallpaper company because you can completely customize the color of the wallpaper to fit the look you want!
I use Sherwin Williams Duration paint in a matte finish in the color Needlepoint Navy.
NOTE: Colors of both wallpaper and paint can vary. I highly suggest you order your wallpaper first, and then take it to a paint store to get it color matched.
Let’s Talk Texture
Before we dive in, I get asked a LOT if this can be done over textured wall. And YES. Box trim can be don over textured walls, if seeing he texture doesn’t bother you! You can use a lower sheen paint to try to minimize the appearance of the texture. You can also skim coat the wall if you truly want to eliminate the texture altogether. If I had textured walls I would 100% just do the box trim right over it!
Regarding the wall paper, it depends on the wall paper you are using. Check with the company to make sure it can be installed over texture. Love Vs Design offers samples you can buy, and you can use those to test out over your wall texture!
Step 1: Paint the wall
Paint the wall if you are changing the color. While you can paint it after, it is easier to paint it before and not have to work around the trim.
TIP: If you are adding wallpaper, do not paint where the wall paper is going. Not only does it save you paint, but most wallpaper requires paint to cure for 30 days before applying wallpaper over top of it. See Step 6 so see how to draw out where you need to paint.
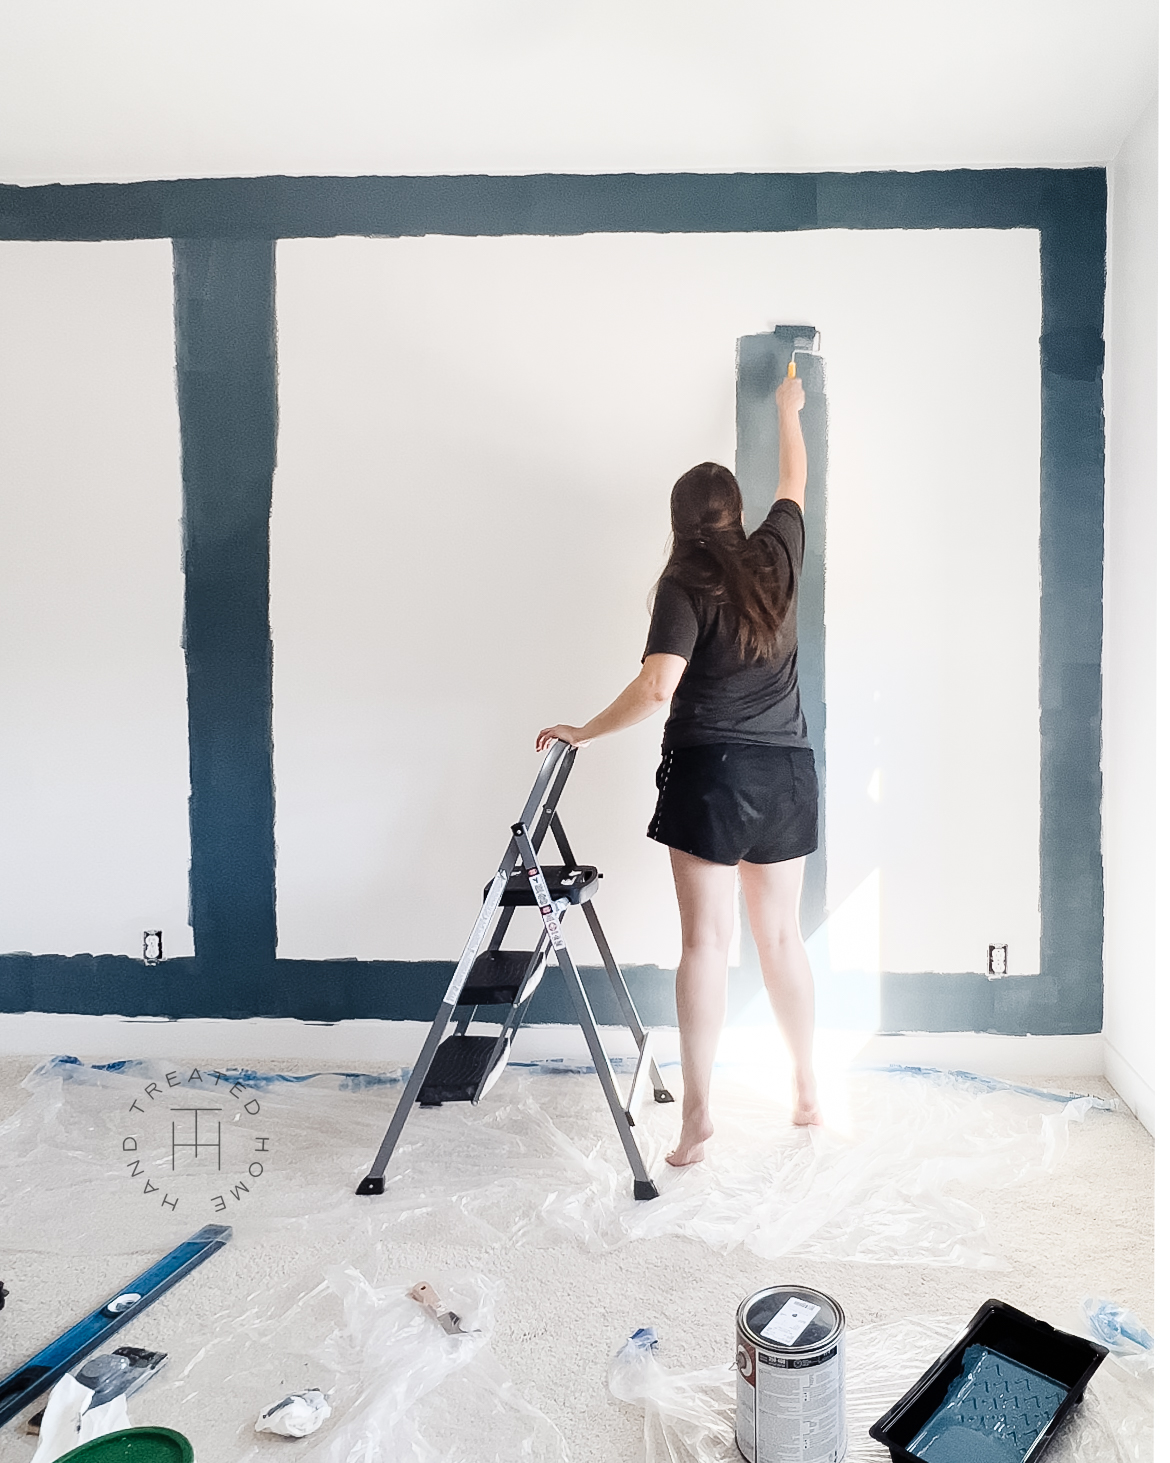
Paint around boxes where wallpaper will go
Step 2: Calculate trim
Calculate the amount of trim you need. You will need to decide what style of box trim you are going with, and then calculate how much trim you need.
I made a video going over how to calculate the trim here.
Here is a drawing of a different style of box trim that I did in my dining room for reference.
Step 3: Calculate the wallpaper
Most wallpaper companies will have a calculator on their website. Since I did three large rectangles of wallpaper that took up most of the wall, I just used the dimensions for the entire wall when calculating how much I would need.
If you order from Love Vs Design, they will calculate how much wallpaper you need, you just need to know the width and height of the wall!
The also have a guide you can reference here.
Step 4: Cut trim to length
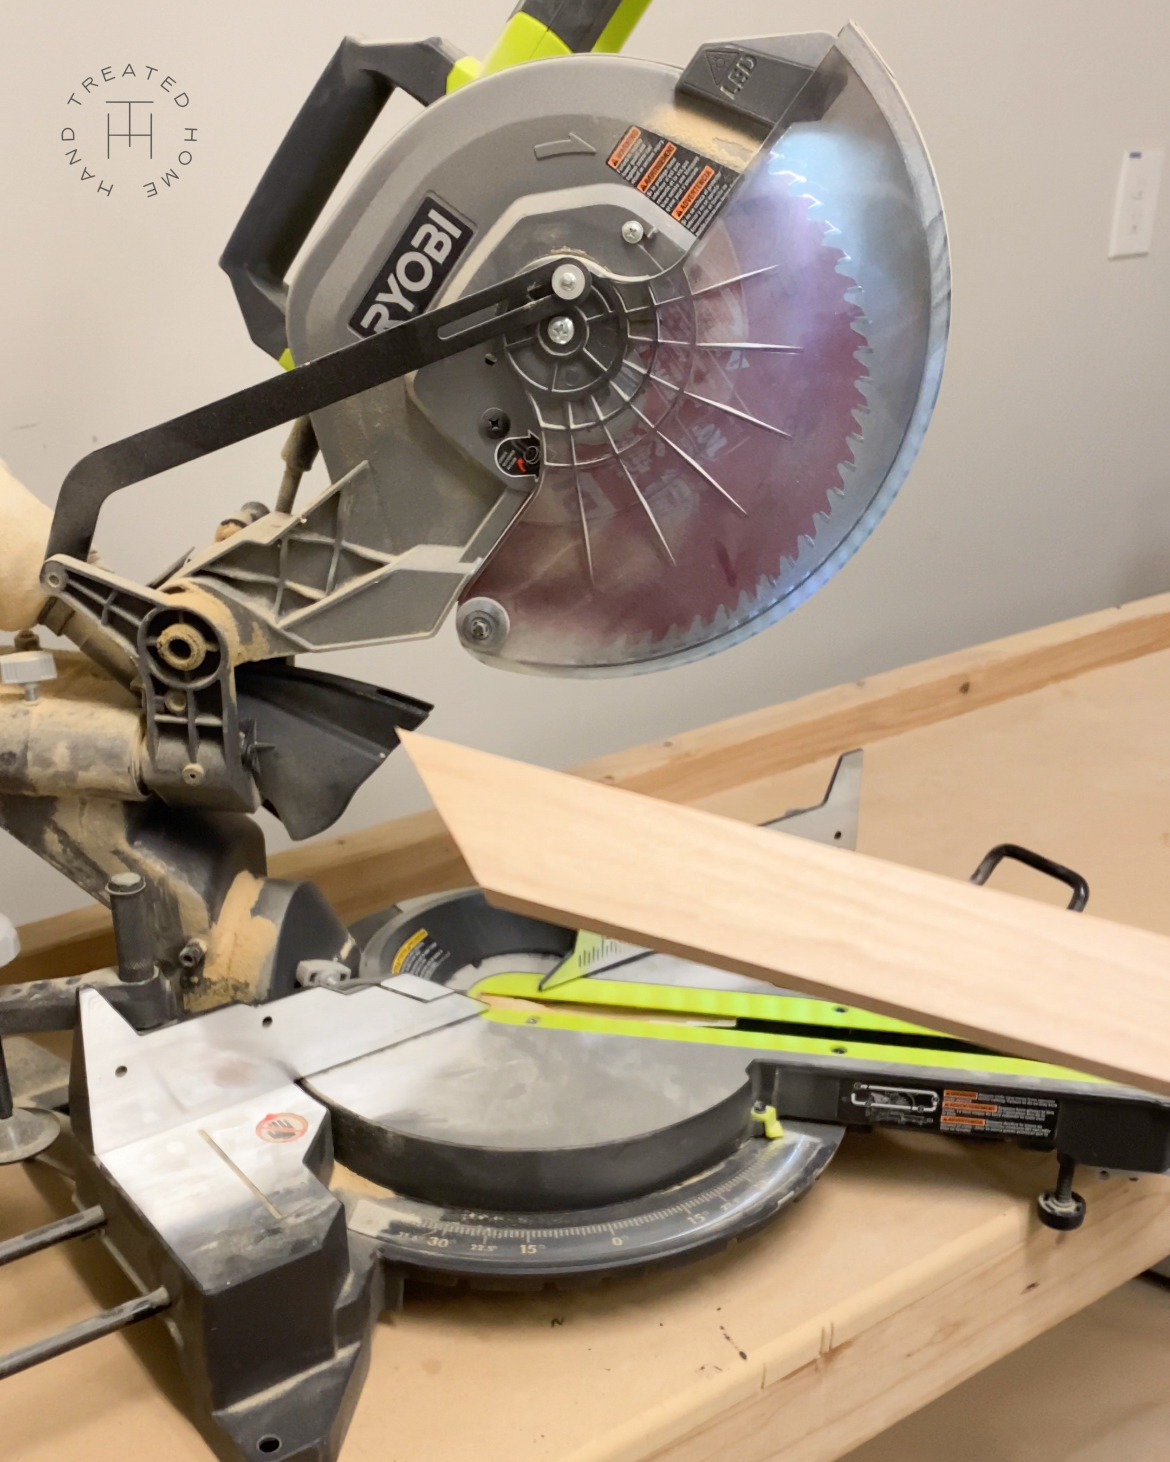
Now that you have all of the measurements for your trim, go ahead and cut all of your trim to length. You want to cut all of the corners at 45 degree angles.
TIP: I went ahead and painted all of my trim before installing it on the wall. Typically I just paint it after installing it, but since I was installing wallpaper, I didn’t want to have to tape off the trim to avoid getting paint on the wallpaper.
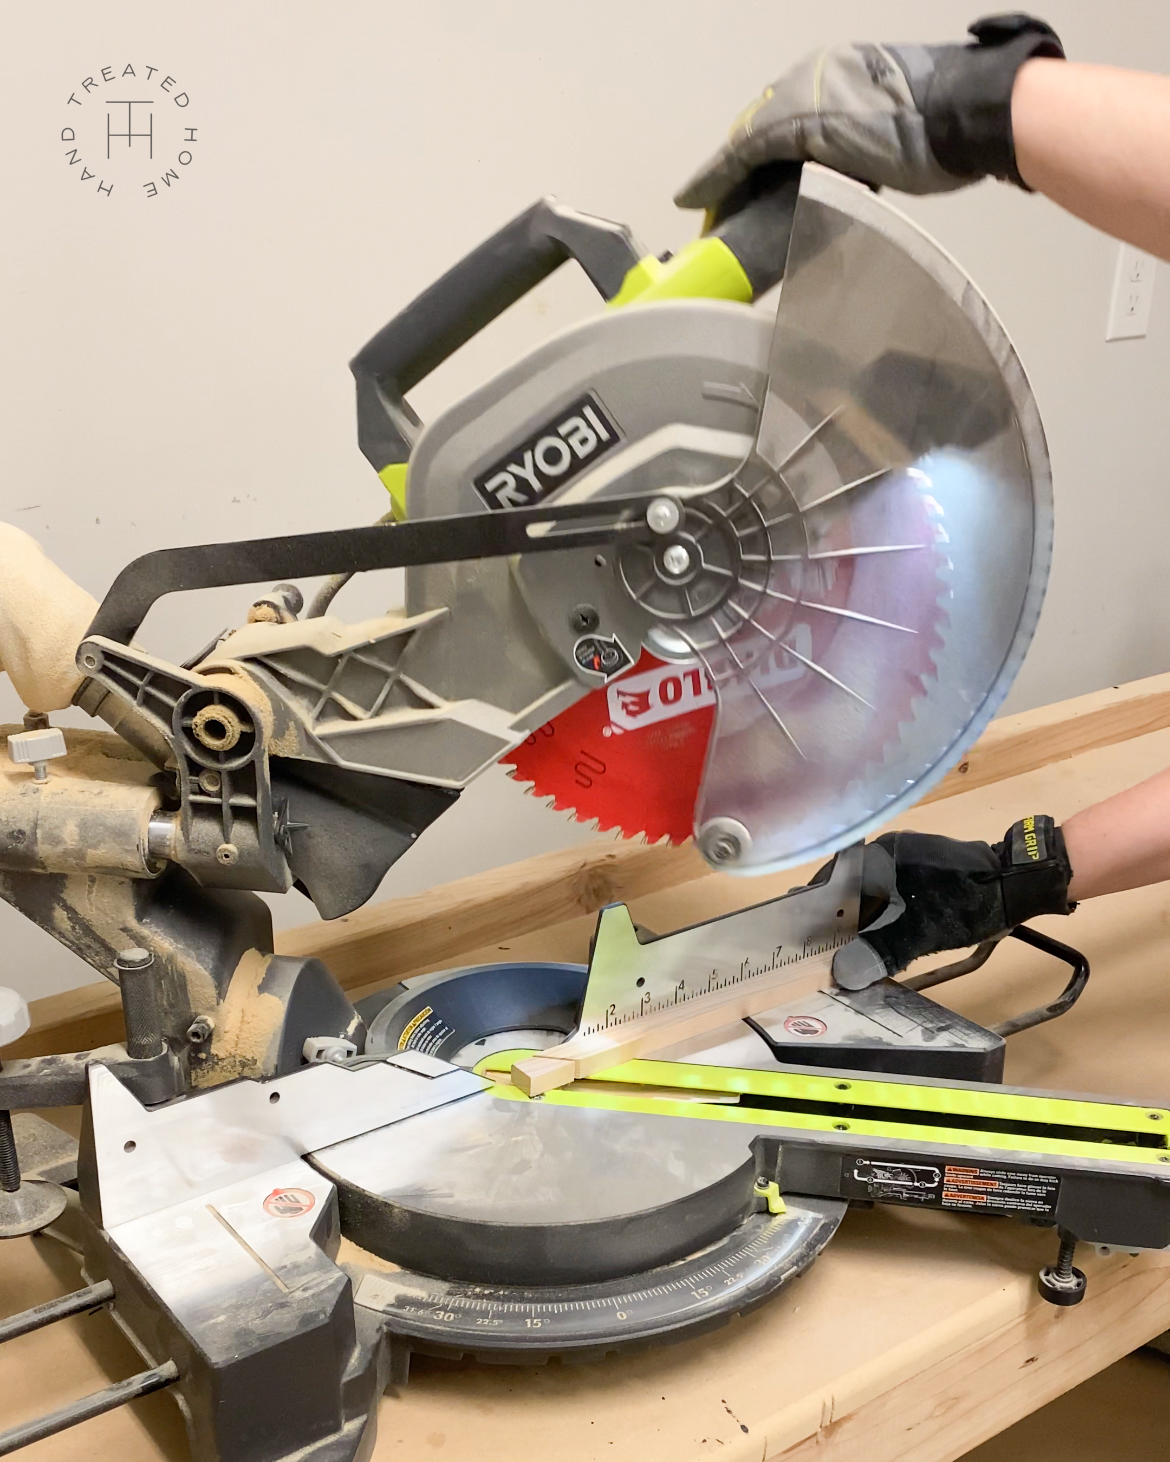
Step 5: Stop blocks
With everything cut to length, you also want to cut stop blocks. This will help you when installing the trim to ensure that everything is spaced correctly and evenly.
I cut three blocks, one to 7 inches, which is the distance from the wall to the edge of the inside rectangle. One to 5 inches, since that is the distance from the wall to my outside trim and the distance between the outside trim of each rectangle. I also cut one to 1 1/4, which is the distance between the two rectangles, since my inside rectangle is 2 inches smaller than the outside but you have to also account for the thickness of the trim, which is 3/4 inch. So 2 – 3/4 = 1 1/4.
Step 6: Draw boxes on the wall
Using your stop block and a pencil, draw a line on the wall for the INSIDE rectangle. So in my case I used the 7 inch stop block. If you are putting up wallpaper, this is the line you will use to line it up. If you are not putting up wallpaper, this is the line you will use to line up the outside edge of the trim with for the INSIDE box.
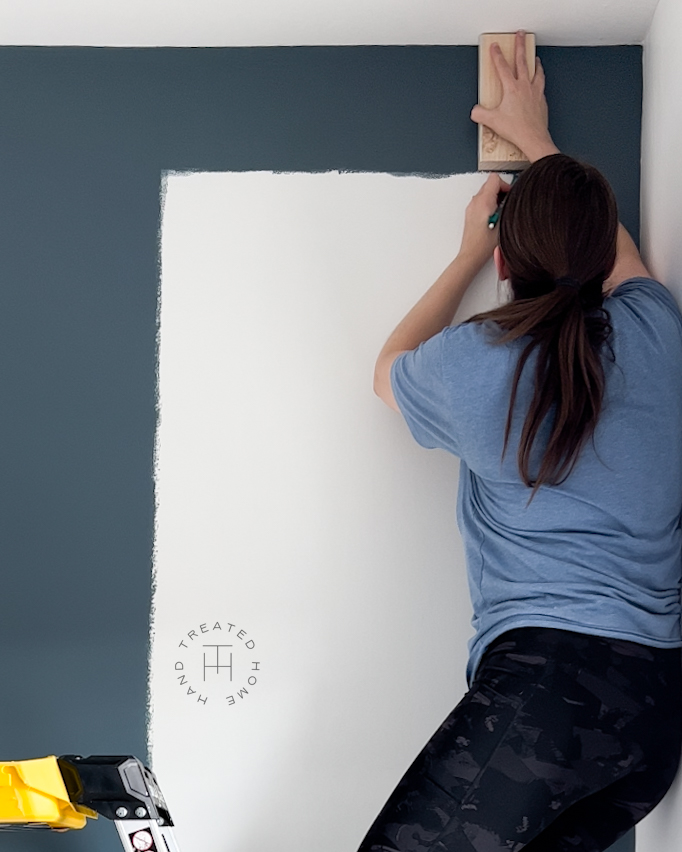
Use stop block to draw boxes
Step 7: Hanging wallpaper
Now that you have all your boxes drawn, hang up the wallpaper. You want to follow the directions that come with the wallpaper to make sure you are installing it properly, and following the pattern.
I took the first panel, and lined it up with the lines I just drew.
Here are Love Vs Design’s instructions for hanging their wallpaper.
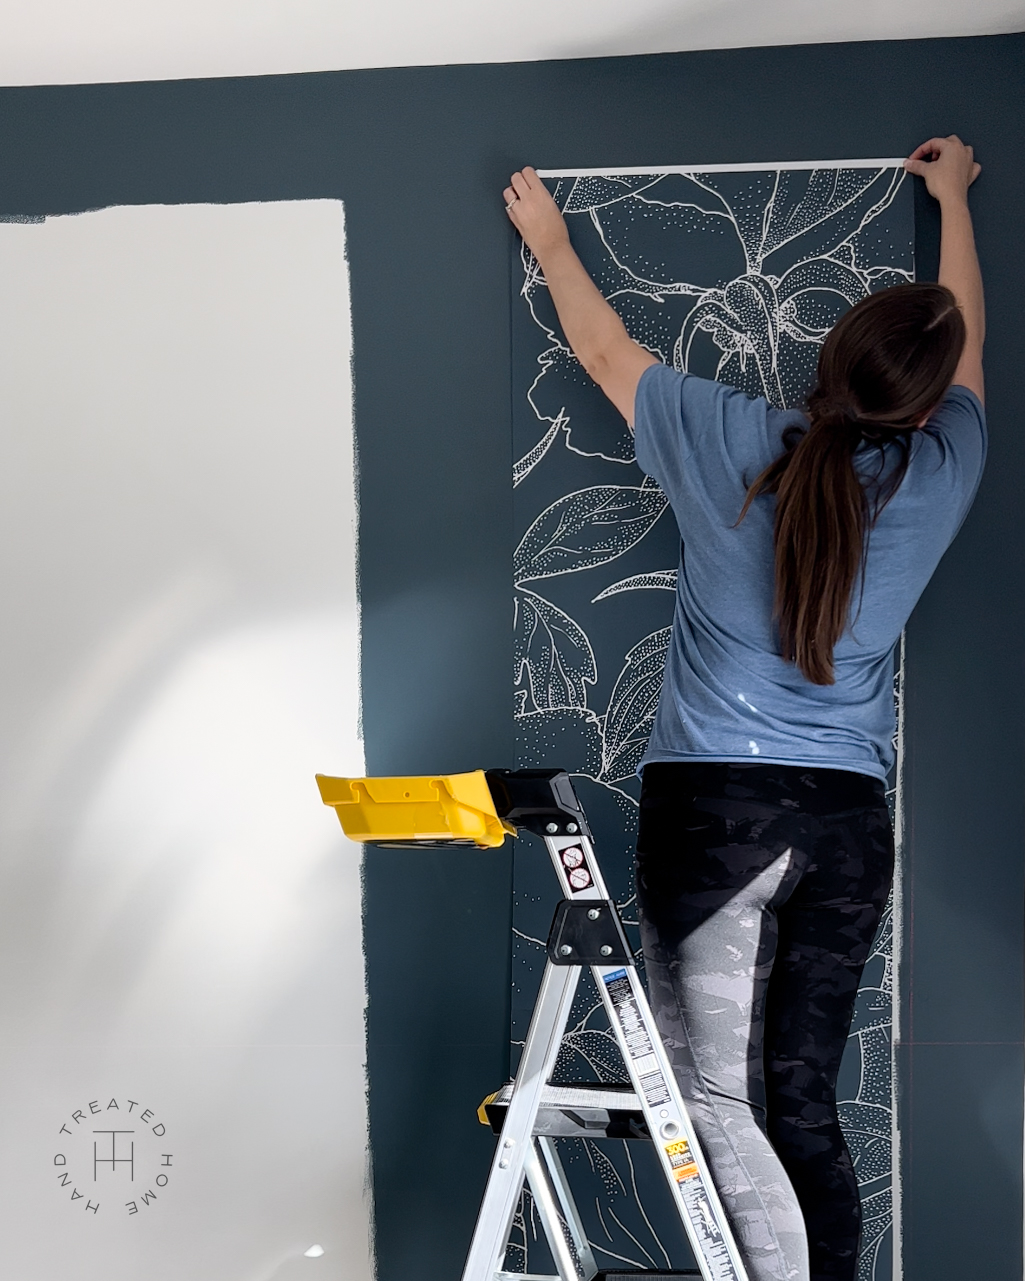
Line up edge of wallpaper with pencil line
Step 8: Install box trim
Once I had the first panel hung up, I put up the box trim.
You want to mark where the studs are so that you make sure to nail the horizontal trim pieces into the studs wherever possible. The vertical pieces will likely not always hit on the studs, and that’s ok!
You have two options:
You can use adhesive ( I choose not to do this as it will mess up your drywall and require patching if you ever take it down)
Or you can cross your nails when nailing in these pieces. If you shoot the nails one at a downward angle and the second at an upward angle, they will cross behind the drywall and lock the trim in place.
I started with the top piece, then each side.
TIP: Don’t nail the bottom part of the side pieces until you put up the bottom piece. That way you can adjust them slightly as needed to endure the bottom trim piece fits in perfectly. Then finish nailing them to the wall.
When you get to the bottom, I left the wallpaper long, then put the trim piece over the wall paper. Once secured, I used an Xacto knife to cut the wallpaper along the edge of the trim to remove the excess (don’t press so hard that you are cutting into the drywall!)
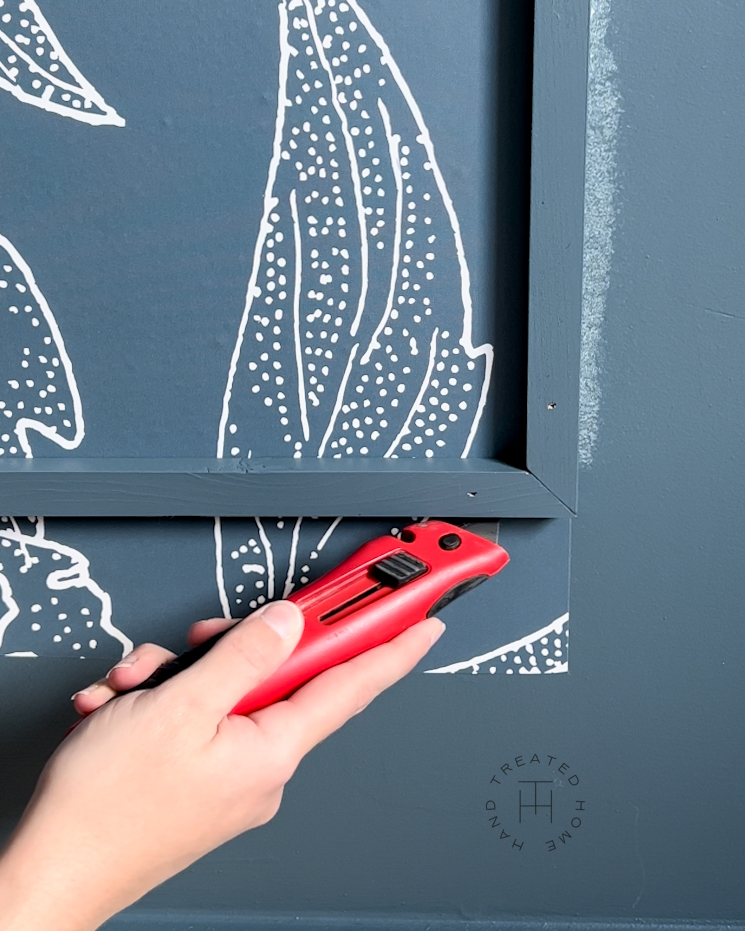
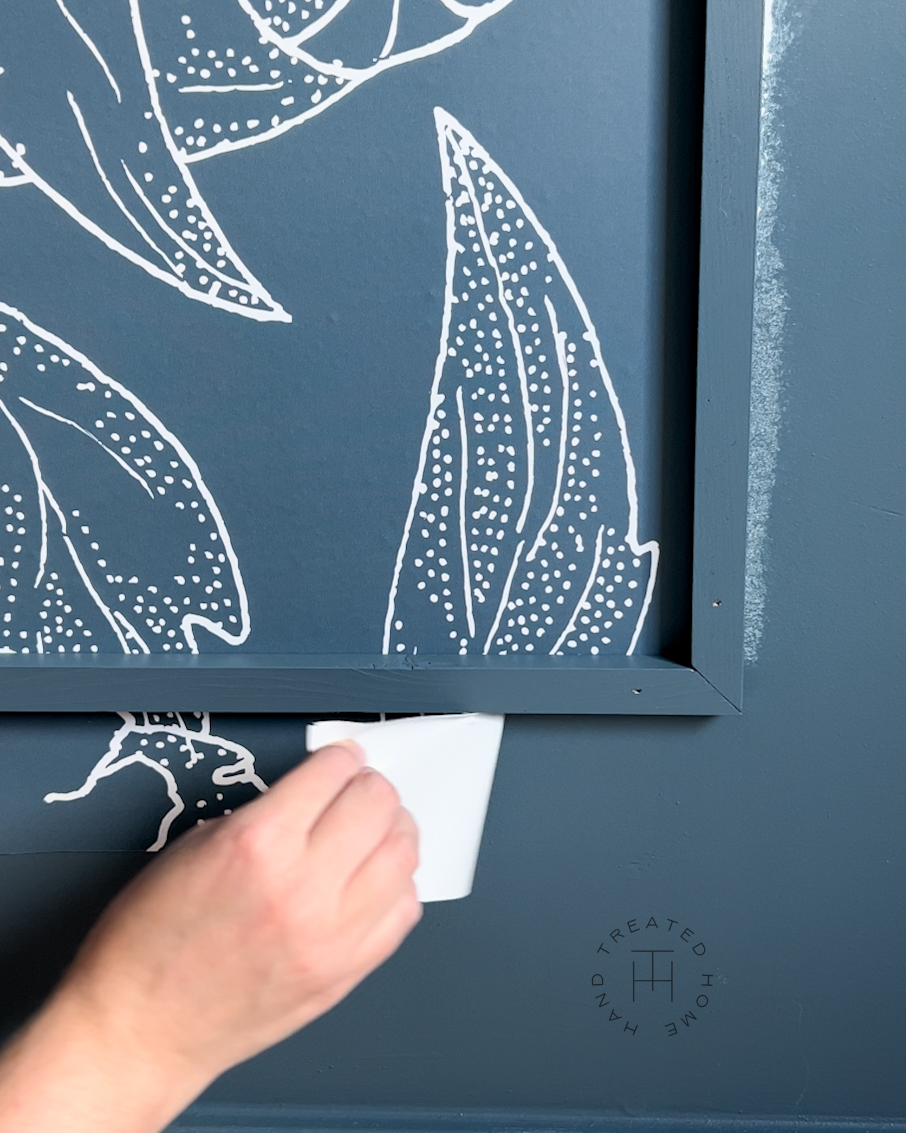
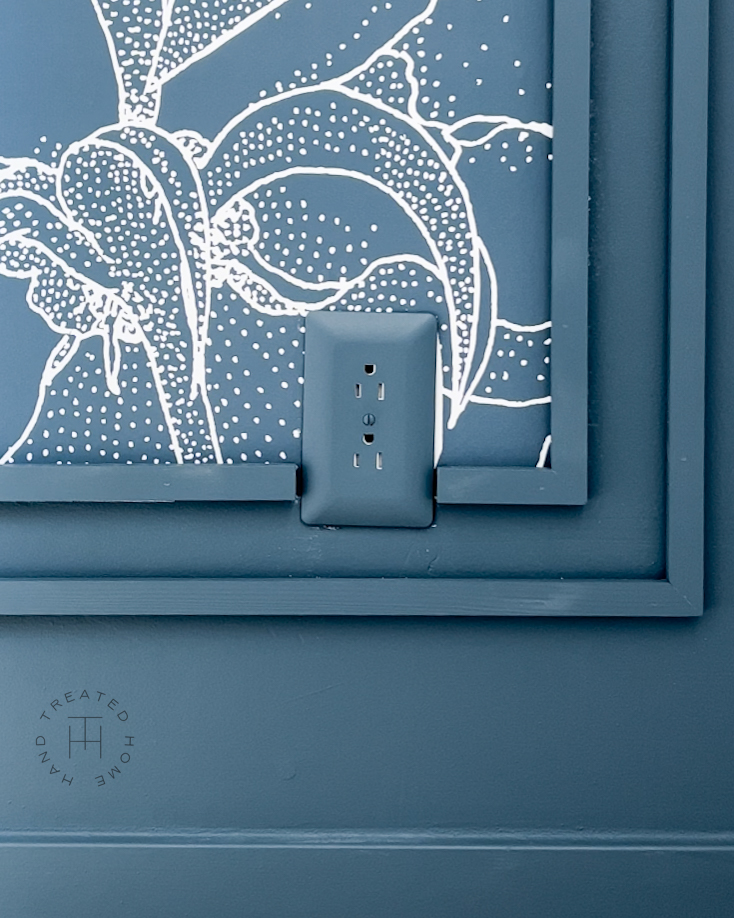
Outlets: I encountered two outlets, just use an Xacto knife to cut the wall paper around the outlet. My outlets also fell right in the middle of the trim, so just cut around it. I also chose to use paintable outlet covers to help hide them.
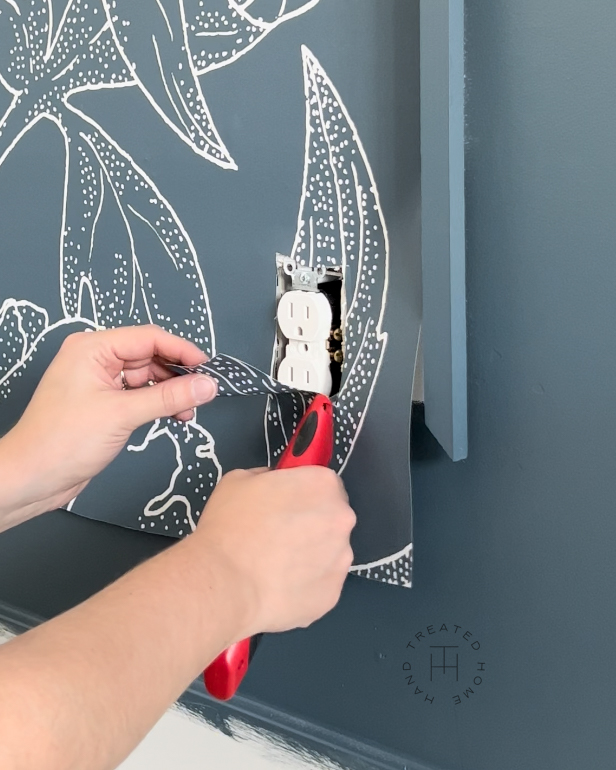
Cut around outlet with xacto knife
Step 9: Outside box trim
If going for a double trim look, now that the inside rectangle of the trim is up and around the wallpaper, use your 1 1/4 inch stop block to add the second rectangle all the way around.
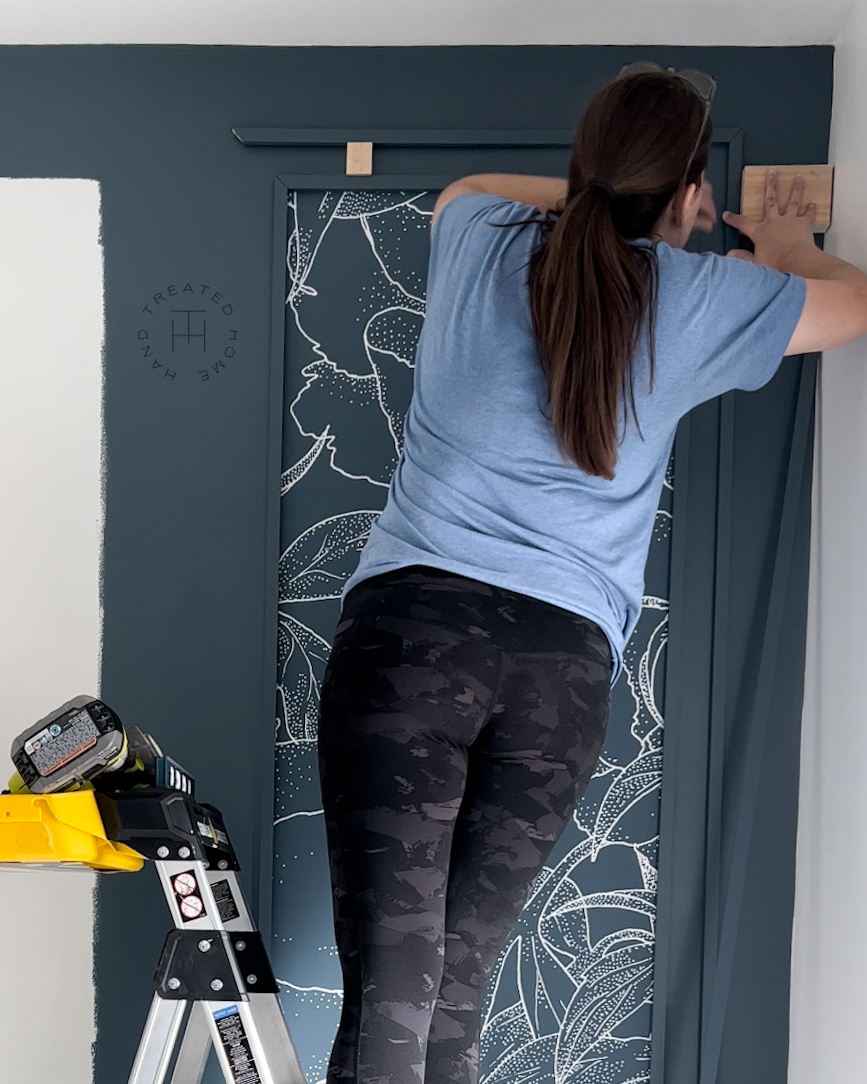
Use stop block for spacing
Once that is up, use the 7 inch stop block butted up against that outside rectangle, and draw a line. This line is now the outside edge of the next inside rectangle.
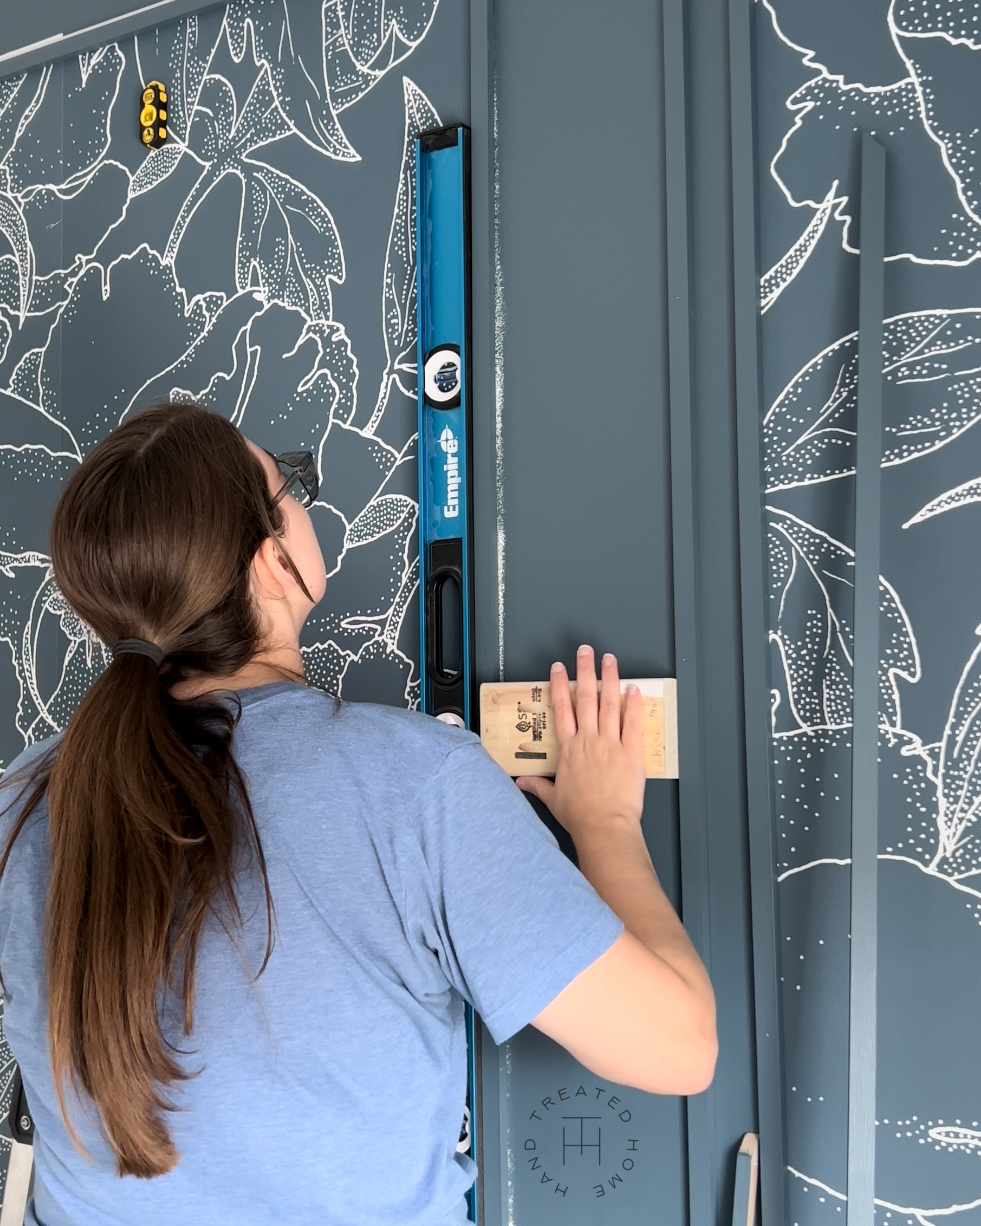
Use stop block for trim
Repeat steps 7-9 for the next two boxes.
If your middle box is larger like mine, you will likely have a wallpaper seam or two inside of it. Just match up the seams and continue hanging the wallpaper until you get to the outside edge of that box. Put up the trim over top of it, and then cut off the excess like you did on the bottom.
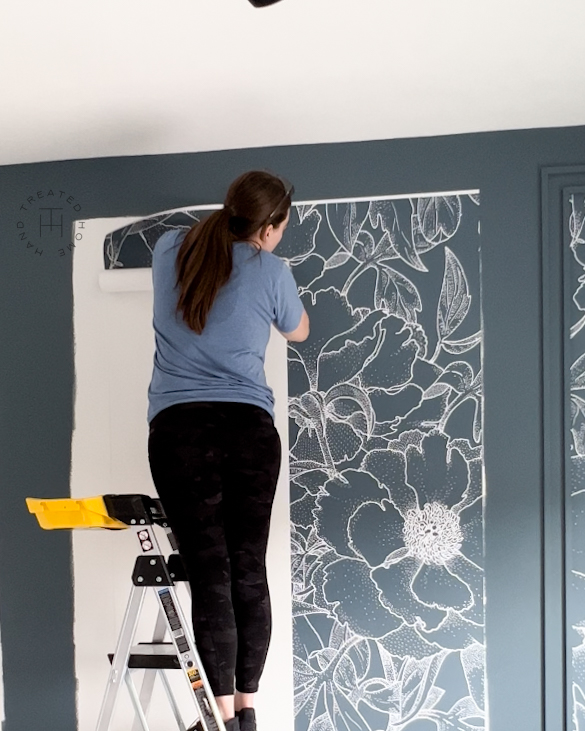
Line up wallpaper seams
Step 10: Finishing work
Once all the wallpaper and trim is up, you will need to wood fill all the nail holes and corner joints. Once dry, sand them smooth (either by hand or with an orbital sander) and then touch up the paint.
Caulk where the trim meets the wall to hide any gaps and then paint once dry.
TIP: I did not caulk on the inside of the box where the wallpaper was. I chose a dark color and did not feel it was necessary, and didn’t want to deal with caulk getting on the wallpaper. If you feel this is necessary, I would tape off a line where you need to caulk, caulk, wipe smooth, and then remove the tape (while wet!) So that you don’t get caulk on the wallpaper.
That’s it! Stand back and admire your new accent wall!
Tag me on Instagram @handtreatedhome so I can celebrate with you!
Questions? Email me at hello@handtreatedhome.com or feel free to leave any questions or comments below!

Congratulations! It looks terrific. Thanks for sharing this inspiring idea.
Thank you so much! Glad you like it!
I love this tutorial! The look is so elevated. Thank you for sharing.