DIY Framed Canvas Art
This page may include some affiliate links, meaning that at no cost to you, I could earn a commission if you purchase through these links. Learn more. As always, I only link items that I personally use and recommend. Thank you for your support by shopping through my links.

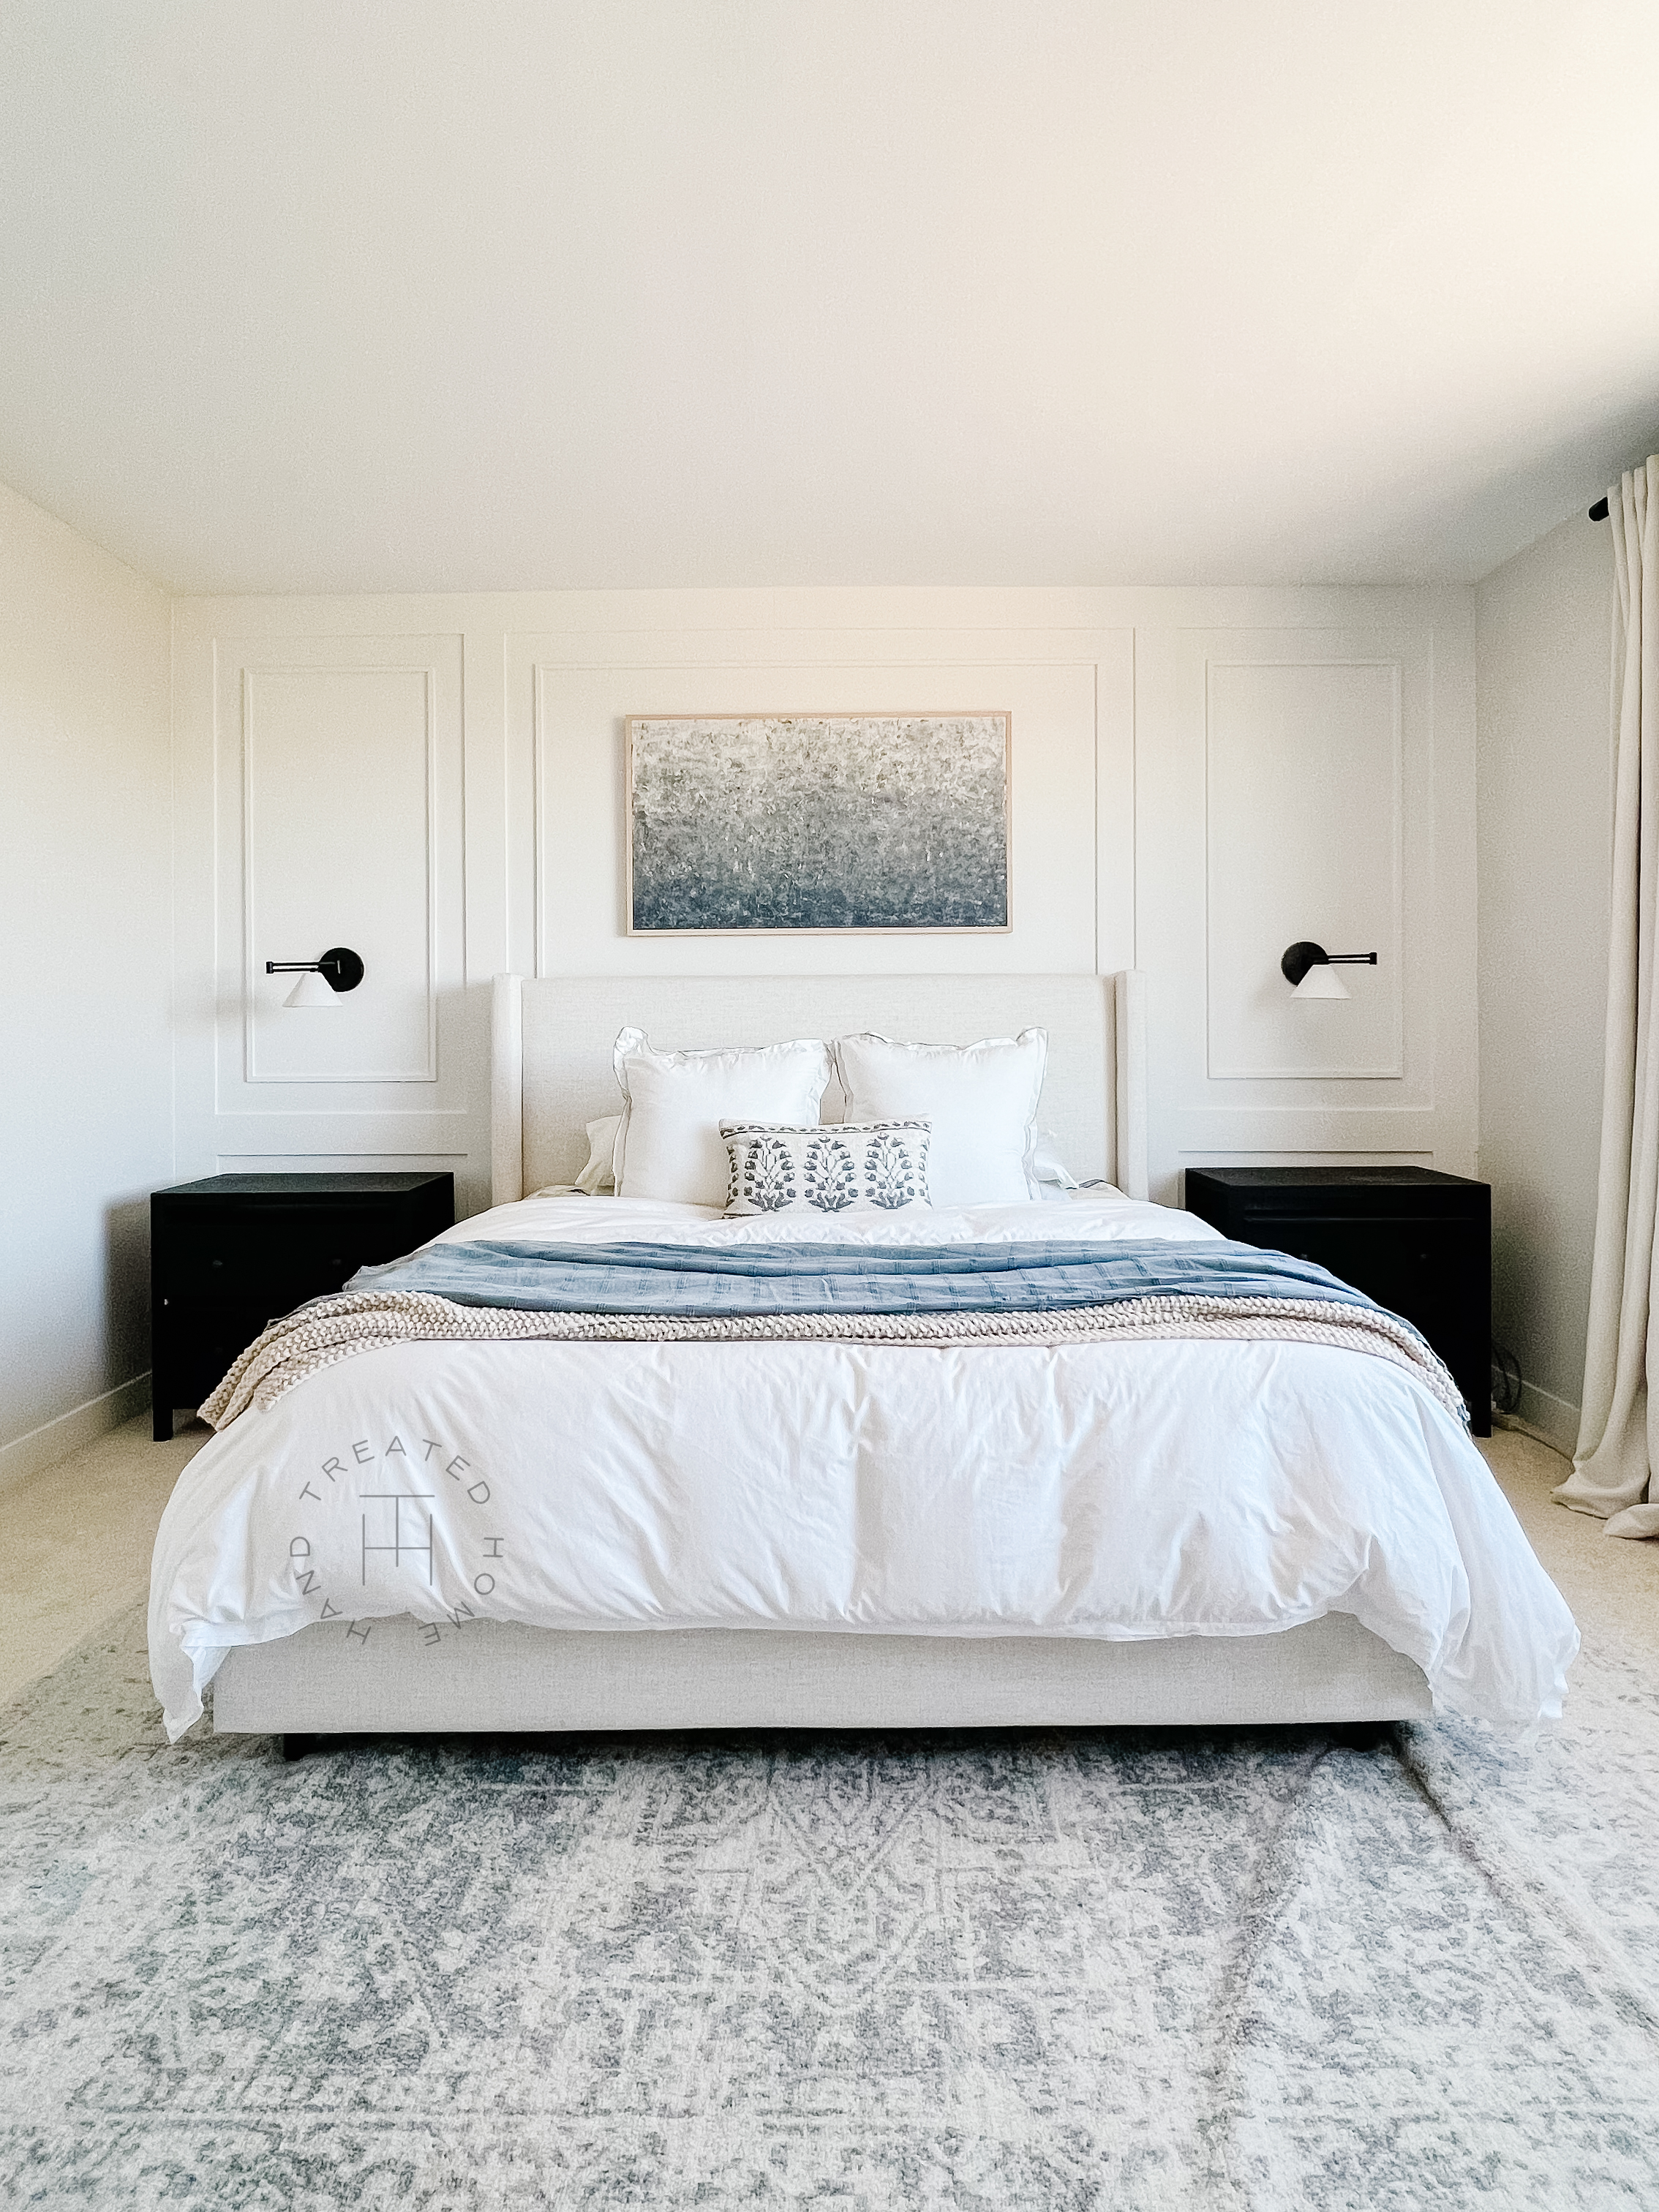
Finished DIY Canvas Art
I have been searching for the perfect art piece to hang over our bed to bring that perfect pop and focal point to the room. But after searching high and low, I couldn’t find something I loved, that was the right size, in the colors I was wanting, and in budget.
I was searching for a unicorn, and it was proving impossible to find.
So I turned to the obvious solution, DIY.
Here’s what you’ll need to create you own DIY canvas art:
Miter Saw (or hand saw)
Canvas or drop cloth
Paint
Optional: Art Light
For this project I used the Color Reader EZ. Using this allowed me to perfectly color match the blanket on my bed, as well as select coordinating colors that would go with it seamlessly for the art.
I LOVE this little gadget and use it so much more than I though I would!
Check out this other project where the Color Reader came in handy!
Step 1: Cut the boards for the structure
Cut the 2×2 pine boards to length.
NOTE: I used 1x2s because my store was out of 2x2s
Decide on the size you want the art. I landed on 60 x 25 inches, but then accidentally cut my boards to 50 inches instead of 60 (insert face palm and eye roll) SO I decided to roll with it because I didn’t want to go back to the store and start over.
Make sure to account for the thickness of the frame for the canvas when making your cuts. If you want the final size, including the frame, to be 60 X 25 you need to subtract the thickness of the 1x2s (3/4 in) from the measurements.
I did not care to do this, so I cut mine to exactly 60 inches wide (oops 50) and 22 inches tall. (22 inches and not 25 inches because these vertical pieces are sandwiched between the horizontal pieces, and therefore the thickness of the horizontal pieces need to be taken into account so that the overall height is 25 inches. )
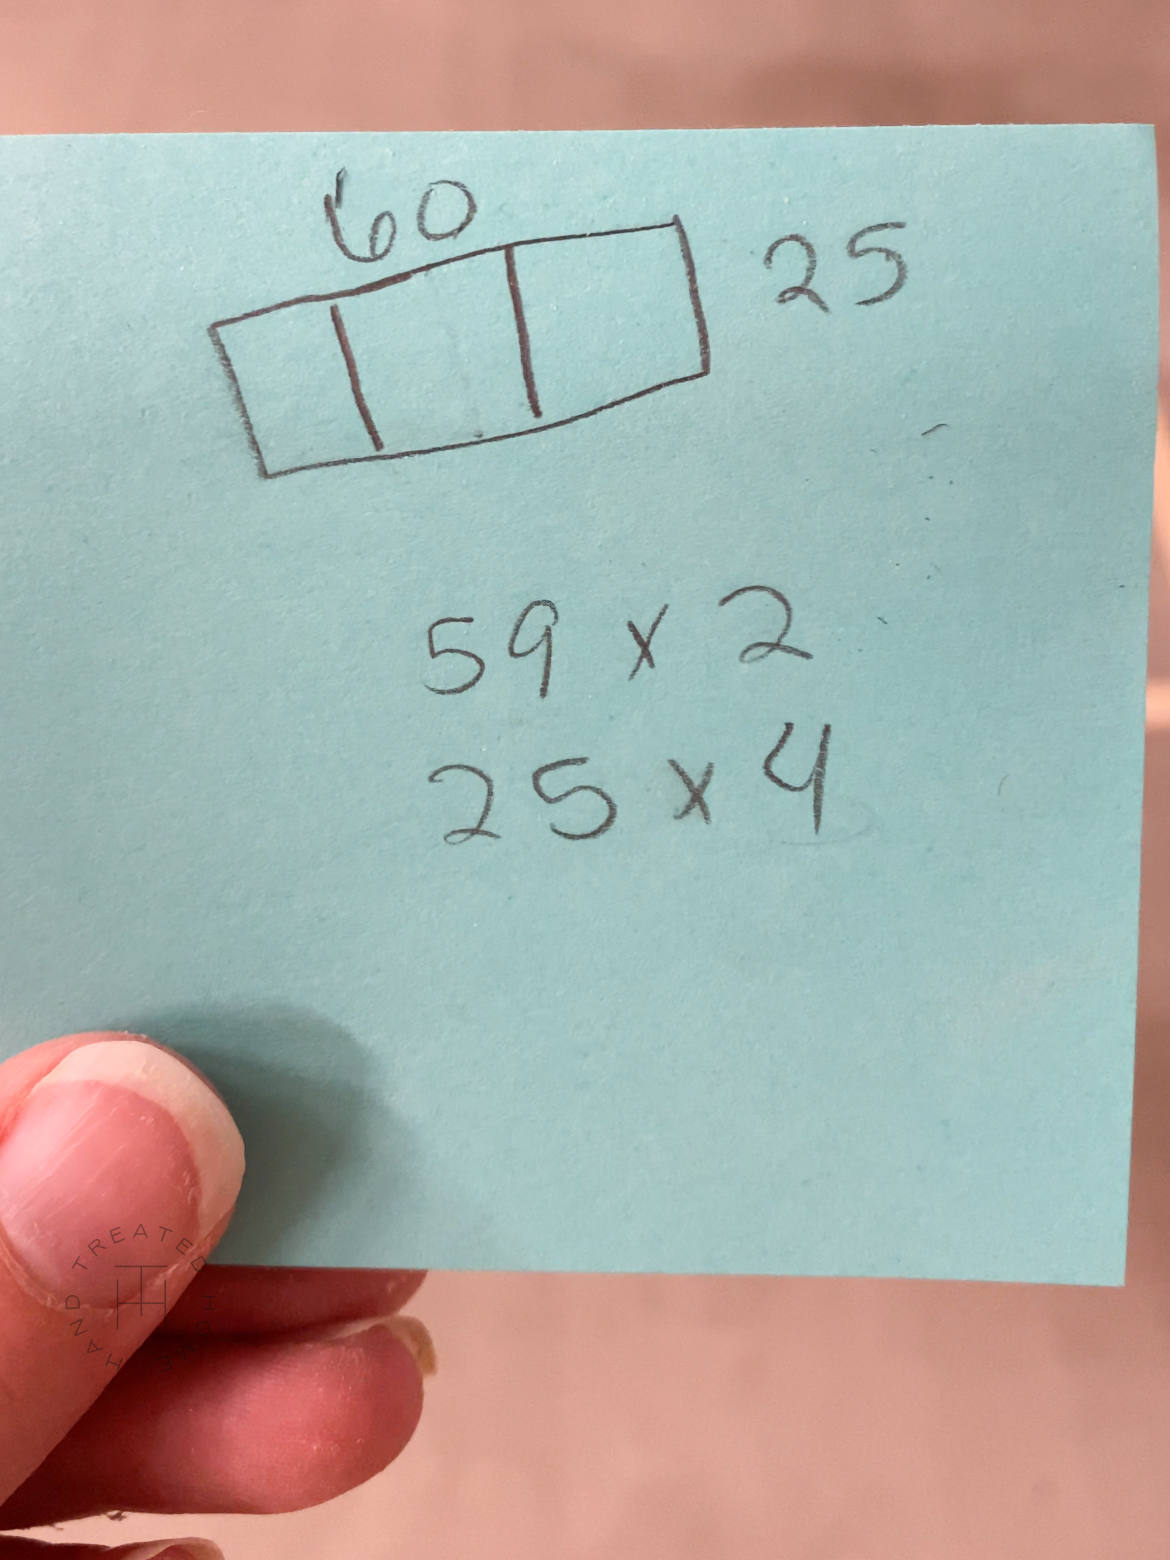
Dimensions 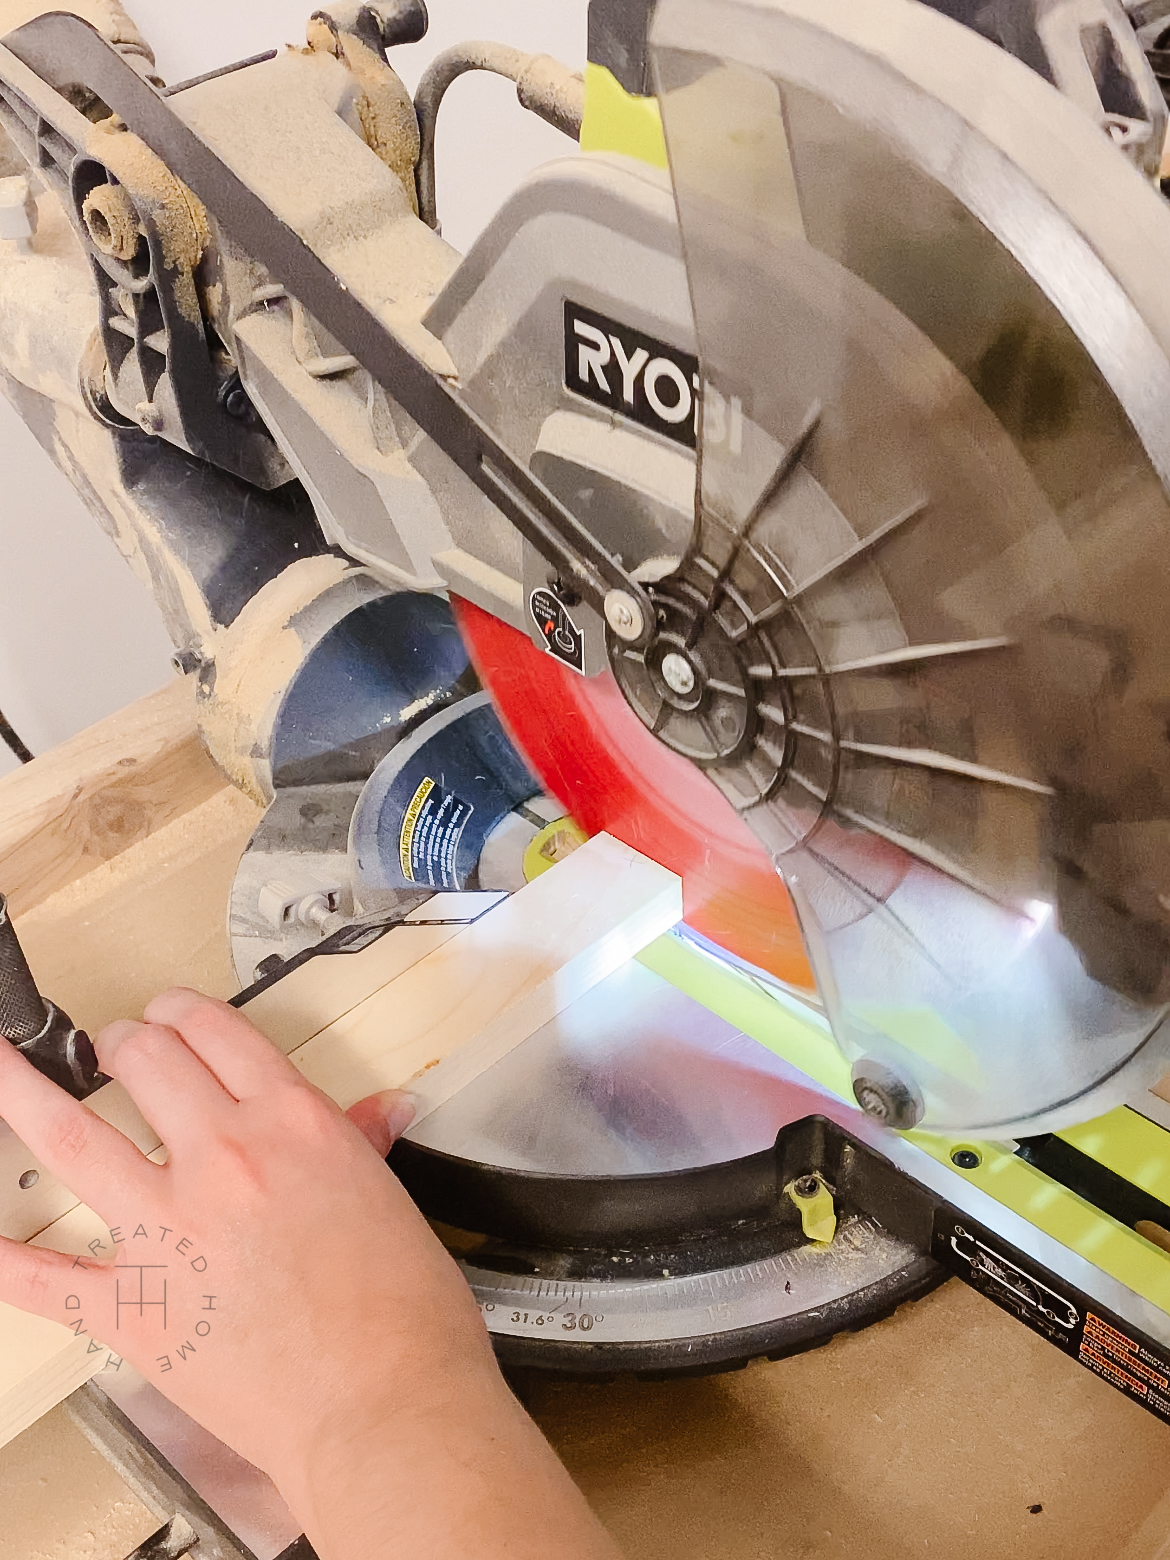
Cut to Size 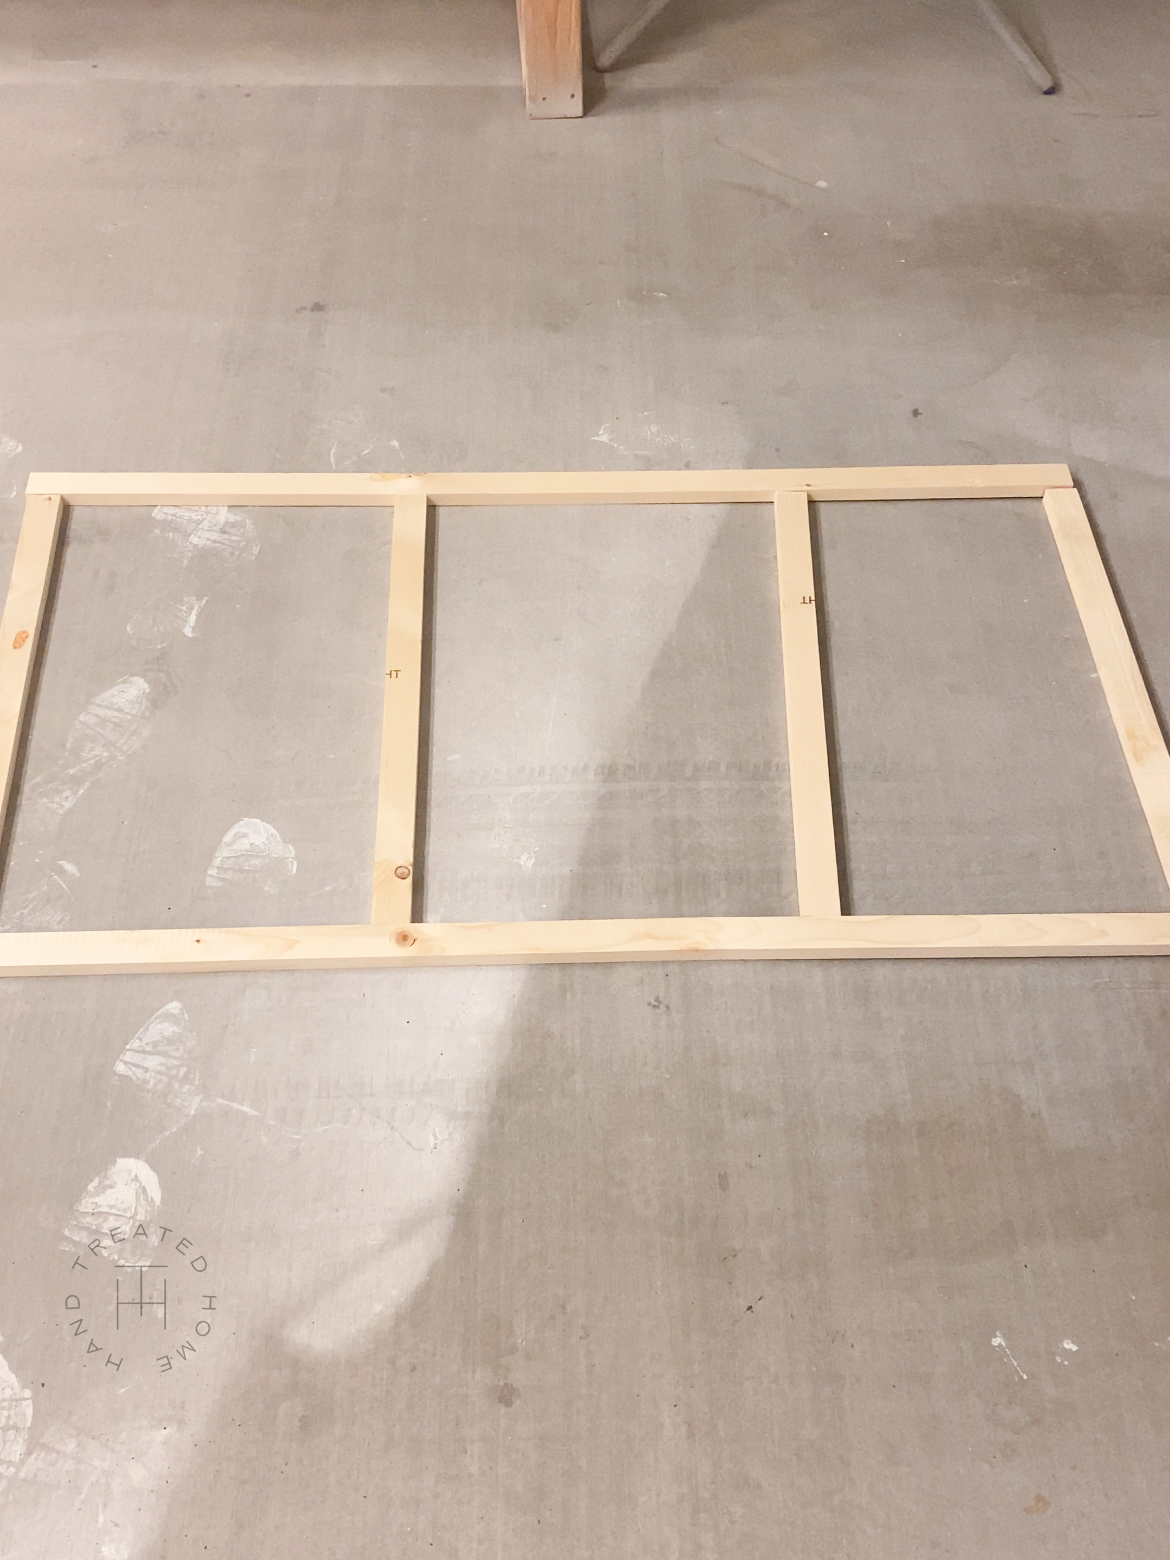
Step 2: Assemble the structure
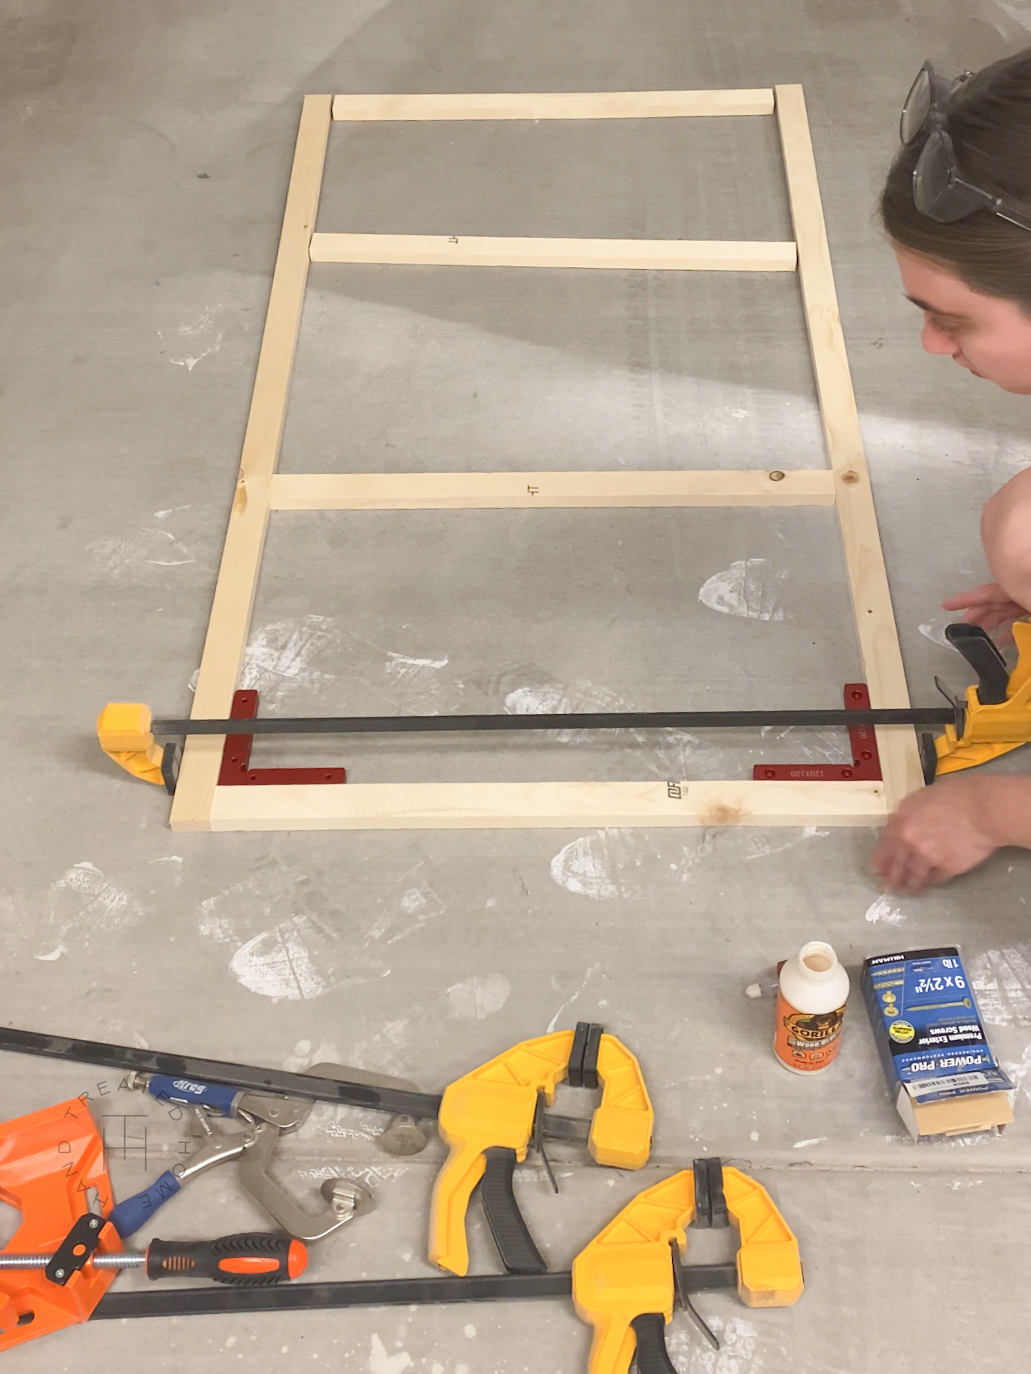
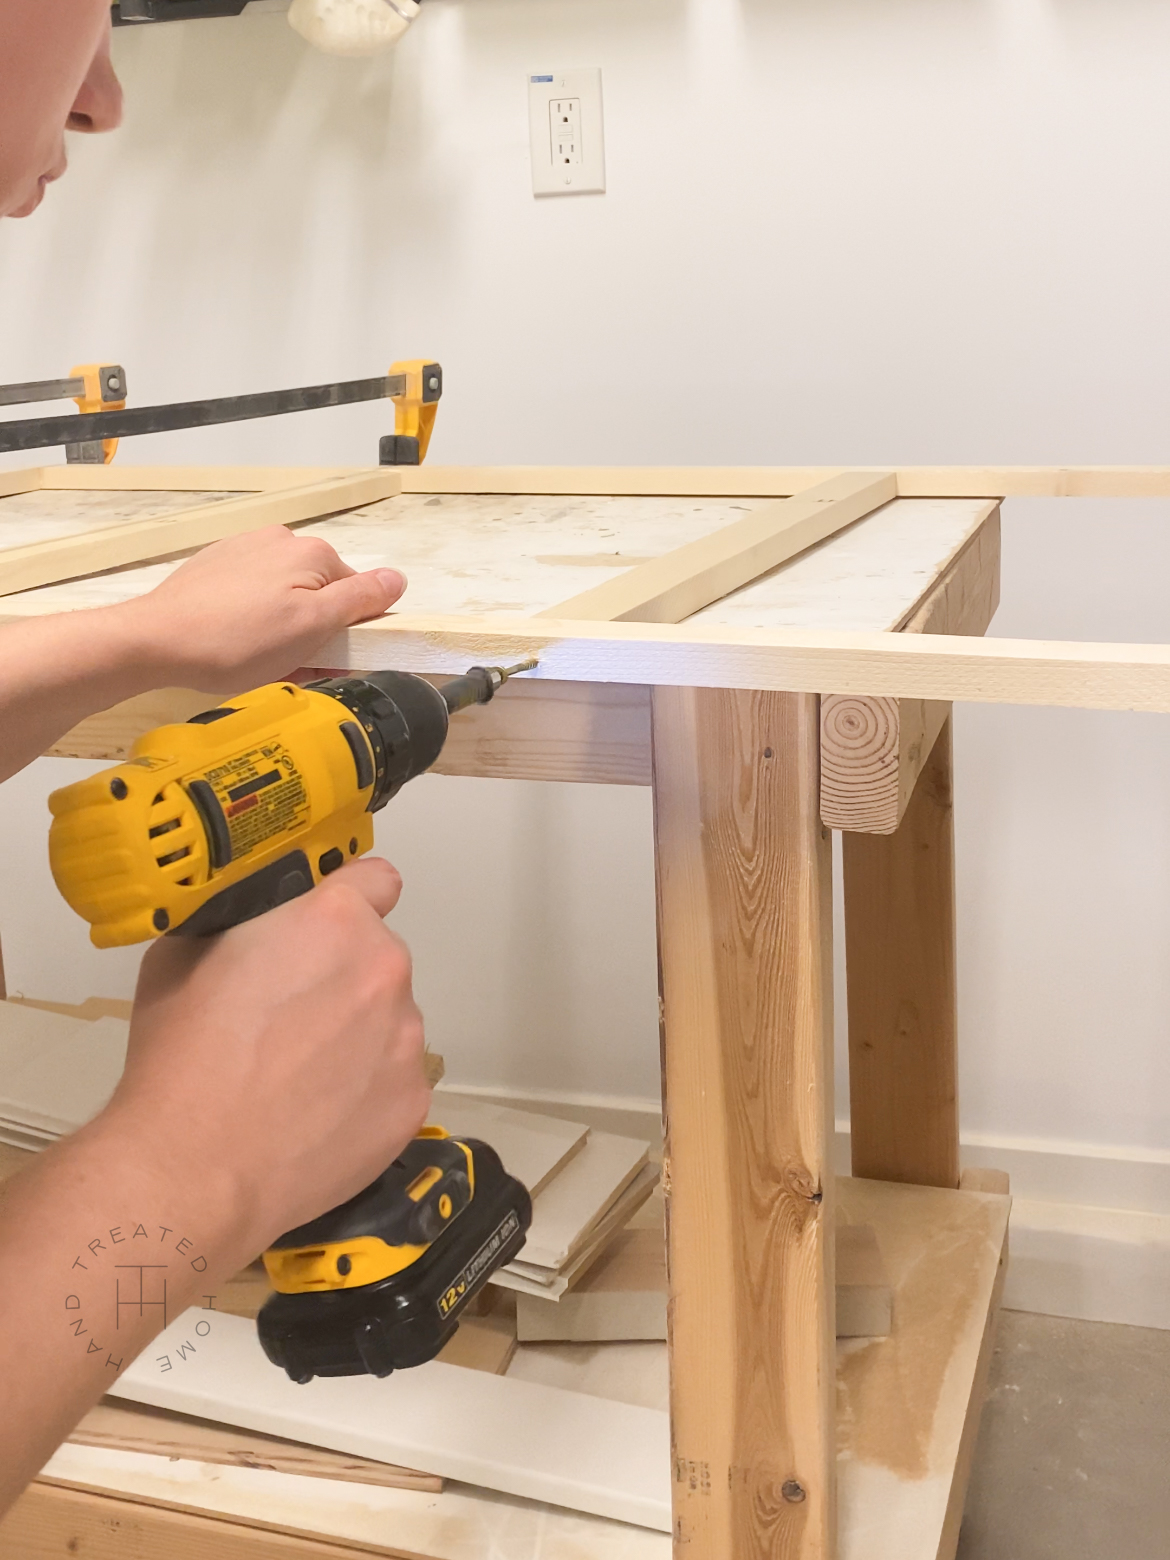
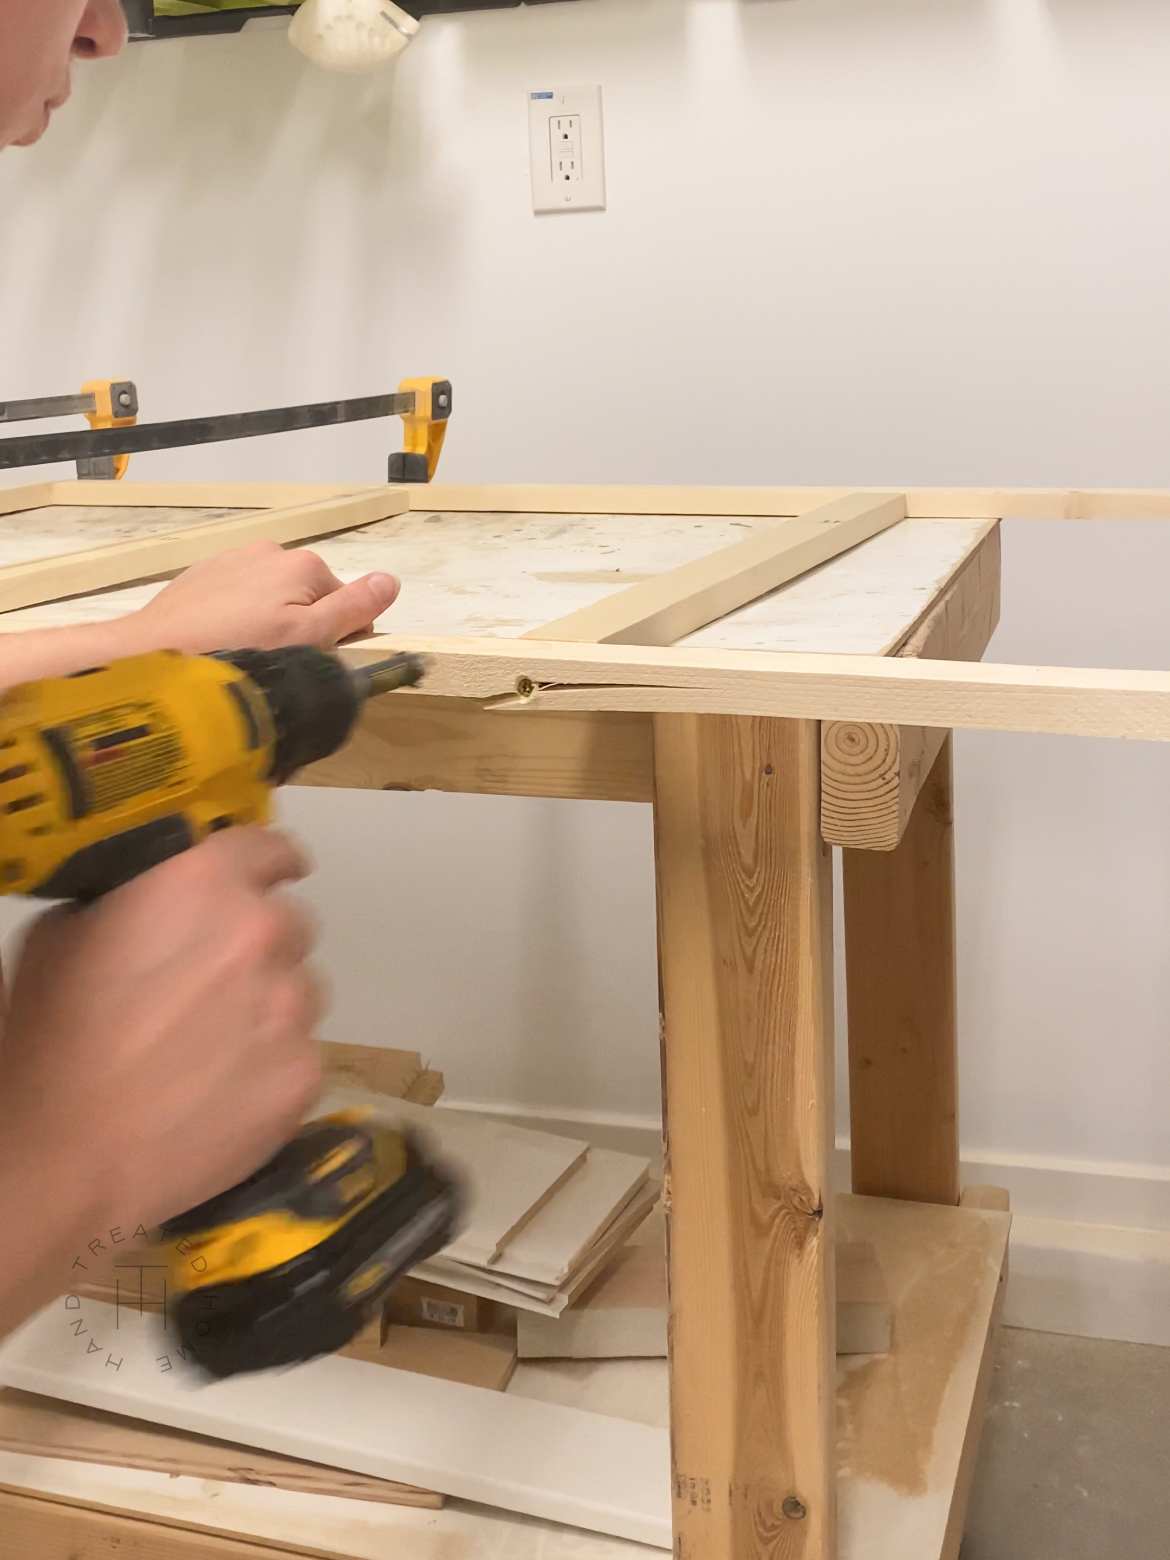
Use wood glue, clamps and speed squares to assemble the frame. While clamped, screw the boards together.
NOTE: I had a couple of boards split on me here. I don’t think this would have happened if I had been using 2x2s, but to avoid splitting, pre-drill your holes.
Step 3: Attach Canvas
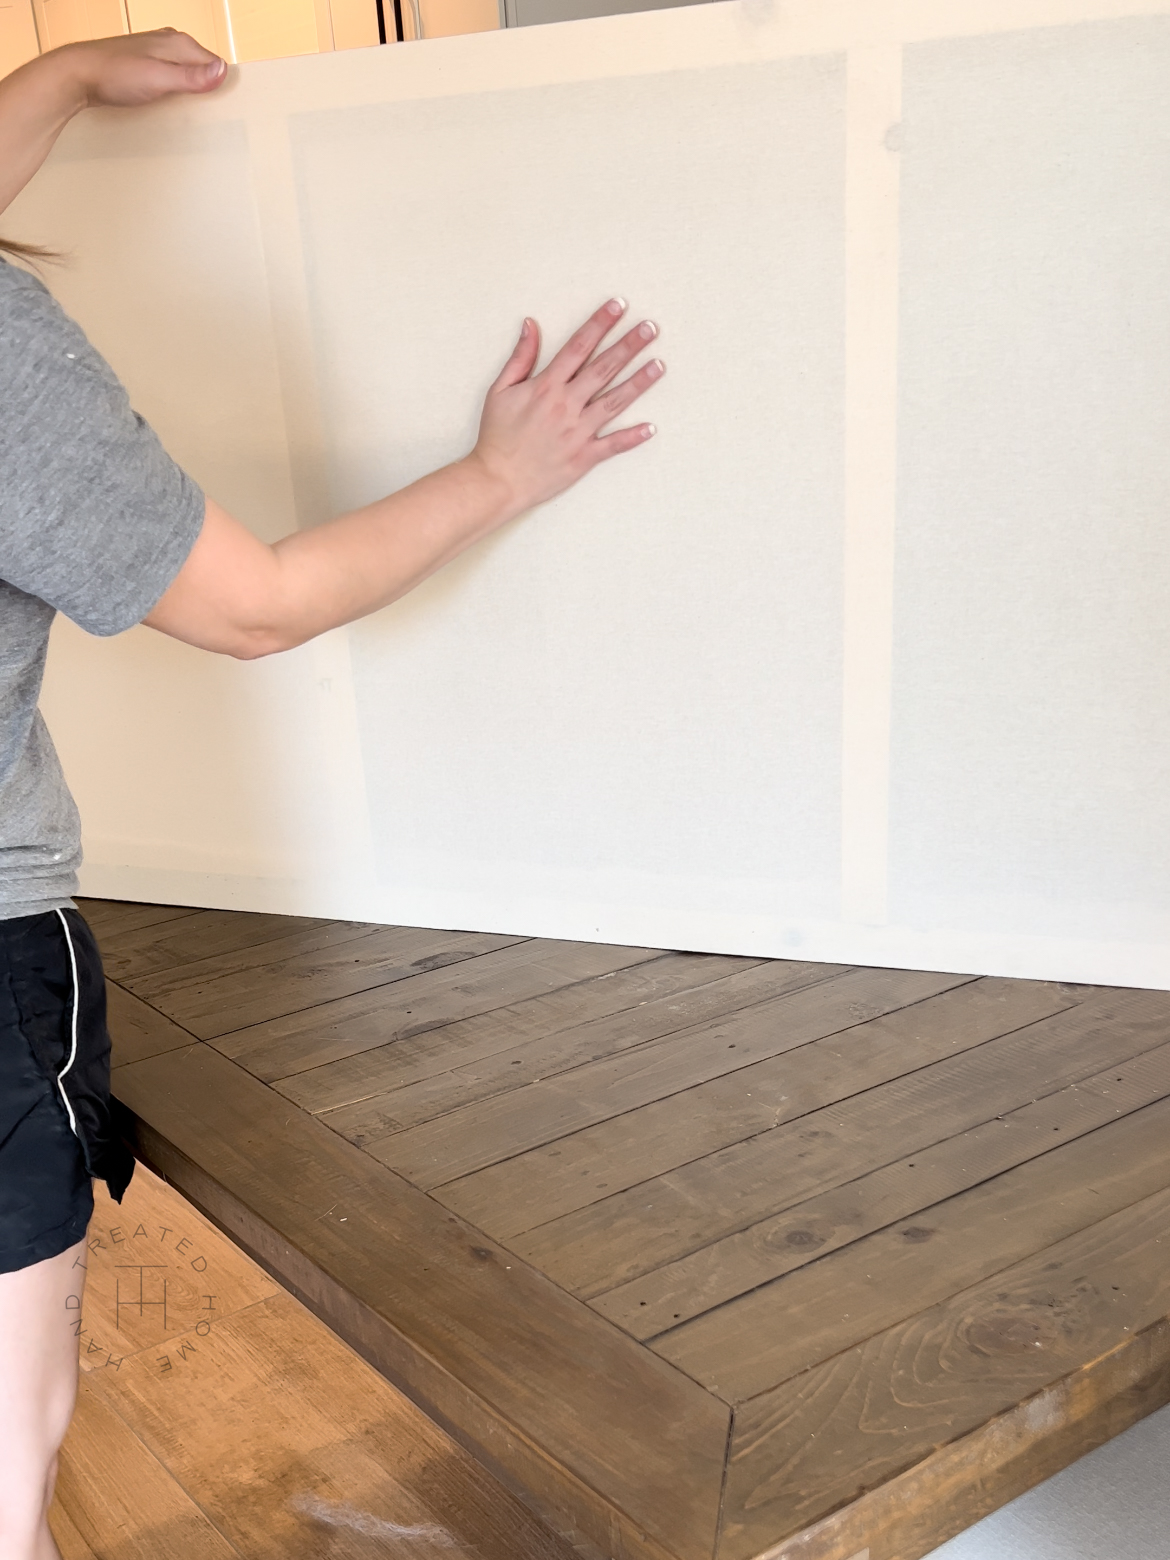
First you will need to iron the canvas to get out any major wrinkles. Trust me, I hate ironing too, but this step makes a big difference!
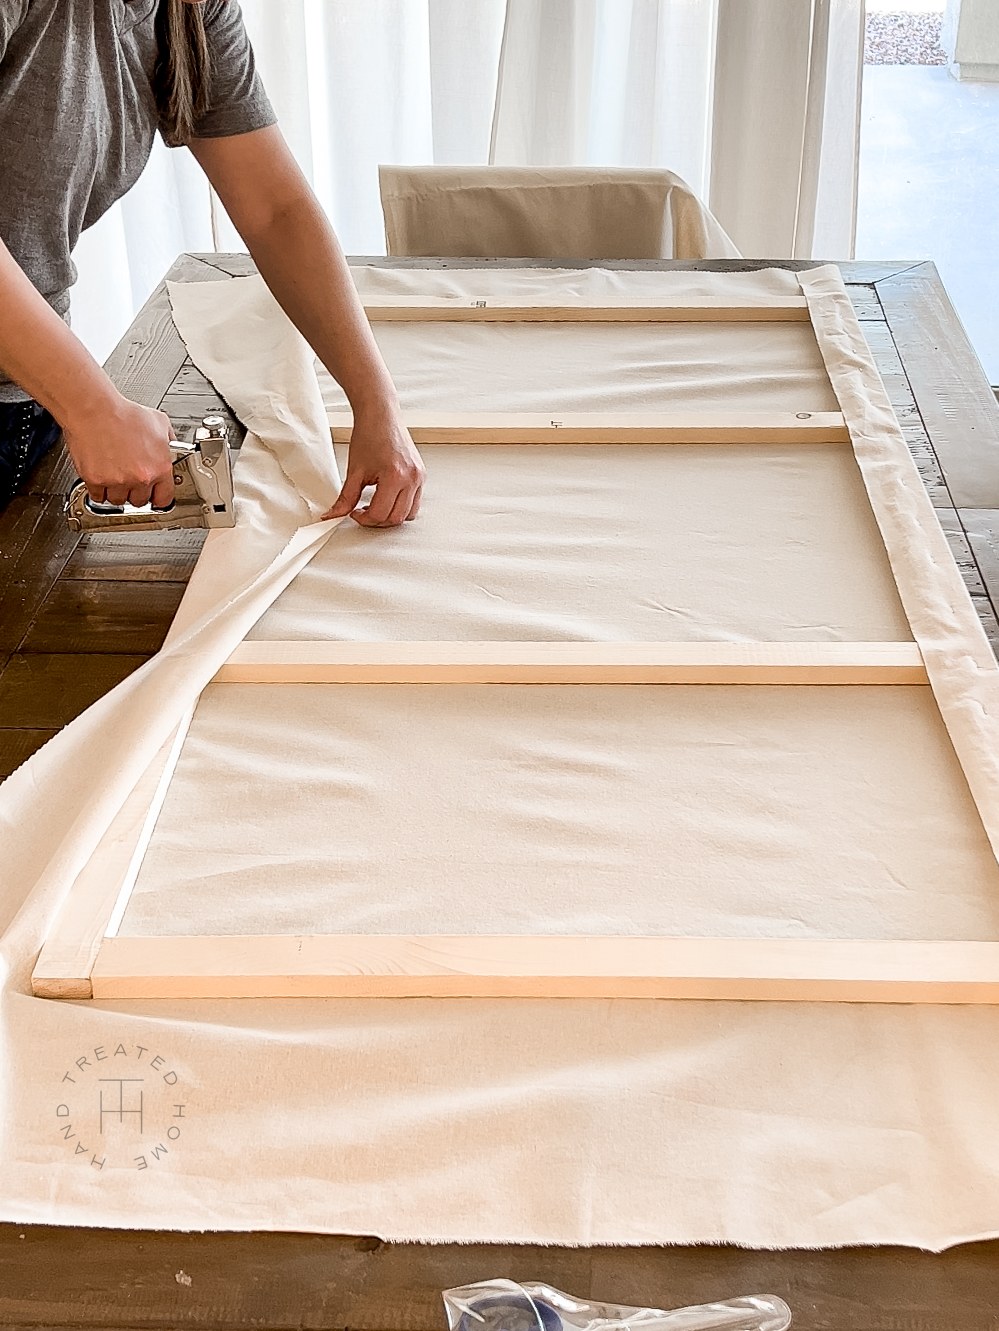
Then place the canvas over the structure. Cut to size, making sure to live enough room around the edgiest wrap the canvas around to the back and staple into place.
Once cut to size, wrap the canvas around the longer side, and staple to the back of the wood.
Now go to the other long side, and while pulling the canvas taut, staple into place.
Then onto the sides, here is here you will really see the ripples disappear!
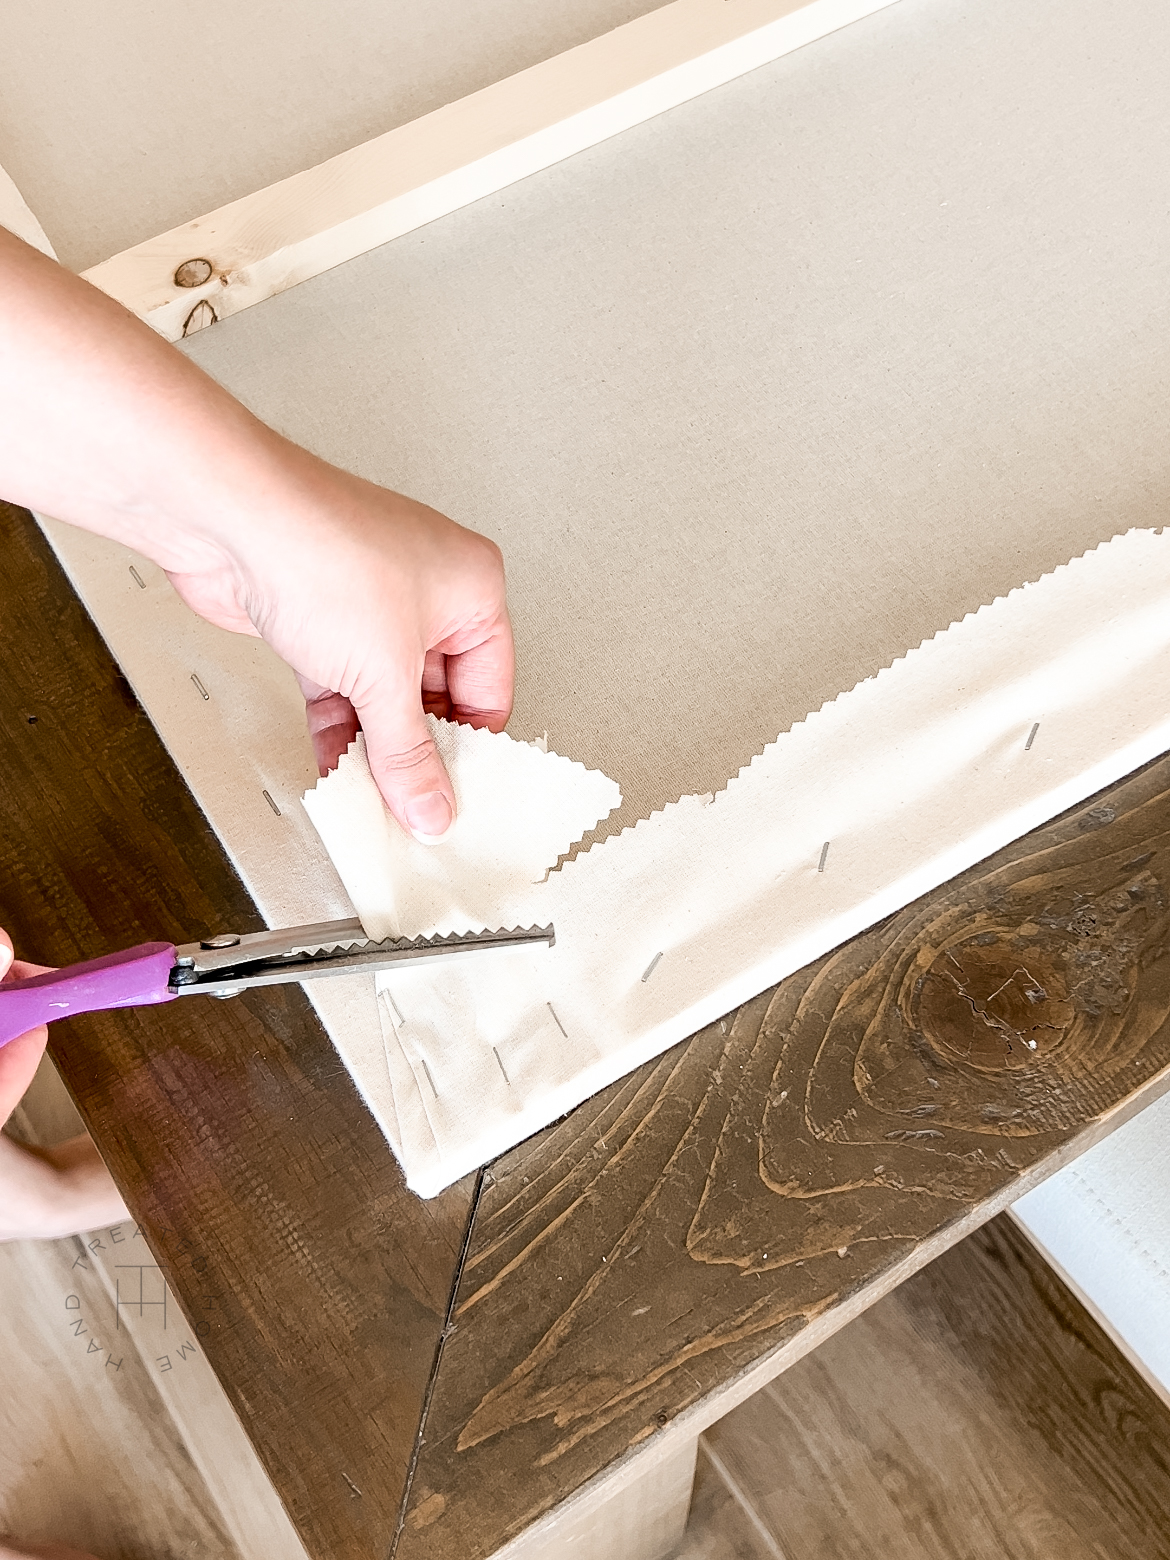
Once you have attached the canvas with staples on all four sizes, fold in the fabric on the sides and try to made it as flat as possible. Staple and trim and excess fabric.
The canvas should be nice and taut, you could bounce a quarter off of it!
Step 4: Prime
If you didn’t buy pre-primed canvas (you can use this but it’s more expensive) you now need to prime the canvas with gesso.
I just squeezed it directly onto the canvas and brushed it on until the entire canvas was thoroughly covered.
Wait for it to fully dry.
Step 5: Add Joint Compound
This step is optional. You could just paint the canvas next if you want to, but I wanted to add texture. So I added hint compound until I achieved the look I was going for.
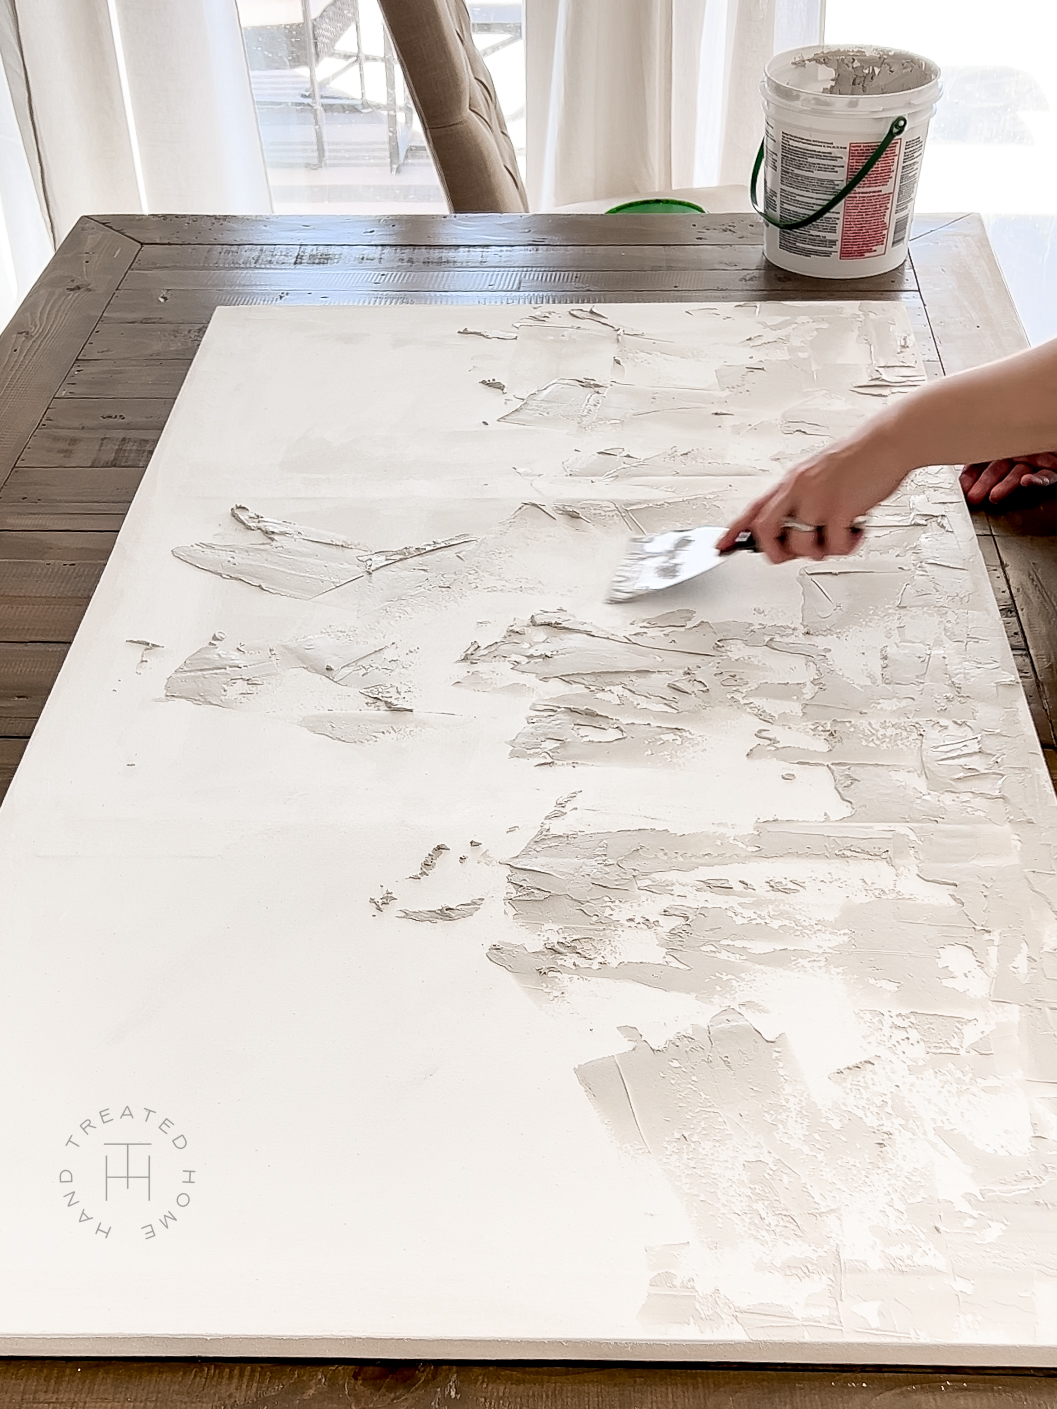
Apply Joint Compound
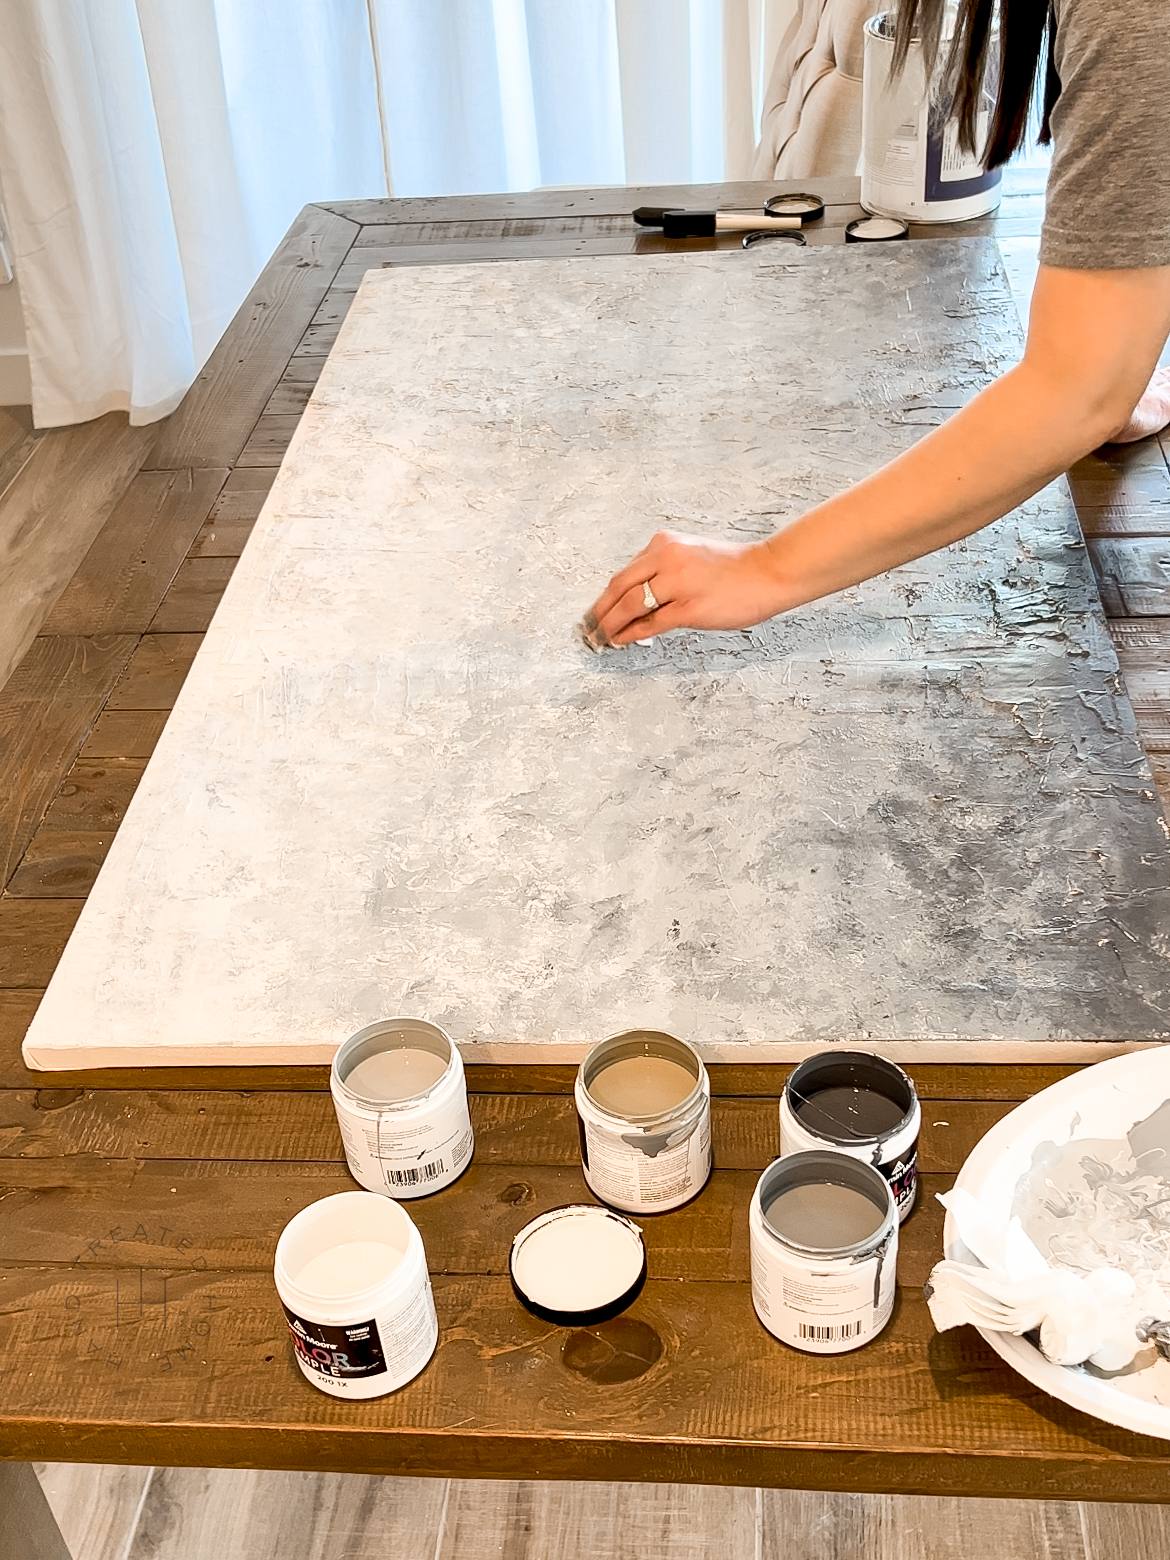
Step 6: Paint
Now it’s time to paint! Paint whatever you prefer, I am not an artist, and also love abstract art, so I just played around with the colors (colors that I color matched from a blanket I have on my bed using the Color Reader) until I had the look I wanted!
And remember, if you mess up you can just paint over it and start again!
Step 7: Hang up the art
Hang you art above the bed, or wherever you choose to put it, and admire your work!
Bonus tip: Add this art light above it to really give it that art gallery look!
That’s it! You’re now an artist
Tag me on Instagram @handtreatedhome so I can celebrate with you!
Questions? Email me at hello@handtreatedhome.com or feel free to leave any questions or comments below!
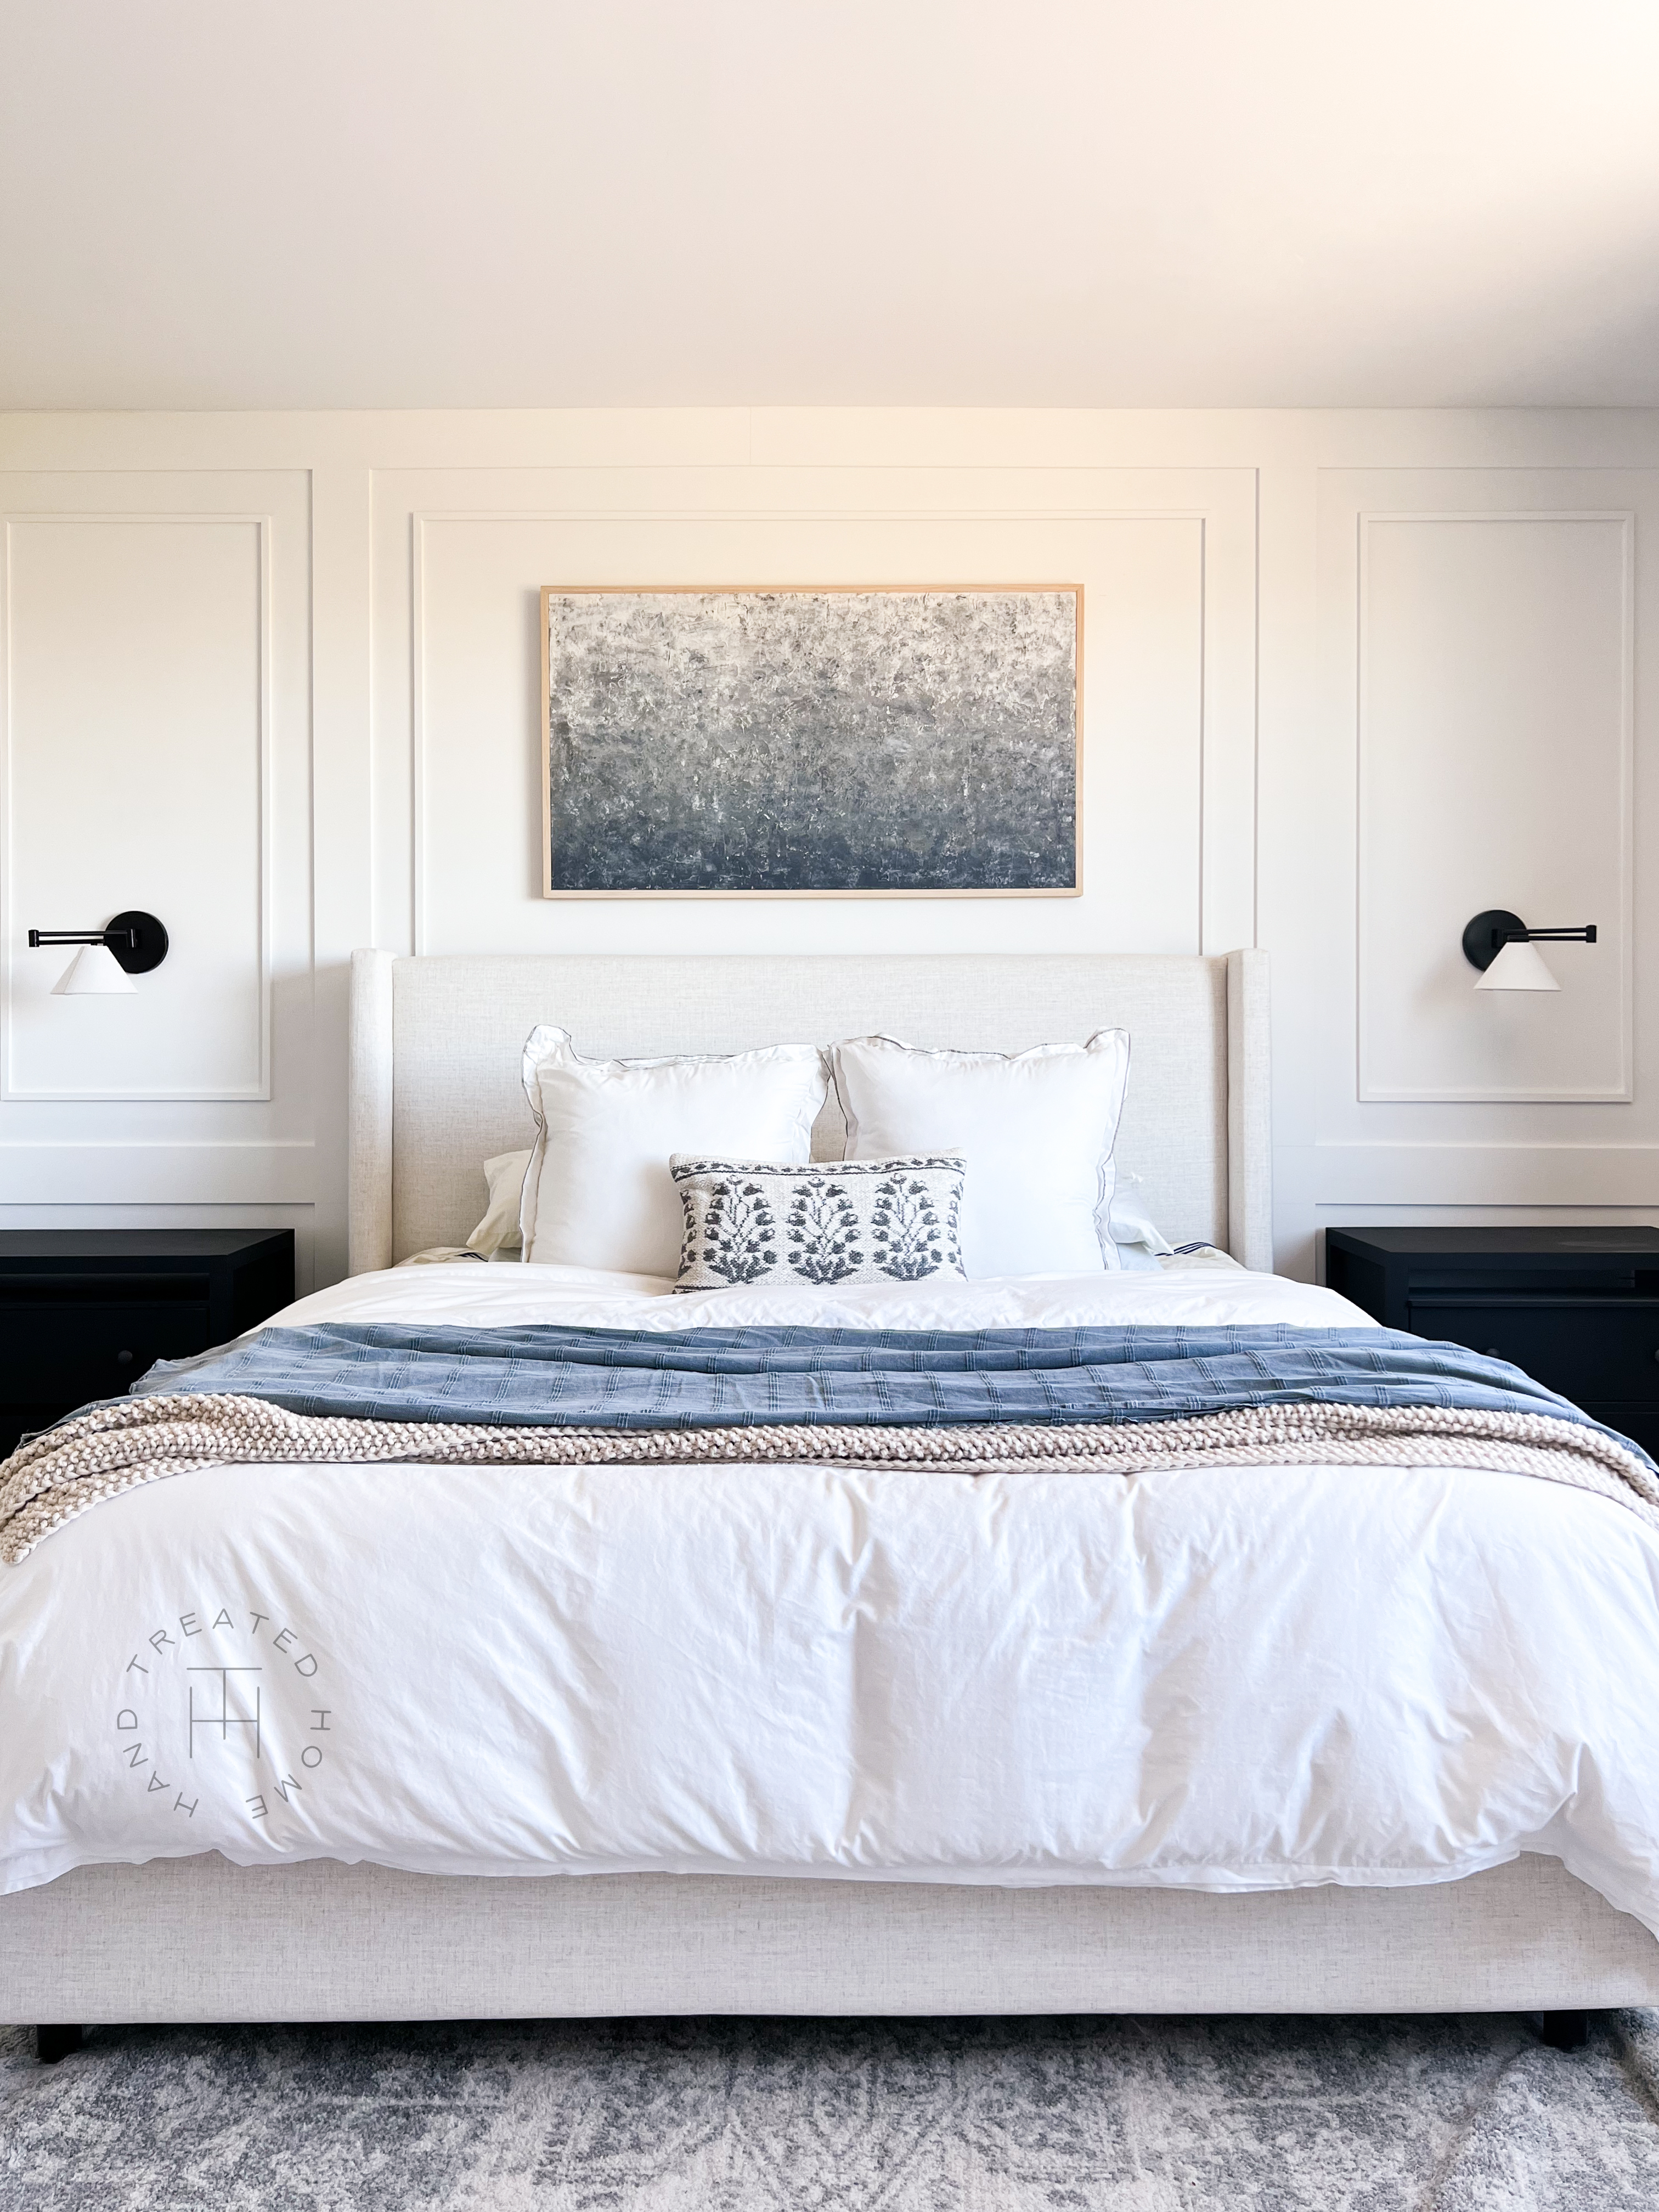
DIY Canvas Art

